
Your air fryer powers on, the display lights up, but when cooking time arrives, your food sits in a cold chamber instead of crisping up as expected. That disappointing moment when your appliance fails to deliver heat is more than just an inconvenience—it disrupts meal plans, wastes ingredients, and leaves you scrambling for alternative cooking methods. When your air fryer stops heating properly, you’re not just dealing with a broken appliance; you’re facing the loss of a kitchen essential that delivers quick, oil-free cooking results.
This guide provides actionable steps to diagnose and potentially resolve heating issues in countertop air fryers. While specific models vary in design and components, most heating failures share common causes that you can systematically investigate. Before reaching for your wallet to buy a replacement or schedule a service call, work through these proven troubleshooting techniques that address the most frequent reasons air fryers stop producing heat.
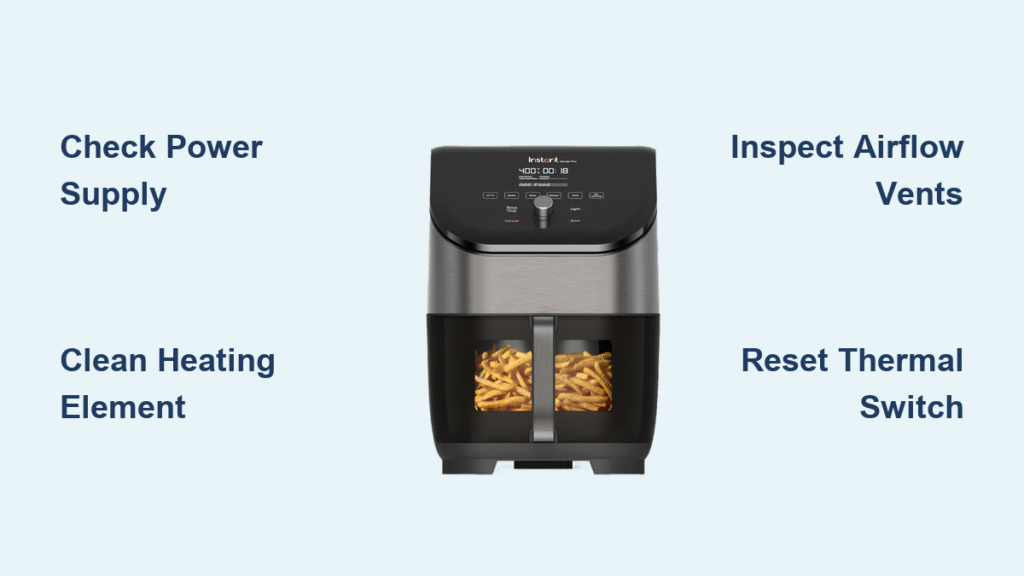
Verify Basic Power Connections
Many “no heat” problems stem from simple power issues that take just minutes to diagnose and fix. Start with these fundamental checks before assuming internal component failure.
Confirm Electrical Supply Is Stable
Plug a different appliance like a lamp or phone charger into the same outlet to verify it’s delivering consistent power. If that device works intermittently or not at all, the problem likely lies with your home’s electrical system rather than your air fryer. Test your appliance in a different outlet on a separate circuit—kitchen circuits often have multiple outlets on one breaker, so choose one in another room for accurate testing.
Examine Cord and Plug Condition
Carefully inspect the entire length of your power cord for visible damage including cuts, kinks, or areas where the insulation appears melted or brittle. A compromised cord might deliver enough power for the control panel to illuminate but insufficient current for the heating element to function. Run your fingers along the cord while the unit is operating (if safe to do so) to detect any unusual warmth that could indicate internal damage requiring immediate replacement.
Perform a Complete System Reset
Unplug your air fryer and leave it disconnected for at least five minutes. This full power cycle clears temporary electronic glitches that might prevent heating cycles from initiating. While unplugged, press and hold the power button for 15-20 seconds to discharge any residual electricity in the control system. After reconnecting power, run a simple test cycle at 350°F for five minutes with the basket empty to determine if basic functionality has been restored.
Identify Common Heating Failure Patterns
Understanding why air fryers stop producing heat helps you target your troubleshooting efforts efficiently. While specific components vary by manufacturer, certain failure patterns emerge consistently across different models.
Thermal Safety Mechanisms Activating
Modern air fryers contain multiple safety features that automatically cut power to heating elements when internal temperatures exceed safe limits. These thermal cutoffs typically activate due to blocked air vents, overfilling the basket, or operating the unit in an enclosed space with poor ventilation. Most safety switches reset automatically once the unit cools completely, but persistent overheating can cause them to remain in the cutoff position until manually addressed.
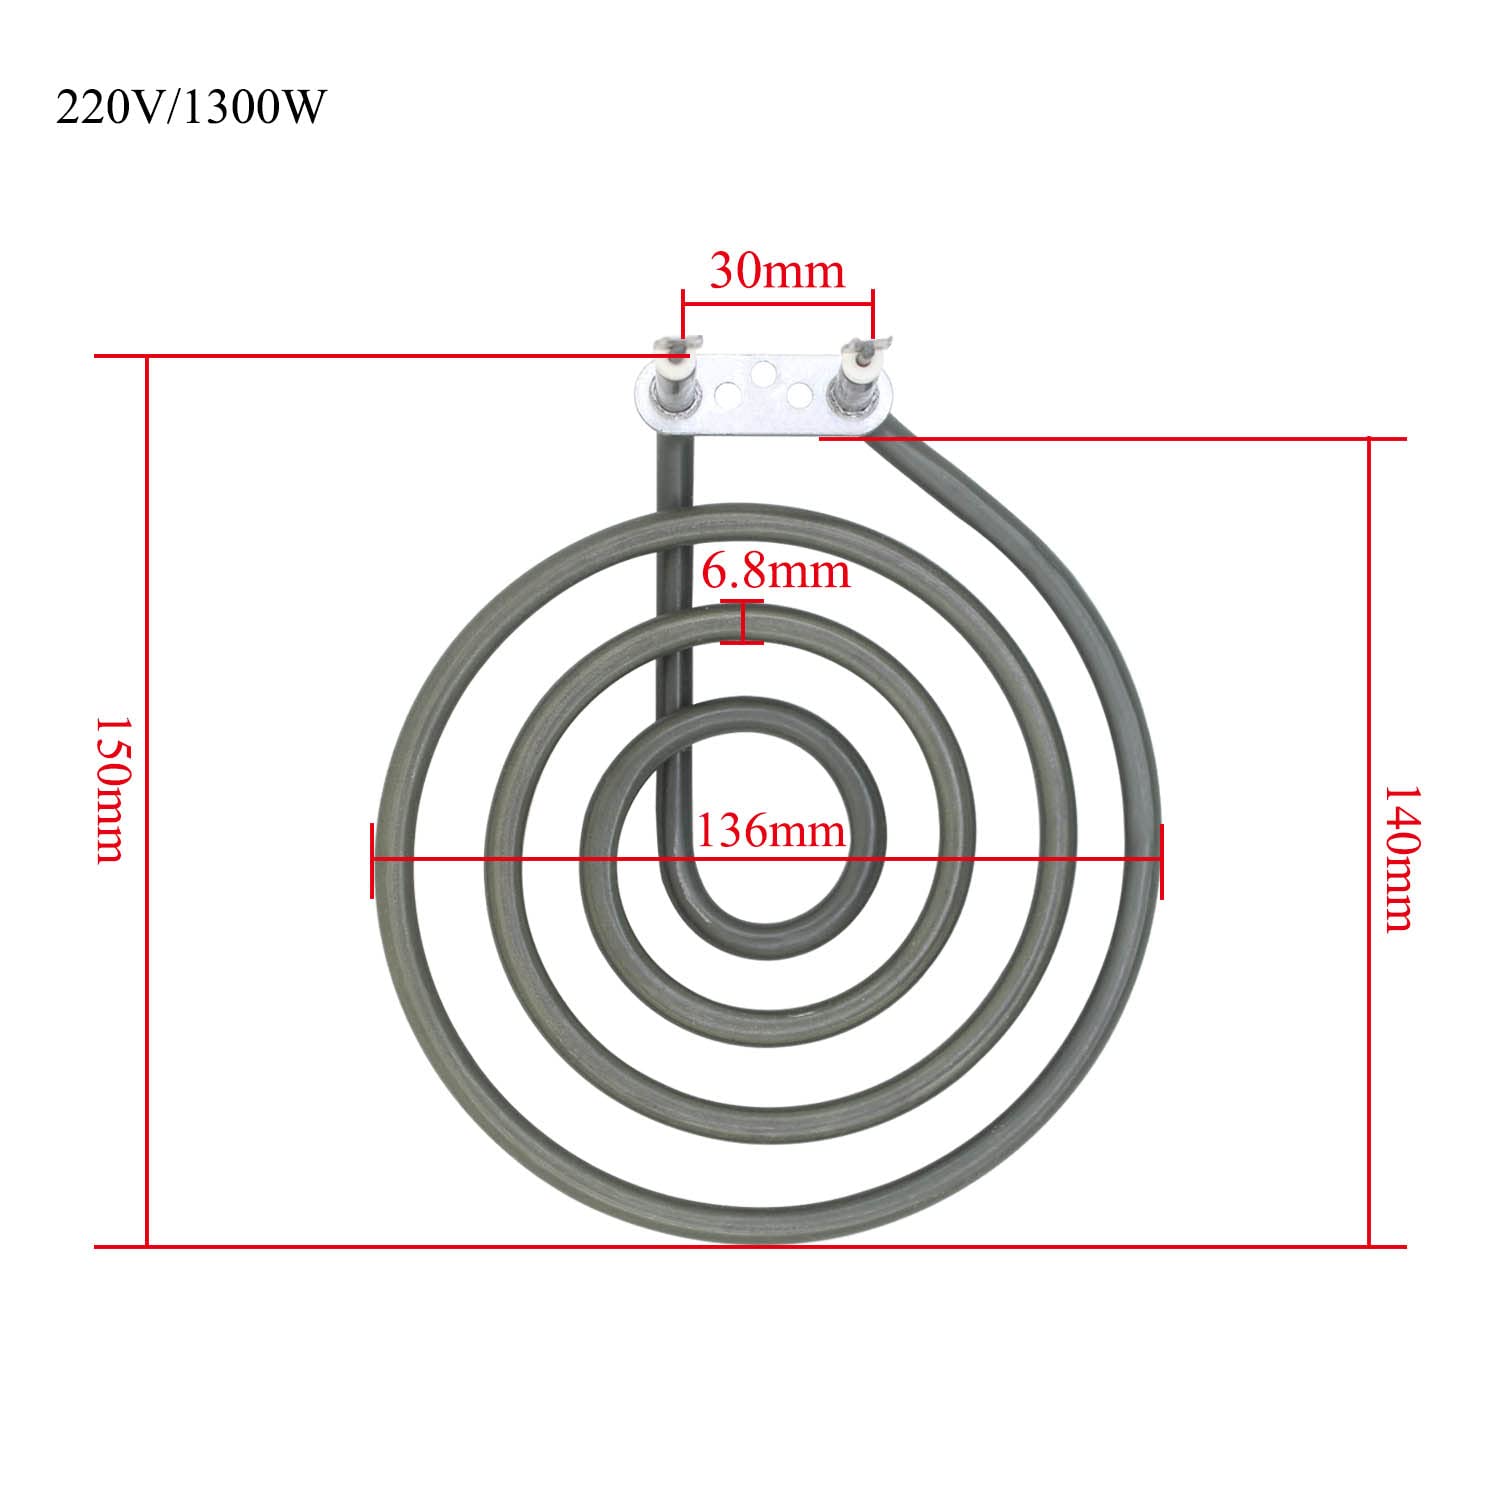
Heating Element Degradation
The circular or U-shaped heating element inside your air fryer has a finite lifespan, typically 2-4 years with regular use. Visual inspection might reveal obvious signs of failure including broken filaments, severe discoloration, or a white ashy coating on the element surface. Without specialized testing equipment, you won’t know for certain if the element has failed, but if your unit powers on but produces no heat after verifying basic connections, element failure becomes increasingly likely.
Temperature Sensor Issues
The thermistor or temperature probe constantly monitors internal conditions and signals the control system when to cycle the heating element. When this sensor malfunctions, your air fryer might refuse to heat at all or behave erratically—starting to heat then shutting down prematurely. Unlike complete element failure, sensor problems often manifest as inconsistent heating performance rather than total absence of heat.
Essential Safety Considerations Before Proceeding
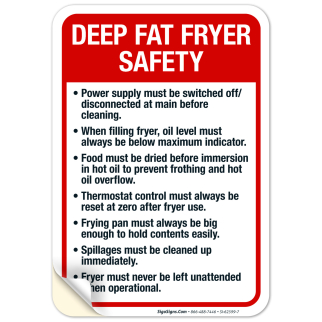
Before attempting any internal inspection or repair, understand these critical safety precautions. Air fryers contain high-voltage components that can cause serious injury or death if mishandled.
Never Work on Plugged-In Appliances
Always unplug your air fryer and allow it to cool completely before removing any covers or accessing internal components. The heating element operates at full line voltage (120V in North America, 230V in many other regions) and can deliver a dangerous electrical shock even when the unit appears to be off.
Recognize When to Stop
If you detect burning smells, visible arcing, or melted components during your inspection, stop immediately. These signs indicate serious electrical faults that require professional attention. Continuing to operate or attempt repairs on a unit showing these symptoms creates fire hazards and risks personal injury.
Warranty Implications
Opening your air fryer for inspection typically voids any remaining manufacturer warranty. Before proceeding beyond basic external troubleshooting, check your warranty status and coverage terms. Most manufacturers cover heating element failures during the initial warranty period, often providing replacement units rather than repair parts.
Practical Troubleshooting Steps You Can Safely Perform
These diagnostic procedures require no special tools and can be completed by anyone comfortable with basic appliance maintenance. Work through each step systematically, testing heating performance after completing each procedure.
Deep Clean Critical Components
Accumulated grease and food debris can insulate heating elements and temperature sensors, causing false readings and reduced heating efficiency. Remove all baskets and trays, then carefully:
- Wipe the heating element with a slightly damp cloth (never immerse)
- Clean the temperature sensor probe with an alcohol wipe
- Remove visible debris from air intake vents using a soft brush
- Vacuum exhaust vents to ensure unobstructed airflow
Check for Proper Airflow
Air fryers rely on consistent airflow to distribute heat effectively. Blocked vents prevent the heating element from functioning properly as safety systems detect inadequate air movement. Verify that:
- No food particles obstruct the top exhaust vents
- The basket sits fully seated in its proper position
- You’re not operating the unit against a wall or in a confined space
- The fan operates smoothly (listen for unusual noises during operation)
Reset Thermal Safety Devices
Some models include manual reset buttons for thermal cutoff switches. After addressing potential causes of overheating (cleaning vents, reducing food quantity), locate any small red or white reset buttons near heating components. Press firmly with a non-metallic tool until you hear a distinct click, then test heating performance.
When Professional Help Becomes Necessary

Certain heating failures require specialized knowledge, tools, or replacement parts that aren’t practical for most consumers to address safely at home.
Complex Electrical Component Failures
If basic troubleshooting doesn’t restore heating function, the problem likely involves internal components that require electrical testing equipment. Heating elements, thermal fuses, and control boards all need proper diagnostic tools to verify functionality. Attempting replacements without confirming the actual faulty component often leads to wasted time and money replacing parts that weren’t the root cause.
Safety System Compromises
When safety features repeatedly activate or fail completely, professional evaluation becomes essential. These systems exist to prevent fire hazards and electrical dangers—bypassing or incorrectly repairing them creates unacceptable risks. A qualified technician can determine whether safety components need replacement or if an underlying issue requires addressing.
Smart Maintenance to Prevent Future Heating Failures
Implement these simple practices to maximize your air fryer’s heating performance and extend its operational life.
Establish a Cleaning Routine
- Wipe interior surfaces after each use while still warm (but not hot)
- Perform deep cleaning of heating elements and vents weekly
- Remove and wash the crumb tray after every 3-5 uses
- Run empty cycles at high temperature monthly to burn off residue
Follow Proper Usage Guidelines
- Never exceed manufacturer’s recommended fill levels
- Allow adequate space around the unit for proper ventilation
- Avoid placing extremely wet foods directly on the heating element
- Let the unit cool completely between consecutive cooking cycles
Final Considerations: Repair vs. Replace
When heating problems persist despite your troubleshooting efforts, weigh these factors before deciding whether to repair or replace your air fryer:
- Age of unit: Most air fryers have a 2-3 year functional lifespan with regular use
- Cost comparison: Repairs often exceed 50% of a new unit’s price
- Parts availability: Older models may have discontinued components
- Feature upgrades: Newer models often offer improved performance and safety
Your air fryer’s inability to heat properly doesn’t necessarily mean it’s time for replacement. By methodically working through these troubleshooting steps, you’ll either restore full functionality or gain the knowledge needed to make an informed decision about professional repair versus replacement. Remember that safety must always come first—when in doubt about electrical components, consult a qualified appliance technician rather than risking personal injury or further damage to your appliance. With proper care and timely intervention, your air fryer can continue delivering those crispy, healthy meals that have become kitchen essentials.

