
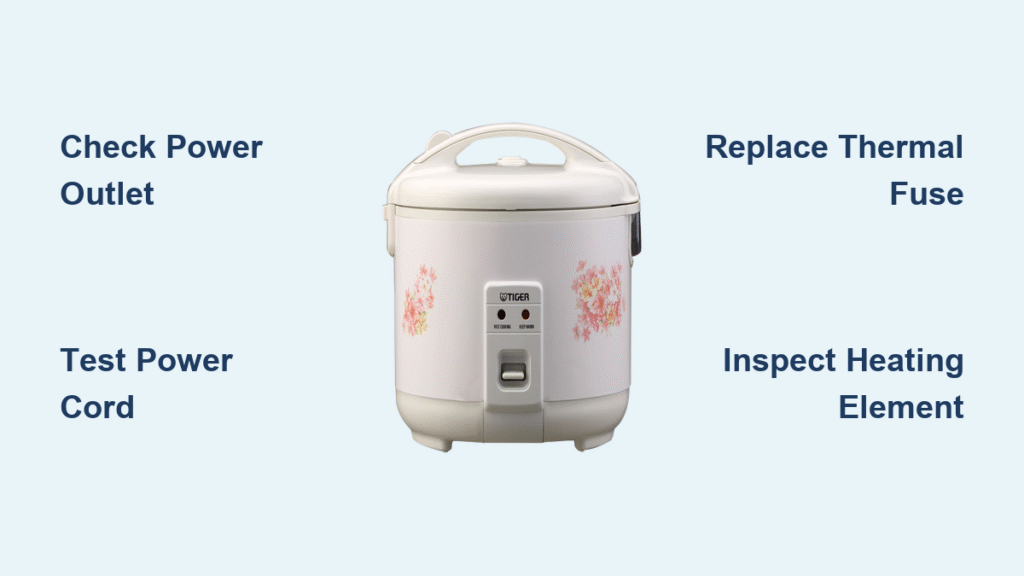
You press the start button on your Tiger rice cooker, but nothing happens—no lights, no sounds, no steam. Or maybe it powers on but refuses to heat. Whether you own a JAX-T, JNP-S, or JBV-A model, these failures strike at the worst possible moment when you’re counting on perfectly cooked rice for dinner. The good news is that most “tiger rice cooker not working” issues have straightforward fixes you can complete in under 30 minutes. This guide cuts through the confusion with model-specific troubleshooting steps that actually work.
Stop throwing money at replacement appliances before you try these proven solutions. Tiger rice cookers typically last 10-15 years with proper maintenance, so a sudden failure usually points to one of several common problems rather than inevitable obsolescence. By following this systematic approach, you’ll identify and resolve your specific issue faster than waiting for professional service.
No Power At All? Start Here
Check These First in 2 Minutes
Before tearing into your Tiger rice cooker, run these critical power checks that resolve 40% of “dead unit” cases:
- Test the outlet properly: Plug in a high-draw appliance like a hair dryer. Standard outlets must deliver 110-120V AC under load conditions, not just when tested with a multimeter
- Flex-test the power cord: While plugged in, gently bend the cord near the cooker base and plug ends. Any flickering display or intermittent power indicates internal wire breakage at stress points
- Inspect for hidden damage: Look for kinks, cuts, or heat discoloration along the entire cord length—internal breaks often occur where the cord enters the cooker base
Critical mistake to avoid: Don’t assume the problem is internal when the issue could be a tripped GFCI outlet or circuit breaker. Reset all relevant breakers before proceeding.
Replace Power Cord Yourself
A damaged power cord causes most complete power failures in Tiger rice cookers. Here’s how to replace it safely:
- Unplug the cooker and turn it upside down on a soft surface
- Remove the 4-6 screws securing the bottom panel (screw count varies by model)
- Disconnect the old cord by pulling the spade connectors straight off their terminals
- Install the exact replacement cord for your model (JAX-T series uses TGC-PC18; JNP-S series uses TGC-JNPPC)
- Secure all connections and reassemble the bottom panel
Time needed: 15 minutes
Difficulty level: Beginner (no soldering required)
Visual cue: Look for blackened terminals or melted insulation indicating previous overheating
When It’s the Thermal Fuse

If the power cord tests good but your Tiger rice cooker not working completely, check the thermal fuse—a critical safety device that permanently opens when internal temperatures exceed safe limits (142°C-192°C depending on model):
- Access the fuse by removing the bottom panel
- Test continuity with a multimeter (should read <1Ω across terminals)
- Replace only with an exact temperature-rated fuse (check old fuse for stamped rating)
- Never bypass this safety component—it prevents fire hazards
Warning: Thermal fuse activation often indicates an underlying problem like blocked steam vents or accumulated food debris. Clean all air passages after replacement to prevent repeat failures.
Display Works But No Heat
Quick Heating Element Test

Your Tiger shows lights and responds to buttons but stays cold? Perform this 3-step heating element check:
- Unplug the cooker and remove the inner pot
- Access the heating element terminals beneath the metal plate
- Test resistance with a multimeter:
– Working element: 15-25 ohms (for 5.5-cup models)
– Failed element: Infinite resistance (open circuit)
Pro tip: Gently tap the heating plate while testing—if resistance jumps erratically, you have an intermittent connection requiring element replacement.
Sensor vs. Relay Failure
Two other common culprits cause heating failures when your display works:
Temperature sensor failure (NTC thermistor):
– Normal reading: 50-100kΩ at room temperature
– Failed sensor: Zero or infinite resistance
– Location: Under heating plate, connects via plug-in harness
– Fix: Replace with exact model-specific sensor
Power relay failure:
– Listen for “click” when starting cook cycle
– No click = relay not activating (check for 12V DC from control board)
– Visual clue: Burnt relay contacts or melted plastic housing
– Replacement requires matching exact coil voltage and contact ratings
Intermittent Operation Fixes
Loose Connection Solution
If your Tiger works sometimes but not others, loose internal connections are likely the culprit. Follow this systematic approach:
- Unplug and remove the bottom panel
- Reseat every spade connector (pull off firmly, then push back on)
- Perform a “wiggle test” while the cooker runs—any power interruption indicates problematic connection
- Focus especially on large red/black wires carrying heating current
Time estimate: 20 minutes
Difficulty: Intermediate
Visual cue: Look for green corrosion on copper terminals or blackened insulation from arcing
Moisture Damage Recovery
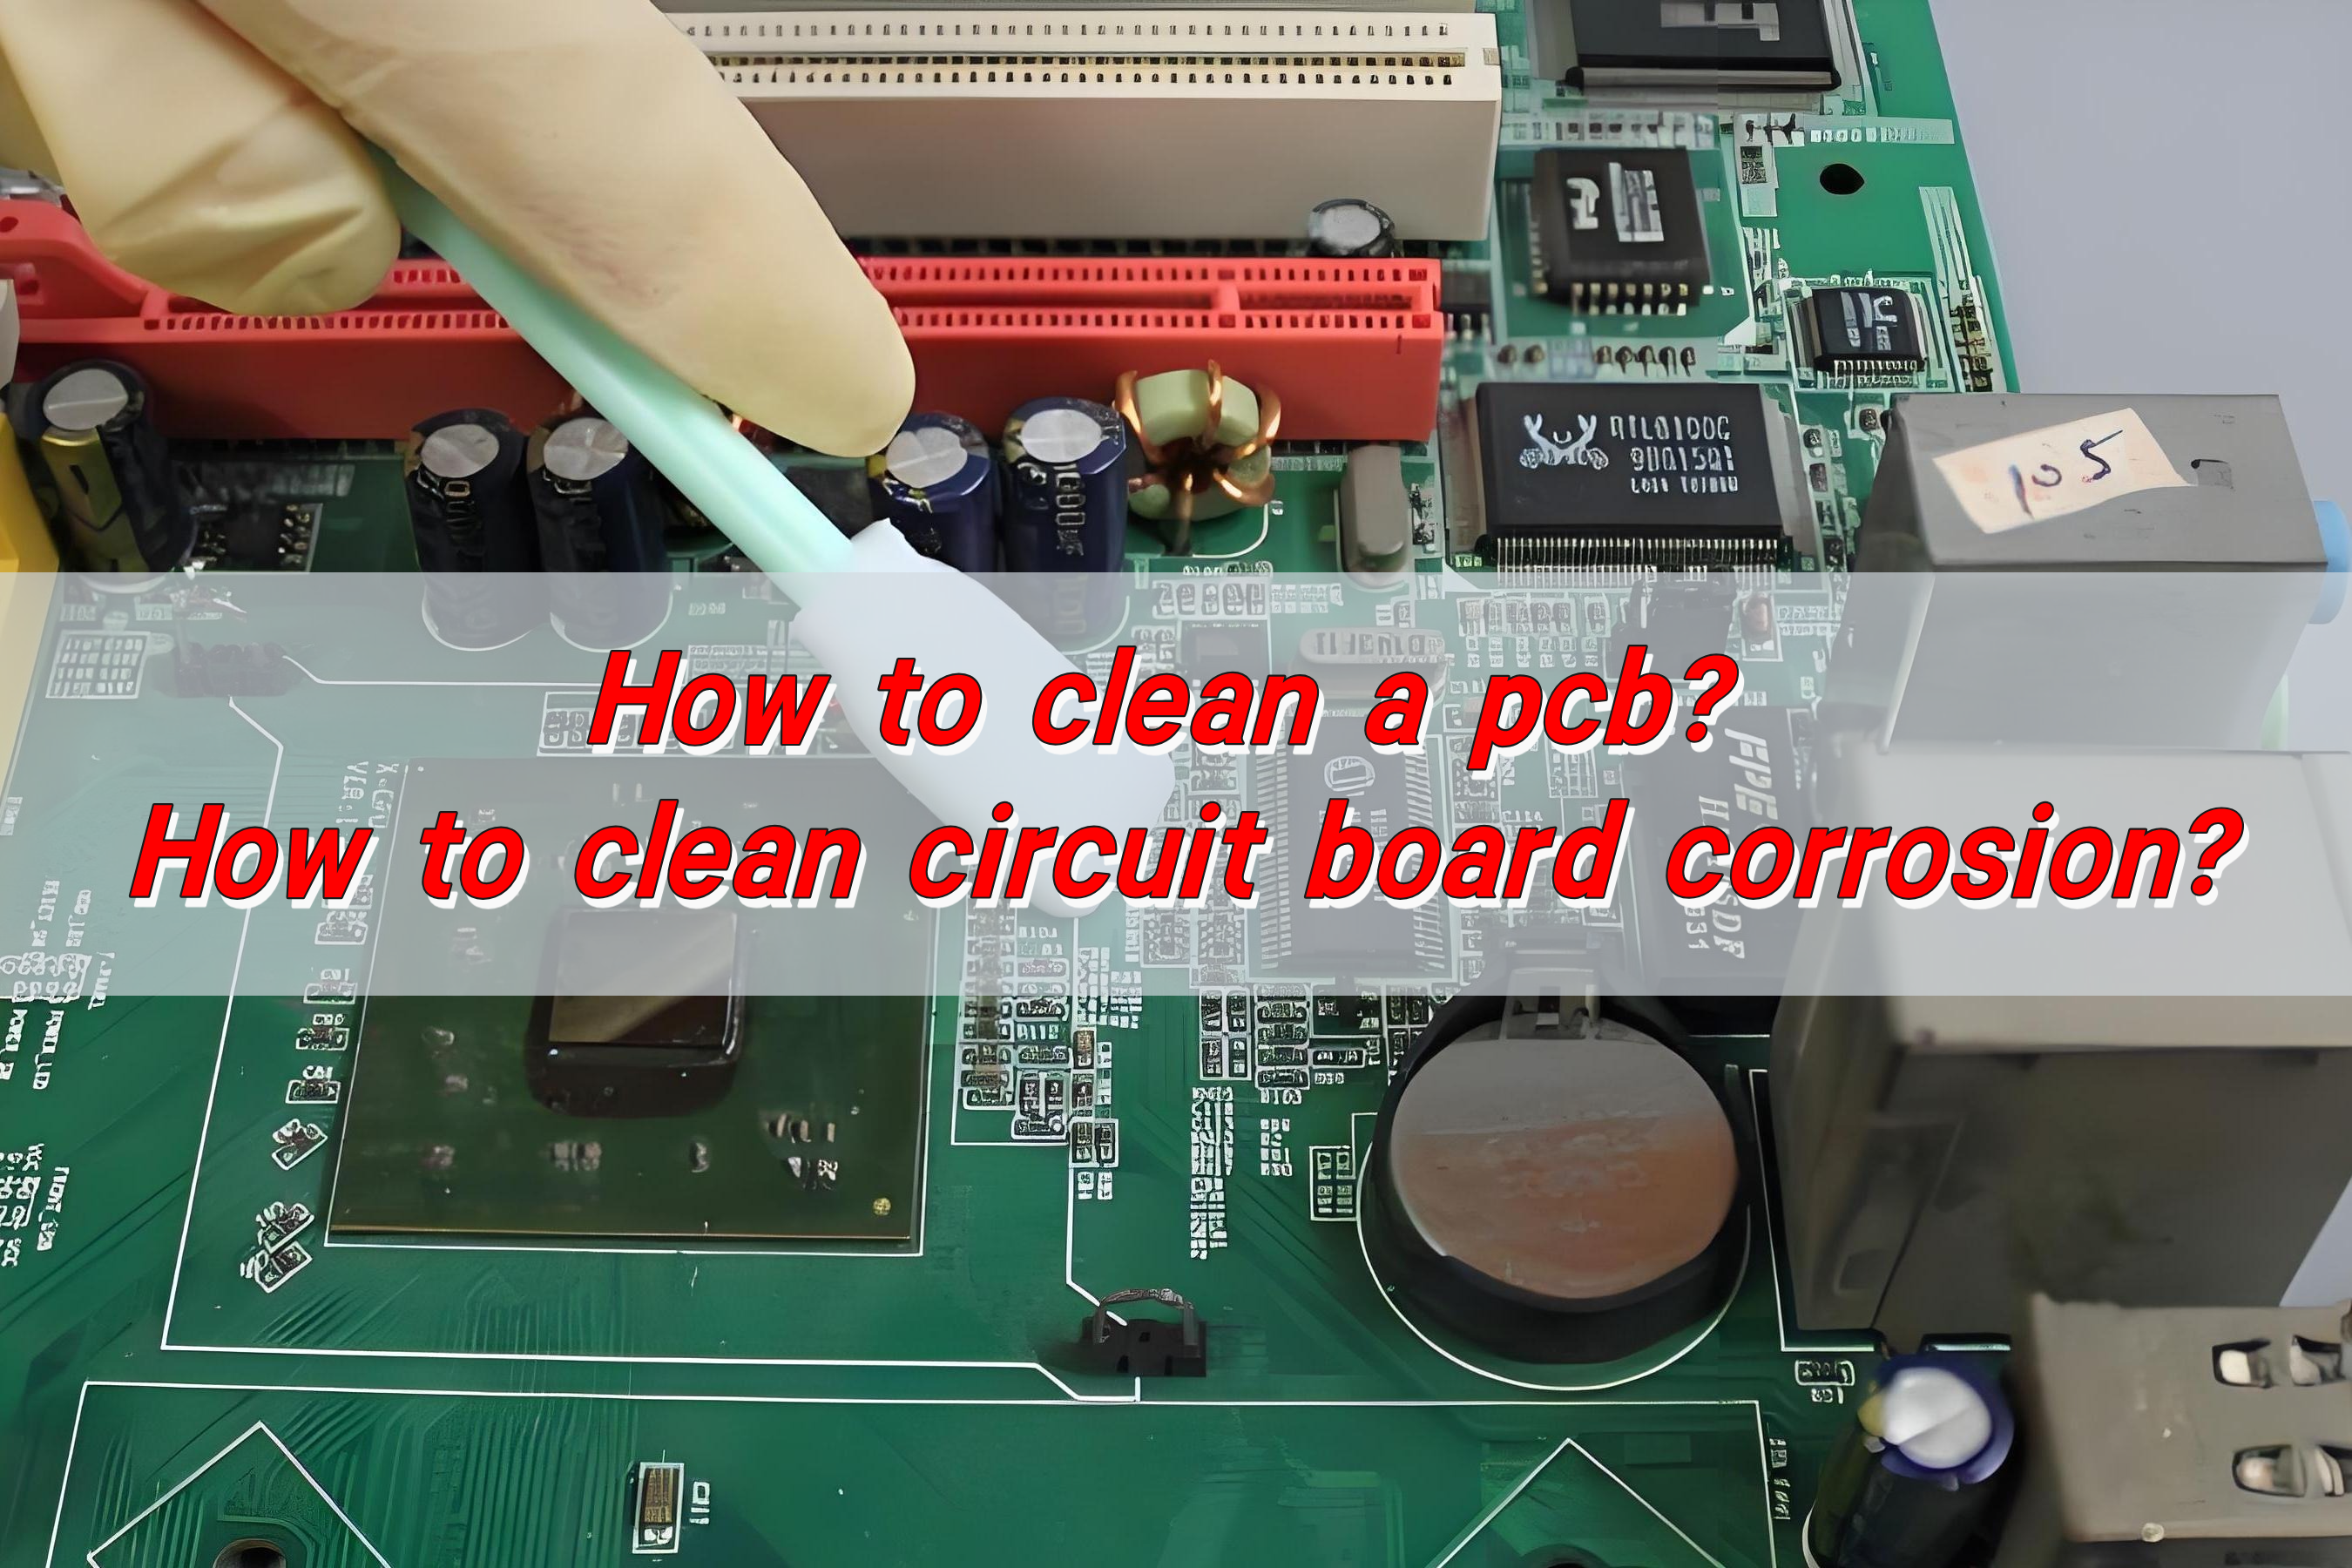
Steam infiltration causes erratic operation in many Tiger rice cookers. If your unit acts strangely after spills or heavy steaming:
- Disassemble control board area completely
- Clean all components with 99% isopropyl alcohol and soft brush
- Allow 48 hours complete drying before reassembly
- Replace any corroded connectors showing green oxidation
Prevention: Clean steam vents monthly with a soft brush and replace worn door seals annually to prevent moisture entry.
Model-Specific Quick Fixes
JAX-T Series Reset
Microcomputer models frequently freeze. This reset sequence works 90% of the time:
- Unplug for 30 minutes minimum
- Press and hold Power button
- Plug in while continuing to hold Power
- Keep holding 10 seconds after display lights
- Release and test normal operation
Why this works: Clears volatile memory without affecting stored settings—similar to rebooting a computer.
JNP-S Thermostat Calibration
For traditional models cooking too hot or cold:
- Remove inner pot and flip cooker over
- Locate brass calibration screw under heating plate
- Turn 1/8 rotation clockwise to increase temperature
- Counter-clockwise to decrease
- Test with small rice batch using standard 1:1.5 rice-to-water ratio
Critical note: Factory setting maintains 98-102°C for proper white rice cooking—adjustments should be minimal.
Repair or Replace Decision
When to Fix It Yourself
DIY appropriate repairs:
– Power cord replacement ($12-20, 15 minutes)
– Thermal fuse swap ($3-8, 30 minutes)
– Sensor replacement ($8-15, 45 minutes)
– Button cleaning ($5 supplies, 20 minutes)
Professional service required:
– Heating element replacement (complete disassembly)
– Control board replacement (requires calibration)
– Clock crystal repair (requires SMD soldering)
Cost Comparison
Use this simple formula: Repair if cost < 50% of replacement price
Example: JAX-T10U replacement costs $180. A $60 repair is worthwhile, but consider replacement if multiple failures occur in units over 8 years old. Tiger cookers typically last 10-15 years with proper maintenance.
Prevent Future Failures
Monthly 5-Minute Maintenance
- Wipe heating plate clean (food buildup causes overheating)
- Check cord for damage at stress points
- Clean steam vents with soft brush
- Test lid seal flexibility (should rebound immediately)
Quarterly Deep Clean
- Remove bottom panel (6 screws)
- Blow out dust with compressed air
- Check all connections are tight
- Clean control board area gently with isopropyl alcohol
Pro tip: Apply electrical contact cleaner to all spade connectors quarterly to prevent corrosion and intermittent operation.
Safety First During Repairs
Never:
– Bypass safety switches or fuses
– Use with wet hands or on wet surface
– Ignore burning smells or smoke
– Operate with damaged cord
Always:
– Unplug immediately if acting strange
– Allow 48-hour drying if exposed to spills
– Test GFCI outlets monthly
– Verify 110-120V at outlet under load before troubleshooting
Get Parts Fast
Exact Part Numbers
- Power cords: TGC-PC18 (JAX-T), TGC-JNPPC (JNP-S)
- Thermal fuses: Match exact temperature rating stamped on old fuse
- Sensors: Model-specific—include serial number when ordering
Where to Buy
- Tiger direct: 1-800-888-0555 (OEM guaranteed)
- Amazon: Search “Tiger [model] [part]”
- Local appliance shops: Often carry common thermal fuses
Pro tip: Take a photo of your model/serial label before calling—Tiger requires this for accurate parts identification.
Summary: Your Next Steps
When your tiger rice cooker not working, start with the 2-minute power checks before moving to component testing. Most complete failures trace back to a damaged power cord or blown thermal fuse—both repairable under $20 in 30 minutes. For display-on-but-no-heat issues, systematically test the heating element, temperature sensor, and relay.
Remember the model-specific protocols: JAX-T series responds well to the reset sequence, while JNP-S models often need thermostat calibration. Tiger rice cookers reward regular maintenance—spend just 5 minutes monthly cleaning steam vents and checking connections to prevent 80% of failures.
Keep this guide handy because rice cooker malfunctions always happen when you need them most. Now you’re equipped to diagnose and fix your Tiger rice cooker not working situation quickly—getting back to perfectly cooked rice without the expense of replacement.

