
Your KitchenAid refrigerator just stopped cooling, and you’re staring at $200 worth of groceries that could spoil within hours. Before panic sets in, know this: most cooling failures are DIY-fixable within an hour using common household tools. This guide walks you through proven diagnostics that professional techs use daily, saving you both time and money.
Whether you’re dealing with lukewarm milk, a silent compressor, or mysterious puddles, these step-by-step solutions will get your KitchenAid running cold again. Let’s start with the fastest fixes first—many resolve the issue before you even need tools.
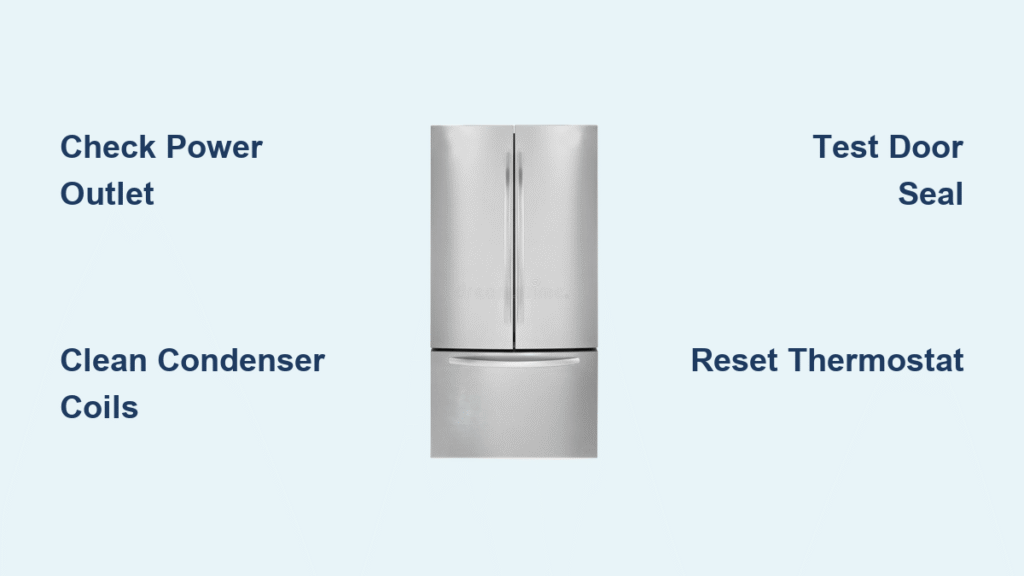
Power Supply Checks (2-Minute Fix)
Your KitchenAid fridge not working often stems from overlooked power issues—not complex mechanical failures. Before touching internal components, verify these critical electrical points:
Test Your Outlet Properly:
– Unplug the fridge and insert a phone charger or lamp—if it doesn’t power on, the outlet is dead
– Locate the GFCI reset button (common in kitchens near sinks) and press firmly until it clicks
– Check your breaker panel for a tripped switch—KitchenAid requires a dedicated 15-amp circuit. Sharing with microwaves or coffee makers frequently causes overloads.
Pro Tip: Use a multimeter to confirm 120V at the outlet. If voltage fluctuates below 110V, consult an electrician—low voltage damages compressors over time.
Why Your KitchenAid Fridge Not Working After Power Outage?
Power surges during outages fry control boards. After restoring power:
1. Unplug for 10 minutes to reset electronics
2. Plug directly into the wall (no extension cords)
3. Listen for the compressor’s low hum within 60 seconds of restarting
Thermostat Settings That Kill Cooling
Your digital display might show 37°F while actual temps hit 55°F—causing food spoilage without warning. KitchenAid’s factory defaults are precise for optimal performance:
Correct Temperature Zones:
– Fresh food section: 33-40°F (never above 40°F)
– Freezer: 0°F (critical for ice maker function)
Hidden Reset Procedure for Digital Models:
1. Press and hold “Max Cool” + “Ice Type” for 3 seconds
2. Wait 24 hours for full stabilization (compressor cycles adjust gradually)
3. Verify with an appliance thermometer—built-in displays often drift 5-10°F over time
Why Is My Freezer Cold But Fridge Warm?
This classic symptom points to blocked airflow between compartments. Immediately:
– Remove food obstructing vents (usually top-front in freezer)
– Check for ice dams—use a hair dryer on LOW to melt obstructions (never sharp tools)
– Ensure evaporator fan runs when freezer door closes (listen for airflow)
Condenser Coil Cleaning Guide
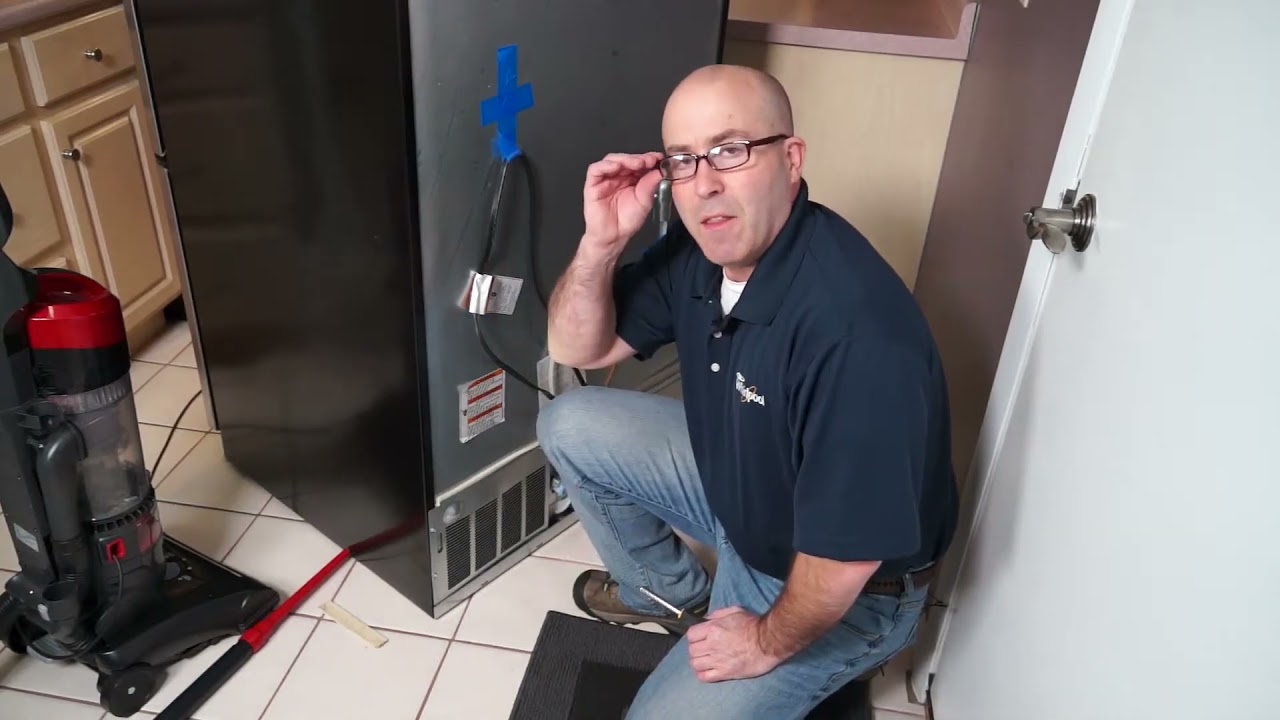
Dirty coils force your compressor to overheat, causing 40% of KitchenAid fridge not working cases. These black radiator-like coils live either behind the base grille (front) or on the back panel.
Cleaning Process That Works:
1. Unplug the fridge—safety is non-negotiable
2. Remove base grille with a flathead screwdriver (or unscrew rear panel)
3. Use a Whirlpool coil brush 4210463RW or vacuum crevice tool—brush downward only to avoid bending fins
4. Vacuum debris from coil housing—pet owners must do this every 3 months
Warning Signs You Need Cleaning NOW:
– Exterior walls feel hot (above 110°F)
– Compressor runs >80% of the time (use a timer app)
– Energy bills spiked unexpectedly
Evaporator Fan Motor Failure Fixes
When your freezer stays frozen but the fridge warms up, the evaporator fan motor (part #W10128551) is likely dead. This fan circulates cold air—without it, only the freezer gets cold.
30-Second Diagnosis:
– Close freezer door—you must hear steady airflow
– Open door—sound should stop immediately (door switch cuts power)
– No sound? Manually spin the fan blade—if stuck or noisy, replacement is needed
DIY Replacement Steps:
1. Empty freezer completely
2. Remove rear panel (4 screws—keep track of fasteners!)
3. Unplug wire harness (note connector orientation)
4. Install new motor—no wiring skills required (part slides into mounting clips)
Ice Maker Not Making Ice? Solve It in 5 Minutes
A silent ice maker usually has simple fixes—not expensive part failures. Start here before calling service:
Water Supply Emergency Check:
– Confirm household shutoff valve behind fridge is fully open
– Straighten kinks in the ¼” water line—even small bends restrict flow
– Test pressure: Dispenser should fill an 8oz glass in 8 seconds (under 20 psi needs booster)
Frozen Fill Tube Fix:
– Unplug fridge
– Apply hair dryer on LOW to fill tube for 90 seconds
– Never use boiling water—cracks the plastic housing instantly
Water Dispenser Flow Problems Solved

Slow or no water flow typically means clogged filters or frozen tanks—not pump failure. Try this sequence:
Critical Filter Replacement Steps:
1. Twist old filter left (¼ turn) and pull down—water will spill, have towels ready
2. Insert new filter #EDR4RXD1 until it clicks audibly
3. Flush 2 full gallons—first 5 cups contain carbon dust that ruins taste
Frozen Tank Thawing Protocol:
– Place warm (not hot) towels on the water tank (inside fresh food section)
– Never use heat guns—melts plastic housings causing leaks
Dollar Bill Door Seal Test That Saves $150/Year
A worn gasket makes your compressor run 24/7, spiking energy costs. Test yours immediately:
The $1 Bill Seal Check:
– Close bill in door edge at multiple points
– Should resist pulling firmly—if it slides out easily, replace the seal
Gasket Replacement Made Easy:
– Order part #W10443238 (white) or #W10443240 (black) for your model
– Soak new gasket in warm water for 10 minutes to increase flexibility
– Install starting at top hinge—work downward, stretching gently
Leak Detection: Stop Water Pooling Under Fridge

Water under your KitchenAid creates mold risks and floor damage. Identify the source fast:
Inside Leaks (Under Crispers):
– Caused by clogged defrost drain—ice blocks the tube
– Fix: Use a turkey baster with hot water to flush the drain (located behind freezer panel)
Behind Fridge Leaks:
– Loose compression fittings on water lines—hand-tighten plus ¼ turn max
– Oil residue on copper lines? STOP—call a pro immediately (refrigerant leak requires EPA certification)
Hard Reset That Actually Works (All Models)
Before paying for service calls, perform this proven reset:
- Unplug for 10 minutes (or turn off breaker)—this resets control boards
- Reconnect power and listen for compressor start within 60 seconds
- Set fresh food to 37°F, freezer to 0°F
- Wait 24 hours—don’t open doors more than necessary
Diagnostic Mode Shortcut (Select Models):
– Hold “Max Cool” + “Ice Type” for 3 seconds
– Error codes flash on display—consult your manual’s code chart
Professional Service Red Flags
Call a certified KitchenAid technician immediately if you notice:
– Compressor clicks but won’t start after hard reset
– Hissing sounds from refrigerant lines (leak danger)
– Burnt plastic smell near control panel
– Heavy frost on evaporator coils (defrost system failure)
Avoid Costly Scams:
– Compressor replacement: $800-$1,200 (get 3 quotes)
– Refrigerant leak repair: $400-$800 (requires EPA certification)
– Control board: $300-$500 (often misdiagnosed—verify first)
Final 10-Minute Checklist Before Calling for Help
Run through this sequence to avoid unnecessary service calls:
– [ ] Outlet has power (tested with lamp—not just phone charger)
– [ ] Thermostat set correctly (37°F fridge, 0°F freezer with thermometer verification)
– [ ] Condenser coils cleaned (vacuum + brush—no dust bunnies visible)
– [ ] Hard reset performed (unplugged 10 minutes with door seals checked)
– [ ] Door seals pass dollar bill test at all points
Your KitchenAid fridge not working crisis is likely solvable with these exact steps. By addressing power, airflow, and thermostat issues first, you’ll resolve most cooling failures without professional help. Remember: 90% of service calls could have been prevented with coil cleaning and seal maintenance. Keep this guide handy—when your refrigerator acts up again, you’ll already know the fix.

