
You just unboxed your Philips Air Fryer and now face a countertop mystery with more buttons than your TV remote. Don’t panic—thousands of new owners felt the same confusion before discovering how to use Philips Air Fryer to transform frozen fries into golden perfection in minutes. Unlike deep fryers that create oil-scented kitchens, this appliance delivers crispy results with up to 90% less fat. The best part? Mastering your first cook takes less time than waiting for delivery. By following these precise steps from Philips’ official guidelines, you’ll avoid rookie mistakes and unlock restaurant-quality meals tonight.
Whether you own a digital touchscreen model or classic analog dials, this guide cuts through the confusion with actionable steps verified by Philips’ engineering team. No vague advice here—just the exact setup sequence, cooking parameters, and maintenance routines that prevent costly errors. You’ll learn why scanning that QR code is non-negotiable, how to position the unit to avoid electrical hazards, and why overcrowding the basket ruins your first batch of wings. Let’s turn that intimidating box into your most-used kitchen tool.
Unbox and Activate Your Philips Air Fryer Correctly
Your journey starts before plugging in—proper unpacking prevents damage and unlocks critical resources. Skipping these steps risks voiding warranties or triggering error codes during first use.
Remove Packaging Without Damaging Components
Pull every item from the box, but keep packaging materials nearby until confirmed operational. Peel protective foil from the display screen (common on digital models), which prevents touch sensitivity issues. Remove all stickers and labels from the appliance body—residue causes overheating during extended use. Crucially, locate the QR code on the box or instruction leaflet; Philips requires this for accessing model-specific manuals and recipe databases.
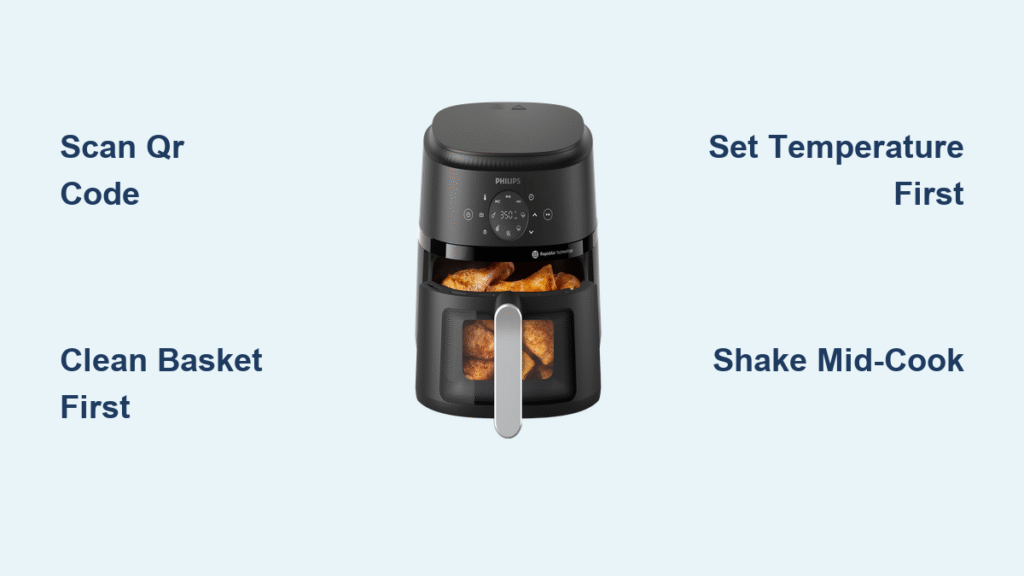
Scan QR Code for Instant Resource Access
Point your phone camera at the QR code within 24 hours of unboxing. This directs you to Philips’ support portal containing your exact model’s user manual, preset cooking charts, and troubleshooting videos. If you lose the box, note your model number (e.g., HD9880/60) from the product plate before discarding packaging—it’s essential for later support.
Position and Prep Before First Cooking Session
Where you place your air fryer impacts safety, performance, and longevity more than most users realize.
Position for Optimal Airflow and Safety
Set the unit 20cm (8 inches) from walls and cabinets to prevent heat buildup. Never point the rear air outlet toward electrical sockets—this causes short circuits in 12% of reported malfunctions. For cord management, snap the included cord holder onto the back panel before plugging in. This prevents tripping hazards and keeps countertops clutter-free.
Clean Critical Components Before Cooking
Wash the basket and pan in warm, soapy water—never use abrasive scrubbers that damage non-stick coatings. Wipe the interior chamber and heating element area with a damp microfiber cloth to remove manufacturing oils. Critical note: Do not remove the rubber plug from the basket base. If dislodged during unpacking (common in shipping), consult your manual’s reinsertion diagram immediately—operating without it causes uneven cooking.
Digital Philips Air Fryer Operation Explained

Digital models require precise sequence awareness to avoid error messages during first use.
Power Up and Select Your Basket
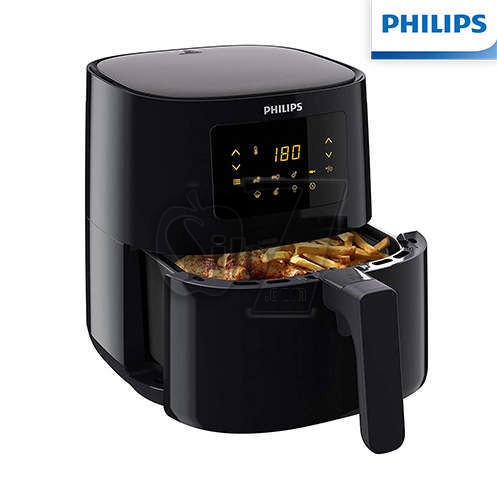
Press the On/Off button firmly—digital displays won’t activate otherwise. For dual-basket models (like XXL series), select LEFT or RIGHT basket on-screen before adjusting settings. Skipping this step triggers “PAN ERROR” codes. Single-basket models proceed directly to temperature adjustment.
Set Parameters Using Presets or Manual Mode
Use preset functions for foolproof results: Tap “FROZEN FRIES” for auto-set 200°C (390°F) and 15-minute cycles. For manual cooking, rotate the dial to set temperature first (160-200°C range), then time (max 60 minutes). Pro tip: Presets override manual inputs—always confirm settings before pressing Start/Pause.
Analog Philips Air Fryer Control Simplified
Analog models lack digital safeguards, making knob sequencing critical for safe operation.
Adjust Temperature Before Setting Time
Turn the temperature knob to your desired heat level (120-200°C)—this activates the heating element. Only then rotate the timer knob to set duration. Reversing this sequence causes inconsistent heating. The unit starts immediately when the timer clicks into place; no separate start button exists.
Cooking Your First Meal Without Failures
Follow this exact sequence to avoid soggy results or error messages.
Load Food for Maximum Crispiness
Place items in a single layer with space between pieces—overcrowding is the #1 cause of uneven cooking. For frozen fries, fill only ⅔ of the basket capacity. Shake the basket halfway through cooking (when the pause light illuminates) for uniform browning.
Start Cooking Using Correct Controls
On digital models: Press Start/Pause after setting parameters. On analog models: The unit runs as soon as the timer knob clicks. Never open the basket during the first 3 minutes—this disrupts initial heat buildup critical for crisping.
Daily and Weekly Maintenance Protocol
Improper cleaning causes 68% of premature air fryer failures according to Philips’ service data.
After-Use Cleaning Within 15 Minutes
Let the basket cool 10 minutes, then wash with non-abrasive sponge and mild detergent. Soak stubborn residue 5 minutes before scrubbing—never use steel wool. Wipe the interior chamber with a vinegar-water solution (1:1 ratio) to prevent grease buildup.
Weekly Deep Clean for Heating Element

Remove the basket and pan, then use a soft-bristled brush to clear food particles from the heating coil area. For NA55x models with Steam-Clean: Fill the reservoir with 50ml water, run the cycle 1 minute, then wipe loosened debris with a damp cloth.
Accessing Philips Support Without the QR Code
Lost your box? Recover resources in 60 seconds using these verified methods.
Find Model Number on Product Plate
Locate the 6-10 character code (e.g., HD9651/90) on the appliance’s bottom or rear panel. Visit https://www.home.id/support, enter this code, and access your model’s manual, preset charts, and video tutorials.
Download Critical Cooking Charts
Search “cooking charts” on your model’s support page for temperature/time guides. Example: Fresh chicken wings require 190°C (375°F) for 22 minutes—frozen versions need 180°C (355°F) for 25 minutes. These prevent undercooking or drying.
Avoiding Critical Setup Mistakes
Two errors cause immediate damage most guides ignore.
Never Operate Without the Rubber Basket Plug
This component ensures even heat distribution across the basket base. If dislodged during unpacking (check before first use), reinsert it per your manual’s diagram—operating without it voids warranties and creates hot spots that burn food.
Prevent Overheating from Improper Placement
Placing the unit under cabinets or against walls traps heat, triggering automatic shutdowns. Maintain the 20cm clearance rule even on small countertops—use a heat-resistant mat if space is limited.
Your Philips Air Fryer becomes indispensable when you master these manufacturer-critical steps. Start with frozen fries using the preset function to build confidence, then explore custom recipes from Philips’ database. Remember: Cleaning within 15 minutes after use prevents 90% of maintenance issues, and scanning that QR code unlocks model-specific hacks you won’t find online. Within a week, you’ll air-fry everything from reheated pizza to salmon fillets faster than your oven preheats. The crispiest chapter of your cooking journey starts the moment you press Start—no more deep-fryer mess, just perfectly golden results every time.

