
That new Panasonic rice cooker sitting on your counter promises restaurant-quality rice with the press of a button, but if you’re staring at those mysterious settings wondering where to start, you’re not alone. Many home cooks struggle with the precise water ratios, button combinations, and model-specific quirks that separate perfectly fluffy grains from a disappointing mushy mess. Whether you just unboxed your first rice cooker or upgraded to a premium model with advanced features, this guide cuts through the confusion with step-by-step instructions that guarantee success from your very first batch.
You’ll discover the exact water-to-rice measurements that work for every variety, learn to navigate the control panel like a pro, and master the cleaning routine that keeps your appliance performing like new for years. No more guessing games or ruined dinners—just consistently perfect rice that makes you wonder how you ever cooked without this kitchen essential.
Set Up Your Panasonic Rice Cooker Correctly Before First Use
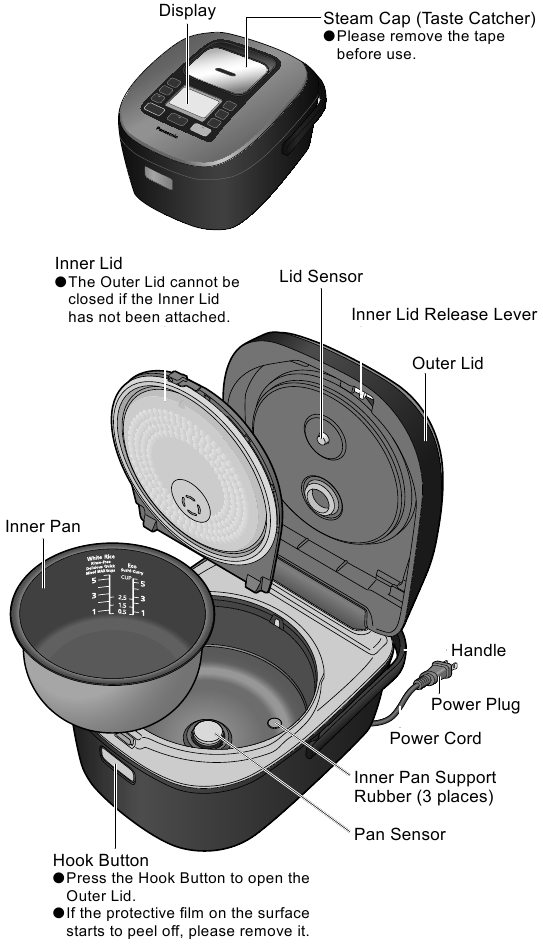
Unbox and Verify All Components Are Present
Before adding rice or pressing any buttons, carefully remove all packaging materials—including the protective film inside the inner pot that’s easy to miss. Your box should contain the inner cooking pan, plastic rice spatula, 180ml measuring cup, steaming basket (on select models), and instruction manual. Check that the inner pot sits flush against the heating plate without wobbling. If you notice any shipping damage or missing components, contact Panasonic customer service immediately before proceeding—never use a damaged appliance.
Complete Essential First-Time Cleaning
Wash the inner pot, detachable inner lid, steam vent cap, and condensation collector with mild detergent and warm water. Wipe the exterior housing with a damp cloth, taking care to avoid electrical components and control panels. Dry every piece thoroughly with a soft towel—water droplets left on the heating plate can cause sizzling sounds and potential damage during your first cooking cycle. This critical 10-minute preparation step prevents plastic odors from contaminating your rice and ensures optimal performance from day one.
Master Your Control Panel Settings for Perfect Rice
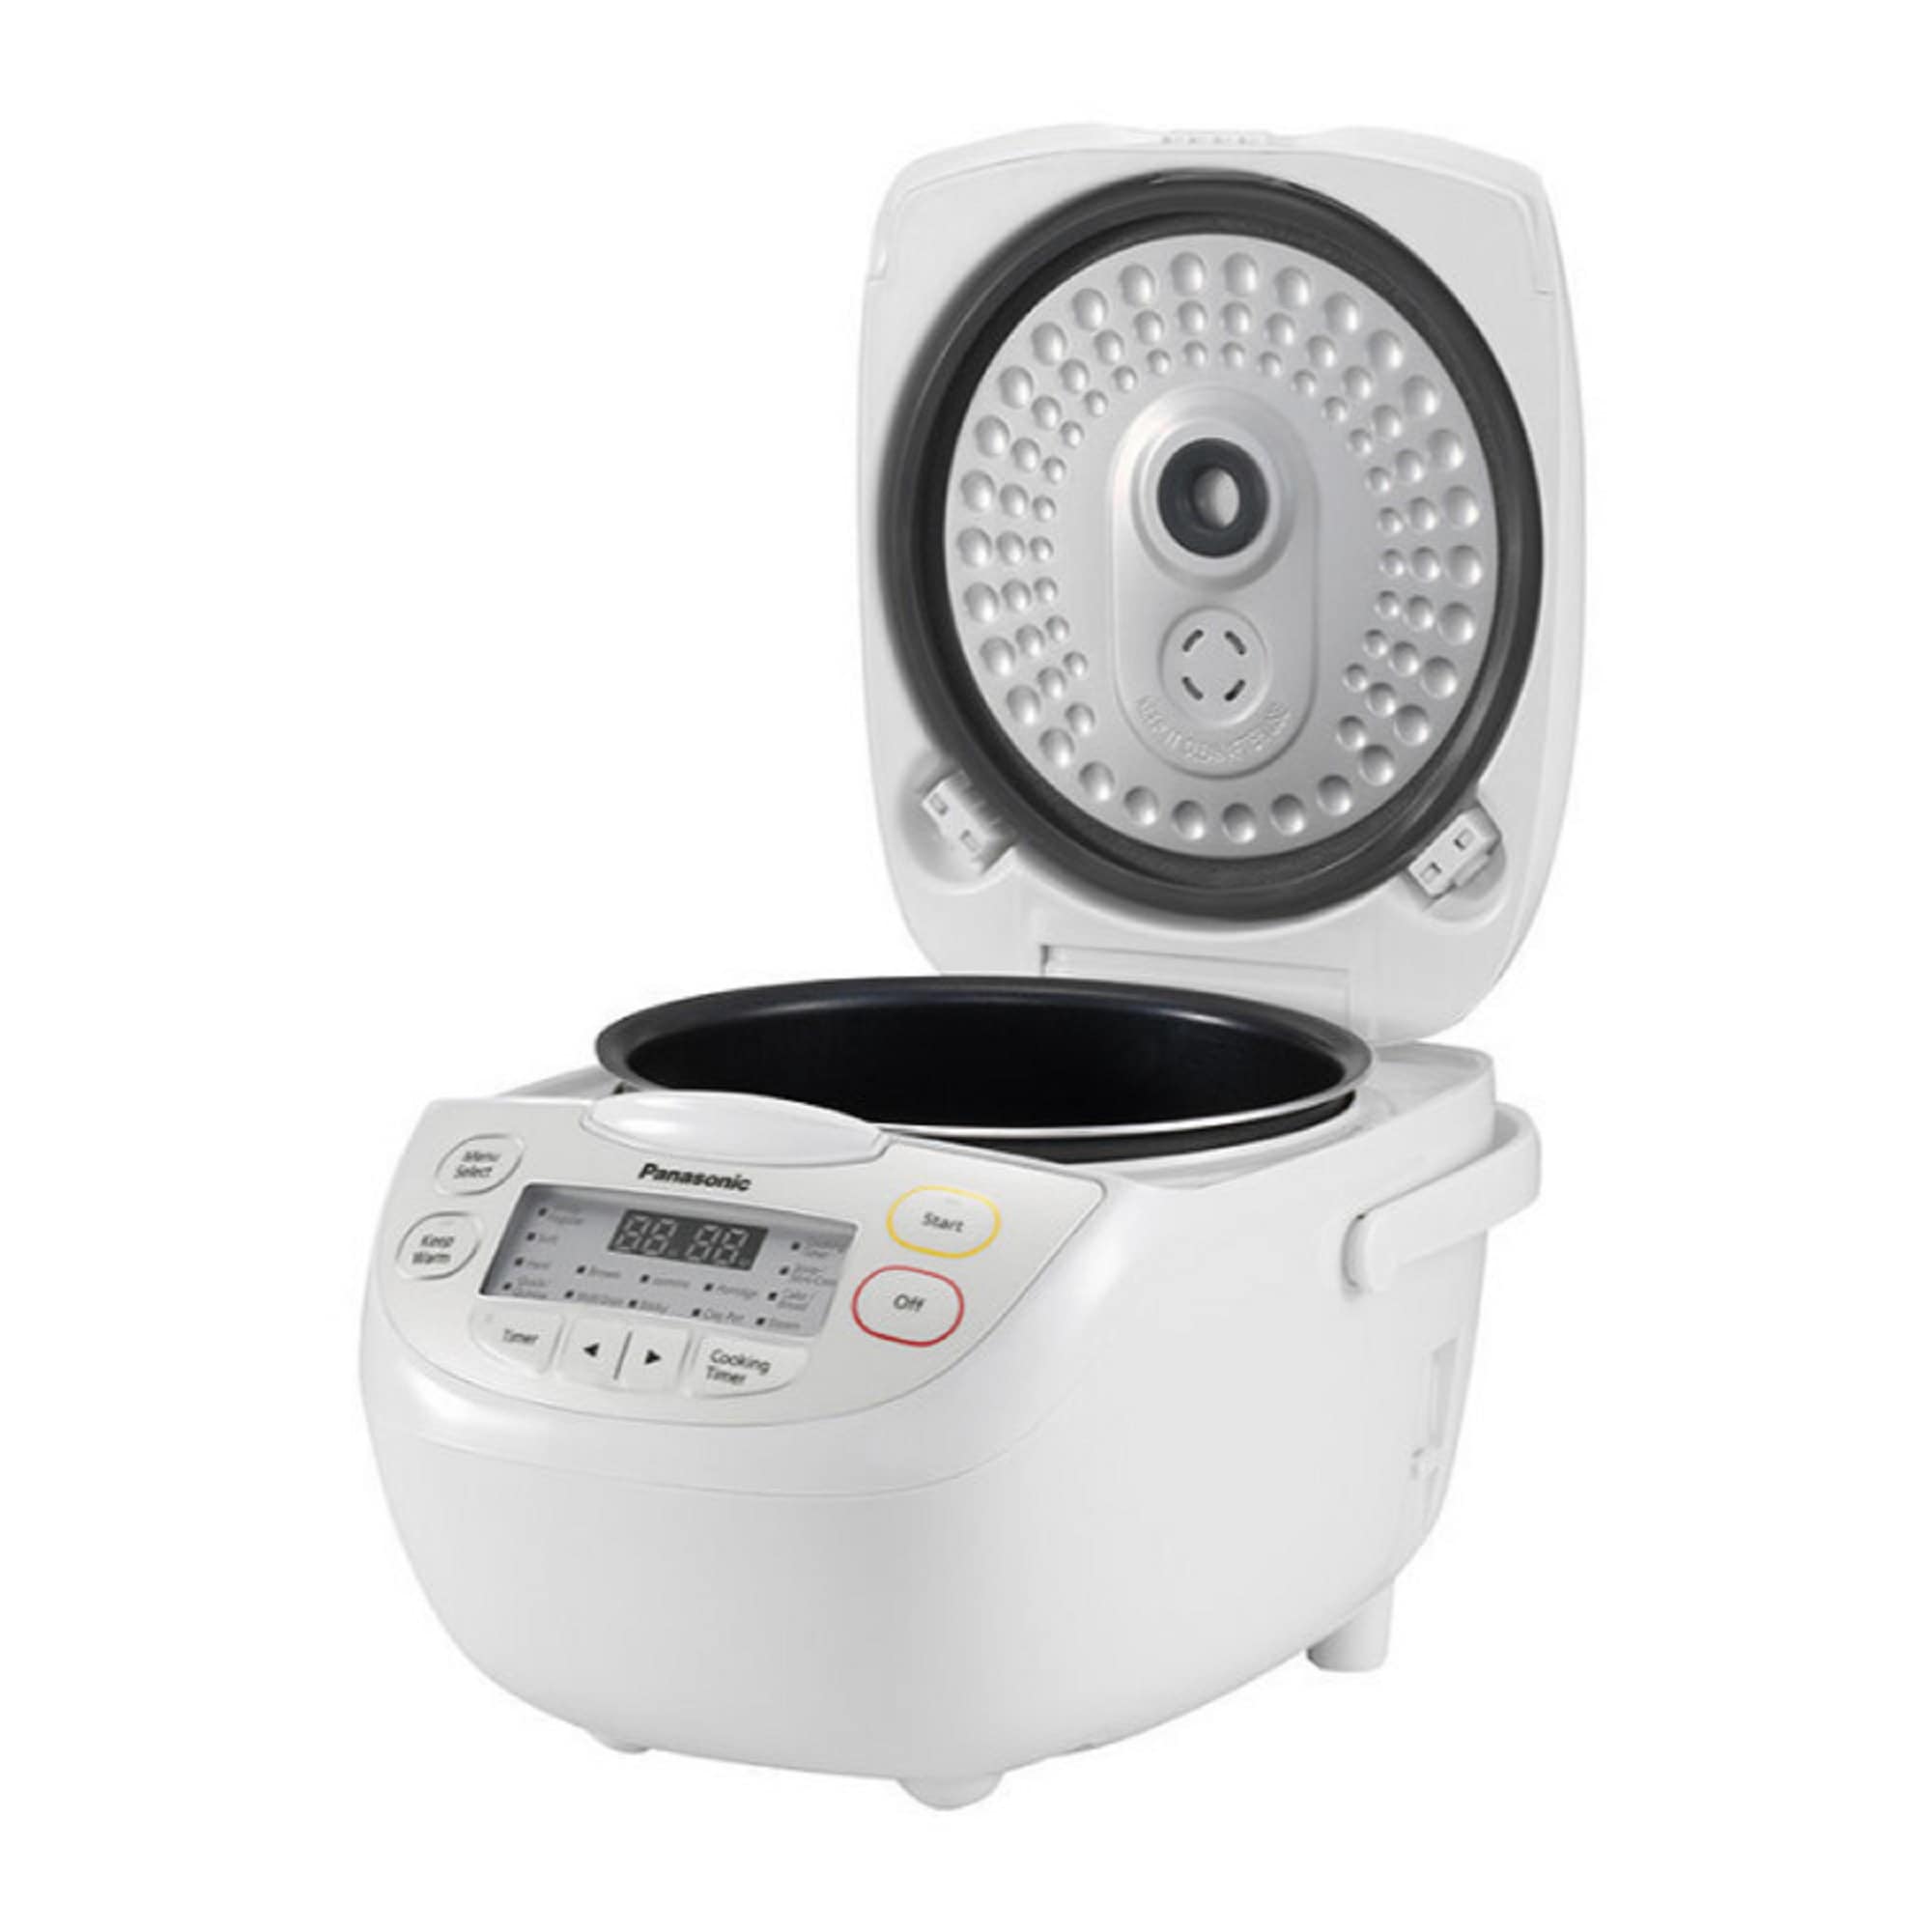
Identify Essential Buttons for Daily Use
Most Panasonic models feature intuitive buttons you’ll use regularly: White Rice handles standard long-grain varieties, Brown Rice automatically extends cooking time with pre-soaking, Quick Cook reduces cooking time by 20-30% for last-minute meals, and Steam transforms your cooker for vegetables or fish. The Keep Warm function activates automatically after cooking completes, maintaining rice at serving temperature for up to 12 hours. Understanding these core functions eliminates confusion when preparing everyday meals.
Utilize Advanced Features on Premium Models
Higher-end Panasonic models like the SR-HZ106 include specialized settings such as Jasmine and Sushi for specific rice varieties, GABA Brown for nutrition-enhanced brown rice, and Umami for deeper flavor development through extended steam time. The LCD display shows remaining cooking time and selected program—no more guessing when dinner’s ready. If your model has fuzzy logic technology, it automatically adjusts cooking parameters based on rice quantity and ambient temperature, taking the guesswork out of perfect results.
Measure Rice and Water Using Professional Techniques
Use the Correct Measuring Cup for Accurate Ratios
Always use Panasonic’s provided 180ml measuring cup—standard US cups (240ml) throw off water ratios completely and guarantee disappointing results. Fill the cup level, never heaping, and remember that 1 cup dry rice yields approximately 3 cups cooked. For consistent results across different rice varieties, maintain this measurement standard every time you cook.
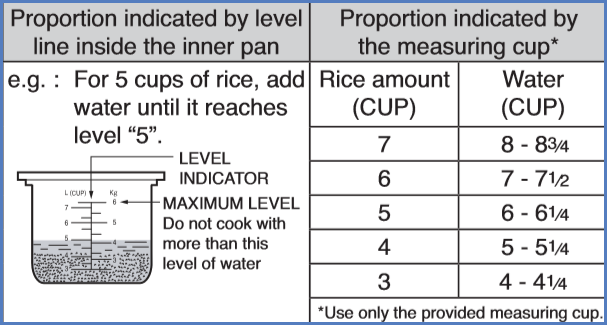
Apply Exact Water-to-Rice Ratios for Your Grain Type
Inside your inner pot, you’ll find numbered lines indicating water levels corresponding to rice cup quantities. For white rice, fill to the line matching your cup count. Brown rice requires 1.5x more water—fill slightly above the marked line. Adjust based on rice freshness: older rice absorbs more water, so add 2-3 extra tablespoons. Specialty varieties like basmati and jasmine work best with the white rice setting but use slightly less water for optimal texture.
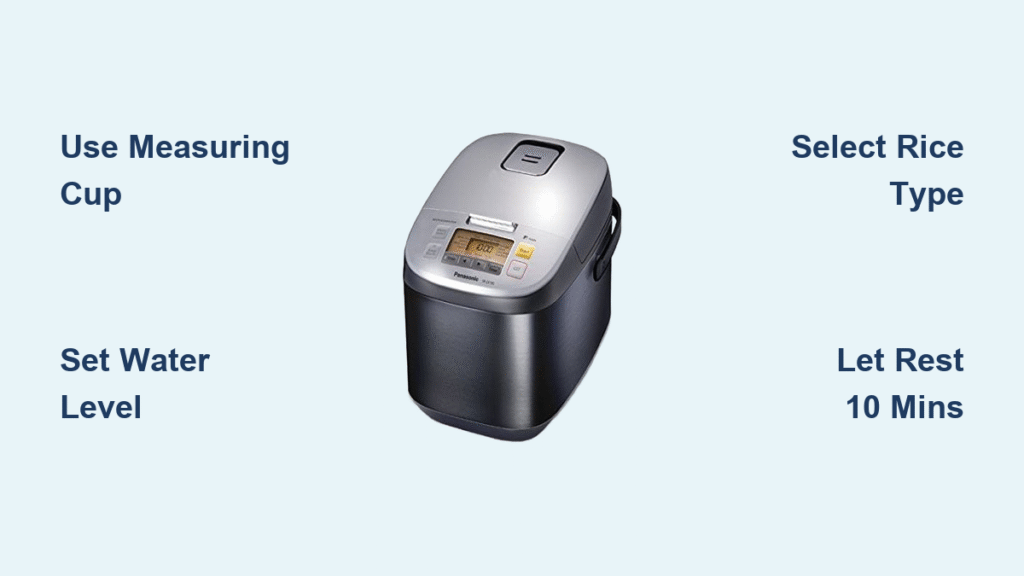
Execute Perfect White Rice in 6 Simple Steps
Follow This Foolproof Cooking Process
Measure your desired rice quantity using the provided cup, then rinse 2-3 times in a separate bowl until water runs mostly clear—don’t over-rinse or you’ll lose nutrients. Add rinsed rice to the inner pot, then add water to the corresponding line. Level the rice gently with your finger to prevent uneven cooking. Wipe the pot’s exterior and rim dry to avoid sizzling sounds, place it firmly in the base until seated completely, close the lid until you hear the click, select White Rice, and press Start. After completion, let it rest 10 minutes before fluffing with the provided spatula—this crucial waiting period allows steam to finish the cooking process evenly.
Adapt Techniques for Brown Rice Success
For brown rice, select the dedicated Brown Rice mode which automatically pre-soaks for 30-60 minutes. Use the brown rice water markings inside the pot, which require 50% more water than white rice. Total cooking time reaches 60-90 minutes, but the result rivals restaurant quality. After cooking completes, let brown rice rest 15 minutes longer than white rice before fluffing—this extra time allows the bran layer to fully absorb moisture for the best texture.
Clean Your Rice Cooker Properly to Maintain Performance
Complete Daily Cleaning Routine
Unplug the cooker and let it cool completely (about 30 minutes after cooking). Remove the inner pot and wash with mild detergent—never use abrasive cleaners that damage the nonstick coating. The inner lid pops out on most models for thorough cleaning; check for release buttons. Empty the condensation collector daily to prevent musty odors. Wipe the heating plate with a barely damp cloth—never allow water pooling which can cause electrical damage.
Perform Quarterly Descaling in Hard Water Areas
Mix equal parts white vinegar and water, filling to the maximum level. Run a Quick Cook cycle, then let the solution sit 30 minutes. Discard and rinse 2-3 times with clean water. Run one plain water cycle before cooking rice again. This simple descaling process maintains heating efficiency and prevents mineral buildup that affects cooking performance.
Troubleshoot Common Rice Cooker Problems Immediately
Fix Mushy or Undercooked Rice Quickly
For mushy rice, reduce water by 2-3 tablespoons next time and verify you’re using the provided measuring cup. To rescue undercooked rice, add 2-3 tablespoons hot water to the pot, close the lid, and use Keep Warm for 10-15 minutes—the residual heat finishes cooking without burning. Always check that the lid clicks shut completely and clean the heating plate of any residue between uses.
Decode Critical Error Messages
U14/U15 means the lid isn’t closed properly—check for obstructions like rice grains. U10 indicates the inner pot isn’t positioned correctly—remove and reseat firmly. H04 signals overheating protection—unplug and let cool 30 minutes. H01/H02 requires professional service—don’t attempt DIY repairs as these indicate internal component failures.
Follow Essential Safety Guidelines for Risk-Free Operation
Prevent Steam Burns During Operation
Never open the lid during cooking—escaping steam causes severe burns. Keep your face and hands away from the steam vent, especially during natural pressure release. Always use the provided plastic spatula—metal utensils scratch the nonstick coating and create dangerous hot spots. Supervise children around operating units and keep the cooker on a stable, heat-resistant surface away from water sources.
Maintain Electrical Safety Practices
Unplug your rice cooker when not in use—standby mode still draws power and creates unnecessary fire risk. Never immerse the base unit in water, and check the cord monthly for fraying or damage, especially near the plug. Store the power cord loosely coiled when not in use; tight wraps damage internal wires over time.
Model-Specific Tips for Popular Panasonic Cookers
SR-CN108 Series (5-Cup Capacity)
This versatile model features 16 cooking programs including quinoa and oatmeal settings. The removable stainless steel lid makes deep cleaning simple, while the LCD backlight helps in dim kitchens. Use the Menu button to scroll through options, and consult the included recipe book for international rice varieties that maximize your cooker’s capabilities.
SR-HZ106 (Induction Heating Model)
This premium 5.5-cup model uses induction heating for precise temperature control. Activate the Umami setting for extended steam time that develops restaurant-quality texture. The stainless steel exterior resists fingerprints and cleans easily. Take advantage of its advanced fuzzy logic technology which automatically adjusts cooking parameters based on rice quantity and room temperature.
Your Panasonic rice cooker transforms from intimidating appliance to kitchen workhorse with these essential techniques. Start with basic white rice to master water ratios, then gradually explore advanced features. Within weeks, you’ll customize settings for your family’s preferences—whether that’s fluffy jasmine rice, hearty brown rice bowls, or steamed vegetables for healthy sides. The key is consistent measuring and regular cleaning—your cooker will reward you with perfect results for years. Remember that each model has unique capabilities, so consult your specific manual for features beyond these fundamentals. With these techniques mastered, you’ll never serve disappointing rice again.

