

That sinking feeling when you slice into a “perfectly cooked” chicken breast only to reveal pink flesh? Or the disappointment of dry, well-done steak you were sure was medium-rare? These kitchen disasters happen daily because 87% of home cooks skip temperature checks—relying on unreliable cues like meat color or cooking time instead of a thermometer. Yet this $20 tool is your only defense against foodborne illness and culinary disappointment. Without hitting precise internal temperatures, you risk salmonella from undercooked chicken or ruined ribeyes from overcooking.
Mastering how to use kitchen thermometer techniques transforms guesswork into guaranteed success. You’ll consistently nail juicy medium-rare burgers, safely cooked poultry, and perfectly reheated leftovers. No more frantic Google searches mid-cook or wasted ingredients. This guide delivers field-tested methods from food safety experts—covering calibration secrets, pro placement tricks, and maintenance habits that make your thermometer last years. By the end, you’ll wield this tool like a professional chef.
Select Your Thermometer Type for Specific Tasks
Instant-read digital probes dominate modern kitchens for good reason. These 15-second wonders penetrate thin fish fillets or thick roasts with ±2°F accuracy. Unlike oven-safe models, they’re too delicate for continuous cooking but indispensable for quick checks. Dial oven-safe thermometers stay embedded in roasts or casseroles, yet their 1-2 minute response time makes them impractical for burgers or chicken breasts. Infrared laser models measure grill surfaces or fridge temps but cannot check internal doneness—a critical limitation causing dangerous undercooking.
Why Digital Instant-Reads Win for Most Cooks
- Speed: Confirms steak doneness while it sears
- Versatility: Handles everything from turkey breasts to chocolate tempering
- Accuracy: Less prone to drift than dial models
- Critical tip: Never confuse infrared surface readings with internal temps—they’ll lie about chicken safety
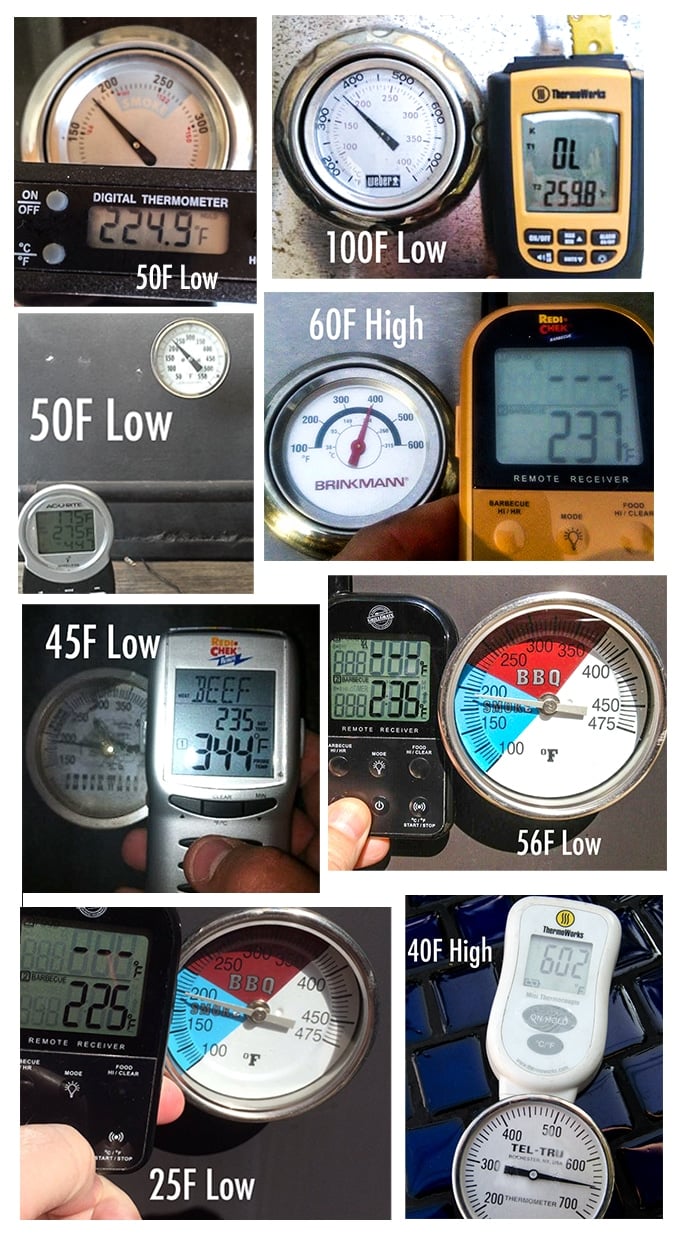
Calibrate Before Every Critical Use
Skipping calibration risks serving undercooked food. Dial thermometers drift easily after drops or temperature shocks, while digital units may need adjustment after battery changes. The ice-point method is foolproof:
Ice-Water Calibration in 30 Seconds
- Fill a glass with crushed ice, adding just enough water to create slush
- Insert probe into the center (avoiding glass contact)
- Wait 30 seconds for stabilization
- Correct reading: 32°F (0°C)
– If off by >2°F, adjust dial models with calibration nut
– Digital units require manufacturer-specific button sequences (check manual)
When to recalibrate immediately: After dropping the thermometer, exposure to extreme heat/cold, or if readings seem inconsistent mid-cook. Never assume it’s accurate after storage.
Sanitize Probe Between Every Food Item
Cross-contamination happens faster than you think. Inserting a probe used on raw chicken into cooked salmon transfers bacteria instantly. Follow this sanitization protocol:
- Wash stem with hot, soapy water after each use
- Rinse thoroughly
- Apply alcohol swab or bleach solution (½ tsp bleach per 4 cups water)
- Air-dry completely before reuse
Danger zone alert: Leaving a thermometer in hot food during cooking makes sanitization impossible. Use oven-safe probes only for continuous monitoring—not for cross-checking multiple items.
Pinpoint Exact Placement for Accurate Readings
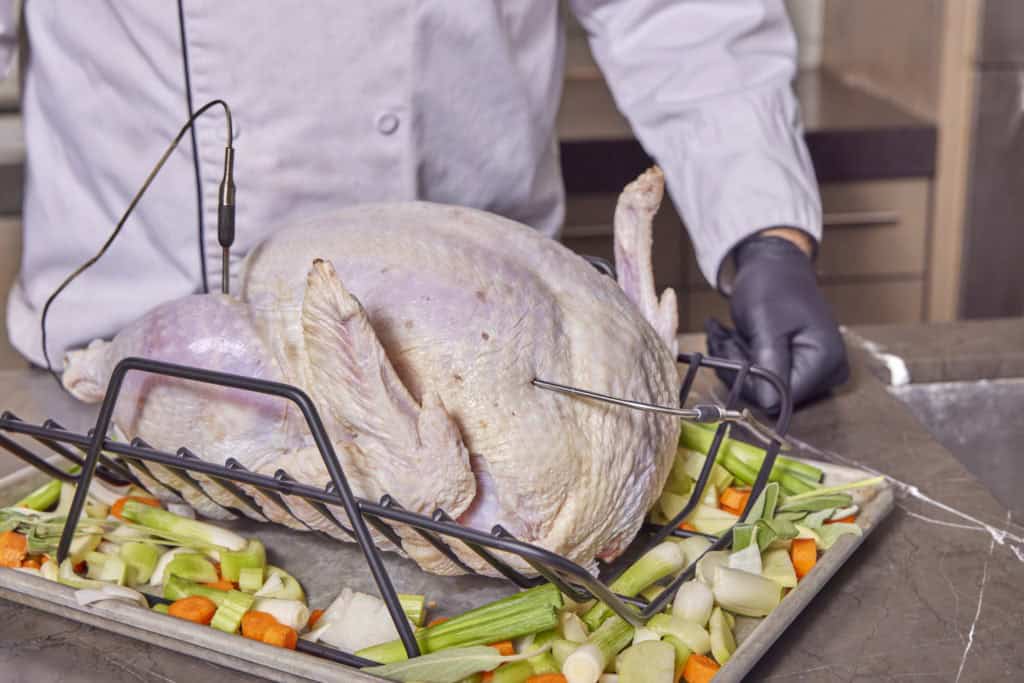
Where you insert the probe matters more than you realize. Thickest part, away from bone or fat, is non-negotiable—but technique varies by food:
Burgers and Thin Cuts
Insert sideways through the edge to reach the geometric center. Surface contact gives false highs, while hitting the pan bottom reads 400°F+ on a hot grill. For ½-inch thick patties, this prevents undercooked centers.
Whole Turkey or Large Roasts
Check three critical zones:
– Innermost thigh (avoiding bone)
– Wing joint
– Thickest breast section
USDA requires 165°F in all locations—not just one spot.
Push-Through Method for Irregular Cuts
- Insert probe completely through meat until it exits or hits bone
- Slowly retract while watching display
- Record the lowest temperature during retraction
This finds the actual coolest spot, which often isn’t the geometric center.
Hit USDA Safety Minimums Without Overcooking
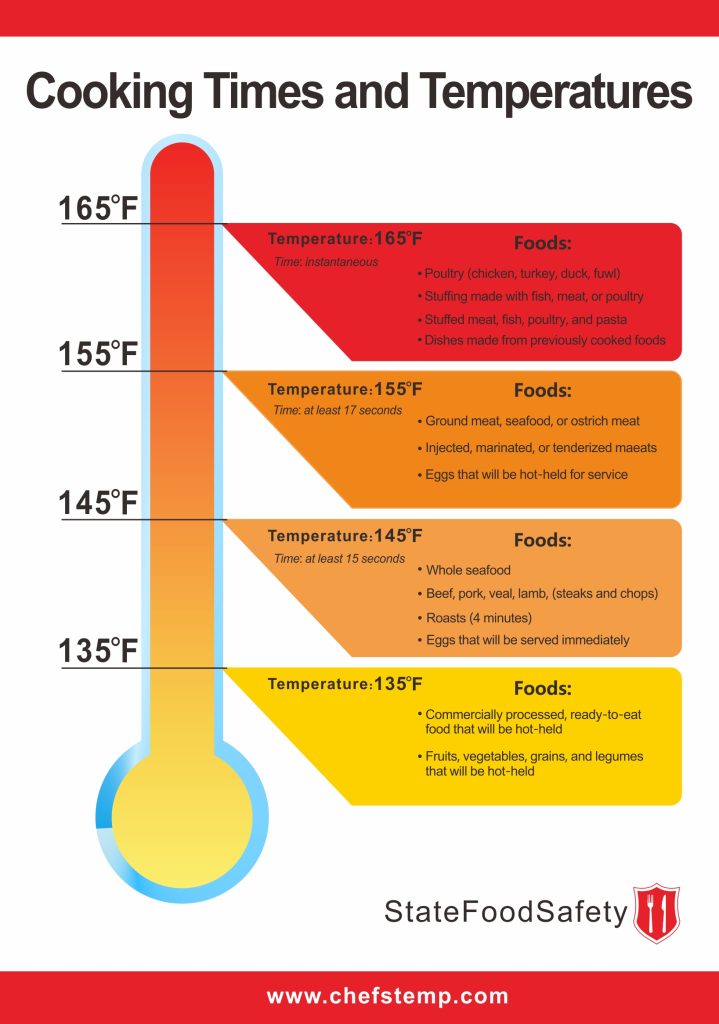
Guessing doneness by color or touch fails catastrophically. These exact temperatures prevent illness while maximizing juiciness:
| Food | Safe Minimum Temp | Critical Rest Time |
|---|---|---|
| Chicken breasts | 165°F | None |
| Ground beef burgers | 160°F | None |
| Beef steaks | 145°F | 3 minutes |
| Leftovers | 165°F | None |
Pro juiciness hack: Pull steaks 5°F below target (e.g., 140°F for medium-rare), then rest covered. Residual heat carries it to perfect doneness without gray bands. Never serve poultry below 165°F unless following precise pasteurization timing charts.
Avoid False Readings Through Proper Timing
Rushing temperature checks causes dangerous errors. Stabilization times are non-negotiable:
– Digital instant-reads: 15+ seconds (wait for display to stop fluctuating)
– Dial oven-safe: Full 2 minutes (dial must stop moving)
Visual confirmation: Steam escaping around the probe indicates you’re in hot food—not touching cold pan metal. If reading jumps erratically, withdraw and reinsert deeper into the thickest section.
Store to Prevent Damage and Drift
Improper storage kills thermometers faster than misuse. Follow these longevity rules:
– Never leave in hot cars or near stovetops (heat warps probes)
– Store digital units in protective sleeves—never loose in drawers
– Untangle probe cables completely before coiling (kinks cause internal breaks)
– Remove batteries from digital models before long-term storage
Critical mistake: Submerging non-waterproof digital units. Most require only stem cleaning—check your manual.
Extend Use to Food Safety Monitoring
Your thermometer isn’t just for cooking. These life-saving applications prevent illness:
Reheating Leftovers Safely
Stir soups or casseroles thoroughly to eliminate hot spots, then verify 165°F in 2-3 locations. Microwaved food often has cold zones near the center.
Thawing and Cold Storage
- Monitor outer edges of thawing meat to ensure ≤40°F
- Check refrigerator temps weekly—critical spots are back corners and door shelves
- Danger zone violation: Any reading above 40°F requires immediate food disposal
Buffet Safety Protocol
For holiday gatherings:
1. Place thermometer in center of hot dishes
2. Verify ≥140°F every 90 minutes
3. Discard food if below 140°F for >2 hours (or >1 hour if room >90°F)
5-Second Pre-Cook Checklist
Before touching heat:
1. Calibrate if dropped recently or monthly (ice-water test)
2. Sanitize probe stem with alcohol swab
3. Confirm placement point (thickest section, away from bone)
4. Set target temp on phone or fridge chart
5. Time stabilization (15+ seconds for digital)
Pro shortcut: Tape a laminated USDA temp chart inside your oven door.
Master how to use kitchen thermometer techniques and you’ll never serve undercooked chicken or dry steak again. Start tonight: calibrate your probe, sanitize before use, and insert it into the thickest part of your protein—wait the full 15 seconds for stabilization. Within one week, this becomes automatic, eliminating food safety fears and cooking guesswork. Remember: your thermometer isn’t a gadget; it’s the only tool that guarantees both safety and perfection. Keep it calibrated, keep it clean, and let precise temperatures transform your kitchen results forever.

