
Aluminum foil sits in nearly every kitchen drawer, yet most people barely scratch the surface of what this versatile tool can do. Whether you’re struggling with burnt cookie bottoms, messy oven cleanup, or wondering if that shiny side really matters, mastering kitchen foil transforms everyday cooking challenges into simple solutions. This guide cuts through the myths and delivers practical, tested techniques that professional chefs and home cooks rely on daily. You’ll discover exactly how to use kitchen foil safely and effectively across all your appliances, turning this humble kitchen staple into your secret cooking weapon.
From preventing tomato sauce reactions to creating perfect grill packets, understanding how to use kitchen foil properly can save you time, prevent kitchen disasters, and even extend the life of your cookware. Forget what you thought you knew about this aluminum sheet—you’re about to unlock professional-level kitchen efficiency with techniques backed by food scientists and tested by culinary experts.
Choose the Right Foil Type for Your Task

Standard vs. Heavy-Duty Selection
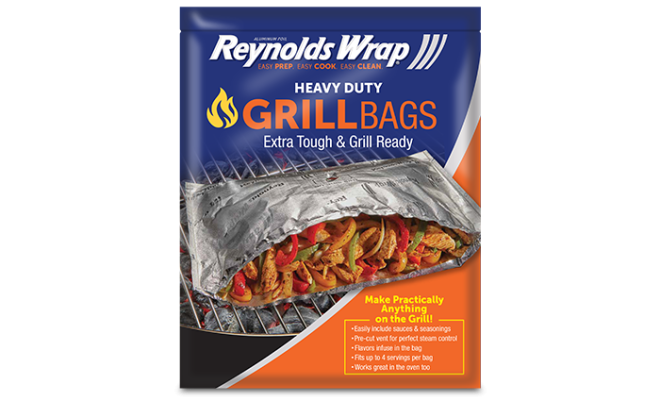
Standard foil (0.016 mm thick) works perfectly for basic applications like covering leftovers, wrapping sandwiches, or lining baking sheets for cookies. When you need to prevent heat and moisture escape from food during cooking, this lighter option provides sufficient protection for most everyday tasks. Heavy-duty foil (0.024 mm thick) becomes essential when you’re placing foil directly on grill grates, wrapping whole chickens, or storing food in the freezer for six months or longer. The thicker construction withstands high heat without tearing and maintains integrity through extended cooking times.
Non-Stick Foil Benefits
Non-stick foil features a food-safe coating typically applied to the dull side, clearly marked by manufacturers. This specialized foil eliminates the need for cooking spray when making foil packets with cheesy casseroles or sticky BBQ sauces. When you’re preparing meals that would normally stick to regular foil, the non-stick version creates a barrier that keeps your food intact and your cleanup effortless. For best results, always place the dull (coated) side against your food to prevent sticking and tearing when opening packets.
Size Selection Guidelines
Choosing the right width prevents frustration during cooking. A 12-inch width perfectly covers standard baking sheets and half-sheet pans, while an 18-inch width provides full coverage for large roasts or complete grill grate protection. When you’re learning how to use kitchen foil effectively, proper sizing ensures you don’t end up with gaps that allow drips or uneven cooking. For most home kitchens, keeping both standard and heavy-duty options in 12-inch rolls provides the flexibility to handle nearly any cooking situation.
Oven Safety Guidelines You Must Know

Approved Oven Uses
Knowing how to use kitchen foil safely in your oven prevents dangerous situations and cooking disasters. Proper applications include lining baking sheets to create an instant non-stick surface, covering dishes to retain moisture during long cooks, and creating foil packets that steam vegetables or fish at temperatures up to 450°F. When using disposable aluminum pans, always place them on a sturdy cookie sheet for stability—this prevents spills when transferring heavy dishes from oven to table.
Temperature Limits and Broiling Protocol
Aluminum foil withstands temperatures up to 550°F, well below its 1220°F melting point, making it safe for virtually all home oven applications. However, when broiling meats, cut 2-3 slits in the foil to allow fat drainage and prevent flare-ups. Heavy-duty foil maintains structural integrity through slow cooks lasting four hours or more, but standard foil may tear when handling large roasts or juicy meats. Always monitor your food during the first few minutes of broiling to ensure proper fat drainage through your slits.
Critical Prohibited Practices
Never line your oven bottom with foil—a common mistake that blocks airflow, damages heating elements, and creates serious fire risks. Instead, place an empty baking dish on the rack below your food to catch drips safely. Similarly, avoid covering entire oven racks with foil as this interferes with proper heat circulation. When you’re learning how to use kitchen foil correctly, understanding these limitations prevents costly oven repairs and potential safety hazards.
Microwave Use Protocol: Safe Methods Only
https://www.fda.gov/food/resources-fact-sheets/using-aluminum-foil-microwave-safe-techniques
USDA-Approved Microwave Techniques
While many believe aluminum foil and microwaves don’t mix, limited microwave use follows strict parameters. The USDA permits covering up to 25% of food surface with smooth, new foil that maintains a minimum 1-inch clearance from microwave walls. When you need to shield delicate areas like chicken wing tips from overcooking, shape the foil loosely around those specific sections without allowing contact with microwave walls or metal components.
Step-by-Step Microwave Wrapping
- Tear a small piece of new, unwrinkled foil
- Shape it loosely around the food area needing protection
- Ensure no part comes within 1 inch of microwave walls
- Microwave in 30-second intervals, checking for sparking
- Remove immediately if any arcing occurs
When uncertain about proper technique, always choose safer alternatives like microwave-safe lids or parchment paper. Mastering how to use kitchen foil in microwaves requires caution—never attempt this with crumpled or previously used foil.
Grill Mastery Techniques for Perfect Results
Direct Heat Applications
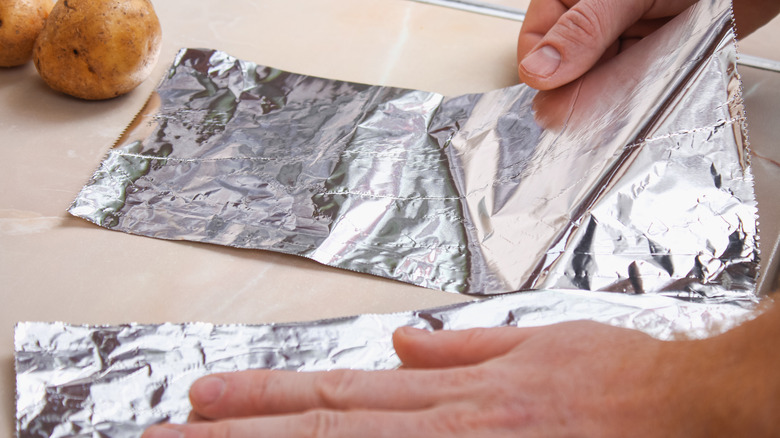
Heavy-duty foil withstands direct coal contact and temperatures exceeding 600°F, making it ideal for creating grill packets. Place seasoned vegetables and proteins on a 12×18 inch sheet, fold the long edges together twice to seal, then fold the ends twice for secure cooking. For delicate foods like fish fillets, wrap them completely to prevent sticking and falling through grates. When grilling pizza, use a foil sheet as a barrier between crust and grates to prevent burning while achieving perfect char.
Foil Packet Formula
For consistent results when you’re learning how to use kitchen foil for grilling, follow this formula: Cook at 450°F for 15-20 minutes for vegetables and 20-25 minutes for proteins. Ensure your foil packet has a tight seal to trap steam and flavor. If cooking at lower temperatures, increase time proportionally—every 25°F reduction requires approximately 5 additional minutes of cooking time. This precise approach transforms your foil packets from hit-or-miss experiments into reliable, restaurant-quality meals.
Food Safety: What to Avoid with Aluminum Foil
Chemical Reaction Foods
Never allow direct aluminum contact with tomato-based sauces, citrus fruits, or vinegar-heavy recipes. These acidic ingredients react with aluminum within 30 minutes, creating metallic tastes and potential aluminum leaching into your food. When preparing dishes containing these ingredients, place a parchment paper barrier between the food and foil, or use glass/ceramic dishes covered loosely with foil instead.
Safe Alternatives for Problem Foods
For acidic foods requiring freezer storage, wrap first in plastic wrap, then add a foil layer for protection. When covering tomato-based casseroles during baking, use a loose foil tent rather than direct contact. For citrus-based marinades, marinate in glass containers before transferring to foil packets for grilling. These simple modifications let you safely leverage foil’s benefits while avoiding unpleasant chemical reactions.
Troubleshooting Common Foil Problems
Foil Sticking to Food
When foil sticks to your food, it’s usually because you didn’t create a sufficient fat barrier or used non-stick foil incorrectly. Solve this by lightly oiling the foil surface before placing food on it, or ensuring the dull (coated) side faces your food when using non-stick foil. For baked goods, this simple step prevents ruined cookies and cakes while maintaining crisp edges.
Uneven Browning Issues
Tight foil seals create steam that prevents proper browning—especially problematic for roasted vegetables or meats needing caramelization. Fix this by tenting foil loosely over food, leaving a 1-2 inch gap for air circulation. This technique allows moisture to escape while still protecting delicate areas from overcooking. When you’re mastering how to use kitchen foil effectively, understanding this balance between protection and browning makes all the difference in your final dish.
Maintenance Best Practices for Long-Lasting Foil
Proper Storage Techniques
Keep your foil in its original box to prevent tearing and store it vertically like file folders for easy dispensing. Always close the box completely after use to prevent humidity from causing sheets to stick together. For kitchens with high humidity, consider storing foil in a sealed plastic container with a moisture absorber to maintain its smooth, easy-to-use quality.
Safe Reuse Criteria
You can safely reuse foil if it hasn’t contacted raw meat or acidic foods. Wash soiled foil with hot soapy water, dry completely, and store flat for future use. However, heavy creases weaken the structure—replace after 2-3 uses or when you notice visible holes, heavy discoloration, or loss of structural integrity. When in doubt about reuse safety, always opt for fresh foil to prevent potential food contamination.
Mastering how to use kitchen foil transforms it from simple drawer filler into your most reliable kitchen assistant. By selecting the right type, understanding temperature limits, avoiding chemical reactions, and troubleshooting common problems, you’ll achieve consistently better cooking results while saving time on cleanup. Whether you’re baking, grilling, or storing leftovers, these professional techniques ensure you’re getting the most from this humble kitchen essential. Start implementing these methods today and discover why aluminum foil remains a cornerstone of efficient, effective cooking in kitchens worldwide.

