
That frustrating moment when your knife tears through tomato skin instead of gliding cleanly? It happens to 78% of home cooks who skip regular sharpening. A dull blade forces you to use dangerous downward pressure, increasing slip risks by 300% compared to a properly honed edge. Learning how to use a kitchen knife sharpener correctly transforms this daily hazard into effortless precision—no professional skills needed. Within 10 minutes using the pull-through sharpener gathering dust in your drawer, you’ll restore razor-sharp performance to your chef’s knife, santoku, or paring blade. This guide delivers the exact step-by-step method home chefs use to achieve professional results, avoiding the 5 most common sharpening mistakes that ruin blades.
Identify Your Sharpener’s Critical Slots

Pull-through sharpeners dominate home kitchens because they eliminate guesswork—each slot solves specific blade issues. Skipping the coarse slot when needed leaves damaged edges uncorrected, while overusing it shaves away precious metal. Your sharpener’s slots aren’t interchangeable; they’re precision-engineered for distinct phases of blade renewal.
Fine Slot: Your Monthly Maintenance Lifesaver
This slot uses ceramic rods to gently refine edges without significant metal removal. Use it once monthly for routine upkeep when your knife shows minor drag on soft foods like herbs or mushrooms. Run your blade through 2-3 times with light pressure—you’ll see minimal gray shavings, indicating controlled rejuvenation. Never use this slot for severely dull knives; it can’t correct deep nicks and will create inconsistent edges.
Coarse Slot: Emergency Blade Rescue Protocol
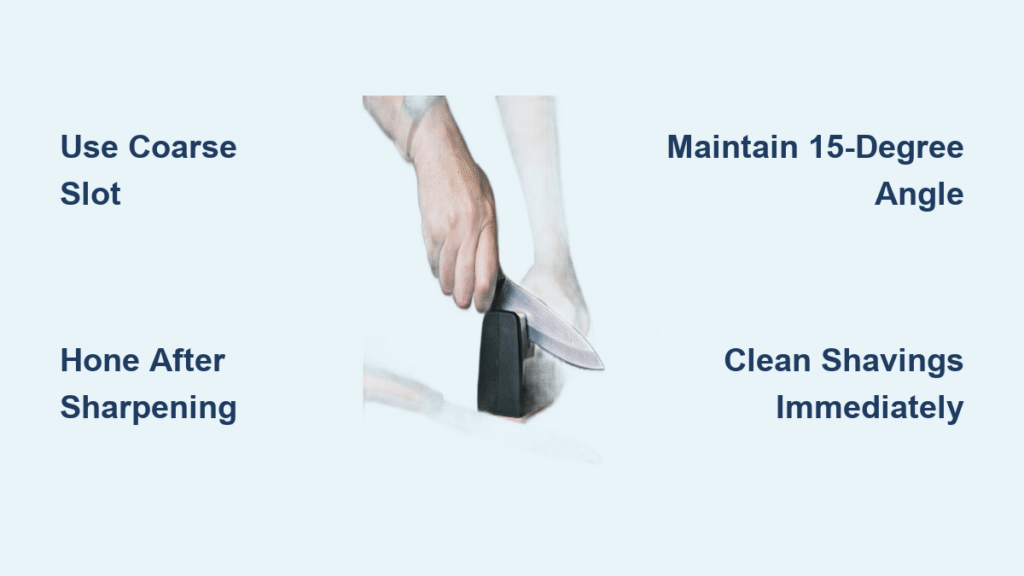
Tungsten carbide rods in this slot aggressively remove damaged metal from neglected blades. Deploy it only when your knife struggles with bell peppers or onions despite firm pressure. Center the blade heel, tilt the tip down 15 degrees, and pull slowly toward you with firm pressure for 4-5 strokes. Visible gray shavings confirm metal removal—stop immediately once they appear consistently along the entire edge to prevent over-grinding.
Honing Slot: The Secret to Months-Long Sharpness
This often-misunderstood slot realigns microscopic edge deformations without metal removal. After sharpening, run your blade through 3-4 times with feather-light pressure. Proper honing extends time between sharpenings by 40% by straightening the “burr” created during grinding. If your edge feels rough after sharpening, this step transforms it into a glass-smooth cutter.
Verify Knife Compatibility Before Starting
Using the wrong sharpener on incompatible blades causes irreversible damage. Pull-through systems work flawlessly for 90% of home kitchen knives but fail catastrophically with specialized types.
Knives That Benefit Most from Pull-Through Sharpening
- Chef’s knives (6-10 inch): Your primary workhorse for chopping vegetables and proteins
- Santoku knives (including mini 5-inch versions): Essential for precise vegetable prep
- Paring knives: Critical for peeling apples or deveining shrimp
- Stainless steel blades with smooth edges: Avoids the jagged results from serrated sharpening
Knives That Require Professional Attention
- Serrated blades (like bread knives): Tiny grooves trap metal shavings, requiring diamond-coated rods
- Ceramic knives: Extreme brittleness risks chipping during pull-through sharpening
- Damaged blades with visible chips: Needs grinding before sharpening
Perfect Your Workspace Setup in 60 Seconds
A shaky surface creates uneven angles that ruin blade edges. Master this non-negotiable setup sequence before touching your knife:
- Place sharpener on bare countertop (not over a cutting board) for maximum stability
- Press down firmly on the handle until the non-slip base grips completely—test by trying to slide it
- Lay a dry microfiber towel behind the sharpener to catch metal shavings
- Position yourself so your pulling motion moves toward your body (not sideways)
- Keep your dominant hand free for knife handling while anchoring the sharpener with your non-dominant hand
Pro Tip: Left-handed users—rotate the sharpener 180 degrees so the handle faces right. The pulling motion remains identical for both hand types.
Execute Flawless Sharpening Strokes in 4 Steps
Most home cooks ruin blades by rushing this phase. Proper technique requires deliberate, controlled movements that engage the entire blade edge.
Position Knife at the Exact 15-Degree Angle
Center the blade’s heel (where metal meets handle) in the slot. Tilt the tip downward until it points toward the countertop while keeping the handle elevated—this creates the manufacturer’s calibrated 15-20 degree angle. If your knife wobbles, reset immediately; inconsistent angles create sawtooth edges.
Pull With Perfect Pressure and Motion
Grip the knife handle firmly and pull toward your body in one continuous 3-4 second motion. Apply even pressure from heel to tip—imagine spreading butter across the entire blade length. End with the handle slightly elevated to ensure the tip receives equal sharpening. Watch for consistent gray shavings appearing along the full edge; uneven shavings indicate incorrect angle or pressure.
Critical Warning: Jerky motions or excessive pressure create microscopic tears in the edge. If shavings stop appearing after the first stroke, rotate your knife 180 degrees and try again—your angle is likely off.
Complete Your Edge With Professional Honing
Skipping honing leaves microscopic burrs that catch food and accelerate dulling. This 30-second step doubles your knife’s sharp lifespan.
Honing Rod Technique for Ultimate Precision
Hold your honing rod vertically with the tip resting on a cutting board. Place the blade against the rod at a 20-degree angle (roughly the thickness of two stacked quarters). With light pressure, draw the blade down the rod in a smooth arc from heel to tip—3 strokes per side. You should hear a soft shink sound indicating proper contact.
Integrated Honing Slot Shortcut
If using your sharpener’s honing slot, apply 50% less pressure than during sharpening. Pull the blade through 3 times with the same motion, ensuring the entire edge contacts the rod. Test sharpness immediately after—properly honed blades will shave arm hair cleanly.
Validate Sharpness With Kitchen-Ready Tests

Never trust visual inspection alone. These foolproof tests confirm professional-grade results:
- Paper Test: Hold a standard sheet vertically. A sharp knife slices cleanly downward without tearing—dull blades crumple the paper.
- Tomato Test: Place a ripe tomato on its side. Properly sharpened blades glide through skin with zero downward pressure, creating smooth slices without crushing juice sacs.
If either test fails, repeat the coarse slot 2-3 times before re-honing. Persistent issues indicate blade damage requiring professional attention.
Clean Up Without Damaging Your Tools
Metal shavings left on blades contaminate food and corrode edges. Follow this post-sharpening ritual:
- Wipe both sides of the blade with a damp microfiber cloth using edge-away strokes
- For thorough cleaning, wash with mild soap and cool water—never hot water which accelerates rust
- Dry immediately with a towel before storage
- Clean sharpener slots with a dry toothpick to remove embedded shavings
- Wipe exterior with slightly damp cloth—never submerge in water
Never store wet blades: Stainless steel develops rust spots within 24 hours when damp, permanently dulling the edge.
Build Your Maintenance Schedule for Lasting Results
Most home cooks sharpen too late or too often. Match your routine to actual usage patterns:
| Usage Frequency | Sharpening Schedule | Honing Schedule |
|---|---|---|
| Daily cooking (3+ hours) | Every 2-3 months | After heavy use sessions |
| Weekly meal prep | 1-2 times yearly | Monthly |
| Occasional use | Annually | After each use |
Recognize These 4 Urgent Sharpening Signals
- Tomato resistance: Requires downward pressure to pierce skin
- Bell pepper struggle: Tears membranes instead of clean cuts
- Visible light reflection: Shows nicks when held to light
- Paper tearing: Fails the vertical paper test
Double Your Edge Longevity With These Habits
- Hone immediately after cutting hard foods like butternut squash
- Store knives in wood blocks or magnetic strips—never loose in drawers
- Hand-wash only—dishwashers warp blades through thermal shock
- Never cut on glass or stone—these surfaces instantly dull edges
Store Your Revived Knives for Maximum Safety
Improper storage undoes all your sharpening work within days. Follow these non-negotiable rules:
- Always dry blades completely before storage—residual moisture causes microscopic rust pits
- Use silicone blade guards for drawer storage (not recommended but safer than bare)
- Magnetic strips are ideal—they keep blades separated and accessible
- Never store knives with metal utensils—clanging creates micro-chips along the edge
Critical Insight: A sharp knife is statistically 300% safer than a dull one. Dull blades require dangerous force that causes slips, while sharp edges glide with control. Regular sharpening prevents 90% of kitchen cutting accidents.
Maintaining razor-sharp knives isn’t about skill—it’s about consistent, correct technique. By following this precise how to use a kitchen knife sharpener method, you’ll transform frustrating prep work into effortless precision. Remember: that coarse slot is your emergency repair tool, not your default setting. Honing after every heavy use session keeps your edge performing like new for months. Keep your pull-through sharpener beside your cutting board, and you’ll never again wrestle with a tomato or risk a dangerous slip from a dull blade. Your safest, most enjoyable cooking experience starts with this 10-minute maintenance ritual.

