

Your kitchen cabinets have lost their luster, but replacing them would cost thousands you don’t have. Restaining offers a budget-friendly solution that transforms your space while letting you customize the exact color you’ve been dreaming about. This comprehensive guide walks you through every step of how to restain kitchen cabinets—from assessing whether your cabinets are good candidates to applying that final protective coat. Whether you’re tired of dark oak or want to refresh dated maple cabinets, this process can dramatically update your kitchen for a fraction of replacement costs.
Determine If Your Cabinets Can Handle Restaining
Identify Your Wood Type First
Before investing hours in this project, confirm you’re working with restainable wood. Oak, ash, and mahogany cabinets absorb traditional stains beautifully thanks to their pronounced grain patterns. Pine and other softwoods present more challenges—they can absorb stain unevenly, creating blotchiness that ruins professional results. If your cabinets are made from softwood, gel stains work exceptionally well on these tricky surfaces. Vinyl-covered or Formica surfaces shouldn’t be refinished by DIYers—this project requires genuine wood surfaces to succeed.
Evaluate Cabinet Condition Honestly
Examine your cabinets critically before starting. Look for warping, water damage, or deep scratches that might indicate structural problems. These issues often signal it’s time for replacement rather than restaining. Also, consider your color goals—light to darker transitions work seamlessly, while dark to lighter requires extensive preparation and might not achieve your vision. If you’re attempting to go from a dark espresso to light oak, you’ll face significant challenges that might not be worth the effort.
Perform the Hidden Spot Test
Remove a drawer or open your cabinet door and look at an inconspicuous spot. Test your desired stain color on this hidden area first. This simple step prevents costly mistakes and shows exactly how your chosen color will appear on your specific wood type. Let the test area dry completely before making your final decision—stain often appears darker when wet but lightens as it cures.
Gather All Necessary Supplies Before Starting
Build Your Restaining Toolkit
Cleaning Essentials:
– Wood cleaner or degreaser
– Trisodium phosphate (TSP) for stubborn grease
– Synthetic steel wool (regular steel wool can damage wood)
– Multiple buckets and scrub brushes
– Protective gloves and eye protection
Stripping and Sanding Gear:
– Gel stripper (perfect for vertical cabinet surfaces)
– Quality paintbrushes for stripper application
– Sharp scrapers and steel wool
– Sandpaper progression: 120, 150, 180, and 220-grit
– Random orbital sander (optional but speeds the process)
– Shop vacuum with brush attachment
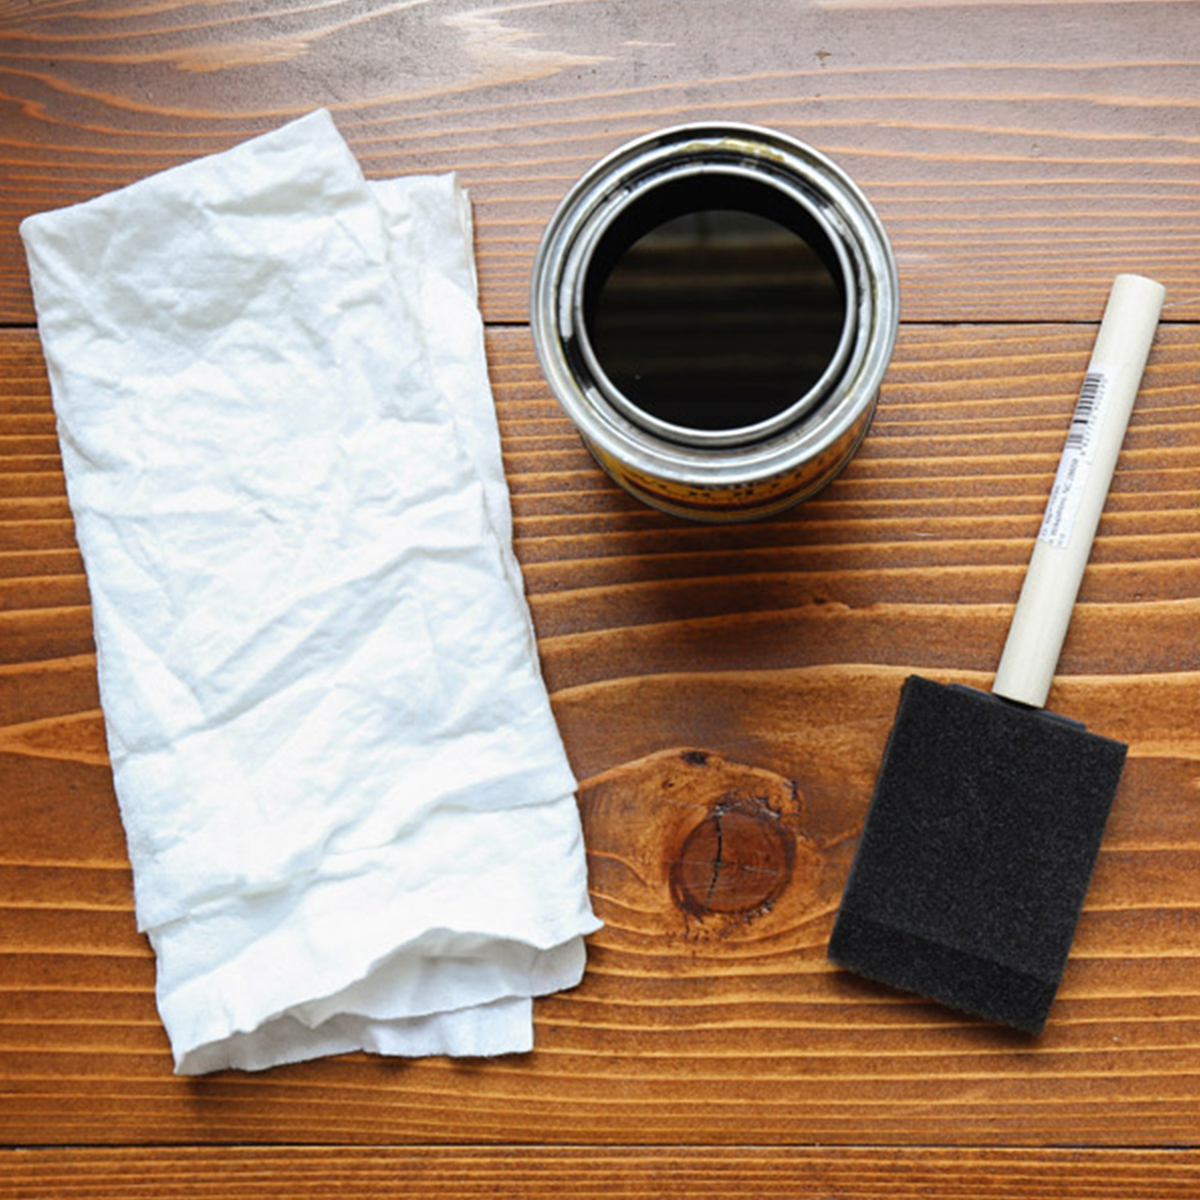
Staining and Finishing Supplies:
– Your chosen wood stain (oil-based, gel, or traditional)
– High-quality foam brushes and clean rags
– Polyurethane varnish or gel top coat
– Mineral spirits for cleanup and gel stain method
Organize Your Workspace Smartly
Transform your kitchen or garage into an efficient workspace. Lay down canvas drop cloths or builder’s paper to protect surfaces. Create a labeling system for doors and hardware—this prevents the nightmare of mismatched pieces during reassembly. A simple numbering system with painter’s tape saves hours later. Ensure you have excellent lighting and ventilation, especially when working with chemical strippers.
Remove and Label Every Component Systematically
Disassemble Without Chaos
Start by removing every cabinet door and drawer front. Take photos before you begin—your future self will thank you. Create a simple diagram showing where each door belongs, then label every piece systematically. Store hardware in clearly marked containers; mixing up hinges and screws creates unnecessary frustration. This organization prevents the common DIY mistake of wasting hours trying to remember which door went where.
Deep Clean Before Stripping
Years of cooking create layers of grease and grime that prevent proper stain adhesion. Wash all surfaces with soap and water, using synthetic steel wool for stubborn spots. Mix TSP with water for the really tough areas—wear gloves and ensure good ventilation. Rinse thoroughly and let everything dry completely before moving forward. Skipping this step guarantees your new stain will peel prematurely.
Remove Old Finish Without Damaging Wood

Choose Between Gel Stripper or Sanding
Gel Stripper Method: Apply gel stripper with a paintbrush to 2-3 doors at once. Let it sit for 10 minutes until the surface bubbles and softens. Scrape gently with the grain, collecting residue in a container. This method works exceptionally well on vertical surfaces without drips and is safer than liquid strippers.
Sanding Alternative: If you prefer avoiding chemicals, use 180-grit sandpaper to scuff the existing finish. This creates “tooth” for new stain adhesion without complete removal. Vacuum dust thoroughly between sanding stages using the shop vac. This method works best when transitioning to a darker stain.
Eliminate Every Trace of Old Finish
After stripping, wipe all surfaces with mineral spirits to remove any remaining residue. Follow with a tack cloth to capture the finest particles. This step determines whether your stain applies evenly—skip it, and you’ll see blotchy spots that ruin the final appearance. Pay special attention to corners and edges where old finish tends to hide.
Perfect Your Sanding Technique for Flawless Results
Follow the SVT Process Religiously
Adopt the Sand, Vacuum, Tack protocol for professional results. Start with 120-grit to remove any remaining finish, progress through 150-grit, then finish with 180-grit for a smooth surface. Always sand with the grain—cross-grain sanding creates scratches that stain will highlight dramatically. Sanding too aggressively can damage the wood, so maintain light, even pressure.
Final Surface Preparation Checklist
After your final sanding pass, vacuum every surface with the brush attachment. Use a tack cloth to remove the finest dust particles. A light wipe with a barely damp microfiber cloth removes any remaining dust—just avoid water spots by using minimal moisture. Run your hand over the surface; it should feel perfectly smooth with no rough patches.
Apply Stain for Professional-Looking Color
Master Traditional Stain Application
Test your stain on a hidden area first—wood species accept stain differently, and this prevents heartbreak. Apply stain with a brush or clean rag, following the wood grain religiously. Work in small sections, maintaining a wet edge to prevent lap marks. Let the stain penetrate for 2-3 minutes, then wipe off excess with a clean rag. Apply 2-3 thin coats rather than one thick coat for the most even color.
Try Gel Stain for Beginner-Friendly Results
Gel stain offers forgiveness traditional stains can’t match. Stir thoroughly until completely smooth. Apply a thin “slip coat” of mineral spirits first—this helps the gel glide smoothly. Use foam brushes for application, then immediately spread and wipe with shop towels. Work quickly to avoid overlap marks, and give each coat 24 hours to dry completely. Gel stain is particularly effective on problem woods like pine.
Seal Your Work with Protective Coatings
Apply Polyurethane Like a Pro
Your stunning stain job needs protection from daily kitchen abuse. Apply polyurethane with a high-quality brush in thin, even coats. Use the “feathering” technique—lightly drag your brush in the direction of the grain to eliminate brush marks. Allow 24 hours between coats, then lightly sand with 220-grit paper before applying the next coat. Avoid thick coats that create drips and uneven surfaces.
Follow the Multi-Coat Strategy
Plan for three coats minimum for maximum durability. The first coat seals the wood, the second builds protection, and the third provides the final barrier against moisture and wear. After your final coat, wait 72 hours before reinstalling doors—rushing this step leads to permanent damage from fingerprints or hardware installation. This patience ensures your how to restain kitchen cabinets project lasts for years.
Reinstall Everything Without Mistakes
Precision Hardware Installation
Use your labeling system to reinstall each door in its original location. Hand-tighten screws initially—power drills can strip screw holes or crack the wood. Install new hardware if you’re updating your kitchen’s look; just ensure new holes align with existing ones or be prepared to fill and drill new holes. Test door alignment frequently as you work.
Final Adjustments Before Celebration
Install doors one at a time, checking alignment as you progress. Add clear rubber bumpers to prevent doors from slamming. Take a final walk-through to identify any touch-ups needed—it’s much easier to fix issues now than after everything’s back in place. Step back and admire your transformed kitchen—you’ve successfully restained your cabinets!
Fix Common Problems Before They Worsen
Correct Uneven Staining Quickly
If you notice blotchy areas, the culprit is usually inconsistent sanding or application. Lightly sand the affected spots with 220-grit paper and reapply stain carefully. For severe cases, you might need to strip that section and start fresh. Don’t try to cover uneven staining with additional coats—that only makes the problem more visible.
Rescue Color Mistakes Immediately
Applied a color that’s too dark? Don’t panic. Sand the area with 120-grit paper and reapply a lighter stain. Going darker is always easier than lightening, so test colors progressively until you achieve your desired shade. Remember that stain always looks darker when wet—wait for it to dry completely before deciding it’s too dark.
Maintain Your Restained Cabinets Long-Term
Daily Care Routine for Lasting Beauty
Wipe spills immediately to prevent staining or warping. Use mild soap and water for cleaning—avoid harsh chemicals that can damage the finish. Install soft-close hardware if your cabinets didn’t have it originally; this prevents slamming that chips the new finish. Dust cabinets weekly with a soft microfiber cloth to maintain their luster.
Budget-Friendly Protection Strategy
Apply furniture polish monthly to maintain the protective barrier. Consider adding under-cabinet lighting—it showcases your beautiful new stain while providing functional task lighting for food prep. Avoid placing hot pans directly on cabinet surfaces, and use cabinet liners in drawers to protect against scratches from utensils.
Your kitchen transformation doesn’t require a massive renovation budget. With patience, quality materials, and this step-by-step approach to how to restain kitchen cabinets, you’ll achieve professional-looking results that dramatically update your space. The satisfaction of opening your cabinets each morning and seeing your handiwork makes every hour invested worthwhile. Restaining cabinets yourself saves thousands compared to replacement while giving you the exact look you’ve been dreaming about—now that’s smart home improvement.

