
That worn kitchen table where your family gathers daily doesn’t need replacing—it needs restaining. Whether it’s coffee ring stains, faded patches from years of sunlight, or simply outdated color, learning how to restain a kitchen table properly will transform your dining centerpiece in just one weekend. The process requires patience more than skill, making it perfect for first-time DIYers ready to revive their most-used furniture piece.
Restaining isn’t just about aesthetics; it’s about preserving memories while creating new ones. Your table will emerge with rich, even color that highlights the wood’s natural grain patterns. Best of all, you’ll save hundreds compared to buying new furniture while gaining the satisfaction of completing a meaningful home improvement project yourself. Follow this detailed guide to achieve professional results without professional costs.
Diagnose Your Table’s Wood Type and Condition

Before you begin how to restain a kitchen table, determine if your piece can handle the process. Solid wood tables respond best to complete restaining, while veneer surfaces require gentler handling to avoid sanding through the thin wood layer. Check for manufacturer labels underneath or examine end grain patterns—solid wood shows continuous grain through the thickness, while veneer reveals a thin wood layer over particleboard.
Test the existing finish by applying denatured alcohol to an inconspicuous area. If the finish softens, it’s shellac; lacquer thinner test indicates lacquer; no reaction suggests polyurethane or varnish. This critical step determines how aggressively you’ll need to sand during the restaining process. Never skip this test—using the wrong sanding approach can damage your table beyond repair.
Assemble Your Restaining Toolkit

Essential Sanding Supplies
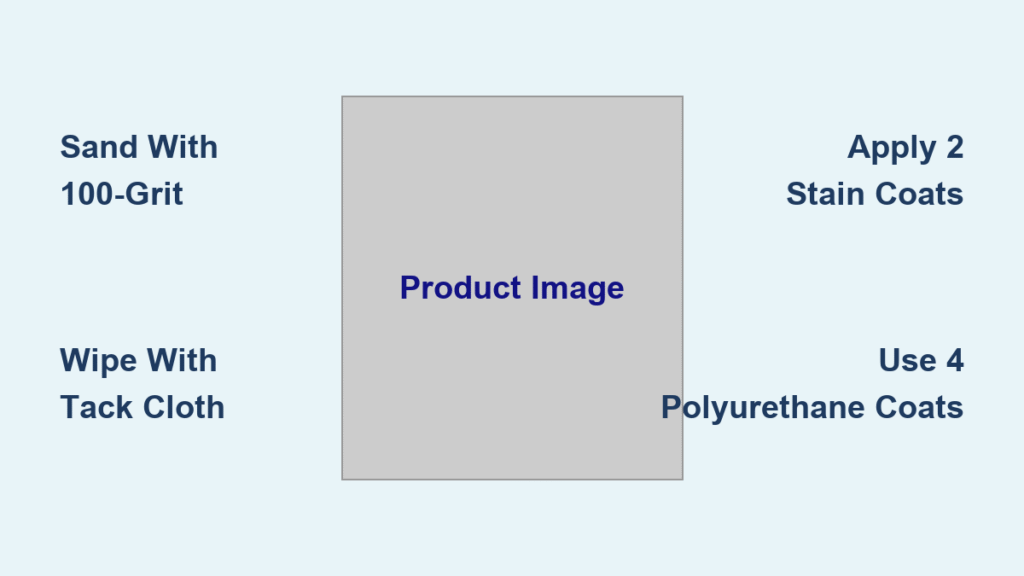
Gather three grits of sandpaper before starting how to restain a kitchen table: 100-grit for initial finish removal, 150-grit for smoothing, and 220-grit for final preparation. Quality sanding blocks prevent uneven surfaces on flat tabletop areas, while folded sandpaper works better for curved legs and detailed edges. Vacuum with brush attachment and multiple tack cloths are non-negotiable for dust removal.
Stain and Protection Materials
Choose wood stain in your desired color—oil-based options penetrate deeper for richer results, while water-based dries faster with less odor. Purchase high-quality natural bristle brushes for oil stains or synthetic for water-based products. Avoid cheap brushes that shed bristles into your finish. Complete your kit with at least four cans of polyurethane—the manufacturer recommends this minimum for high-traffic surfaces like dining tables.
Execute Perfect Sanding Technique
Complete Finish Removal Process
Start with 100-grit sandpaper to strip all existing stain and finish from edges and legs. Work systematically across the tabletop following wood grain direction, maintaining light, even pressure. Never press too hard—let the sandpaper do the work to avoid creating low spots. Focus extra attention on high-traffic areas where finish has built up thickest over years of use.
Vacuum frequently to monitor progress and ensure even material removal. Stop immediately if you notice veneer bubbling or excessive wood splintering—these indicate you’re sanding too aggressively. Switch to 150-grit once the old finish disappears completely to smooth coarse scratches before final preparation.
Final Surface Smoothing
Finish with 220-grit sandpaper using light, consistent strokes across the entire surface. This critical step creates the smooth foundation that accepts stain evenly. Run your hand firmly across the surface—it should feel silky, not rough. Any remaining imperfections will be magnified by fresh stain, making this final sanding pass essential for professional results.
Eliminate All Surface Contaminants
Remove every trace of sanding dust before applying stain—this step makes or breaks your restaining project. Vacuum the entire table using a brush attachment, paying special attention to carved details and underneath edges where dust accumulates. Follow immediately with tack cloth wiping, applying firm pressure to pick up stubborn particles.
Work in small sections, replacing tack cloths as they become loaded with dust. Even microscopic dust specks create noticeable bumps under fresh stain and polyurethane. Clean your entire work area too—airborne dust settles on wet surfaces, ruining smooth finishes. Wait at least 30 minutes after cleaning before stain application to ensure no residual dust remains.
Apply Stain for Professional Color Results
First Coat Application Strategy
Load your brush generously with stain but avoid dripping. Apply following wood grain direction, working quickly to maintain wet edges—start with table edges and legs first, then move to the tabletop surface. Work in manageable sections you can complete within 5-10 minutes before the stain begins setting.
Determine desired darkness before committing to the entire table. The resource document confirms: “The longer stain sits before wiping, the darker the final color will be.” For subtle enhancement, wipe after 2-3 minutes; rich color requires 5-7 minutes of penetration time. Wipe excess stain using clean cloths, always moving with the grain.
Multi-Coat Color Building
Apply at least two coats of stain as the resource specifies, allowing each to dry completely (6-8 hours for oil-based). Lightly sand with 220-grit paper between coats to “knock down the swollen fibers” created when wood absorbs stain. Clean thoroughly with tack cloth after each sanding session.
Never reapply stain to dried areas—this creates blotchy patches impossible to blend. Judge color progress under bright, natural lighting, comparing stained areas to unstained portions. Stop adding coats when color richness matches your vision—over-staining obscures natural wood beauty and creates an artificial appearance.
Apply Protective Polyurethane Finish

Four-Coat Protection System
After the final stain coat dries thoroughly (follow manufacturer instructions), apply polyurethane according to the resource’s critical recommendation: “Apply at least four coats, since dining room tables get a lot of use.” Use high-quality synthetic brushes designed for your polyurethane type, applying thin, even coats following wood grain.
Allow each coat to dry completely—typically 2-4 hours for water-based, 6-8 hours for oil-based. Lightly sand between coats with 320-grit paper to remove dust nibs, focusing only on surface imperfections without sanding through the stain layer. Clean with tack cloth after each sanding session to ensure perfect adhesion.
Curing Timeline Management
Resist using your newly restained kitchen table too soon. While surfaces feel dry within hours, complete hardening takes time. The resource specifies: “Allow the final coat of polyurethane to dry for at least 24 hours before using the table.” Cold temperatures significantly extend this timeframe—ideal conditions range between 65-75°F with moderate humidity.
Use fans for air circulation during curing, but avoid directing airflow directly at the table surface. Place felt pads under chair legs during initial use to prevent scratches on the still-curing finish. Full chemical curing takes 30 days, though light use can begin after the 24-hour minimum.
Maintain Your Restained Table’s Beauty
Protect your weekend investment with simple daily habits. Use coasters under all hot dishes and placemats for regular meals—direct contact with hot surfaces creates permanent rings in polyurethane finishes. Clean spills immediately, especially acidic substances like wine or tomato sauce that etch finishes quickly.
Monthly application of furniture polish designed for polyurethane finishes maintains protective layers. Avoid silicone-based products that create buildup and attract dust. Direct sunlight causes fading—consider using tablecloths during peak daylight hours or positioning away from windows.
Your successfully restained kitchen table now showcases rich, even color that transforms your entire dining space. This weekend project delivers professional results at a fraction of replacement cost, proving that beautiful furniture restoration remains firmly within DIY reach. When you master how to restain a kitchen table properly, you’ve gained a valuable skill for preserving family heirlooms and saving money on future furniture updates.

