
That persistent drip under your sink isn’t just annoying—it’s a ticking time bomb for water damage. When you spot warped cabinet floors, smell sewer odors, or battle recurring clogs, your kitchen pipes are screaming for replacement. The good news? Replacing kitchen pipes is one of the most accessible DIY plumbing projects, saving you $150-$600 compared to professional fees. Most homeowners complete this job in 2-4 hours with basic tools, avoiding emergency plumber rates that can double your costs. Whether you’re battling corroded metal pipes or upgrading to modern PVC, this guide gives you the exact steps to install leak-proof pipes that last decades.
Don’t let plumbing fear trap you into costly service calls. With clear visual references and foolproof techniques, you’ll confidently tackle pipe replacement while avoiding the #1 mistake DIYers make: skipping the pre-disassembly photos. Follow this roadmap to transform your under-sink chaos into a pro-level installation that handles full sink drainage without a single drip.
Spot These Critical Pipe Failure Signs Before Water Damage Worsens

Visible corrosion on metal pipes is your clearest warning sign—when chrome plating flakes off to reveal rust-red metal, replacement is urgent. But don’t wait for major damage: recurring slow drainage despite plunger use and unexplained foul odors indicate failing seals that let sewer gases escape. These aren’t minor annoyances—they’re red flags that your pipes can’t be patched.
Pay attention to what you hear too. Gurgling noises during drainage signal venting issues from cracked pipes, while constant dripping sounds mean joints have lost their seal. If you find water stains spreading on cabinet walls or warped flooring under the sink, you’re already dealing with structural damage. Remember: one leaky joint can waste 3,000+ gallons yearly, accelerating cabinet rot. When multiple signs appear together—like slow drainage plus rust spots—it’s time for full pipe replacement, not temporary fixes.
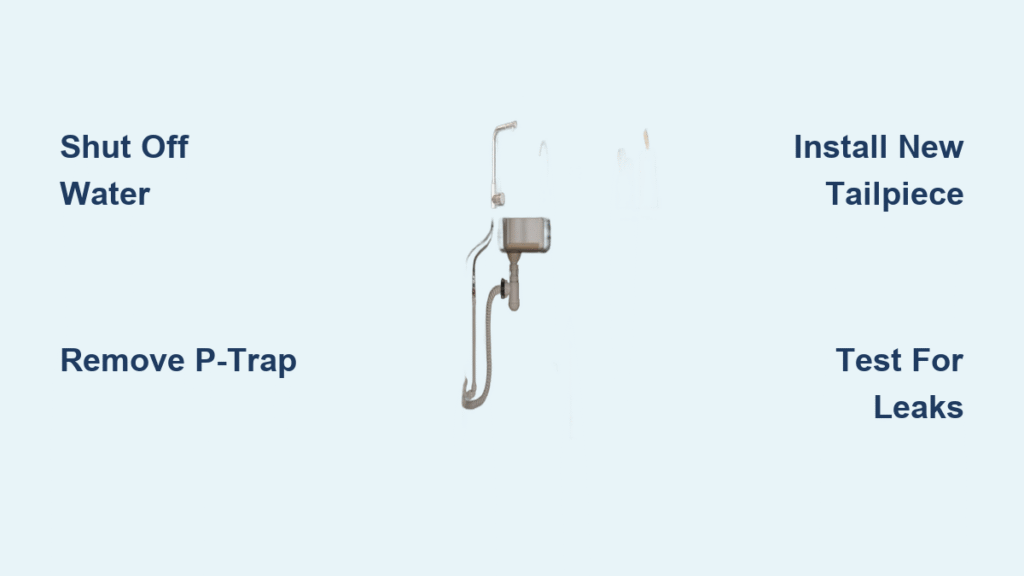
Shut Off Water & Prep Workspace Like a Pro (Avoid Costly Floods)
Master the Water Shutoff Sequence
Ignoring this step causes 70% of DIY plumbing disasters. First, locate the hot and cold shutoff valves under your sink—turn both clockwise until tight. Then run the faucet for 10 seconds to drain line pressure. Critical verification: If water still drips, immediately shut off your home’s main water valve (usually in basement or garage). Never skip this double-check—residual pressure can unleash gallons of water when disconnecting pipes.
Organize Your Under-Sink Battlefield
Remove all cabinet contents and lay down 4-5 absorbent towels to catch drips. Place a 2-gallon bucket directly under the P-trap—this will catch 1-2 cups of standing water. Before touching any pipes, take three photos: one wide shot of the entire setup, one close-up of tailpiece connections, and one showing the wall drain junction. These become your reassembly blueprint when parts get confusing. Finally, clip a magnetic work light to the cabinet frame—poor lighting causes cross-threaded fittings 30% more often.
Grab These Exact Tools & Materials (No Guesswork)
Skip the hardware store runarounds with this precise kit:
– Wrenches: 6″ and 10″ adjustable wrenches (for slip nuts)
– Cutters: Hacksaw with fine-tooth blade (for PVC) or tubing cutter (for metal)
– Sealants: Teflon tape (white for cold water, pink for hot), PVC cement + primer
– Critical extras: New rubber washers (bring old ones to match size), dish soap (lubricates slip joints)
Buying replacement pipes? Match these specs exactly:
– Diameter: 1.5″ for all kitchen sink drains (measure old pipes with tape)
– Material: PVC Schedule 40 (white) for most DIYers—avoid ABS (black) unless existing system uses it
– Fittings: Include extra 90° elbows and 4″ extensions for tricky alignments
– Pro tip: Buy a complete “kitchen sink tailpiece kit” ($15-$25)—it includes all washers and standard-length pipes
Disassemble Old Pipes Without Creating a Mess

Remove Tailpiece Safely
Loosen the upper slip nut (between sink drain and tailpiece) with your 6″ wrench, turning counterclockwise. Slide the nut up the tailpiece, then remove the compression washer (tapered rubber ring). Pull the tailpiece straight down—never twist—to avoid cracking the sink strainer. If stuck, apply dish soap around the joint and wiggle gently.
Drain & Remove P-Trap
Position your bucket under the trap’s lowest point. Loosen the lower slip nut (connecting trap to wall pipe) first—this releases pressure safely. Then loosen the upper slip nut at the tailpiece connection. Allow all water to drain (usually 10-15 seconds), then remove the entire P-trap assembly. Warning: If you smell strong sewer gas, stuff a rag into the wall pipe immediately—this means your trap seal was already broken.
Cut Wall Connection Cleanly
For PVC pipes: Measure 2″ from the wall drain opening and mark with pencil. Use your hacksaw with firm, even strokes to make a square cut (tilted cuts cause leaks). Deburr edges with utility knife. For threaded metal pipes: Apply penetrating oil to stuck joints, wait 5 minutes, then use pipe wrench with short, controlled turns.
Install New Pipes: Avoid These Costly Mistakes
Tailpiece Installation Checklist
Choose a tailpiece 1″ longer than measured—you’ll trim excess later. Dry-fit it between sink and trap without tightening. Critical alignment: Ensure the tailpiece hangs perfectly vertical (use level app on phone). When satisfied, apply 3 wraps of Teflon tape clockwise on threads, hand-tighten slip nuts, then give ¼-turn with wrench. Over-tightening cracks PVC—stop when resistance increases suddenly.
P-Trap Assembly Secrets
Assemble the trap on your work surface first—this prevents cabinet contortions. Insert new rubber washers with tapered ends facing down (toward floor). Connect the trap to the tailpiece, then to the wall pipe—never force connections. The trap must slope ¼” per foot toward the wall (use bubble level to check). Hand-tighten all nuts, then snug with pliers: ¼-turn max beyond finger-tight. If the trap won’t align, add a 45° elbow—not force bends.
Wall Connection Fixes That Last
For PVC systems: Dry-fit all parts, then apply purple primer to both surfaces. Wait 10 seconds, add PVC cement, and push together with ¼-turn twist. Hold firmly for 30 seconds—this sets the bond. For threaded pipes: Wrap Teflon tape clockwise (3-4 layers), add pipe dope, and tighten 1-2 full turns past hand-tight. Never reuse old washers—they’re the #1 cause of post-installation leaks.
Test for Leaks Before Closing the Cabinet
Run water slowly for 30 seconds while inspecting every joint with dry paper towels. Dripping at slip nuts? Tighten 1/8-turn and retest—never more. Spraying leaks mean cross-threaded connections: disassemble, realign, and restart. Next, fill the sink completely and pull the stopper—this tests maximum flow pressure. Finally, check overnight: place paper towel strips under joints and inspect in morning. If dry, you’ve succeeded! If damp, re-tighten or replace washers.
Handle Dishwasher & Special Pipe Configurations
Integrate Dishwasher Drain Properly
Locate the nozzle on your P-trap—it should face upward. Attach the dishwasher hose with a clip-style hose clamp (not zip ties). Create a high loop by securing the hose to the cabinet underside 20+ inches above floor level—this prevents sink water from backing into your dishwasher. Critical test: Run dishwasher on drain cycle while checking for leaks at the nozzle connection.
Fix Air Admittance Valve (AAV) Issues
If your system has a silver cylindrical valve (AAV), ensure it’s 4+ inches above the trap weir (highest point inside trap). Verify it’s mounted perfectly vertical—tilted AAVs won’t seal. Never bury it in insulation; leave 3+ inches of clearance for air access. When replacing pipes, don’t shorten the AAV tailpiece—this disrupts venting and causes gurgling.
When to Call a Plumber (Save Time & Money)
Stop immediately if you encounter: Galvanized steel pipes (require threading tools), cast iron wall connections, or pipes needing rerouting through walls. These require permits and specialized equipment—DIY attempts often cost more in emergency fixes. Smart cost rule: If the job exceeds 4 hours or $100 in materials, professional help becomes cost-effective. Basic trap replacements run plumbers $150-$300; full replumbing costs $300-$600.
Maintain Pipes for Decades of Trouble-Free Service
Monthly: Wipe joints with dry cloth to spot early moisture. Quarterly: Tighten slip nuts 1/8-turn (over-tightening cracks PVC). Annually: Replace all rubber washers—hardened seals cause 90% of “mystery leaks.” Prevent clogs with monthly vinegar+baking soda flushes: pour ½ cup baking soda followed by 1 cup vinegar, wait 15 minutes, then flush with hot water. Pro move: Apply petroleum jelly to metal threads during annual maintenance—it prevents corrosion better than pipe dope.
Final Tip: Photograph your completed installation and save the image with your home records. With proper installation and annual washer replacements, your new kitchen pipes will deliver 15+ years of leak-free performance. Now that you know how to replace kitchen pipes safely, tackle that drip today—your wallet (and cabinet floors) will thank you.

