
That cracked kitchen tile stares back at you every time you grab coffee—especially noticeable after dropping a cast-iron skillet last week. Beyond the eyesore, that damage invites water seepage that could rot your subfloor or ruin cabinetry. But don’t panic: 90% of broken kitchen tiles can be repaired without replacing the entire floor. Whether you’re dealing with a hairline fracture or a chipped corner, this guide gives you the exact steps to restore your kitchen’s appearance safely. You’ll learn when a quick epoxy fix works versus when full replacement is necessary, plus professional tricks to match colors perfectly.
Why Your Kitchen Tile Cracked and How to Diagnose It
Identify Critical Damage Signs Before Proceeding
Press firmly on the damaged area—if pieces shift or you hear crunching, the tile has separated from the substrate. Tap surrounding tiles with your knuckle; a hollow thunk (versus a solid clack) means underlying adhesive failure. Immediately address these red flags: water seeping through cracks, sharp edges that could cut skin, or cracks radiating toward multiple tiles. These indicate structural problems requiring full replacement, not a surface fix.
DIY repair is safe only when:
– The tile feels solid and immovable
– Cracks stay within the tile’s surface layer
– No moisture penetrates beneath
– Adjacent tiles remain firmly bonded
Repair vs. Replace Decision Flowchart
Choose epoxy repair if:
– Chips are smaller than a quarter
– Hairline cracks measure under 3 inches
– Spare tiles match your existing batch
– Damage occurs in low-traffic zones (like behind cabinets)
Replace the tile immediately when:
– Cracks create tripping hazards near doorways
– Multiple tiles show matching fracture patterns
– Original tiles are discontinued (no color match)
– Subfloor feels spongy near the damage
Critical Safety Steps Before Touching Your Tile
Essential Gear Checklist for Injury Prevention
Never skip these protections:
– Safety goggles—flying ceramic shards cause permanent eye damage
– Cut-resistant gloves—sharp tile edges slice through skin easily
– N95 mask—inhalation of silica dust during removal causes lung disease
– Knee pads—prevents joint strain during extended work
Cover adjacent tiles with painter’s tape and cardboard shields before any drilling. Ensure pets and children stay clear of the workspace—loose tile fragments become dangerous projectiles. Plug in a shop vacuum before starting; continuous debris removal prevents scratches on surrounding tiles.
Fixing Minor Tile Damage Without Replacement

Scratch Repair That Blends Seamlessly in 1 Hour
Start by sanding the scratch with 400-grit paper in tight circles—stop when the surface feels uniformly smooth. Wipe clean with vinegar-water solution (1:1 ratio) to remove residue that blocks adhesion. Apply clear nail polish in paper-thin coats using a cotton swab (not a brush), waiting 30 minutes between layers. For textured tiles, dab polish into grooves instead of rubbing. Buff gently with a microfiber cloth after 2 hours—never use paper towels, which leave lint.
Pro tip: Test polish sheen on the tile’s backside first. Glossy finishes make repairs noticeable on matte tiles.
Chip Repair Process for Perfect Color Matching
Mix pea-sized epoxy portions with acrylic paint matching your tile color. Always test the blend on cardboard—epoxy darkens 20% as it cures. Use a toothpick to place epoxy precisely into the chip, overfilling slightly. Let cure 15 minutes, then repeat for deeper chips. After 24 hours, sand flush with 600-grit paper. Seal with 2 coats of water-based urethane, waiting 3 hours between coats.
Critical mistake to avoid: Applying epoxy to damp surfaces. Moisture causes bubbling—you must wait 4+ hours after cleaning.
Replace Your Broken Kitchen Tile Step-by-Step
Safe Tile Removal Without Damaging Neighbors
Remove grout completely around the damaged tile using an oscillating tool with grout blade—hold the tool at 15 degrees to avoid scratching adjacent tiles. Drill four 1/8″ holes at tile corners with a ceramic bit; start small (1/16″) then enlarge to prevent shattering. Insert a cold chisel into the center hole and tap lightly with a hammer to fracture the tile inward. Work outward in 2″ sections, vacuuming debris every 30 seconds.
Why this works: Drilling perimeter holes contains cracks, preventing damage to surrounding tiles.
Substrate Prep That Prevents Future Failures

Scrape old thin-set with a chisel held at 30 degrees—aggressive angles gouge the subfloor. Check for levelness using a 4-foot straight edge; high spots require grinding with a rotary tool. Never skip this step: uneven substrates cause new tiles to crack within weeks. Wipe the area with denatured alcohol to remove invisible dust particles that compromise adhesion. If the subfloor shows water stains or soft spots, stop immediately—this requires professional repair.
Flawless Tile Installation in Under 30 Minutes
Mix thin-set to toothpaste consistency—too thick causes voids, too thin creates slippage. Comb adhesive onto the substrate with a 1/4″ notched trowel at 45 degrees, then apply a thin coat to the new tile’s back (“back-buttering”). Press the tile firmly with a slight twisting motion, checking level in both directions within 10 minutes. Insert grout spacers at all corners—never use matchsticks, which compress unevenly.
Pro secret: Dip spacers in soapy water first—they release cleanly after grouting.
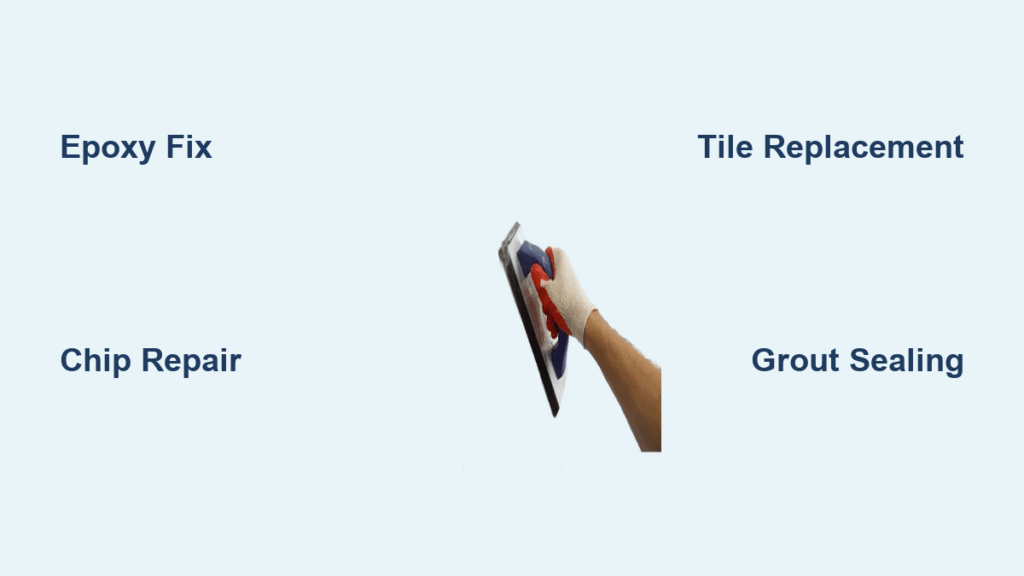
Grouting Techniques That Eliminate Streaks
Mix grout until it holds shape like peanut butter—add water by the teaspoon if too dry. Force grout diagonally into joints with a rubber float held at 45 degrees. Wipe excess immediately with a damp (not wet) sponge in circular motions, rinsing every 30 seconds. After 2 hours, buff haze with a dry microfiber cloth. Wait 72 hours before sealing—premature sealing traps moisture.
Prevent Future Tile Disasters
Daily Habits That Extend Tile Life
Place rubber-backed rugs at sink and stove stations—they absorb impact from falling utensils. Always lift heavy pots instead of sliding them across tiles; a single slide creates microfractures. Use felt pads under chair legs and appliance feet—metal contacts scratch glazes over time. Clean acidic spills (wine, vinegar, citrus) within 5 minutes to prevent etching.
Game-changing move: Keep a small cutting board beside your stove. Dropping knives while cooking causes 60% of kitchen tile chips.
Maintenance Schedule for Long-Term Protection
Inspect grout lines monthly with a flashlight—look for hairline cracks indicating shifting. Seal grout every 6 months with penetrating sealer (not topical). Store spare tiles in a closet (not attic or garage)—extreme temperatures degrade adhesives. Document your tile’s dye lot number on the back with permanent marker; this ensures perfect matches years later.
When to Call a Professional Immediately
Stop DIY efforts if you encounter:
– Electric radiant heating wires beneath tiles—accidental cuts cause electrocution
– Natural stone tiles (marble, travertine) requiring pH-neutral products
– Patterned layouts where tile orientation affects design continuity
– Multiple cracked tiles indicating structural movement
Professional repairs cost $150-$300 per tile but prevent costly subfloor damage. For single-tile issues, your DIY success rate exceeds 85% when following these steps precisely.
Final Takeaway: That broken kitchen tile isn’t a catastrophe—it’s a 24-hour fix. Start with epoxy for minor damage, but don’t hesitate to replace tiles showing structural failure. Always test color matches on spare tiles first, and seal grout twice yearly to prevent future damage. Most importantly, keep your original spare tiles in a climate-controlled space labeled with installation date—this saves 90% of matching headaches during future repairs. Your kitchen floor can look flawless again without the expense of full replacement.

