
That vibrant tikka masala you just plated? It’s now bleeding golden-yellow streaks across your countertop. Curry spills strike fast, and turmeric’s aggressive pigment locks into surfaces within minutes. You’re not alone—one survey found 78% of home cooks battle stubborn curry stains monthly. But here’s the good news: how to remove curry stains from kitchen surface disasters isn’t rocket science. With the right timing and targeted methods, you can erase even set-in stains without damaging your countertops. This guide delivers exact protocols for every material—from laminate to granite—so you never panic over a spill again.
Curry stains weaponize curcumin, turmeric’s oil-loving pigment that bonds ruthlessly with surfaces. Heat from fresh curry opens microscopic pores in your countertop, letting stains dive deep. Once cooled, the surface contracts, trapping pigment permanently. Your critical window? Under 2 minutes for porous surfaces, 10 minutes max for non-porous. Skip this, and you’ll fight shadow stains for weeks. Stop scrolling—grab paper towels and follow these surface-specific battle plans.
Why Curry Stains Defy Regular Cleaning
Curcumin isn’t just colorful—it’s molecularly engineered to cling. This pigment dissolves in oils (not water), so dish soap often spreads stains instead of lifting them. Heat from cooking expands surface pores, accelerating absorption by 300%. When the curry cools, your countertop contracts like a clenched fist around the pigment. Laminate, granite, and grout become stain traps within 90 seconds. Wait longer than 5 minutes on porous stone, and you’ll need professional intervention.
Your stain’s fate hinges on two factors:
– Surface porosity (granite soaks faster than stainless steel)
– Oil content (coconut milk-based curries stain 50% deeper than tomato-based)
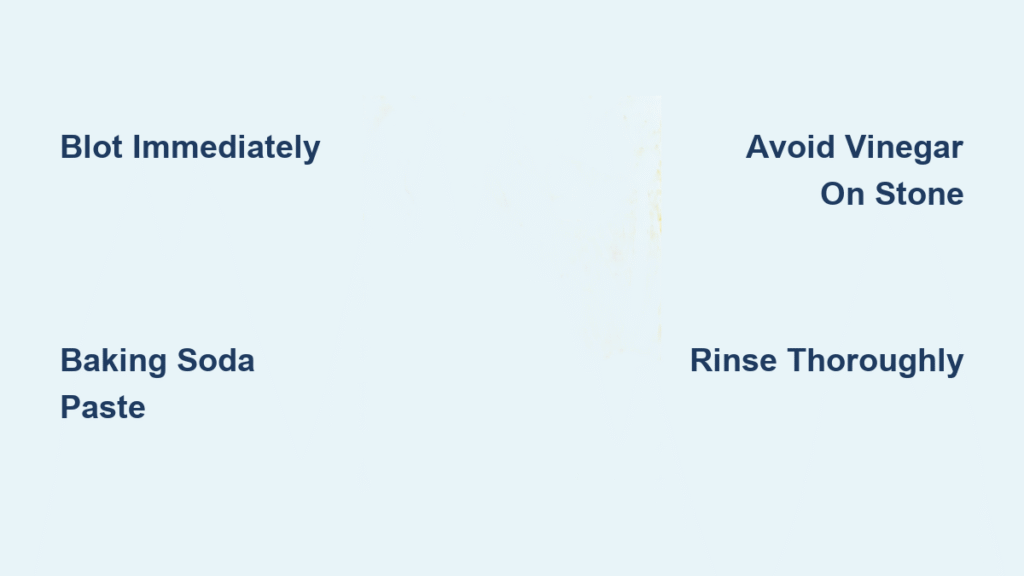
Immediate Action Plan for Fresh Spills (Under 2 Minutes Old)
Blot, Rinse, Assess Protocol
- Blot aggressively with paper towels—never wipe (spreads pigment)
- Flush with cold water for 30 seconds to dilute oil-based stains
- Identify your surface type before grabbing cleaners (vinegar ruins stone!)
- Apply baking soda paste immediately if stain lingers
Pro tip: Keep a “curry emergency kit” under your sink: microfiber cloths, baking soda, measuring spoons, and nitrile gloves. Test any cleaner in a hidden spot first—especially on patterned laminate.
Baking Soda Paste: Universal Stain Lifter

Fresh Stain Formula (0-10 Minutes Old)
- 3 tbsp baking soda + 1 tbsp cold water
- Mix to toothpaste thickness
Set Stain Formula (10+ Minutes Old)
- Equal parts baking soda + water
- Thicker paste for deeper penetration
Application steps:
1. Smear paste ½ inch beyond visible stain edges
2. Dwell time: 5 minutes (fresh) or 30 minutes (set)
3. Scrub in small circles with soft sponge—never steel wool
4. Rinse with cold water, dry with lint-free cloth
5. Repeat if yellow shadow remains
Boost power: Add 2 drops lemon juice only on white surfaces. For textured granite, use an old toothbrush to work paste into crevices.
Vinegar Solutions (Avoid on Natural Stone!)
Standard Spray for Laminate & Stainless Steel
- 1:1 white vinegar + warm water in spray bottle
Fizz-Action Boost for Tile Grout
- 2 tbsp vinegar + 1 tbsp baking soda + 1 cup water
Process:
1. Saturate stain liberally—let solution bubble for 15 minutes
2. Wipe with the grain (critical for stainless steel)
3. Rinse 3x with cold water to neutralize acidity
4. Dry immediately with microfiber cloth
🚨 Critical warning: Vinegar etches granite/marble permanently. If you have stone counters, skip this method entirely—use pH-neutral cleaners only.
Surface-Specific Rescue Missions

Laminate Countertops: Seal Seams First
- Start with baking soda paste (3:1 ratio)
- Avoid pooling liquid near seams—use cloth instead of spray
- For 24+ hour stains: Bar Keeper’s Friend + soft sponge
- Magic Eraser works but test in corner—may dull glossy finishes
Granite & Marble: Acid-Free Only
- Baking soda paste max 10-minute dwell time
- Rinse with pH-neutral stone cleaner (like Stone Care International)
- For deep stains: Apply food-safe mineral oil overnight to draw out pigment
- Seal every 6 months—unsealed stone stains 4x faster
Stainless Steel: Follow the Grain
- Bar Keeper’s Friend is your MVP—scrub parallel to brushed finish
- Rinse within 2 minutes to prevent residue rings
- Finish with stainless steel polish to restore shine
Tile & Grout: Double Rinse Rule
- Apply baking soda paste to grout lines with toothbrush
- Let sit 20 minutes before scrubbing
- Rinse 4x minimum—grout traps cleaning residue
- Seal grout after stain removal with Aqua Mix Sealer
When Home Remedies Fail: Commercial Power Plays
Bar Keeper’s Friend Protocol
- Dampen stain with cold water
- Sprinkle powder directly onto area
- Rub gently with damp microfiber cloth for 60 seconds
- Rinse thoroughly—residue attracts future stains
Magic Eraser: Handle With Care
- Soak eraser until fully expanded before use
- Light pressure only—acts like 3000-grit sandpaper
- Works best on melamine surfaces (avoid wood butcher blocks)
- Always follow with mineral oil on porous materials
Bleach Last Resort (White Surfaces Only)
- Mix 2 cups hot water + 1 cup bleach in spray bottle
- Spray, wait no longer than 5 minutes, then rinse
- Bleach the entire surface to avoid “clean spots”
Natural Alternatives That Actually Work
Sun-Powered Lemon Salt Scrub
- Cover stain with coarse sea salt
- Drench in fresh lemon juice (bottled won’t cut it)
- Place in direct sunlight for 45 minutes
- Scrub gently—UV rays break pigment bonds
Hydrogen Peroxide Precision Treatment
- Dip cotton swab in 3% peroxide
- Dab only on stained area (avoids bleaching surrounding surface)
- Wait 8 minutes, then wipe with damp cloth
- Never use on dark surfaces—causes yellowing
Stubborn Stain Multi-Attack Sequence

For stains older than 24 hours:
1. Phase 1: Baking soda paste (30-minute dwell)
2. Phase 2: Bar Keeper’s Friend if Phase 1 fails
3. Phase 3: Hydrogen peroxide (light surfaces only)
4. Phase 4: Professional resurfacing (costs 15% less than replacement)
Pro tip: Photograph each step—this helps pros diagnose if DIY fails. Never let stains sit >72 hours; pigment becomes permanent.
Prevent Future Disasters: The 2-Minute Defense System
Daily Habits That Save Countertops
- Wipe spills within 120 seconds—set a phone timer during cooking
- Use trivets under curry pots (heat = instant staining)
- Place dark cutting boards under spice bowls
Quarterly Maintenance
- Reapply food-safe sealant to stone/granite
- Deep-clean grout with baking soda paste
- Replace worn laminate edges where stains creep in
Must-Have Curry Stain Emergency Kit
Tools:
– Microfiber cloths (3 colors—red for stains!)
– Old toothbrush (grout detailing)
– Nitrile gloves (protects from turmeric dye)
– Spray bottle with cold water (keep by stove)
Cleaners:
– Bulk baking soda (1 lb minimum)
– pH-neutral stone cleaner (for granite/marble)
– Bar Keeper’s Friend (multi-surface hero)
– 3% hydrogen peroxide (stain spotter)
When to Call the Pros
Stop DIY attempts if you see:
– Granite etching (dull, chalky spots after cleaning)
– Laminate swelling at seams
– Grout crumbling during scrubbing
– Stain persists after 3 full treatment cycles
Professional stone restoration costs $150-$300—far cheaper than replacing $3,000 countertops. Request technicians certified by the Marble Institute of America.
Your quick-reference cheat sheet:
– Fresh spill: Blot → cold water → baking soda paste
– Set stain: Baking soda paste (30 min) → Bar Keeper’s Friend
– Granite: pH-neutral cleaner → mineral oil soak
– Grout: Baking soda + toothbrush → quadruple rinse
Don’t let curry stains haunt your kitchen. With these surface-specific protocols, you’ll banish turmeric disasters in minutes—not days. Keep this guide taped inside your sink cabinet: the next time that saffron sauce jumps ship, you’ll be ready. Act fast, clean smart, and reclaim your spotless counters.

