
Your kitchen light just died, leaving you in the dark with a stubborn fixture that won’t budge. Whether you’re trying to replace a burnt-out bulb, fix flickering wiring, or upgrade your outdated kitchen lighting, knowing exactly how to open kitchen light fixture safely is the critical first step. Most homeowners waste hours struggling with the wrong technique for their specific fixture type, risking broken glass, damaged components, or even electrical hazards.
This comprehensive guide eliminates the guesswork by showing you precisely how to access every common kitchen lighting design—from flush mount domes to under-cabinet LEDs. You’ll learn the exact hand positions, turning directions, and hidden release mechanisms that make fixture access quick and damage-free. No more forcing components or making costly mistakes—just the right method for your specific kitchen light.
Power Off and Safety Setup Before Opening Your Fixture
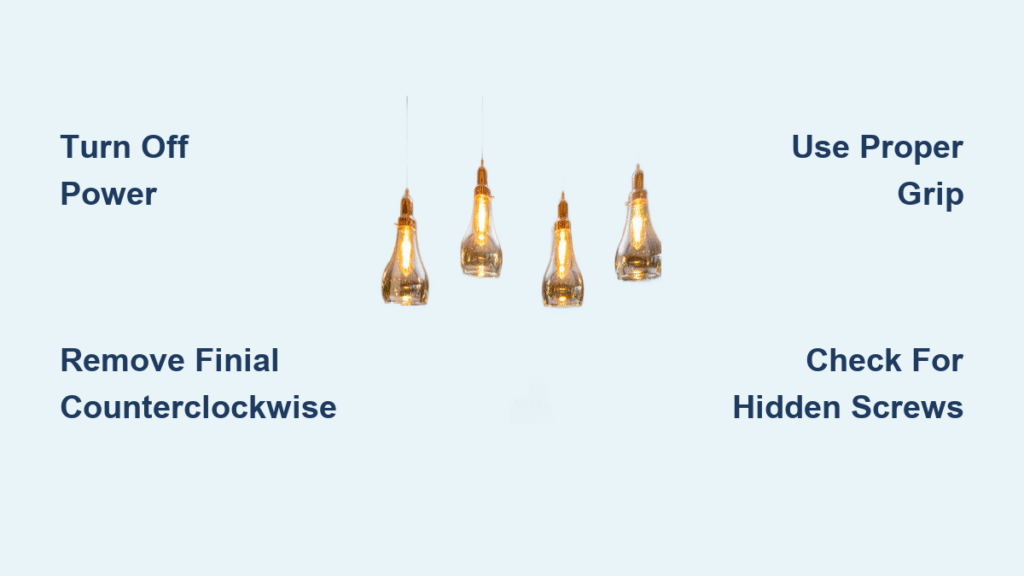
Never attempt to open kitchen light fixture while power is connected. Electrical shock risks increase dramatically in kitchen environments where moisture and metal surfaces create dangerous conductivity paths. Locate your home’s electrical panel and switch off the correct circuit breaker—test nearby switches to confirm all kitchen lighting is off. Use a non-contact voltage tester directly at the fixture for absolute confirmation before touching any components.
Allow halogen or LED fixtures to cool completely—these can retain dangerous heat for 15-20 minutes after use. Set up a stable step ladder that positions you at waist height to avoid overreaching. Gather essential tools before starting: flathead and Phillips screwdrivers (multiple sizes), needle-nose pliers, safety glasses, headlamp, plastic putty knife, and electrical tape. Taking a photo of your electrical panel with the labeled breaker prevents confusion when restoring power.
Flush Mount Glass Bowl Fixtures: Two Common Access Methods
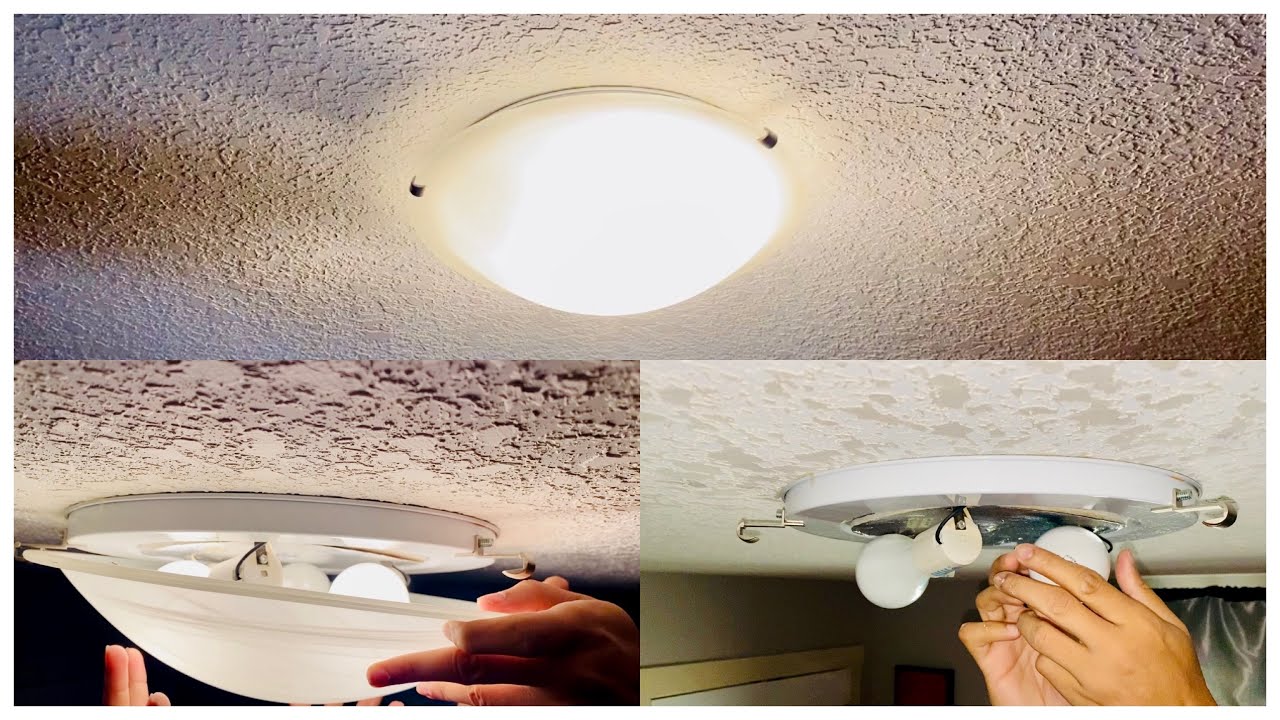
Remove Center Finial Designs Without Breaking Glass
Most glass bowl fixtures use a decorative center finial as the primary securing mechanism. Grasp the glass bowl firmly with one hand while supporting its full weight—these bowls typically weigh 3-5 pounds. With your other hand, turn the center finial counterclockwise using steady pressure; this often requires 8-10 full rotations. The finial may appear decorative but serves as the critical fastener holding the glass in place.
Watch for hidden set screws—some finial designs feature a tiny Allen screw on the side that must be loosened first before the finial will turn. Once loose, lower the glass slowly onto a towel-covered surface to prevent rolling or chipping. Never set glass components directly on hard countertops, as microscopic vibrations can cause cracks.
Handle Perimeter Screw Designs Properly
Alternative bowl fixtures use three small screws spaced evenly around the base instead of a center finial. Locate these screws where the glass meets the metal mounting bracket—they’re often nearly flush with the surface. Turn each screw counterclockwise 4-5 turns using the correct screwdriver size; do not remove completely. The glass should now drop free when all screws are sufficiently loosened.
Avoid the most common reassembly mistake: Overtightening these perimeter screws during reinstallation. Hand-tighten plus 1/4 turn maximum prevents glass stress fractures that may not appear immediately but cause future breakage.
Dome-Style Twist Fixtures: The Correct Unlocking Technique
Master the Twist-Lock Mechanism in One Attempt
Dome fixtures use a precise twist-lock system that confuses many DIYers. Position both hands at 3 and 9 o’clock positions on the dome’s edge for maximum leverage. Push upward slightly (about 1/4 inch) while turning counterclockwise approximately 1/8 turn—this small rotation releases the locking tabs. You’ll feel the dome release from its mounting bracket with a subtle “click.”
Look for alignment indicators: Small arrows or marks on both the dome and mounting ring show locked and unlocked positions. If you don’t feel release after proper technique, check for a center thumbscrew—some dome designs require completely unscrewing this 6-8 turns before attempting the twist motion.
Recessed Can Light Access: Spring Clip Secrets

Pop Out Baffle Trim Without Breaking Clips
Recessed lights use spring-loaded retention clips that require specific technique. Insert a flathead screwdriver between the baffle (inner ring) and ceiling drywall. Pry downward gently while pulling the trim edge—the springs will compress and release. For safer access without tools, grasp the baffle’s edge firmly and pull straight down with steady pressure; the trim should pop free as springs compress.
Prevent future problems: Older spring clips can break if bent too far outward. Replace broken clips immediately with identical replacements to prevent trim sagging or falling.
Handle Adjustable Eyeball Trims Correctly
Eyeball or gimbal trims require a two-step process due to stronger springs. First, pull the entire collar straight down 1-2 inches to expose the inner springs. Then squeeze the two spring clips together using needle-nose pliers while lowering the assembly. Expect significant resistance—these clips are designed to hold position against gravity.
Under-Cabinet LED Access: Two Different Systems
Slide Channel Strips Without Damaging LEDs
LED strip lights typically slide into aluminum mounting channels. Remove the end cap by sliding or gently prying with a plastic putty knife—metal tools can scratch channels. The strip should slide out easily once the cap is removed. For adhesive-mounted strips, work a plastic putty knife slowly between the strip and mounting surface, lifting just enough to break the adhesive bond without damaging LEDs.
Pro reinstallation tip: Take resistance photos before removal—note which end connects to power and the strip’s orientation for precise reinstallation.
Twist-Off Puck Lights: Battery vs. Hardwired
Battery-operated puck lights twist off their base with a 1/4 turn counterclockwise. Hardwired versions often have a small tab or button on the fixture’s base that must be pressed while pulling downward. Magnetic mounts require the simplest technique—pull straight down firmly to release the magnetic connection.
Troubleshooting Stuck Components: Three Critical Fixes
Free Frozen Screws Without Stripping Heads
Apply penetrating oil to corroded screws and wait 10-15 minutes for it to work. Use the exact screwdriver size that fits the screw head—mismatched drivers quickly strip screw heads. For decorative nuts, wrap with electrical tape for better grip or use locking pliers carefully with cloth protection to avoid marring finishes.
Separate Stuck Glass Safely
Heat expansion or paint adhesion often fuses glass to metal bases. Gently tap around the glass edge with a wooden spoon handle to break the bond. Insert a thin plastic putty knife between glass and metal to break the seal gradually. Never use metal tools—they cause instant chips or cracks in glass components.
Locate Hidden Fasteners in Modern Designs
Contemporary fixtures often conceal screws behind decorative elements. Check for removable center medallions or end caps that pop off to reveal screws. Look for small slots or gaps indicating separate pieces—these often hide securing hardware. Run your fingers around the fixture’s perimeter to feel for hidden access points.
When to Call Professionals: Five Red Flags
Stop immediately if you encounter aluminum wiring (silver-colored instead of copper), cloth-insulated wires (brittle fabric covering), or fixture weight exceeding 50 pounds. Any signs of electrical arcing, melted wire nuts, or scorch marks require professional assessment. Complex fixtures with multiple circuits or smart home integrations should be serviced by qualified electricians to maintain warranty coverage.
Reassembly Without Headaches: Two Essential Tips
Test before full reassembly—briefly restore power to confirm proper operation before securing all components. Hand-tighten all screws initially, then use tools for final tightening—glass components need only hand-tight plus 1/8 turn maximum. Take photos during disassembly in reverse order to create a natural reassembly guide that prevents connection errors.
Opening kitchen light fixture successfully depends entirely on identifying your specific design and applying the correct access technique. With these precise methods, you’ll replace bulbs, fix connections, or upgrade fixtures safely while avoiding expensive damage. Always prioritize power shutdown first, support glass components fully, and photograph complex assemblies before disconnecting anything—these three steps prevent 90% of DIY lighting repair disasters.

