
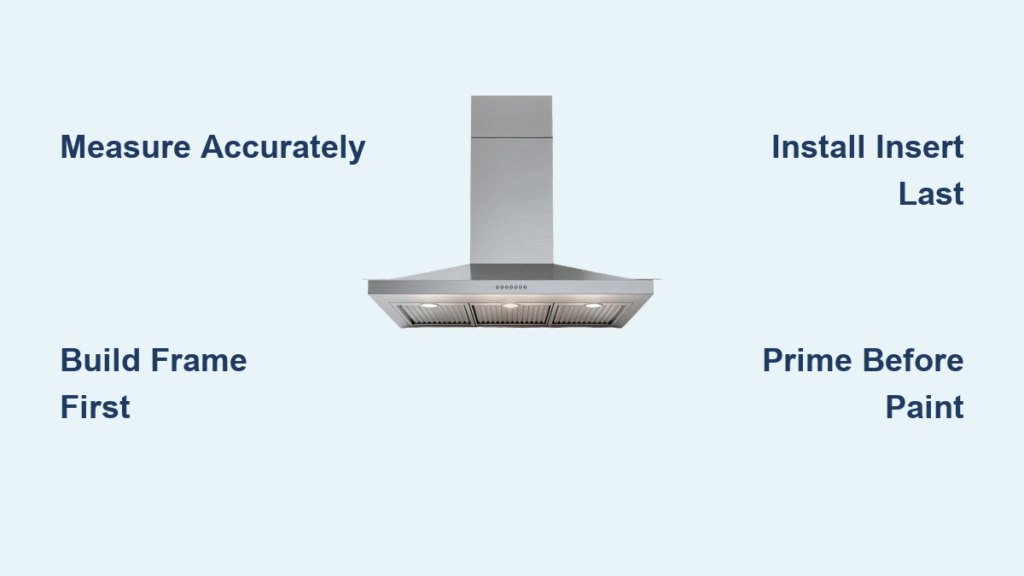
That stubborn gap above your stove is glaring every time you cook. While store-bought range hoods cost $2,000-4,000, you can build a custom kitchen hood for under $400 plus your insert. This guide shows exactly how to make a kitchen hood that fits your space perfectly, whether you’re crafting a simple rectangular box or an eye-catching curved design—all with basic tools and weekend warrior skills.
Measure Your Space Before Cutting Any Wood
Determine Exact Dimensions for Perfect Fit
Start by measuring the width between your cabinets with a tape measure. Subtract 3/4″ total (3/8″ each side) to accommodate 1/4″ plywood panels. The critical height measurement runs from your countertop to the bottom of your hood—ZLINE recommends 30-36″ for optimal performance. Check if you have an over-range microwave that needs relocating; moving it to your pantry requires professional electrical work. Decide immediately whether you’ll use a ducted system (venting outside) or ductless (recirculating filtered air).
Select Your Hood Design Based on Skill Level
Basic Rectangular: Perfect for beginners with clean lines that match any kitchen
Craftsman Style: Add decorative trim and lattice strips for vintage character
Modern Mediterranean: Create dramatic curved designs (75″W x 65″H x 22″D)
Minimalist Drywall: Achieve seamless integration but requires advanced finishing skills
Build a Sturdy Frame for Rectangular Hoods
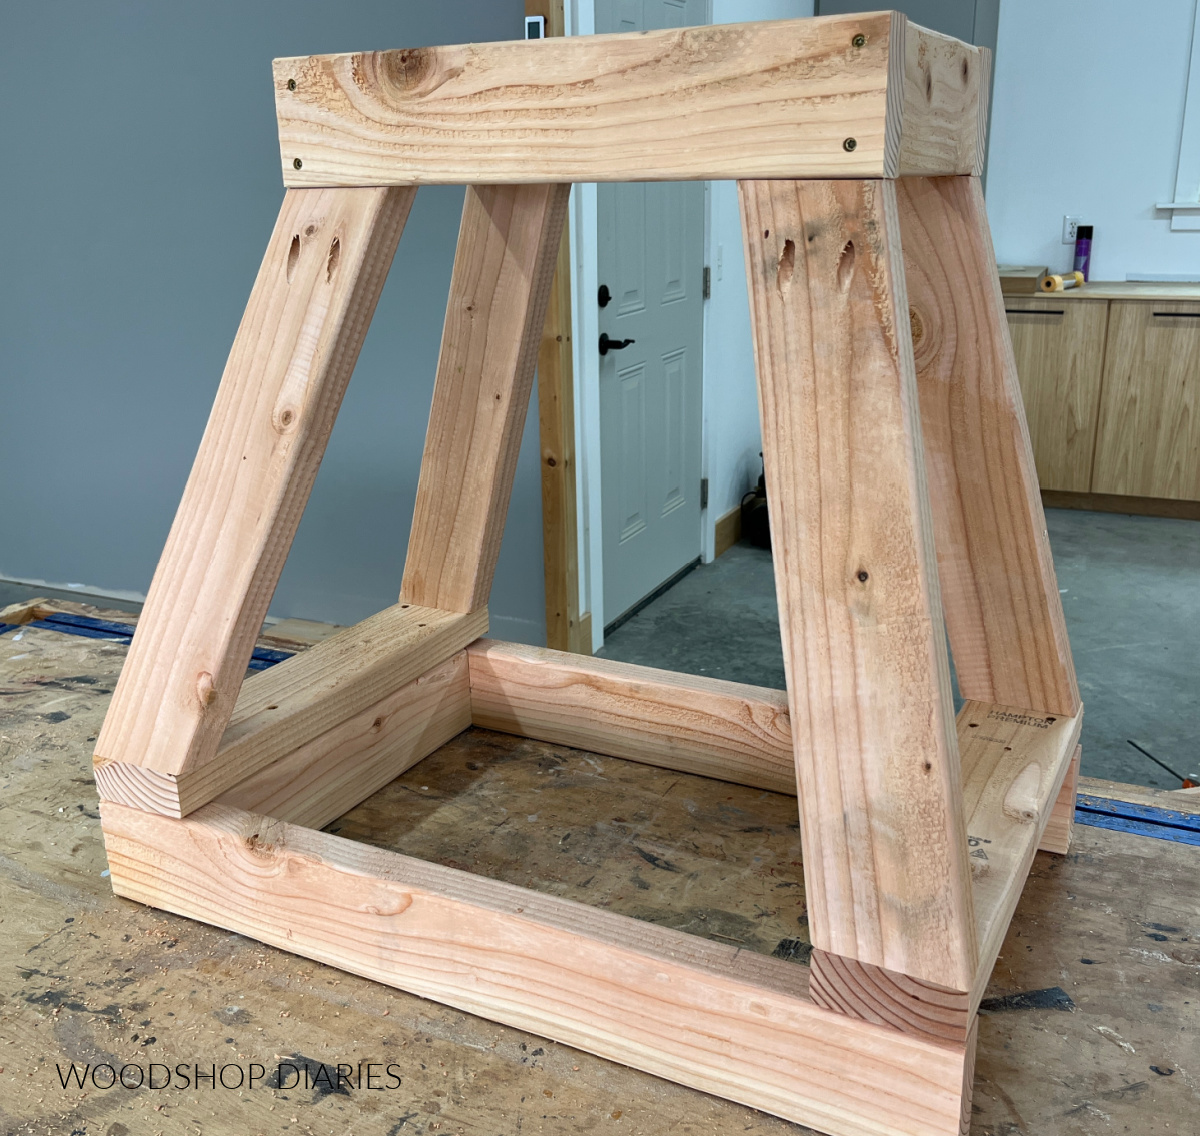
Construct the Top Support Structure
Cut two 26.5″ 2x4s and two 12″ end pieces to form your top frame rectangle. Pre-drill all holes to prevent wood splitting, then screw the pieces together. This top frame must attach directly to wall studs using 3.5″ screws—this connection carries your entire hood’s weight. Use a stud finder to locate solid attachment points before drilling.
Install the Critical Base Support
Position a 29.5″ wide 2×4 at exactly 30″ above your counter. Level verification at this stage prevents crooked hood syndrome later. Build your front frame using a 26.5″ front piece with 13.75″ sides connected via pocket holes. Add spacer blocks bringing the total depth to 17.5″ for standard insert clearance. Double-check all measurements before securing—your insert requires precise dimensions.
Connect Frame Sections with Reinforcement
Use vertical 2x4s cut to your ceiling height (typically 24″) with pocket holes to create the box structure. Add angled 1×4 supports at corners to prevent wobbling when you install the heavy insert later. This reinforcement is crucial—without it, your hood may vibrate during operation. Test the frame’s stability by gently shaking it before proceeding.
Create Curved Designs with Professional Results
Form the Arch Using Simple Techniques
Trace your arch shape using the string-and-pencil method on 1/2″ plywood—this creates the dramatic curved front profile. Cut carefully with a jigsaw following your pencil line. Build an “arch sandwich” using 1×4 scrap wood spacers for 2.75″ thickness, then attach to your front frame with wood glue and screws. Rushing this step creates visible gaps in your finished hood.
Apply Flexible Materials for Smooth Transitions
Wrap flexible MDF (1×4″) around your frame for seamless curved transitions. Clamp the material tightly to horizontal supports before securing with brad nails—this prevents warping as the wood dries. Craft architectural corbels using doubled 1/2″ plywood with 2×4 blocking for authentic detailing. These supports distribute weight evenly across your curved structure.
Gather Essential Materials Before Starting
Budget-Friendly Material Checklist
- Six 2x4x8′ boards for main framing structure
- Eight 1x4x8′ boards for trim and support elements
- 1/4″ plywood for side panels on rectangular designs
- 1/2″ plywood for curved elements and arch construction
- Fasteners: 3.5″ structural screws, pocket hole screws, 1″ brad nails
- Finishing supplies: Wood filler, paintable caulk, KILZ premium primer
Must-Have Tools for Successful Construction
You’ll need a miter saw for precise cuts, jigsaw for curved sections, and circular saw for larger panels. A drill with various bits, pocket hole jig, and multiple clamps are essential for assembly. Finish with a brad nailer, sanding blocks (120/220 grit), and Dremel for corner bead notching on drywall projects. Skipping any of these tools compromises your final result.
Select the Right Range Hood Insert

Top Insert Options for DIY Hoods
MCBON 30″: 600 CFM capacity, LED lights, 3-speed fan, stainless steel construction
ZLINE 34″: 700 CFM blower requiring 30-36″ clearance above cooktop
Zephyr 36″: Consider upgrading to 42″ vent for better coverage
Critical Insert Installation Details
Always dry-fit your insert before finishing anything—measure twice as most require exactly 26.5″ x 10.75″ opening. Ducted systems need routing through your attic or exterior wall, while ductless models require 2″ vent holes near cabinets for filtered exhaust. Electrical connections should be handled by a professional electrician to ensure safety compliance.
Finish Your Hood Like a Pro
Surface Preparation Sequence
Fill all screw holes and seams with wood filler, then sand smooth once dry. Apply paintable caulk to every trim intersection—this creates seamless transitions between materials. Prime everything with high-quality primer like KILZ to prevent tannins from bleeding through your final paint. Skipping proper priming guarantees future paint problems.
Professional-Quality Paint Application
Apply one thorough primer coat followed by two semi-gloss interior paint coats. Match your cabinet color exactly—BM Advance in Satin Bright White is popular for modern kitchens. SW Alabaster creates a creamy white finish that warms up stark white kitchens. Allow 24 hours drying time between coats for optimal results.
Install Your Hood Without Mistakes
Step-by-Step Installation Sequence
- Attach top frame to wall studs first, checking level obsessively at every stage
- Dry fit your insert before closing up any access points
- Apply finish materials (drywall or plywood) to your frame structure
- Install the insert—this requires two people to prevent dropping
- Connect ductwork and electrical safely and securely
- Apply final trim and perform paint touch-ups
Avoid Critical Installation Errors
Install your insert before closing access to ductwork—fixing problems later means removing finished work. Test operation before final trim installation to catch issues early. Level verification during frame installation prevents irreparable crookedness in your finished hood.
Realistic Cost and Time Estimates
Material Expense Breakdown
- Basic rectangular DIY build: $400+ (insert not included)
- Professional curved wood hood: $4,000+ installed
- Custom metal fabrication: Varies by local shop rates
Time Investment Reality Check
- Simple rectangular design: 2-3 days over several weekends
- Complex curved design: 2+ weeks of focused work
- First-timer projects: Add 50% to estimates for learning curve
Maintain Your Custom Hood for Longevity
Material-Specific Care Guidelines
Avoid drywall directly above your stove—grease and moisture will destroy it quickly. Wood construction needs regular cleaning with mild soap and eventual repainting every few years. Factory-coated stainless steel inserts offer the best long-term durability against kitchen elements.
Essential Maintenance Routine
Remove and clean filters monthly per manufacturer instructions. White finishes require periodic touch-ups—keep extra paint on hand. Replace charcoal filters on ductless systems every 6-12 months as recommended. Wipe down exterior surfaces weekly to prevent grease buildup.
Decide Between DIY and Professional Help
When to Call a Professional
Choose professional installation when your design involves complex curves requiring precise calculations, you lack framing and finishing experience, or you want guaranteed perfect fit and finish. If your schedule can’t accommodate weeks of intensive work, professional help saves frustration.
Smart Hybrid Approach
Build the basic frame structure yourself, then use a prefabricated metal shell for durability. This combines custom sizing with professional-grade materials while keeping costs reasonable. You get the personalized fit of DIY with the longevity of commercial construction.
Your custom kitchen hood project starts with accurate measurements and realistic expectations. Simple rectangular designs offer maximum impact for beginners, while curved designs create stunning focal points requiring advanced skills. Budget $400-600 for materials plus your range hood insert, and plan 2-3 weekends for completion. The result transforms your kitchen’s entire look while saving thousands over professional installation—making learning how to make a kitchen hood one of the smartest DIY investments you can make.

