

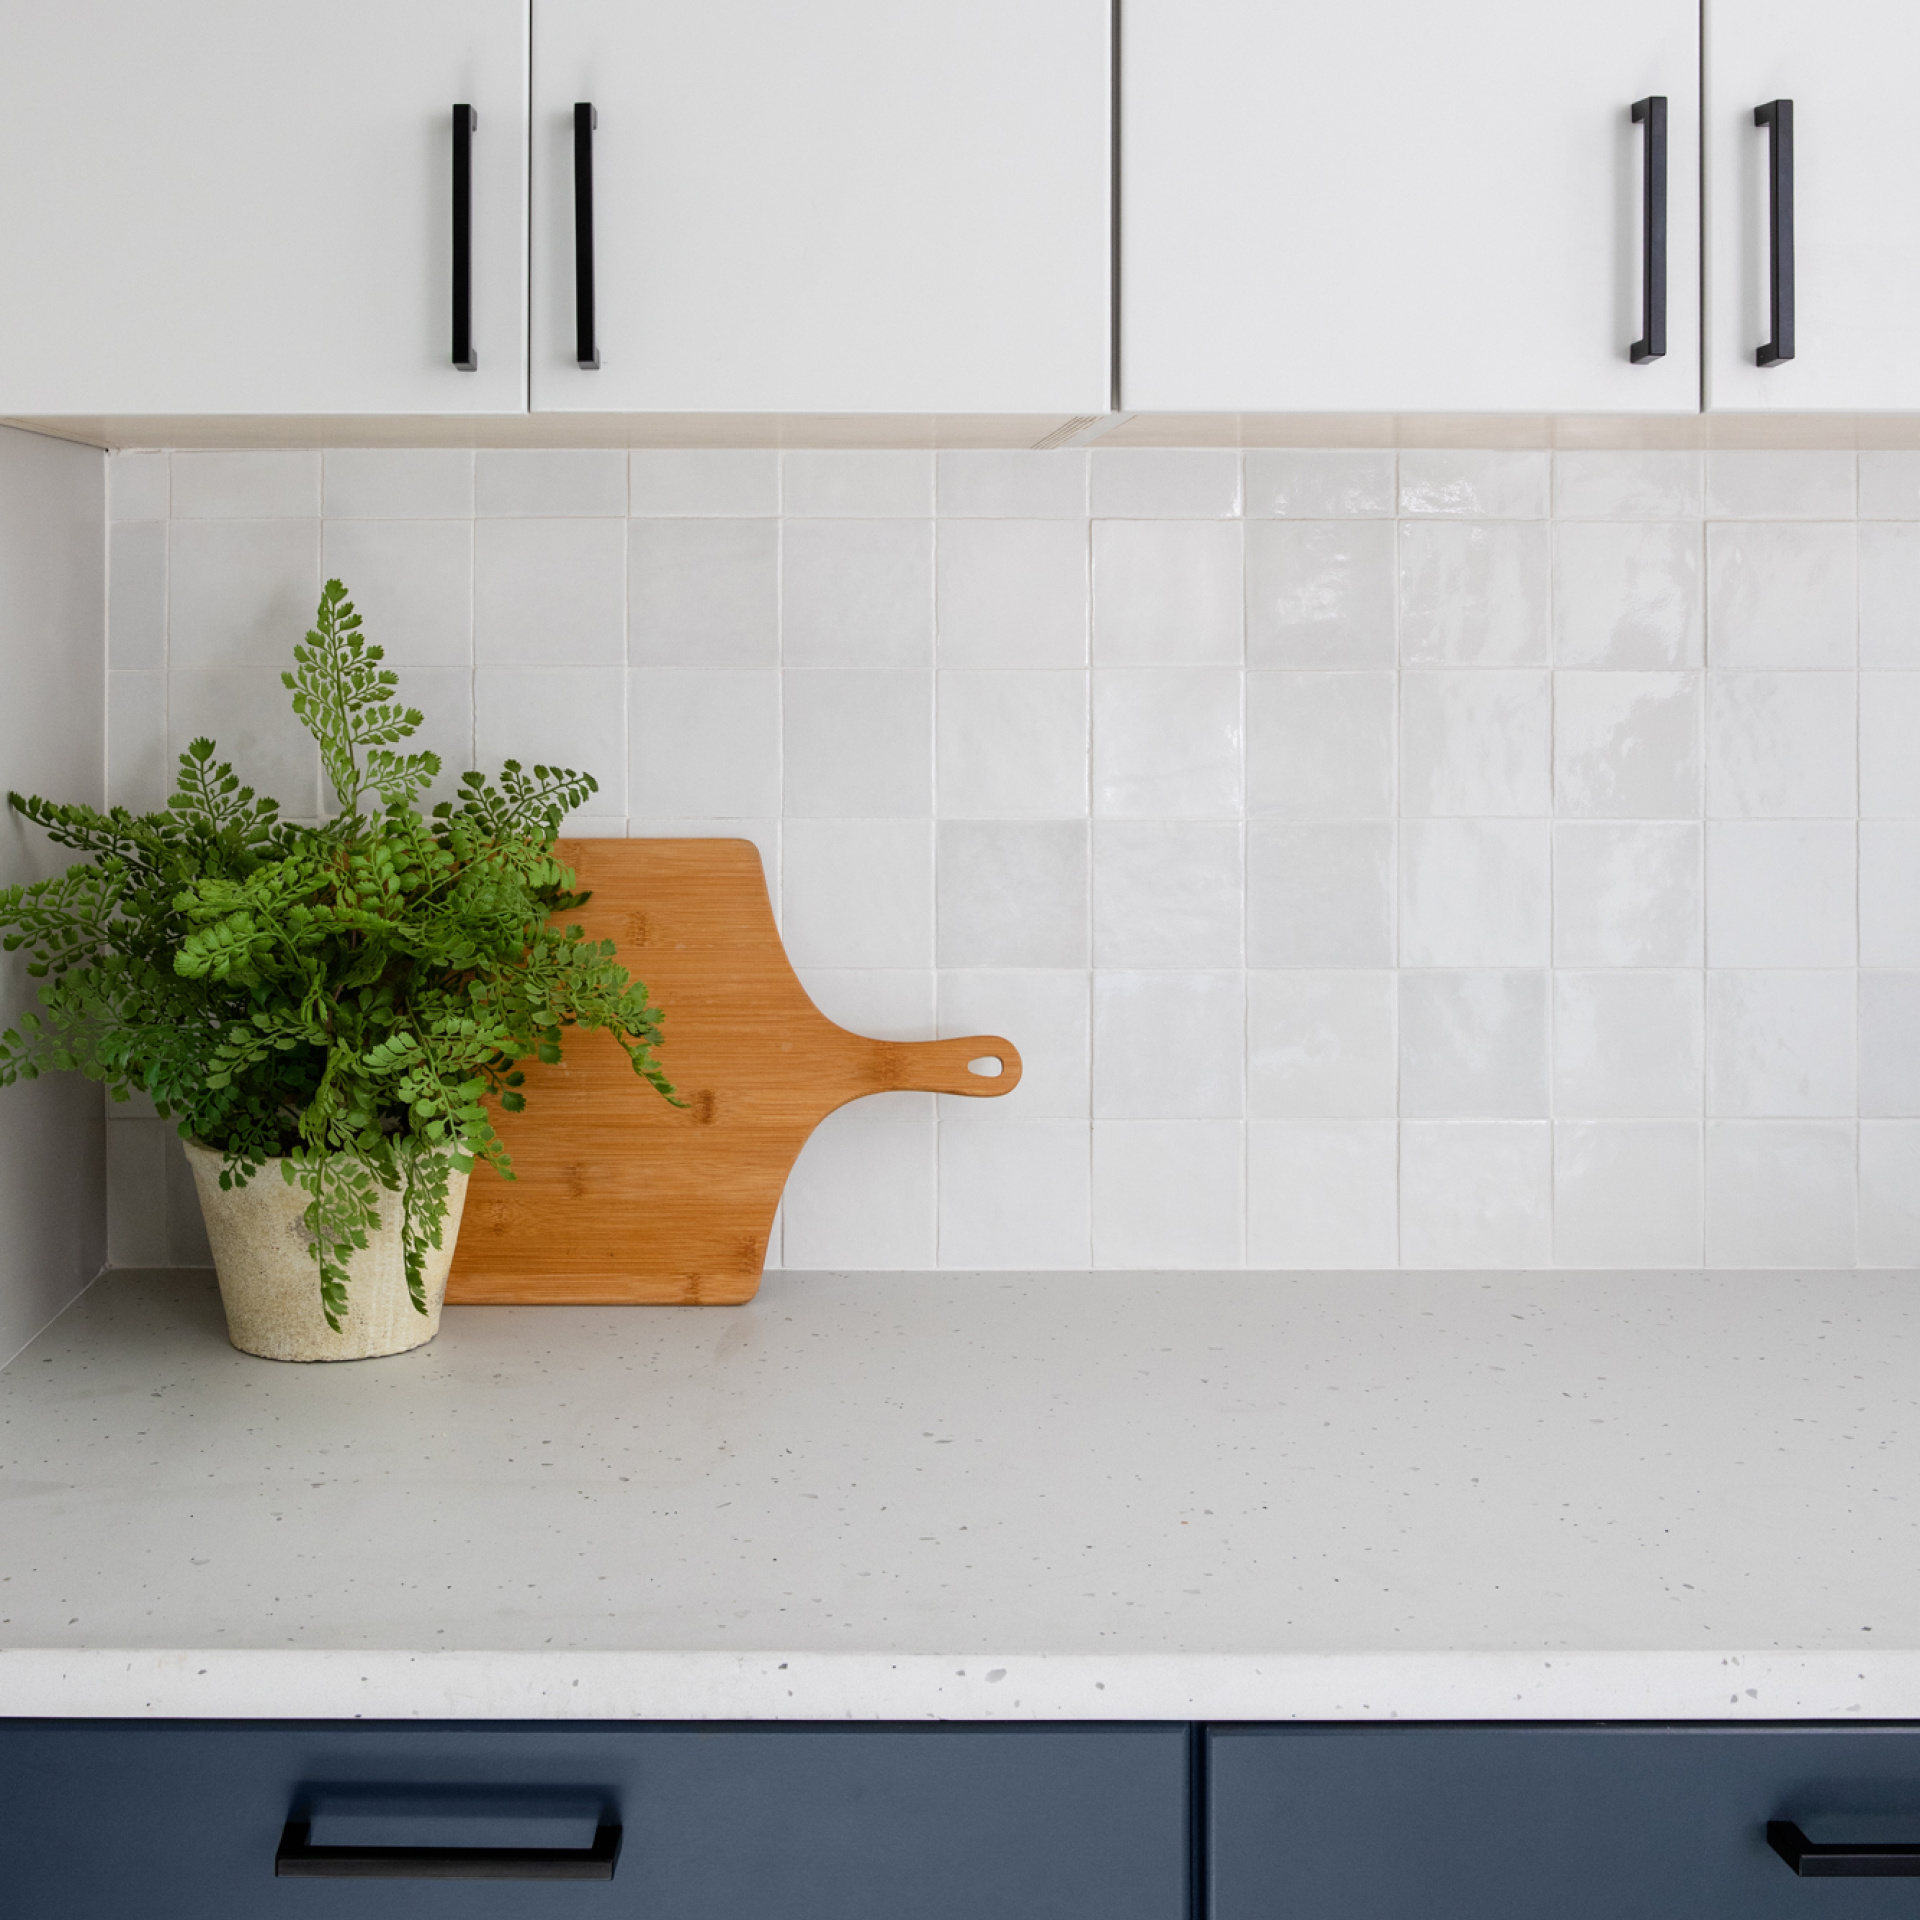
Tired of staring at dull, outdated kitchen walls while cooking splatters create permanent stains? You’re not alone—most homeowners wait years before tackling this transformative project, unaware they can install a stunning tile backsplash in just one afternoon. The good news is you don’t need professional skills to achieve results that’ll make your kitchen look like it jumped out of a design magazine. By following this precise roadmap, you’ll protect your walls from cooking messes while adding serious visual appeal. Whether you choose classic subway tiles or shimmering glass mosaics, this guide delivers professional-looking results without the contractor markup. Let’s turn your kitchen from “meh” to “wow” before dinner tonight.
Choose Perfect Tiles and Tools
Tile Types for Every Style
Select tiles that match both your aesthetic and practical needs. Ceramic subway tiles remain the top choice for their timeless look and easy maintenance—perfect for beginners on a budget. For luxury appeal without the hassle, marble mosaic sheets on mesh backing simplify installation while creating that high-end spa vibe. If you love modern shine, glass tiles deliver but require white thinset to prevent discoloration. Short on time? Peel-and-stick tiles with MusselBound adhesive mats transform walls in minutes with zero mortar mess. Don’t overlook wood-look tiles for rustic charm or large format glossy ceramic for seamless contemporary style. Always buy 10% extra to cover cuts and future repairs—running short mid-project is the #1 DIY disaster.
Essential Tool Kit
Skip the guesswork with this pro-approved toolkit. Your tape measure ensures precise cuts while a circuit tester prevents dangerous electrical surprises. A 4-foot level is non-negotiable for straight lines—cheap bubble levels cause crooked installations. For cutting, a manual tile cutter handles standard ceramic tiles, but rent a wet saw for glass or marble. Tile nippers are your secret weapon for intricate cuts around outlets. You’ll also need a rubber float for grout application and a utility knife for trimming peel-and-stick mats. Pro tip: Rent specialized tools from home centers—no need to buy expensive gear for one project.
Materials Checklist
Calculate tiles using your wall’s square footage plus 10% waste factor. For adhesion, choose between thinset mortar (for traditional tiles) or peel-and-stick mats (for instant bonding). Pre-mixed grout saves hours since it’s pre-sealed—skip the separate sealing step. Silicone caulk is essential for expansion gaps at countertops and corners. Don’t forget TSP cleaner to degrease walls and box extenders to adjust outlets flush with new tile thickness. For repairs, keep joint compound handy to fill wall imperfections deeper than 1/16 inch. Paintable outlet covers create seamless finishes that match your tile color.
Prepare Your Kitchen Space
Safety First Protocol
Turn off power at the breaker for all outlets in your backsplash zone—this isn’t optional. Verify zero voltage with your circuit tester before touching anything. Remove outlet covers and tape edges of cabinets/countertops to prevent scratches. Move appliances like microwaves away from walls and protect surfaces with canvas drop cloths (plastic slips when cutting). Skipping these steps risks electrocution or permanent damage—safety prep takes 15 minutes but prevents costly disasters.
Wall Assessment Steps
Check drywall condition—kitchen backsplashes install directly over drywall since sinks aren’t wet areas (no cement board needed). Clean thoroughly with TSP solution to remove grease that blocks adhesion. Sand glossy painted surfaces with 120-grit paper until matte. Fill dents deeper than 1/16 inch with joint compound, then sand smooth after drying. Prime repaired spots to prevent uneven tile absorption. Walls must be perfectly flat—any ripple shows through tile joints. If your wall feels spongy, reinforce with backing board before proceeding.
Ledger Board Setup
Mark bottom tile line using your level across the entire backsplash area. Attach a 1×4 board to wall studs with 2-inch screws—this temporary shelf prevents tiles from sliding before adhesive sets. Critical when tiling above stovetops without countertops, this support holds tiles perfectly level during curing. Remove the ledger 24 hours after installation once thinset hardens. Skip this step, and gravity will ruin your straight lines—especially with heavy stone tiles.
Plan Your Tile Layout
Measure and Mark
Measure total area height and width precisely—fractional errors compound across rows. Draw a full-scale template on cardboard to visualize cuts around outlets. Mark vertical center line through your stove or faucet—the focal point where patterns should align. Account for 1/8-inch expansion gaps at cabinets, ceiling, and countertops using spacers. Never start tiling from corners; walls are rarely square, and you’ll end up with tapered edge tiles.
Horizontal Layout Strategy
Dry-lay tiles along countertop with spacers to preview the pattern. Adjust starting point so end cuts are at least half-tile width—narrow slivers look amateurish. If your layout creates a 2-inch cut at one end and a 4-inch cut at the other, shift all tiles left by 1 inch to balance both sides. Mark cutting lines directly on the wall with pencil. This step prevents “tile limbo” where you’re stuck mid-installation wondering why cuts don’t fit.
Vertical Layout Check
Find the lowest countertop point with your level—this determines your bottom tile position. Hold a tile with spacer at this spot and mark the top edge on the wall. Create a jury stick (straight board marked with tile heights) to maintain consistent rows. Adjust layout downward if the top row would create slivers thinner than 1 inch—better to have a slightly wider gap at the ceiling than microscopic tiles. Remember: The first row sets the tone for your entire project.
Install Tiles Like Pros
Choose Your Adhesive Method
Traditional Thinset Application
Mix thinset to peanut butter consistency per package instructions. Work in 2-foot sections—thinset skins over in 20 minutes. Comb with notched trowel at 45-degree angle for optimal grip. Use white thinset for glass tiles to avoid greenish haze. Apply only enough for 4-5 tiles at a time, and press tiles with a twisting motion to embed them fully. Wait 24 hours before grouting—rushing causes cracks.
Peel-and-Stick Mat Method (MusselBound)
Cut mat to exact size with utility knife, press firmly onto clean wall, and cut around outlets with precision. Roll with grout float to activate adhesive—no waiting required. Tile immediately since it bonds on contact (but tiles won’t slide once placed). Note restrictions: Not for floors, ceilings, or steam areas. Ideal for renters or quick upgrades—grout same day.
Place First Tiles
Start at your center line working outward to hide asymmetries. Press tiles with twisting motion into adhesive while maintaining 1/8-inch gap at countertop. Check level constantly—a 1/16-inch error in row one becomes 1/2-inch crooked by row ten. Use spacers religiously; uneven joints scream “DIY disaster.” For glass tiles, work in small sections to prevent adhesive drying before placement.
Continue Installation
Install full tiles first before measuring cuts—your dry layout map guides placements. Mark cut tiles using installed tiles as templates. Cut mesh-side up on tile cutters for clean breaks, and use nippers for outlet cutouts. Work top-down on vertical sections to avoid smearing adhesive on finished tiles. When hitting outlets, cut tiles 1/16 inch smaller than openings to allow for caulk gaps.
Grout and Finish Perfectly
Grout Selection
Use unsanded grout for joints under 1/8 inch (standard for most backsplashes). Choose sanded grout only for wider gaps over 1/8 inch. Pre-mixed and pre-sealed grout eliminates the sealing step—critical for time-crunched DIYers. White grout is mandatory for glass tiles to maintain color clarity. Avoid “grout pens”—they wear off in six months.
Apply Grout Properly
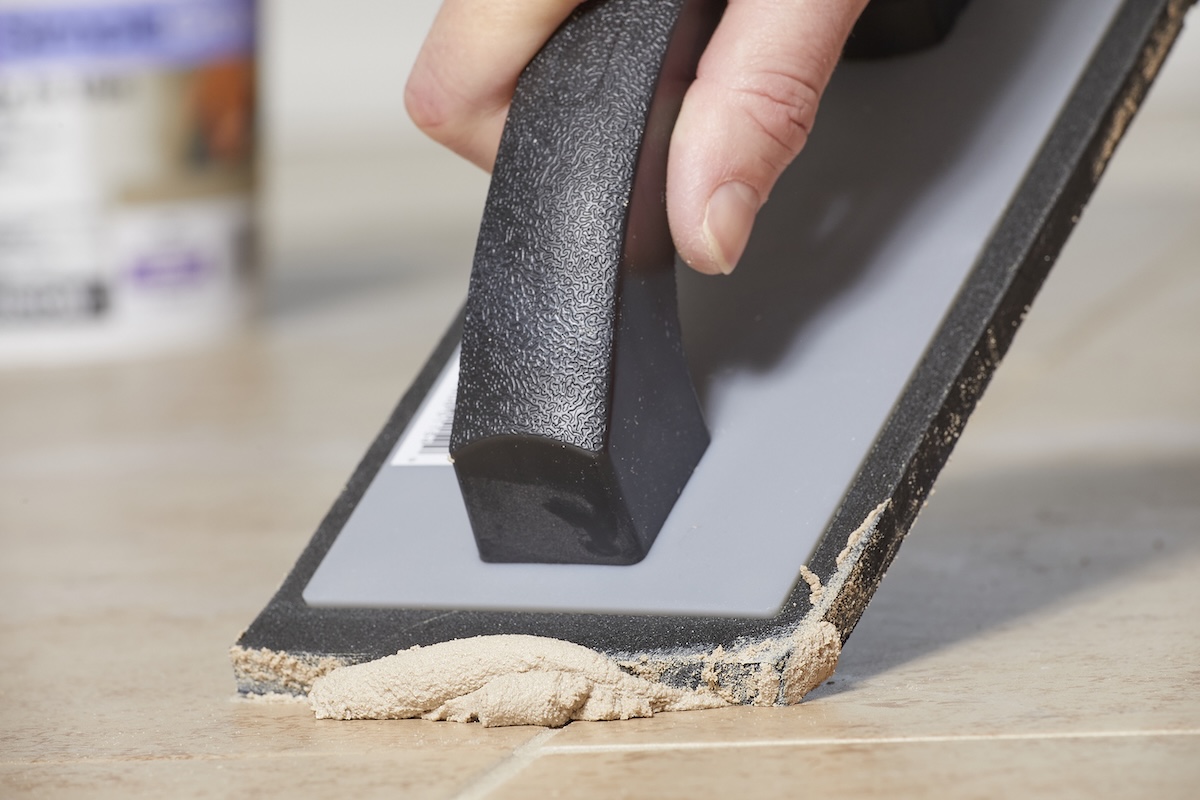
Wait 24 hours for thinset to cure completely. Mix grout to smooth peanut butter texture. Apply with rubber float at 45-degree angle, pressing diagonally across tiles to force grout deep into joints. Fill completely—voids attract mold. Work in 3×3 foot sections, and scrape excess with the float edge before it hardens.
Clean and Polish
Wait 10-15 minutes after application (check package timing). Wipe with damp sponge using diagonal strokes—never straight up/down. Rinse sponge constantly in clean water; murky water leaves haze. Final buff with dry microfiber cloth after 2 hours. For stubborn residue, use haze remover per instructions—vinegar solutions can damage grout.
Complete Final Details
Seal and Caulk
Apply grout sealer if using traditional grout (skip if pre-sealed). Fill expansion gaps with 100% silicone caulk at: countertop junctions, inside corners, and around outlets. Caulk creates flexible seals that prevent water intrusion where rigid grout would crack. Smooth beads with a damp finger for professional results.
Restore Electrical
Install box extenders to bring outlets flush with tile thickness—standard outlets will sit behind your new surface. Replace covers with paintable versions that match your tile color. Restore power and test every outlet/switch. Never force outlets into boxes; extended boxes solve this cleanly.
Pro Tips and Variations
Special Situations
Always use a ledger board when tiling above stovetops without countertops—gravity doesn’t negotiate. Small areas like butler’s pantries follow identical steps but require less adhesive mixing. Paint existing tiles with specialized epoxy paint as a budget alternative—clean thoroughly and sand first for adhesion.
Pattern Possibilities
Horizontal stacking creates modern linear effects with large-format tiles. Mix tile types—use glass accents in subway tile fields for dimension. Color choices should complement cabinets, not match exactly (e.g., warm white grout with cool white tiles). Large kitchens need extra planning time for pattern alignment across multiple walls but use the same installation method.
Your new backsplash transforms cooking splashes from disasters into easy wipe-offs while adding instant visual impact. With proper expansion gaps sealed and outlets flush with tile, you’ve created a professional installation that withstands daily kitchen battles. Maintain it with weekly cleaning using pH-neutral sprays—avoid vinegar-based cleaners that erode grout over time. Now step back and admire how four hours of smart work delivered a kitchen upgrade that’ll spark envy for years. Ready for your next project? Tiling a bathroom surround uses nearly identical techniques—just add waterproof backer board.

