
Your old kitchen faucet is dripping relentlessly, adding to your water bill and testing your patience. If you’ve decided to upgrade to a sleek Kohler model, you’re in the right place. How to install a Kohler kitchen faucet is a DIY project that most homeowners can complete in under four hours with basic tools. Skip the $400 plumber’s fee and transform your sink with this precise guide covering everything from shut-off valve checks to leak-proof connections. You’ll learn professional tricks for tight spaces, electrical setups for touchless models, and how to avoid the top three installation mistakes that cause leaks.
This isn’t just another generic faucet guide. We’ll tackle model-specific challenges like magnetic docking for pull-down sprayers and sensor calibration for touchless units. By the end, you’ll have a leak-free, fully functional Kohler faucet that looks professionally installed. Let’s get your hands dirty and your sink sparkling.
Gather Your Kohler-Specific Tools Before Starting
You won’t need fancy equipment, but skipping the right tools guarantees frustration. Grab these essentials first: an adjustable wrench (8-12 inch), basin wrench for cramped spaces, Phillips and flat-head screwdrivers, and the Kohler installation tool included in your box. That specialized tool is critical—it reaches mounting nuts where standard wrenches fail under deep cabinets. Don’t forget safety glasses to shield against debris and a bucket for inevitable drips.
Pro Tip: Test your basin wrench before installation. Practice tightening a nut in an open area to avoid stripping connections blind under the sink. For touchless models, verify your GFCI outlet works with a lamp—water and faulty electricity are a dangerous mix.
Confirm Sink Compatibility in 5 Minutes

Measure your sink deck thickness first—Kohler faucets max out at 1-3/4 inches. Use a tape measure from countertop to cabinet floor to ensure 8+ inches of clearance. Check existing hole patterns: single-hole (1.5″ diameter), 3-hole (4″ centers), or 4-hole configurations. If your sink has extra holes, note that Kohler escutcheon plates cover unused spaces. Crucially, test shutoff valves under the sink—they must turn smoothly clockwise to stop water flow. Stuck valves mean calling a plumber before starting.
Warning: Forcing corroded valves cracks pipes. Apply penetrating oil, wait 15 minutes, then try again gently. If they won’t budge, stop—this isn’t worth a flood.
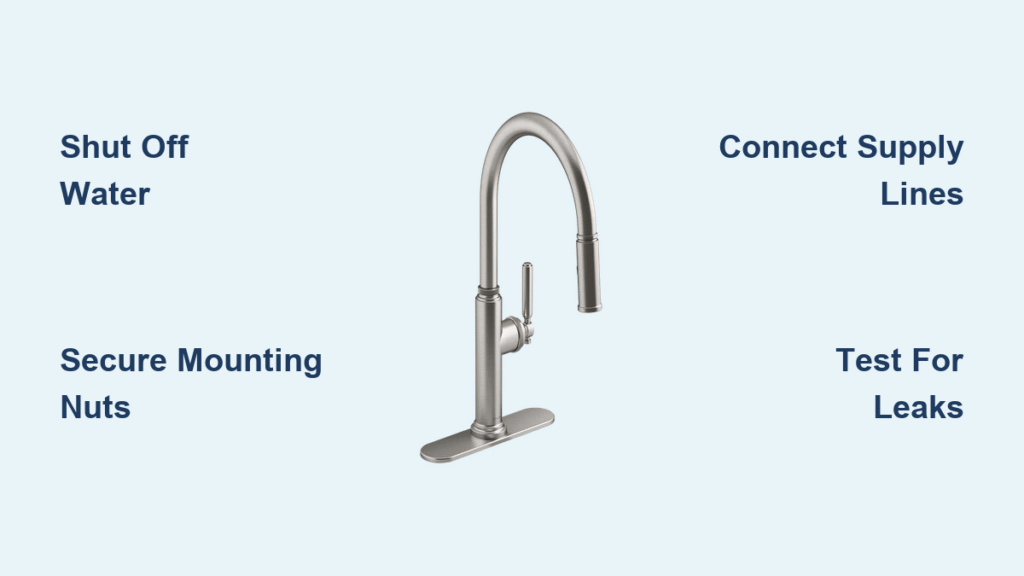
Shut Off Water Without Causing Damage
Locate the shutoff valves under your sink: hot (left) and cold (right) lines. Turn them clockwise slowly until fully closed—never force them. Now open your old faucet handles to drain residual water and relieve pressure. Confirm success by trying to run water; if it sputters then stops, you’ve succeeded. For touchless models, unplug electrical connections now to avoid shocks during work.
Critical Check: Place towels under valves. If old connections leak when turned, wrap them in plumber’s tape immediately. Dripping valves during installation flood cabinets in minutes.
Remove Your Old Faucet Safely
Position a bucket under supply line connections. Take photos of existing hose routing—this saves headaches later. Disconnect hot and cold supply lines using your adjustable wrench on the nuts (turn counterclockwise). For pull-down models, unsnap the spray hose from its quick-connect fitting. Then, use your basin wrench to loosen mounting nuts under the sink deck. Lift the old faucet straight up; wiggling cracks porcelain sinks.
Sink Prep: Scrape old caulk residue with a plastic putty knife (metal scrapers scratch finishes). Wipe the mounting area with vinegar to remove mineral deposits. Inspect holes for cracks—if damaged, patch with epoxy before proceeding.
Secure Your New Kohler Faucet Base

Feed the faucet tailpieces through sink holes from above. For single-handle models, position handles on the right side with the spout facing sink center. Place the rubber gasket supplied by Kohler onto the underside of the sink deck. Thread mounting nuts onto the faucet shanks by hand, then tighten with the Kohler installation tool. Stop when snug—hand-tight plus 1/4 turn max. Over-tightening cracks gaskets and causes immediate leaks.
Pro Move: Have a helper hold the faucet steady from above while you tighten below. Misalignment strains connections and leads to future drips at the base.
Connect Water Lines Leak-Free
Attach hot (red-marked) and cold (blue-marked) supply lines to corresponding faucet inlets. Wrap plumber’s tape clockwise 3-4 times on male threads before connecting. Hand-tighten connections first, then add only 1/2 turn with your wrench. Never “crank down” supply lines—this strips threads. For touchless models, route the power cord away from water lines to prevent electrical shorts.
Leak Prevention Secret: Leave supply lines slightly slack. Tension during faucet movement cracks fittings over time. Test connections by gently tugging lines—they shouldn’t budge.
Install Pull-Down Sprayer Correctly
Feed the spray hose through the faucet body from below, then route it up through the spout. Attach the counterweight 8 inches from the spray head, positioning it between water lines to avoid snags. Snap the hose into the quick-connect fitting until it clicks. Test retraction by pulling the spray head down—release to check smooth return. If it sticks, adjust the weight 1 inch higher.
Fix Sticky Sprayers: Lubricate the hose with silicone spray (never oil-based) where it enters the spout. Wipe excess to prevent grease buildup.
Set Up Touchless Models Safely
For AC-powered Kohler Sensate models, plug the adapter only into a GFCI outlet—standard outlets risk electrocution. Battery models require six AA batteries in the control box. Calibrate by waving your hand slowly over the sensor three times until the LED flashes green. Test activation distance: it should trigger at 4-6 inches. If too sensitive, use the adjustment tool to reduce range.
Critical Safety Note: Never install touchless faucets without GFCI protection. Water contact with non-GFCI circuits can be fatal.
Test for Leaks Like a Pro
Turn water valves on slowly while watching connections. Run full hot and cold water for 3 minutes. Check these leak hotspots: faucet base, supply line nuts, spray head connections, and under the sink cabinet floor. For pull-down models, test spray mode while moving the handle. If you spot drips, tighten connections 1/8 turn max—overtightening worsens leaks.
Smart Test: Place paper towels under each connection. Wet spots pinpoint leaks faster than visual checks alone.
Make Final Adjustments Before Finishing
Align handles to point straight forward when off. Adjust set screws with the included Allen key. Remove the aerator and flush debris for 30 seconds, then reinstall. Wipe fingerprints with a microfiber cloth—vinegar streaks on stainless finishes. Apply a bead of clear silicone caulk around the base only if your model lacks a gasket seal.
Pro Finish: Register your warranty online within 30 days. Keep the receipt and manual in a “plumbing folder” for future repairs.
Fix Common Post-Installation Issues Fast
Base leaks? Tighten mounting nuts in 1/8-turn increments—don’t exceed 1/2 turn total. Low pressure? Unscrew the aerator and soak it in vinegar for 15 minutes to dissolve mineral buildup. Sticky spray head? Clean nozzles with an old toothbrush and check counterweight position. For touchless models with erratic activation, wipe the sensor window with rubbing alcohol—grease blocks detection.
Critical Mistake: Don’t ignore minor drips. They escalate into cabinet damage within weeks. Address leaks immediately.
Handle Model-Specific Challenges
Pull-down models (Simplice/Cruette): Align the magnetic dock by hand before tightening set screws—misalignment causes spray head wobble. Touchless models (Sensate): The LED flashes red when batteries are low—replace all six at once. Single-handle models: Adjust temperature limits by removing the handle cap and turning the stop screw with a flat-head screwdriver.
Pro Tip: For bridge faucets, install the bridge connector before securing the main base—reaching those bolts later is nearly impossible.
Maintain Your Kohler Faucet Long-Term
Clean weekly with mild soap—never abrasive pads that scratch finishes. Every three months, unscrew the aerator and soak it in vinegar to prevent clogs. For pull-down hoses, check counterweight position monthly; it slides down over time causing retraction issues. Replace supply lines every five years—they harden and crack internally.
Warranty Key: Kohler’s lifetime warranty requires online registration within 30 days. Keep your receipt—you’ll need it for cartridge replacements.
Know When to Call a Plumber
Don’t attempt electrical work for hardwired touchless models—hire an electrician. Call a plumber if shutoff valves leak when turned off, existing pipes are corroded, or your sink deck has cracks around mounting holes. Complex modifications like adding holes to granite countertops also require professionals.
Red Flags: If water won’t stop flowing after closing valves, or you smell gas (near water heaters), shut off main house water immediately and call emergency plumbing.
Save $300 With Smart DIY Choices
DIY installation costs $10-25 for plumber’s tape and silicone, versus $200-400 for professionals. Reuse existing supply lines if they’re under five years old and show no cracks. Borrow a basin wrench from hardware stores—most lend tools free with deposit. Install during winter when plumbers are less busy—you’ll pay 20% less if you need help later.
Biggest Savings: Skip unnecessary upgrades. Most Kohler faucets work with standard 3/8″ supply lines—no need for expensive PEX conversions.
Your Kohler kitchen faucet installation is complete. Test all functions daily for the first week—minor adjustments prevent major leaks later. With proper setup, your faucet will deliver flawless performance for 15+ years. Remember to clean aerators monthly and register your warranty immediately. Now step back and enjoy your upgraded kitchen workspace—you earned it.

