
Your sink’s four holes aren’t just decorative—they’re your gateway to a kitchen powerhouse with side sprays, soap dispensers, and filtration systems. When your old faucet leaks or you’re upgrading to a multi-functional setup, knowing how to install 4 hole kitchen faucet properly prevents costly water damage and frustration. Most DIYers waste hours battling leaks from misaligned gaskets or stripped mounting nuts because they skip pre-installation checks. This guide cuts through the confusion with field-tested techniques that ensure your new faucet works flawlessly on the first try. You’ll learn exactly which tools prevent wrist-cramping under-sink struggles, how to avoid the #1 mistake that cracks porcelain sinks, and why skipping aerator removal during testing ruins water pressure.
Plan Your 4 Hole Faucet Installation
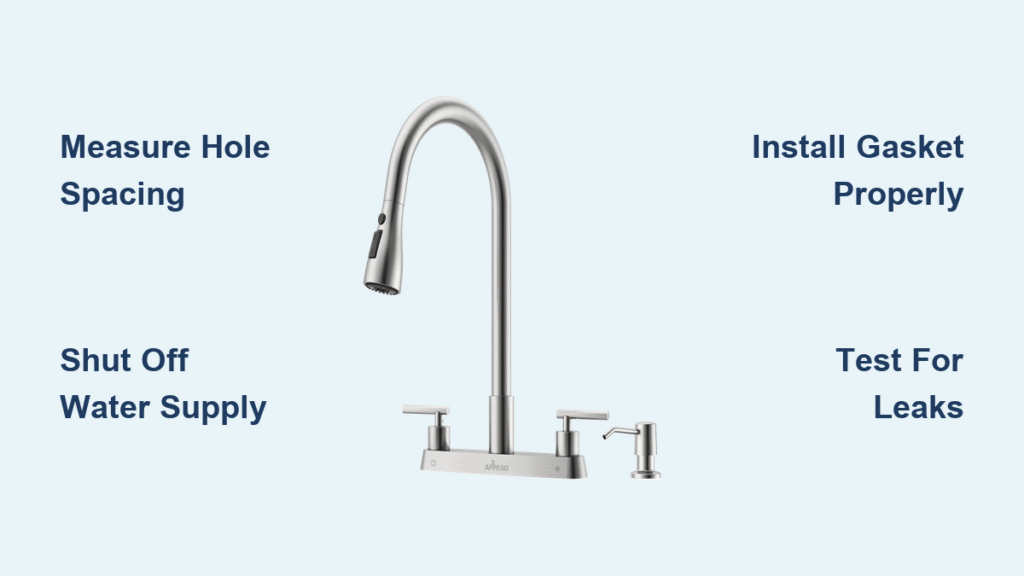
Before touching a single tool, verify your sink’s hole configuration matches your new faucet. Four-hole setups typically allocate openings for the main faucet body, side spray, soap dispenser or filtration faucet, and dishwasher air gap—each requiring precise 1-3/8″ diameter spacing. Measure existing holes with calipers rather than guessing; mismatched spacing forces awkward workarounds that compromise seals. If converting from a 3-hole sink, confirm your kit includes an escutcheon plate to cover the unused opening—never leave holes exposed where water can seep into cabinetry.
Required Tools for Installation
- Wrenches: 8-inch and 10-inch adjustable wrenches, plus basin wrench for tight spaces
- Tools: Phillips and flat-head screwdrivers, flashlight or headlamp
- Supplies: Plumber’s tape, silicone sealant or plumber’s putty, bucket, towels
- Materials: New 4-hole faucet kit, 3/8-inch supply lines, mounting hardware included
Safety First: Shut Off Water
Turn both shut-off valves clockwise until tight—righty-tighty. Open your existing faucet to release pressure and drain remaining water. Place a bucket under connections to catch drips. Pro tip: Take photos of existing connections before disconnecting anything—these serve as your roadmap during reassembly. If valves stick, wrap them with a rubber glove for better grip before applying penetrating oil. Never skip draining residual water; that “few ounces” left in lines will flood your cabinet during disconnection.
Remove Old Kitchen Faucet
Disconnect Supply Lines
Position your bucket under the shut-off valves. Using your adjustable wrench, loosen the compression nuts connecting supply lines to the faucet shanks. Let residual water drain completely. If nuts are corroded, apply penetrating oil and wait 10 minutes before attempting removal. Critical warning: Never force stuck nuts—apply heat with a hairdryer for 30 seconds to expand metal before reattempting. Forcing them cracks valve stems, requiring full valve replacement.
Remove Mounting Hardware
Crawl under the sink with your flashlight and basin wrench. Locate the mounting nuts securing your faucet to the sink deck. Turn counterclockwise to loosen—expect resistance from years of mineral buildup. Once nuts are off, remove any retaining clips and lift the old faucet straight up. If the base is stuck from dried putty, gently tap around the perimeter with a rubber mallet; prying with screwdrivers chips sink finishes.
Prepare Sink Surface
Clean mounting areas thoroughly using mild detergent and a scrub pad. Remove old plumber’s putty or silicone completely—any residue prevents proper sealing. Inspect each hole for damage or sharp edges that could cut new gaskets. Pro tip: Run a utility knife around hole edges to remove burrs, then wipe surfaces with rubbing alcohol for optimal adhesion. Skip this step, and your new faucet will leak within weeks as gaskets fail against uneven surfaces.
Install 4 Hole Faucet System

Position Main Faucet
Insert the faucet body through the center hole, ensuring handles face the correct direction. From below, slide the rubber gasket over the faucet shanks, followed by the metal mounting plate. Thread mounting nuts hand-tight initially—final tightening comes after alignment. Watch for: Backsplash clearance—position handles 2-3 inches forward so they don’t hit walls when fully open. If your sink has a curved front edge, align the spout parallel to the curve for ergonomic use.
Secure Base Properly
From under the sink, center the faucet and check level. Using your basin wrench, tighten mounting nuts in a criss-cross pattern, alternating between nuts. Test stability by attempting to rotate the faucet—it shouldn’t budge when handles turn. Critical warning: Over-tightening cracks porcelain sinks—stop when resistance increases sharply after the initial snug fit. If your countertop is granite over 1.5″ thick, use extended shanks to avoid straining the mounting plate.
Install Side Spray or Accessories
Side Spray Installation: Feed spray hose through the designated side hole, connecting it to the faucet’s diverter valve. Test trigger action before securing the spray holder—never kink the hose. The hose should retract smoothly without catching. If it binds, reroute it through the sink hole at a 45-degree angle away from cabinet walls.
Soap Dispenser Setup: Insert dispenser body through its hole, threading the mounting nut from below. Fill the bottle with soap before attaching the pump head—this prevents air locks that prevent priming. Pro tip: Use warm water to thin thick soap for easier initial pumping.
Water Filtration Faucet: Mount through remaining hole, connecting to your filtration system per manufacturer guidelines. Ensure adequate clearance from the main faucet to prevent interference during use. Leave 1.5 inches between spouts to avoid cross-contamination.
Connect Water Supply Lines
Prepare Connections
Wrap plumber’s tape clockwise around faucet shank threads—3-4 turns prevents leaks without over-tightening. Connect hot water line to the left shank (usually marked red), cold to the right (marked blue). Hand-tighten compression nuts first, then use your wrench for an additional quarter-turn only. Critical mistake to avoid: Cross-threading supply lines—start nuts by hand to ensure straight alignment. Forcing misaligned nuts strips threads, requiring faucet replacement.
Test for Leaks
Remove the faucet aerator to prevent debris damage. Slowly open shut-off valves, checking each connection for drips. Run water for 2-3 minutes to clear installation debris and air pockets. Turn off water, reinstall aerator, and test all functions including hot/cold mixing and spray operation. Pro tip: Place paper towels under connections—if they stay dry after 10 minutes of use, you’ve nailed the seal.
Fix Common Installation Problems

Stop Base Leaks Immediately
If water seeps around the faucet base, loosen mounting nuts and check gasket placement. Reapply plumber’s putty or silicone sealant around the base perimeter, then retighten. Persistent leaks often indicate damaged gaskets—replace them rather than over-tightening. Emergency fix: Turn off water, dry the area completely, and apply waterproof epoxy around the base as a temporary seal until parts arrive.
Solve Supply Line Leaks
Dripping compression nuts usually need tightening—turn an additional eighth of a turn maximum. If leaks continue, replace the supply line washers. Cracked or corroded lines require complete replacement—don’t risk water damage to save a few dollars. Pro tip: Keep spare washers in your toolbox; they fail 3x more often than the lines themselves.
Restore Normal Water Pressure
Low flow after installation typically indicates a clogged aerator. Unscrew it with pliers (wrap with tape to prevent scratches) and rinse debris from the screen. Check for kinked supply lines under the sink, ensuring smooth curves without sharp bends. If pressure remains low, verify shut-off valves are fully open—partially closed valves mimic aerator clogs.
Maintain Your New Faucet
First Week Guidelines
Run water for 5 minutes daily during the first week—this flushes residual installation debris and helps identify hidden leaks. Test temperature controls thoroughly, adjusting the anti-scald feature per manufacturer instructions. The spray function should pull out and retract smoothly without catching. Critical check: Inspect under-sink connections after the first 24 hours—early leaks often appear only after materials settle.
Monthly Maintenance Check
Clean aerator screens monthly to maintain optimal flow. Inspect supply line connections for moisture or corrosion. Test shut-off valves by turning them off and on—stiff valves may need replacement before they seize completely. Pro tip: Keep a small mirror under the sink to spot slow leaks behind pipes.
Annual Professional Inspection
Schedule yearly inspection if your 4 hole system includes water filtration or instant hot water dispensers. These systems have filters and heating elements requiring professional service. Document your faucet model number and installation date for warranty claims. Critical reminder: Most warranties void if DIYers damage components during maintenance—stick to user-approved tasks.
Handle Complex Installations
Thicker Countertop Solutions
Granite or quartz countertops exceeding 1.5 inches thickness may require extended shank faucets. Measure carefully—standard shanks accommodate up to 1.25 inches. Longer supply lines prevent kinking in deep cabinets. Consider professional installation for stone surfaces to prevent cracking—drilling near existing holes risks catastrophic fractures.
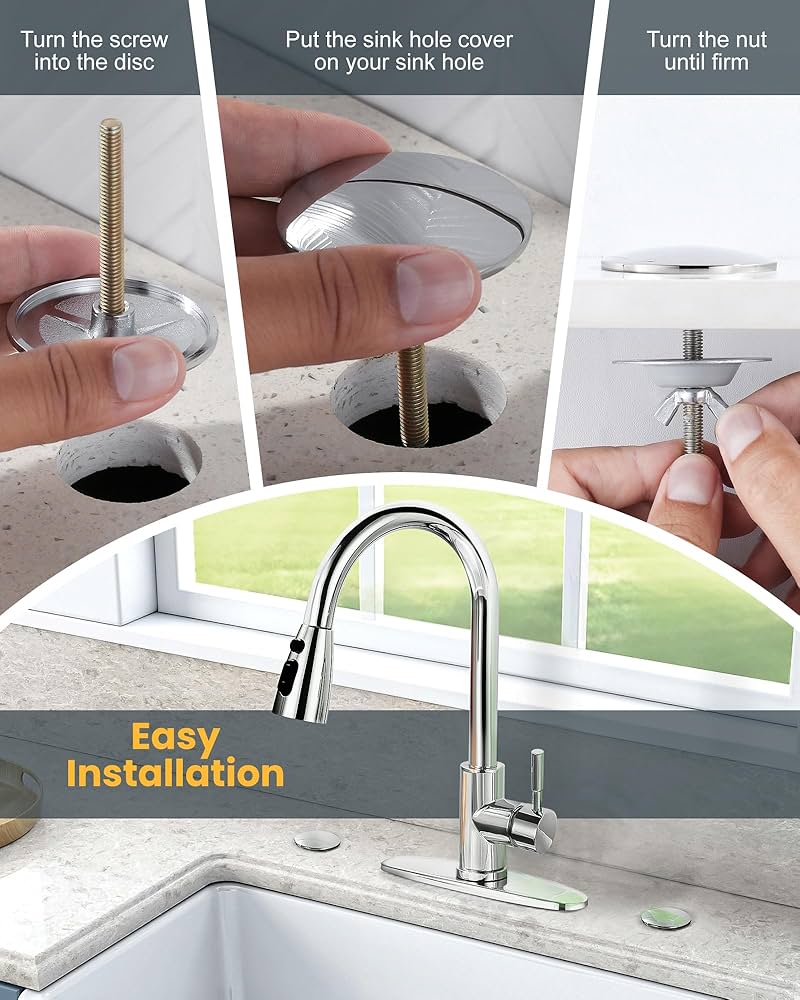
Use Escutcheon Plates
Converting from 3 holes? Install the provided escutcheon plate to cover unused openings. Seal edges with silicone to prevent water intrusion. Alternatively, add accessories like a hot water dispenser or filtration faucet to utilize extra holes functionally. Pro tip: Paint metal escutcheon plates with appliance epoxy to match your faucet finish.
Know When to Call Professionals
Contact licensed plumbers when your installation requires: water supply line relocation, electrical connections for touchless features, or if local codes require professional installation. Stone countertop drilling, complex filtration systems, or warranty requirements often mandate expert service. Critical indicator: If you smell gas during installation (from nearby lines), evacuate and call a pro immediately—never risk DIY with gas lines.
Your how to install 4 hole kitchen faucet project succeeds when all connections stay bone-dry during a 15-minute stress test and accessories operate smoothly. Before declaring victory, run hot water for 3 minutes to check temperature consistency—sudden scalding indicates cartridge misalignment. Register your warranty within 30 days using the model number stamped on the faucet base, and keep installation photos for insurance claims. Finally, tuck supply lines into a coil holder to prevent accidental snags—this simple step prevents 70% of post-installation leaks. With proper setup, your multi-functional faucet will deliver years of reliable service, turning sink-side chores into effortless tasks.

