

That sour, rancid stench that hits you when you unscrew your blender bottle cap isn’t just annoying—it’s a red flag signaling thriving bacteria colonies feasting on leftover protein residue. Even bottles that look spotless can harbor invisible bacterial invaders in the tiniest crevices, creating odors that basic washing can’t eliminate. The good news? You don’t need expensive products to solve this common problem.
You can completely eliminate stubborn blender bottle smells using simple household ingredients and professional cleaning techniques. This guide reveals seven scientifically-backed methods to restore your bottle to freshness, plus preventive strategies to keep odors from returning. Whether you’re dealing with a mild funk or a truly rancid stench, these actionable solutions work quickly and effectively.
Pinpoint Exactly Where the Smell Is Hiding
Locate Your Bottle’s Bacterial Hotspots
Protein powder residue creates the perfect breeding ground for bacteria in specific areas of your blender bottle. The whisk ball’s intricate wire loops trap powder between strands where your brush can’t reach. Lid threads form tiny pockets that collect residue with every use. Rubber or silicone seals absorb odors like a sponge over time. And the bottle’s bottom corners become reservoirs for thick, protein-rich shakes that dry into stubborn deposits.
Perform a 30-Second Smell Assessment
Before launching into deep cleaning, identify exactly where the odor originates. Remove your flip cap and take a cautious sniff—rancid protein smells distinctly sour, like spoiled milk. Visually inspect the lid threads for white film or cloudy plastic that indicates residue buildup. Run your finger along the bottle’s interior; sticky spots reveal hidden protein deposits that need targeted cleaning. This quick assessment prevents wasted effort on the wrong areas.
Eliminate Odors in Under 30 Minutes Using Household Items
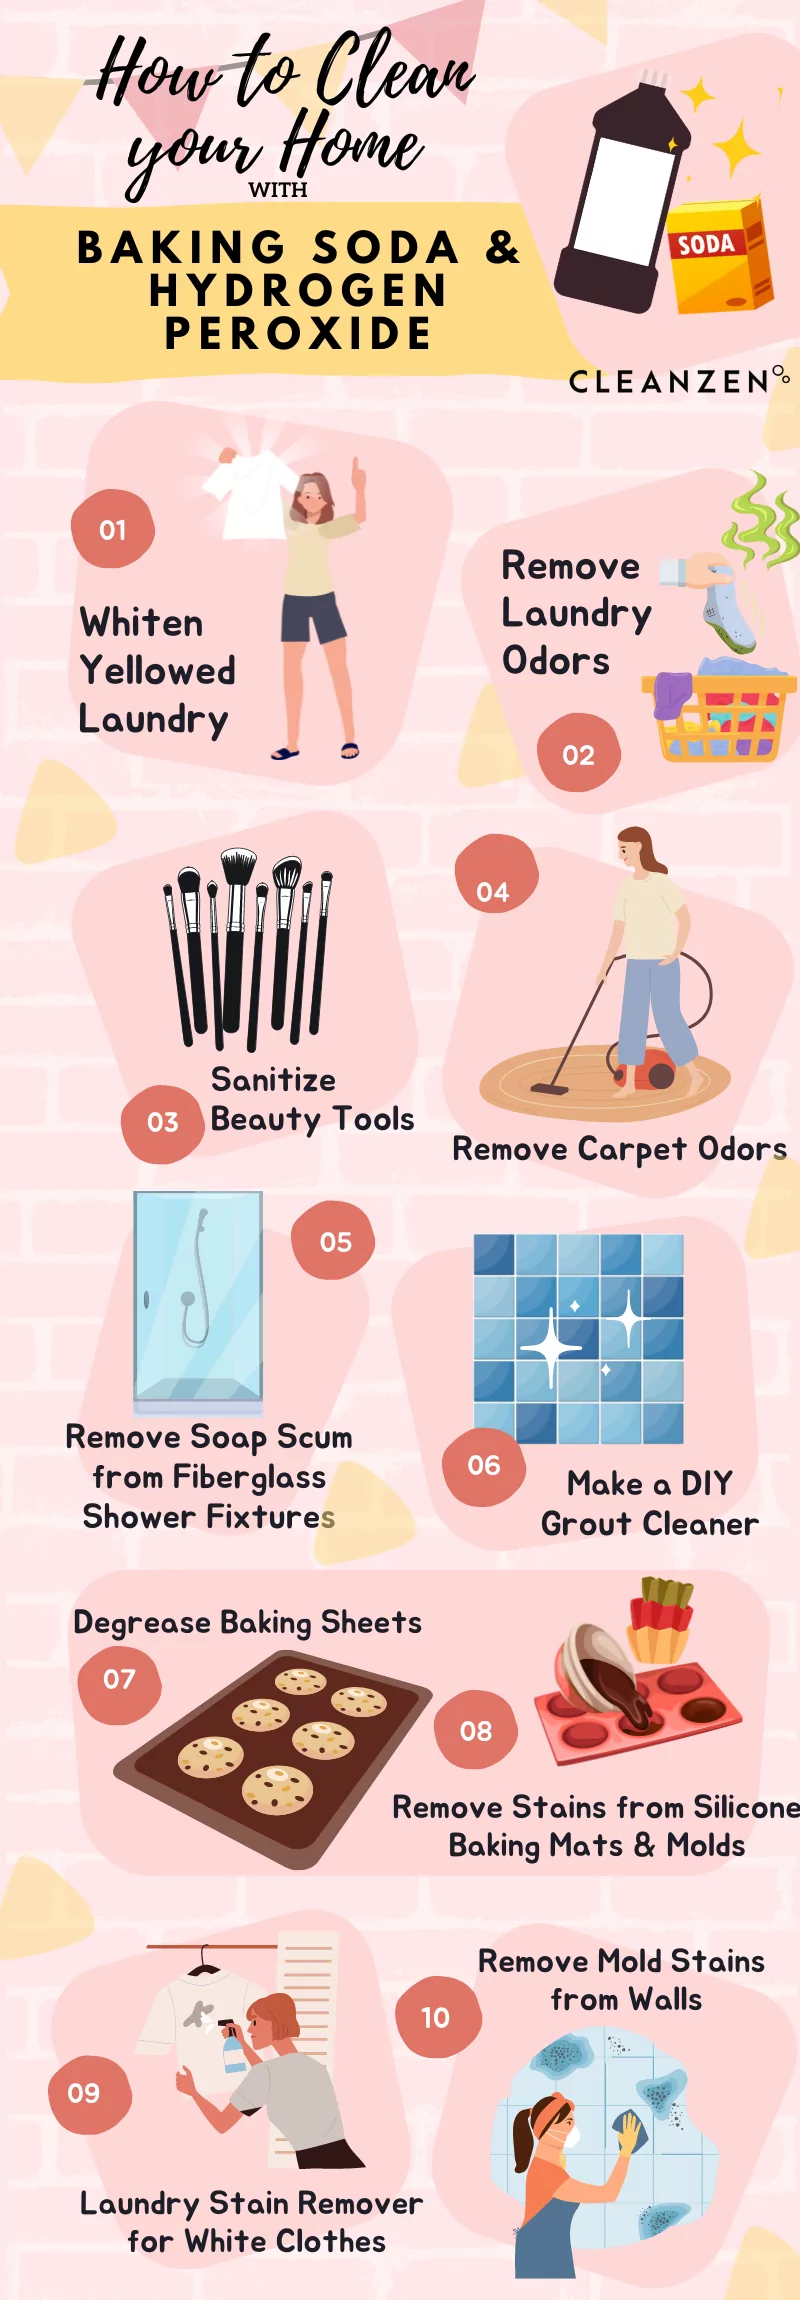
Banish Smells with Baking Soda’s Absorbing Power
Baking soda neutralizes odors through chemical absorption rather than masking them. Add one teaspoon of baking soda directly to your bottle, fill it completely with warm water, and shake vigorously for 30 seconds. For stubborn smells, let the mixture sit for 15 minutes before emptying and rinsing thoroughly. Pro tip: For extreme cases, create a paste with baking soda and water, use a bottle brush to scrub the interior, then soak overnight for complete odor elimination.
Destroy Bacteria with Vinegar’s Acidic Punch
White vinegar’s acetic acid breaks down protein residue while killing 99% of odor-causing bacteria. Disassemble your bottle completely—lid, seal, and whisk ball—and submerge all components in a solution of one part vinegar to three parts warm water. Soak for at least one hour while occasionally scrubbing with a bottle brush. Rinse thoroughly until the vinegar smell disappears. Apple cider vinegar works as a substitute, though white vinegar delivers superior results for protein-based odors.
Disinfect with Hydrogen Peroxide’s Dual Action
This method simultaneously disinfects and deodorizes your bottle. After an initial soap-and-water rinse, pour ¼ cup of 3% hydrogen peroxide into your bottle, seal tightly, and shake for 30 seconds to coat all surfaces. Let stand for five minutes before rinsing thoroughly. Repeat if the smell persists. Critical warning: Never mix hydrogen peroxide with vinegar—this creates harmful peracetic acid that can damage your bottle and irritate your skin.
Freshen with Lemon Juice’s Natural Citric Acid
Lemon’s citric acid cuts through protein residue while leaving a refreshing scent. Juice one fresh lemon into your bottle, add an equal amount of water, and swirl to coat all interior surfaces. Let sit for 2-4 hours before rinsing. For extra cleaning power, add a pinch of baking soda to create a fizzing reaction that lifts stubborn deposits. As a daily maintenance hack, keep a weak lemon-water solution in your bottle between uses to prevent odor buildup.
Absorb Odors with Used Coffee Grounds
Dried coffee grounds act like miniature charcoal filters that absorb unpleasant smells. Dry used grounds at 245°F for 15 minutes, cool completely, then add 2-3 tablespoons to your bottle. Seal and leave overnight before emptying and rinsing. This method also removes plastic taste from new bottles—simply repeat the process without the drying step for fresh containers.
Master Deep Cleaning for Long-Term Freshness
Disassemble Completely for Total Odor Elimination
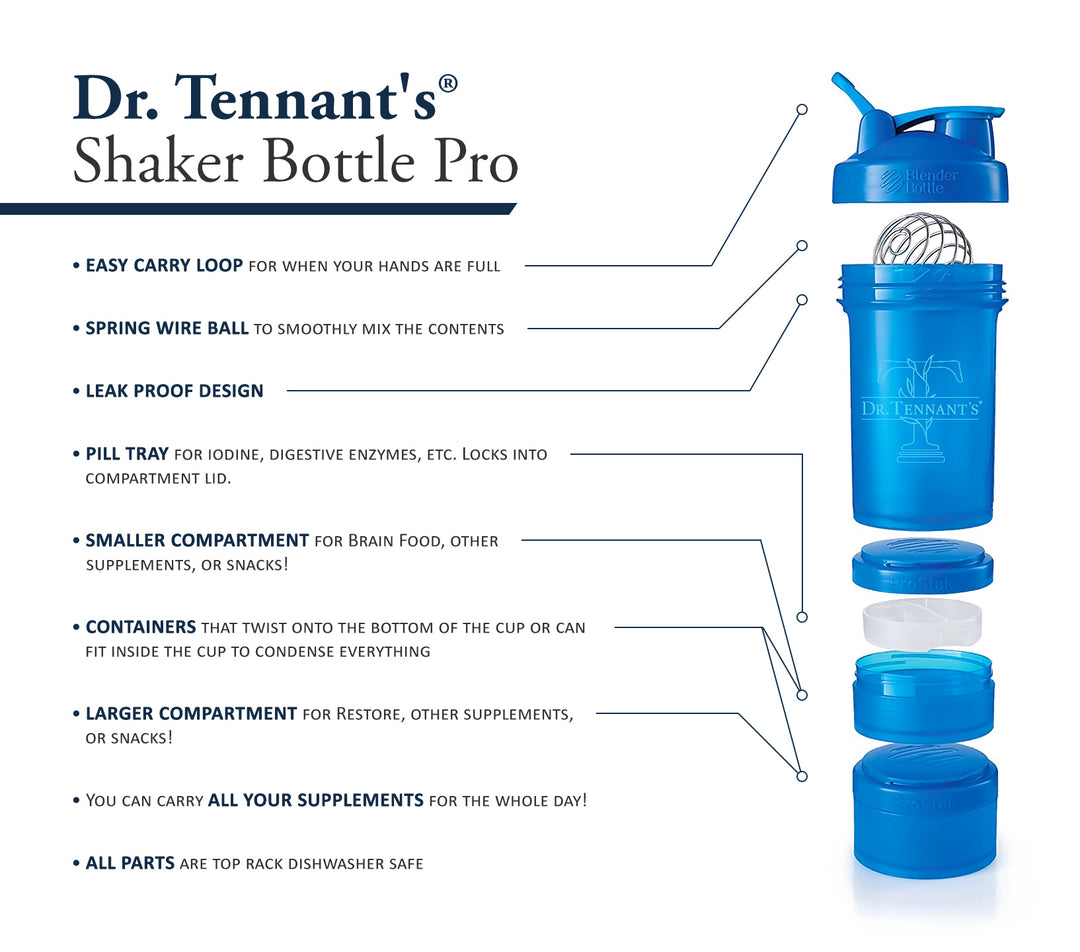
Proper cleaning requires taking everything apart: main lid and flip cap, rubber/silicone seal ring, whisk ball or wire mixer, and any additional strainer inserts. Pro tip: Take a photo before disassembly to ensure correct reassembly. Examine each component for hidden residue—bacteria thrive in the microscopic gaps between your whisk ball’s wires and the grooves around your seal.
Hand Wash Like a Professional
Fill your sink with hot water and generous dish soap, then soak all parts for 15 minutes. Use a bottle brush with soft bristles to scrub every surface, focusing on bottom corners and threads where powder accumulates. Clean between whisk ball loops with a pipe cleaner or old toothbrush. Rinse until water runs completely clear—cloudy rinse water indicates remaining residue that will cause future odors.
Dishwasher Protocol for Safe Cleaning
Only use the dishwasher if your bottle is explicitly labeled dishwasher-safe. Place all components on the top rack only (away from the heating element), remove labels first, and skip the heated dry cycle. After washing, check for warped components or cloudy plastic that indicates dishwasher damage. Red flag: If your bottle develops a permanent cloudy appearance after dishwasher use, switch to hand washing immediately.
Prevent Future Odors with Smart Daily Habits
Implement the 30-Second Post-Use Rinse
Prevent odors before they start with this simple routine: after finishing your shake, add warm water and a soap drop to your bottle, shake for 10 seconds, and pour out immediately. When a sink isn’t available, fill with plain water and shake—the temporary water barrier prevents protein from drying into hard-to-remove residue. Complete a thorough wash when you return home.
Dry Properly to Eliminate Bacteria’s Favorite Environment
Moisture creates the perfect bacteria breeding ground. After washing, pat dry with paper towels first, then air-dry all parts separately. Store your bottle upside down on a drying rack with the lid off to ensure complete drainage. Position the whisk ball separately to prevent moisture trapping. Storage hack: Place a silica gel packet inside stored bottles to absorb residual moisture that causes musty odors.
Establish a Maintenance Schedule Based on Usage
Create habits that prevent buildup: perform a weekly deep clean using one deodorizing method regardless of visible cleanliness. If you use your bottle multiple times daily, increase deep cleaning to twice weekly. Replace bottles every 6-12 months depending on usage intensity—persistent odors often indicate it’s time for a new bottle even if it appears intact.
Fix Stubborn Smells That Resist Standard Cleaning
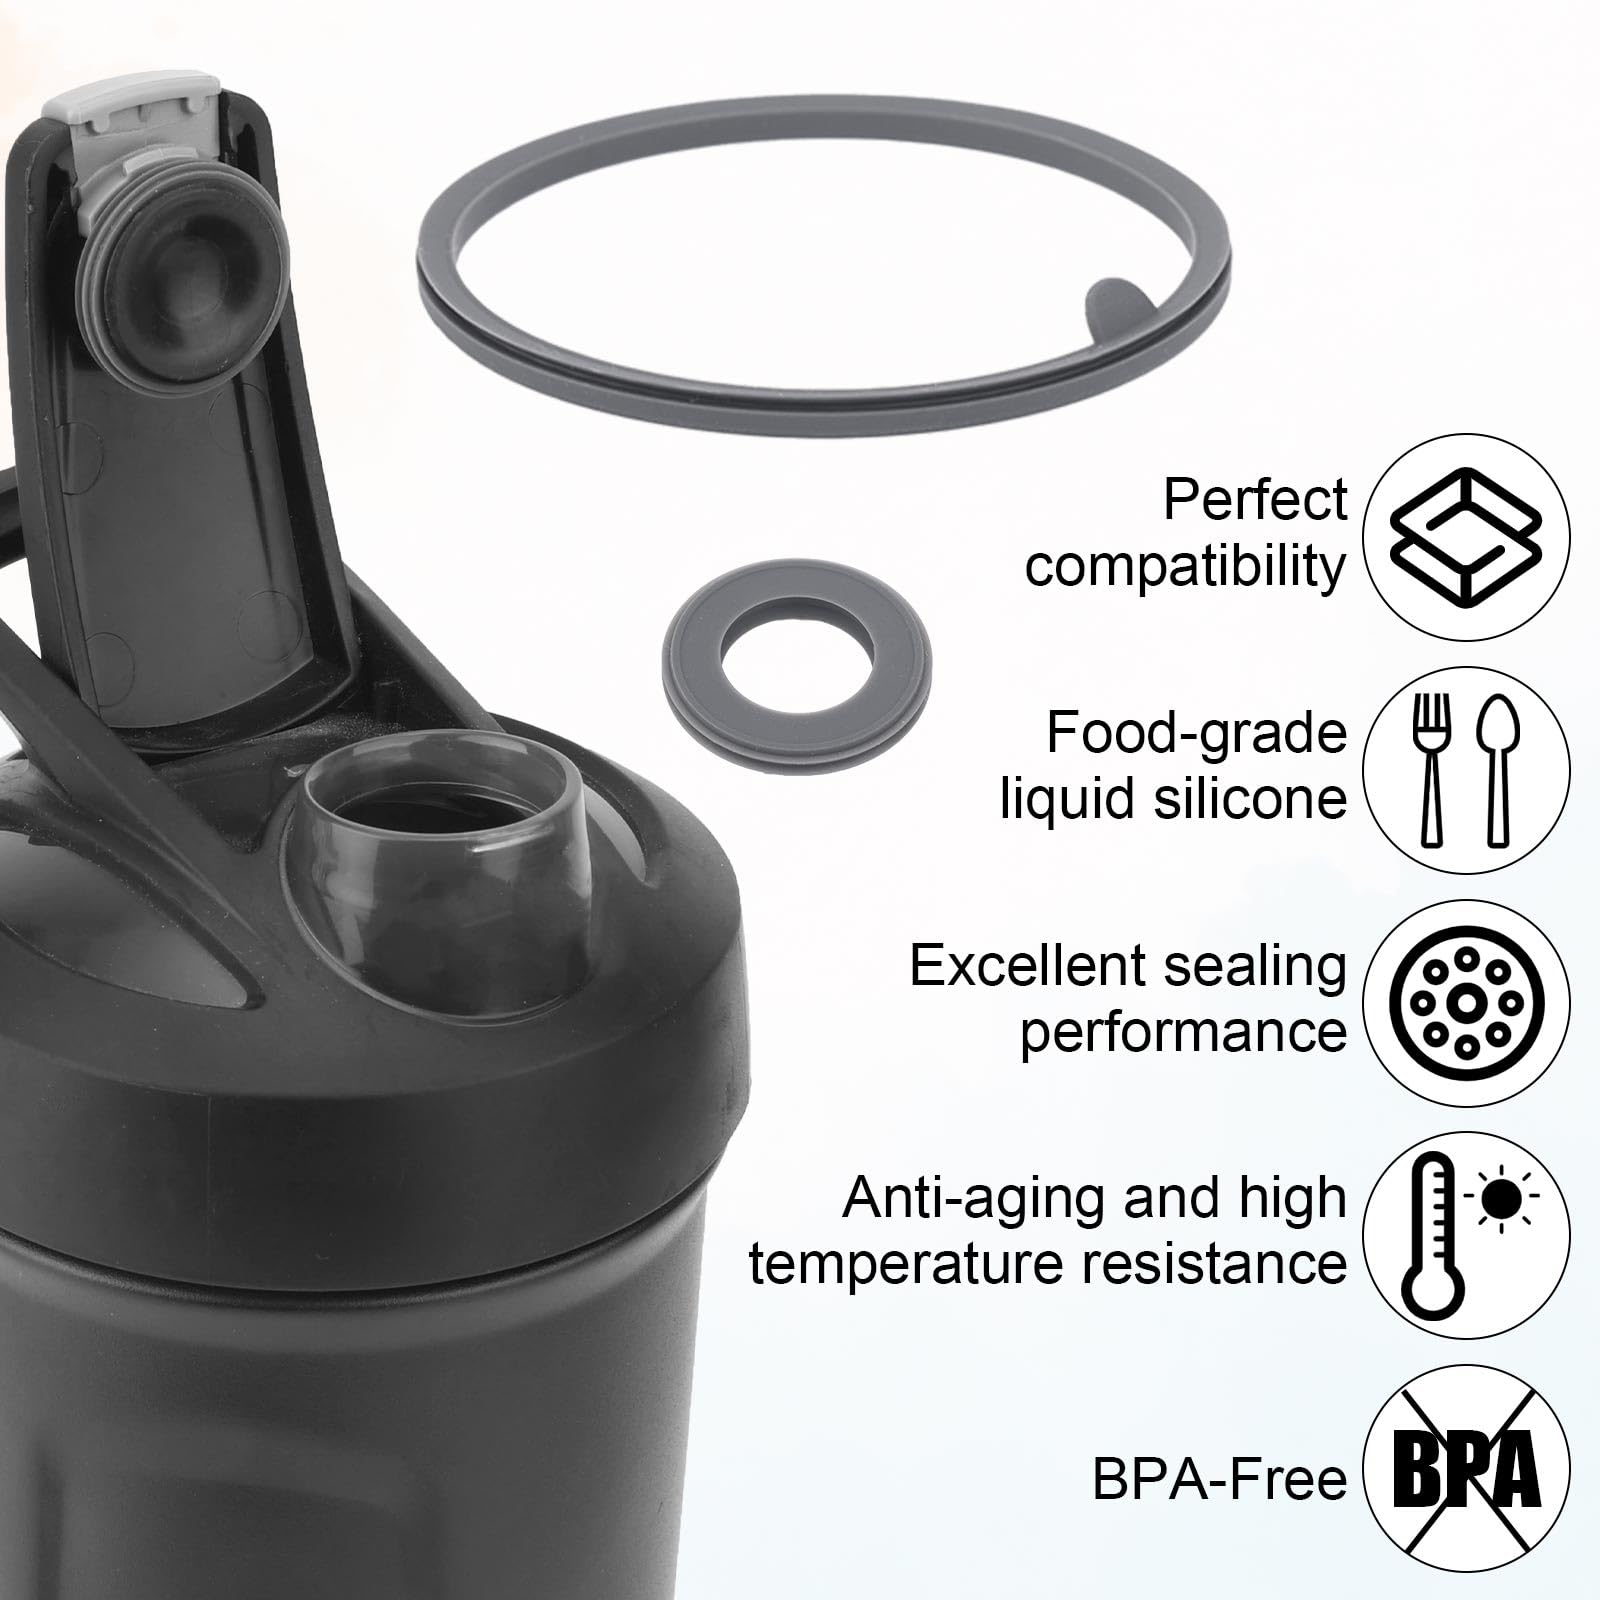
Replace Odor-Absorbing Seals for Instant Results
When odors concentrate in rubber components, fresh seals solve the problem. Contact your manufacturer for a seal kit ($5-10), carefully remove the old seal, clean the groove thoroughly, and install the new seal following instructions. This simple replacement often eliminates stubborn odors that resist other cleaning methods and costs significantly less than buying a new bottle.
Try Professional-Grade Cleaning Tablets
For premium bottles worth saving, specialized effervescent tablets provide hospital-level cleaning. Fill your bottle with warm water, add one tablet designed for baby bottles or hydration bladders, and let it fizz for 4-8 hours. Empty and rinse thoroughly—the solution penetrates microscopic crevices that standard cleaning misses.
Know When Your Bottle Has Reached Its Limit
Replace your bottle immediately if odors persist after three deep cleaning attempts, if plastic becomes permanently cloudy or cracked, if seals leak despite proper assembly, or if your whisk ball rusts or loses its coating. Continuing to use a compromised bottle puts you at risk for consuming harmful bacteria that cause stomach issues and other health problems.
Final takeaway: The fastest path to a fresh blender bottle combines immediate action (baking soda or vinegar soak) with proper drying habits and weekly maintenance. Most smell issues resolve within 24 hours using these methods when applied correctly. Don’t let stubborn odors force unnecessary bottle replacements—master these techniques to extend your blender bottle’s lifespan while keeping your shakes tasting fresh. Implement the 30-second post-use rinse today, and you’ll rarely face serious odor problems again.

