

Your Zojirushi rice cooker suddenly powers down mid-cycle, leaving half-cooked rice and a kitchen full of steam. Before you panic or consider replacing this premium appliance, understand that 90% of Zojirushi rice cooker problems can be resolved with systematic troubleshooting. Most issues—from error codes to steam leaks—stem from simple causes like blocked vents or minor sensor malfunctions. This guide delivers immediate solutions for common failures, verified through Zojirushi’s official repair protocols. You’ll learn to diagnose problems using specific error codes, perform safe component replacements, and recognize when professional service is essential. Let’s restore your cooker to perfect rice-making condition.
Safety Steps Before Any Repair
Power Safety Protocols
Unplug your Zojirushi rice cooker from the wall outlet before touching any components. Wait 30 minutes for internal parts to cool completely—residual heat can cause burns even after shutdown. Never handle electrical connections with wet hands, and inspect the power cord for frays or exposed wires before each repair attempt. If you spot burn marks near the plug or base, stop immediately and contact professional service.
Electrical Safety Checks
Verify your outlet works by testing it with another appliance like a lamp. Use only grounded outlets—never connect your Zojirushi to extension cords or power strips, as this risks electrical overload. Check for tripped GFCI breakers if the unit shows no power. If the circuit trips repeatedly during testing, unplug the cooker and call an authorized technician; this indicates serious internal damage.
Quick Diagnostic Checklist
No Power Symptoms
When your Zojirushi shows zero response—dark display, unresponsive buttons, no heating sounds—check these first: test the outlet with another device, inspect the power cord for damage, and ensure the inner pot is correctly seated. If the unit worked previously but now fails completely, an internal fuse may have blown. For intermittent issues like flickering displays or partial button failure, moisture damage or loose wiring connections are likely culprits.
Heating Problems
Undercooked, crunchy rice after a full cycle typically indicates a faulty temperature sensor or warped inner pan. Burnt rice on the bottom suggests sensor calibration issues or mineral buildup from hard water. If cooking times double unexpectedly, clean the heating element surface and check for vent blockages. Uneven heating often means the pan isn’t sitting flat—inspect for dents on induction models.
Water/Steam Issues
Steam leaking from lid edges or water pooling under the unit signals a worn gasket. Excessive condensation inside the lid assembly usually means the steam vent is clogged. Gurgling sounds during cooking or bubbling over indicate blocked steam passages. Address these immediately to prevent electrical damage from moisture intrusion.
Fix Common Error Codes

Model-Specific Quick Fixes
NS-TSC Micom Series
For H01 or H02 errors (temperature sensor failure), unplug the unit for 30 minutes—this resets 70% of minor sensor glitches. If the lid won’t lock, remove food debris from the locking tabs using a soft brush. For flickering displays, reseat the power cord firmly in both the outlet and cooker base.
NP-HCC Induction Series
When seeing “IH” errors, remove the inner pot and recenter it precisely on the heating element. Inspect the pan’s bottom for dents—if warped, replace it immediately. Persistent IH errors require professional service due to complex induction circuitry.
Reset Procedures That Work
Basic Reset (All Models)
1. Unplug and remove the inner pot
2. Wait exactly 30 minutes for system discharge
3. Wipe the heating plate with a dry cloth
4. Plug in and run a water-only cycle
This resolves most C1-C5 errors like “lid not closed” (C1) or “low water” (C4). For stubborn issues, perform an advanced reset: Hold “Cancel” while plugging in, press “Menu” five times rapidly, then run an empty white rice cycle.
Repair Power Issues Yourself

Power Cord Replacement Guide
Step-by-Step Process
1. Unplug and cool for 30 minutes
2. Remove 4-6 bottom panel screws
3. Photograph wire connections (black=hot, white=neutral, green=ground)
4. Disconnect old cord and attach new one matching colors
5. Secure connections with wire nuts
6. Reassemble and test with water
Warning: Stop if you see burn marks on the circuit board—this requires professional repair.
Button Response Fixes
Sticky or unresponsive buttons often need simple cleaning. Unplug the unit, remove the control panel faceplate by releasing side clips, then clean contacts with 90% isopropyl alcohol. Test buttons before reassembly. Replace the entire panel if multiple buttons fail after cleaning—expect $15-25 for parts and 20 minutes of work.
Solve Heating Problems
Temperature Sensor Maintenance
Clean the center-mounted sensor monthly using a cotton swab dipped in alcohol—never bend or press on it. If rice consistently undercooks despite correct water ratios, test sensor resistance with a multimeter; readings outside 50-100k ohms at room temperature indicate failure. Most models require professional sensor replacement due to calibration needs.
Inner Pan Solutions
Warped pans cause burnt rice in the center. Place your pan on a flat surface—if it rocks, replace it immediately. For induction models (NP-HCC series), ensure the pan base has strong magnetic attraction. Never use metal utensils or dishwashers on pans; hand wash only to preserve the non-stick coating. Replacement costs $45-$85 depending on size.
Fix Water and Steam Leaks
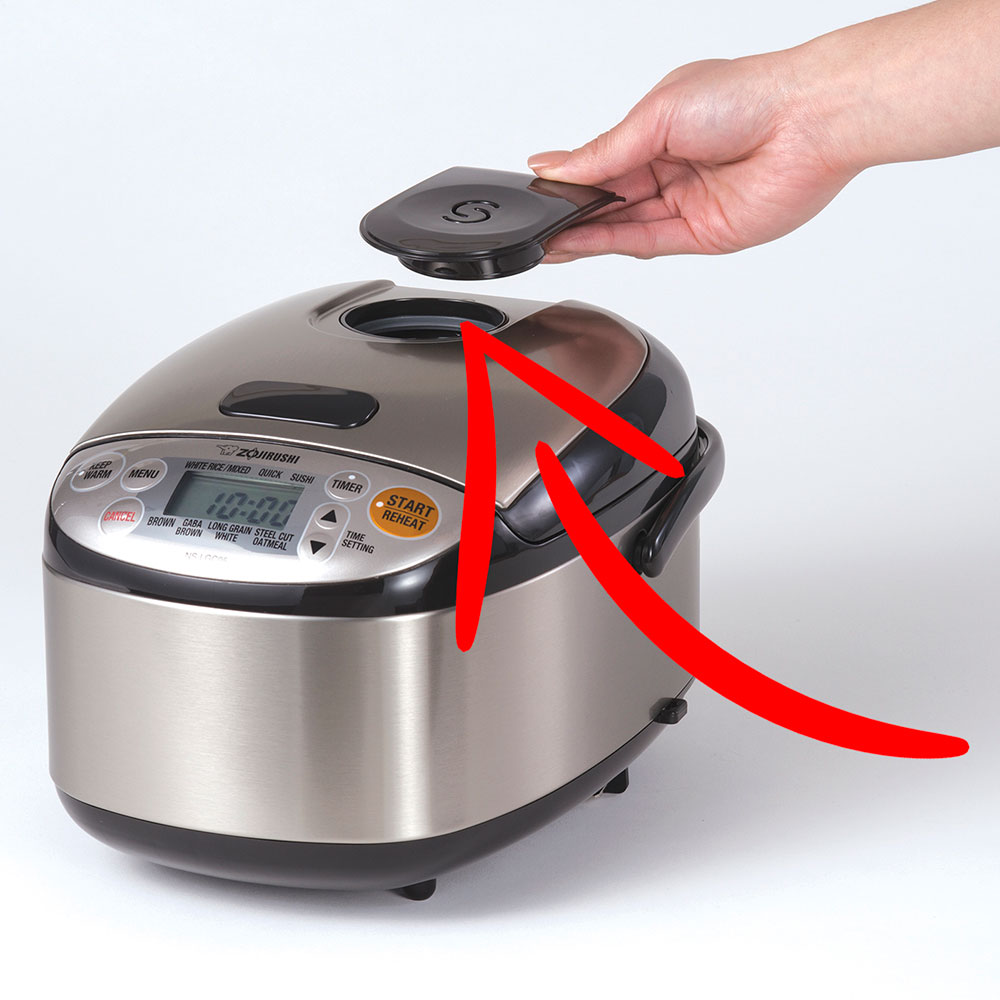
Steam Vent Cleaning Process
Blocked vents cause bubbling over and error codes. After cooling completely:
1. Twist off the steam vent cap counterclockwise
2. Soak components in warm soapy water for 15 minutes
3. Clear passages with a pipe cleaner
4. Rinse thoroughly and air-dry
5. Reassemble securely
Perform this monthly in dusty environments to prevent gurgling sounds during cooking.
Gasket Replacement Guide
Replace the lid gasket every 2-3 years or if you see cracks, steam leaks, or reduced cooking pressure. Order the exact part using your model number (e.g., 620178-01 series). Remove the inner lid assembly, peel off the old gasket, clean the channel, and press the new one firmly into place. Test with a water cycle before cooking rice.
Emergency Quick Fixes
Rice Cooker Won’t Start?
Try these before calling support:
– Test the outlet with another appliance
– Reset your home’s GFCI breaker
– Perform a 30-minute unplugged reset
– Check for tripped circuit breakers
Rice Burning?
Reduce water by 2 tablespoons, inspect the pan for warping, and clean the temperature sensor. For induction models, verify the pan is centered on the heating element.
Professional Service Decisions
When to Call Experts
Contact Zojirushi service immediately for:
– H01, H02, or IH error codes
– Visible circuit board damage
– Burning smells during operation
– Repeated electrical tripping
Service Process
Call 800-733-6270 with your model/serial numbers. Document exact error codes and symptoms. Ship in original packaging with 3 inches of padding—typical turnaround is 2-3 weeks. Keep your receipt; U.S. models have 1-year warranties covering component failures.
Final Maintenance Tips
Your Zojirushi can last decades with these habits: Clean steam vents monthly, replace gaskets every 2 years, and descale with vinegar quarterly if you have hard water. Always unplug after use and wipe the heating plate dry. When error codes appear, document them before resetting—the code sequence helps technicians diagnose issues faster. For persistent problems, contact Zojirushi America at 800-733-6270 with your model number handy. Remember: Most “broken” cookers just need a vent cleaning or sensor reset—don’t replace what you can repair.

