
That persistent glug-glug-glug from your kitchen sink isn’t just annoying—it’s your plumbing system screaming for attention. When air bubbles force their way through trapped water in your drain, you’re hearing the classic symptom of venting problems that can escalate into sewer gas exposure or water damage. The good news? Most gurgling issues are DIY-friendly fixes that cost under $50 and take less than an hour. Knowing how to fix gurgling kitchen sink problems starts with understanding why that ominous sound happens in the first place. You’ll learn exactly where to look, which tools actually work, and when to call in reinforcements—saving you hundreds in unnecessary service calls.
Decode Your Sink’s Gurgling Language
Your sink’s gurgling pattern tells a precise story about your plumbing’s health. Fast, rhythmic gurgling during active drainage typically signals a partial clog creating air pockets as water struggles to flow. Slow, deep gurgles after the water has emptied point squarely to vent pipe problems. When multiple fixtures gurgle simultaneously—like your bathroom sink joining the chorus—you’re facing main sewer line or septic tank trouble requiring different tactics than single-fixture issues.
Is It Just Your Kitchen or the Whole House?
Run water in your bathroom sink while the kitchen drains. If only your kitchen gurgles, the problem lives between the sink and main drain. When multiple fixtures join the chorus, you’re dealing with a system-wide issue. This simple test prevents wasted effort on the wrong repair path—like cleaning a P-trap when your real enemy is a blocked roof vent.
Timing Reveals the Culprit
Fill your kitchen sink with 4 inches of water and pull the plug. Gurgling during drainage means the blockage sits before the vent connection (likely in your P-trap or drain arm). Gurgling after drainage points squarely to vent problems or main line issues. This diagnostic trick takes 60 seconds but saves hours of misdirected repairs.
Under-Sink Inspection in 5 Minutes

Before grabbing tools, perform this lightning-fast visual check to spot obvious culprits. Grab a flashlight and inspect for water stains on cabinet floors indicating trap leaks, white crusty buildup suggesting slow leaks, or gaps around drain connections where air infiltrates. Pay special attention to pipe alignment—sagging pipes create low spots that trap debris and cause gurgling.
P-Trap Water Level Check
Peek into your drain opening (remove the strainer if needed). You should see water sitting 2-4 inches down—the vital seal blocking sewer gases. No visible water means the trap seal broke, allowing gases and gurgling sounds to escape freely. This is often the smoking gun for persistent gurgling and takes seconds to verify.
Essential Tools for Fixing Gurgling Sinks
:max_bytes(150000):strip_icc()/top-plumbing-tools-1824860-hero-867cc1e34408463dbab86838f89e7762.jpg)
Skip expensive specialty gear—most fixes require tools you likely own. Channel-lock pliers (two pairs) handle stubborn slip nuts without crushing pipes. A 2-gallon bucket catches nasty water without overflow disasters. Use a cup plunger (not toilet version) for better sink seals. For deeper clogs, a 25-foot drain snake reaches beyond the P-trap. Never skip the flashlight—under-sink lighting is notoriously terrible.
Smart Upgrades Worth the Investment
A wet/dry vacuum sucks clogs out instead of pushing them deeper. Plumber’s tape reseals threaded connections without leaks. While most homes use plastic traps, keep a pipe wrench handy for older metal systems (rare but possible). These prevent turning a simple fix into a flood emergency.
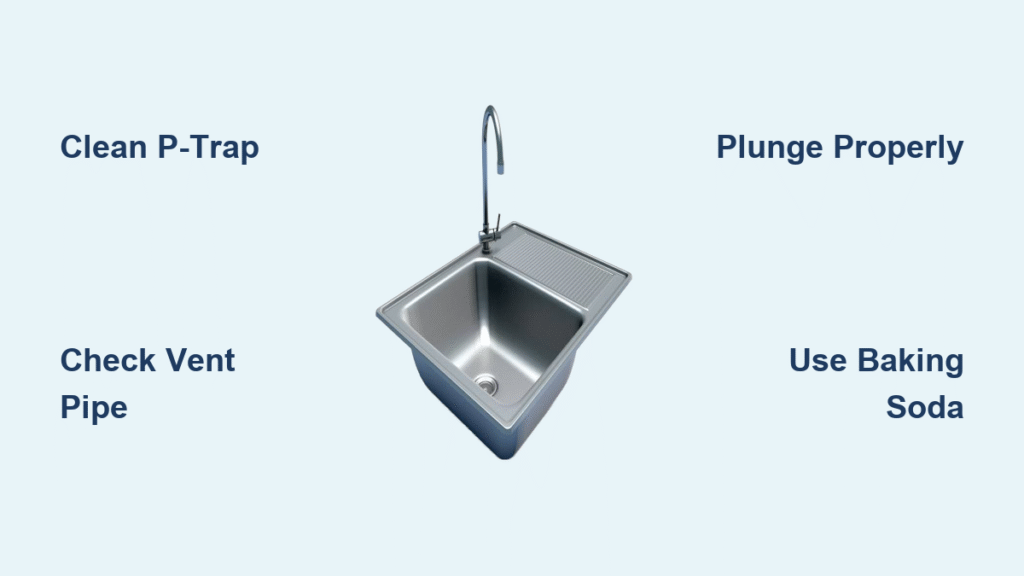
Clean P-Trap in Under 7 Minutes
The P-trap catches 80% of kitchen gurgling culprits. This curved pipe beneath your sink traps debris by design—making it your first diagnostic stop.
Step-by-Step P-Trap Cleaning
- Position bucket directly beneath the curved pipe
- Loosen slip nuts counterclockwise with channel-locks (hand-loose plus 1/4 turn)
- Let water drain completely—expect 1-2 cups of nasty water
- Remove trap and rinse with hot tap water
- Scrub interior with bottle brush or old toothbrush
- Reassemble hand-tight plus 1/4 turn—overtightening cracks plastic traps
Pro Tip: Inspect the Trap Arm
While the P-trap is off, shine your flashlight into the horizontal pipe entering the wall. Visible debris means your clog sits deeper. Clean pipe walls suggest vent system issues. This 10-second check prevents unnecessary plunging or snaking.
Plunger Power for Stubborn Gurgles
Your plunger isn’t just for toilets—it dislodges sink clogs when used correctly. Seal overflow holes with wet rags or painter’s tape first. Fill sink with 3-4 inches of water for suction seal. Position plunger directly over drain opening. Execute 15-20 vigorous pumps maintaining seal, then pop plunger off quickly to create suction surge. Test drainage and repeat 3 rounds maximum.
Warning Signs to Stop Immediately
- Water level rises instead of falling—main line backup risk
- Gurgling intensifies—you’re compacting the clog tighter
- Sewage odors emerge—possible sewer line breach
These signal professional help is needed—don’t risk flooding your kitchen.
Baking Soda Vinegar Drain Treatment
Skip harsh chemicals. This kitchen-cupboard combo breaks down organic buildup without pipe damage. Dump 1/2 cup baking soda directly into drain. Pour 1 cup white vinegar slowly—the foaming action scrubs pipe walls. Cover drain opening with stopper to force reaction downward. Wait 30 minutes for maximum breakdown. Flush with 2-3 quarts boiling water to carry debris away. Repeat weekly as preventive maintenance.
When This Works Best
This method excels at dissolving grease buildup and food particle clogs. For hair or plastic debris, mechanical removal is required. If gurgling persists after two treatments, move to snaking.
Snake Deep Clogs Beyond the P-Trap
When the P-trap is clean but gurgling persists, the blockage sits deeper. Remove P-trap to access drain line directly. Feed snake clockwise while pushing forward—never force it. Meet resistance at 6-10 feet? That’s likely your vent connection point. Rotate and push through obstructions 3-4 times. Retract slowly removing debris on snake head. Run hot water for 2 minutes to flush loosened material.
DIY vs. Professional Snaking
- 25-foot homeowner snakes handle 90% of kitchen issues
- 50-foot professional cables reach main sewer connections
- Power augers can damage old pipes—let pros handle these
If you hit solid resistance within 10 feet, call a plumber—forcing it risks pipe damage.
Fix Roof Vent Blockages Safely

Your vent pipe (extending through the roof) balances air pressure. When blocked, it creates the vacuum causing gurgling. Locate vent pipe above your kitchen (usually 2-3 inch PVC). Visual inspection for leaves, bird nests, or debris. Garden hose method: Run water briefly to flush debris—never flood the system. Snake technique: Use 25-foot auger to break up stubborn blockages. Check airflow by having someone run water while you listen at vent.
Critical Safety Note
Don’t attempt roof work if uncomfortable with heights, on steep roofs, or during wet/icy conditions. One slip causes life-altering injuries—hire a pro if unsure. Modern homes may use Air Admittance Valves (AAVs) under sinks instead of roof vents.
Replace Faulty Air Admittance Valve
If your sink uses an AAV (looks like a stubby pipe with a cap), replacement takes 5 minutes. Unscrew old valve counterclockwise—hand tight only. Check threads for damage or debris. Install new valve hand-tight plus 1/8 turn. Test immediately by running full sink of water. Failure signs include crooked installation (must be vertical), cracks in housing, or age over 25 years.
Prevent Future Gurgling Forever
Daily defense habits: Run hot water 30 seconds after each use, never pour grease down drains (collect in jars), use strainers for food particles, and run cold water with disposal. Monthly maintenance: Remove and clean P-trap, apply baking soda treatment, inspect for leaks, and deep-clean strainers. These take minutes but prevent 90% of gurgling emergencies.
When to Call Professionals Immediately
Contact a plumber if you experience:
– Multiple fixtures gurgling simultaneously
– Sewage odors throughout the house
– Water backing up into other fixtures
– Gurgling with slow drainage house-wide
– Visible sewage in floor drains
Professional solutions include camera inspections ($250-$500) to pinpoint problems, hydro-jetting ($400-$800) for grease-clogged pipes, and vent modifications ($500-$2000+) for chronic issues.
Cost-Saving DIY vs. Pro Comparison
| Solution Type | Cost Range | Fixes Most Gurgling? |
|---|---|---|
| Baking soda/vinegar | $5-$10 | Yes (organic buildup) |
| P-trap cleaning | $0 (tools you own) | Yes (80% of cases) |
| AAV replacement | $15-$40 | Yes (if faulty valve) |
| Plumber service call | $150-$300 | Only if DIY fails |
| Hydro-jetting | $400-$800 | For severe grease clogs |
Bottom line: Start with the 5-minute P-trap cleaning—it’s free and fixes most gurgling issues. If symptoms persist after trying these methods, you’ve likely got vent problems or main line issues requiring professional help. Document what you’ve tried to save diagnostic time and money when the plumber arrives. Knowing how to fix gurgling kitchen sink problems saves hundreds while keeping your home safe from sewer gases and water damage.

