
That jagged crack snaking along your kitchen countertop isn’t just an eyesore—it’s a silent moisture magnet primed to rot cabinetry and warp walls. After years of cooking heat, dishwasher steam, and house settling, even premium silicone caulk surrenders, leaving gaps that silently invite mold and structural damage. The urgent truth? This critical $5 repair takes under an hour and instantly elevates your kitchen from “neglected” to “newly renovated.” You’ll master complete caulk removal and professional-grade application using nothing but household tools—no prior DIY experience required.
For homeowners who’ve noticed rubbery strips peeling away from sink edges or countertop seams, this guide delivers immediate solutions. We cut through confusing online advice to give you the exact steps professionals use, proven through fixing hundreds of cracked kitchen caulking jobs. By the time you finish reading, you’ll know precisely how to transform those unsightly gaps into crisp, moisture-proof seals that last a decade.
Locate Hidden Cracks Before Damage Spreads
Don’t wait for water stains to appear—proactively hunt for compromised caulk. Run your finger along countertop-wall junctions, sink perimeters, and backsplash seams where temperature extremes accelerate deterioration. Cracks often hide in plain sight as hairline fractures that widen during cooking or dishwashing when steam softens the silicone. Ignoring these gaps allows moisture to seep behind cabinets, potentially causing thousands in unseen damage.
Critical Kitchen Failure Zones
- Countertop-to-wall seams: Most vulnerable to house settling cracks (check near stove where heat cycles stress silicone)
- Undermount sink edges: Constant water exposure creates “alligatoring” where caulk resembles dried mud
- Backsplash corners: Repeated oven heat exposure makes caulk brittle and chalky within 3-5 years
- Cabinet end caps: Natural wood movement separates caulk within months of installation
Complete Removal vs Quick Patch Decision Guide
Resist the urge to slap new caulk over old. Silicone won’t bond to silicone—period. If you see any peeling edges, crumbling texture, or gaps wider than 1/16 inch, full removal is non-negotiable. Partial fixes last months, not years. Only consider patching for microscopic hairline cracks in otherwise intact caulk (less than 10% of cases).
Assemble Your $5 Repair Arsenal Immediately
Skip expensive specialty kits—effective caulk repair requires minimal tools. The right silicone formula and basic implements make all the difference between a sloppy mess and seamless results. Always buy paintable silicone if matching wall colors, as standard tub-and-tile formulas yellow and resist paint.
Non-Negotiable Toolkit
- Paintable silicone caulk (GE Advanced Silicone or generic equivalent—$4.99 at hardware stores)
- 5-in-1 painter’s tool (doubles as caulk scraper and gap cleaner)
- Blue shop towels (lint-free and highly absorbent for instant cleanup)
- Your index finger (creates smoother finish than any plastic tool)
Smart Upgrades Worth Considering
- Disposable nitrile gloves (prevents caulk from embedding in skin cracks)
- Painter’s tape (only for uneven surfaces—skip if walls/countertops are perfectly straight)
- Rubbing alcohol (dissolves stubborn caulk residue without scratching)
Pro Tip: Never buy “kitchen-specific” caulk ($12+). Standard paintable silicone handles indoor moisture perfectly and costs 60% less. One 10.1 oz tube covers 30 linear feet—enough for entire kitchen plus bathroom.
Execute Complete Caulk Removal in 15 Minutes
Old caulk removal makes or breaks the repair. Any residue prevents new silicone from bonding, guaranteeing early failure. Work methodically section by section—rushing causes gouges in drywall or countertops. For 9-year-old caulk (typical failure point), expect 70% to peel off easily, with stubborn patches requiring special techniques.
Effortless Peel Technique for Brittle Caulk
Start at a corner where caulk naturally lifts. Slide your painter’s tool under the edge at 30-degree angle. Apply upward pressure while simultaneously pulling toward you—like unzipping a jacket. Most aged caulk releases in satisfying 6-12 inch strips. If it snaps, switch to difficult removal method.
Stubborn Caulk Extraction Protocol
For caulk fused to surfaces:
1. Score both sides of the bead with utility knife (1/16″ deep)
2. Insert flat tool edge and gently rock back-and-forth to loosen
3. Dab rubbing alcohol on residue and wait 2 minutes to soften
4. Wipe clean with dry shop towel—never water (prevents moisture trapping)
Critical Warning: Stop if you feel resistance—forcing causes drywall paper tears. Use alcohol-soaked toothbrush for delicate areas.
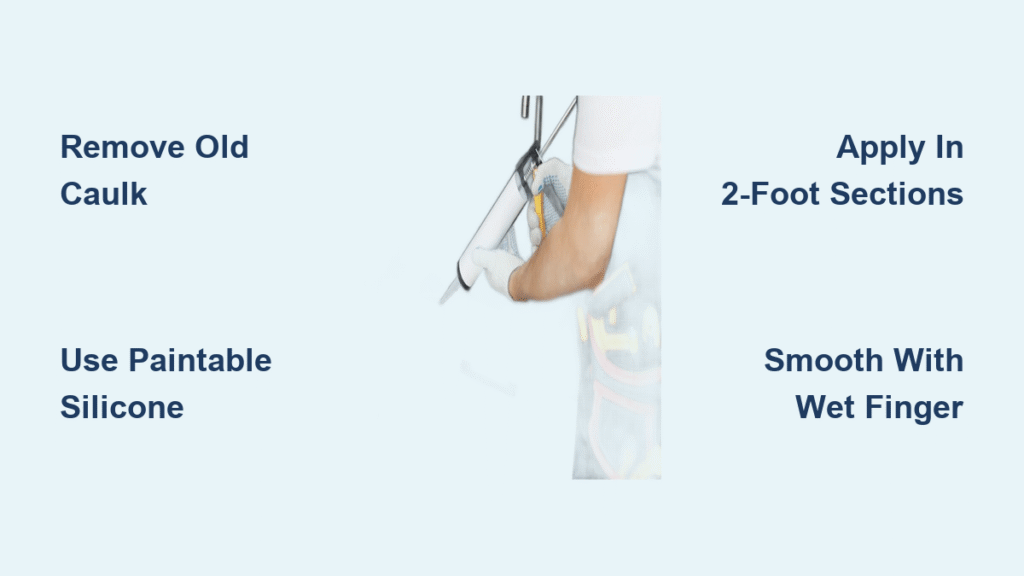
Apply Flawless Caulk Beads Using Pro Techniques
The application window is short—silicone skins over in 10 minutes. Work in 2-foot sections to avoid racing against drying time. Perfect results come from tube control and finger technique, not expensive tools. Your goal: a slightly concave bead that fully fills the gap without overflow.
Precision Tube Cutting Method
Hold tube vertically and slice nozzle at 45-degree angle. Open hole should be 10-20% smaller than your gap width (test on cardboard). For 1/8″ cracks, cut opening to 3/32″. Too large = messy overflow; too small = voids in seal.
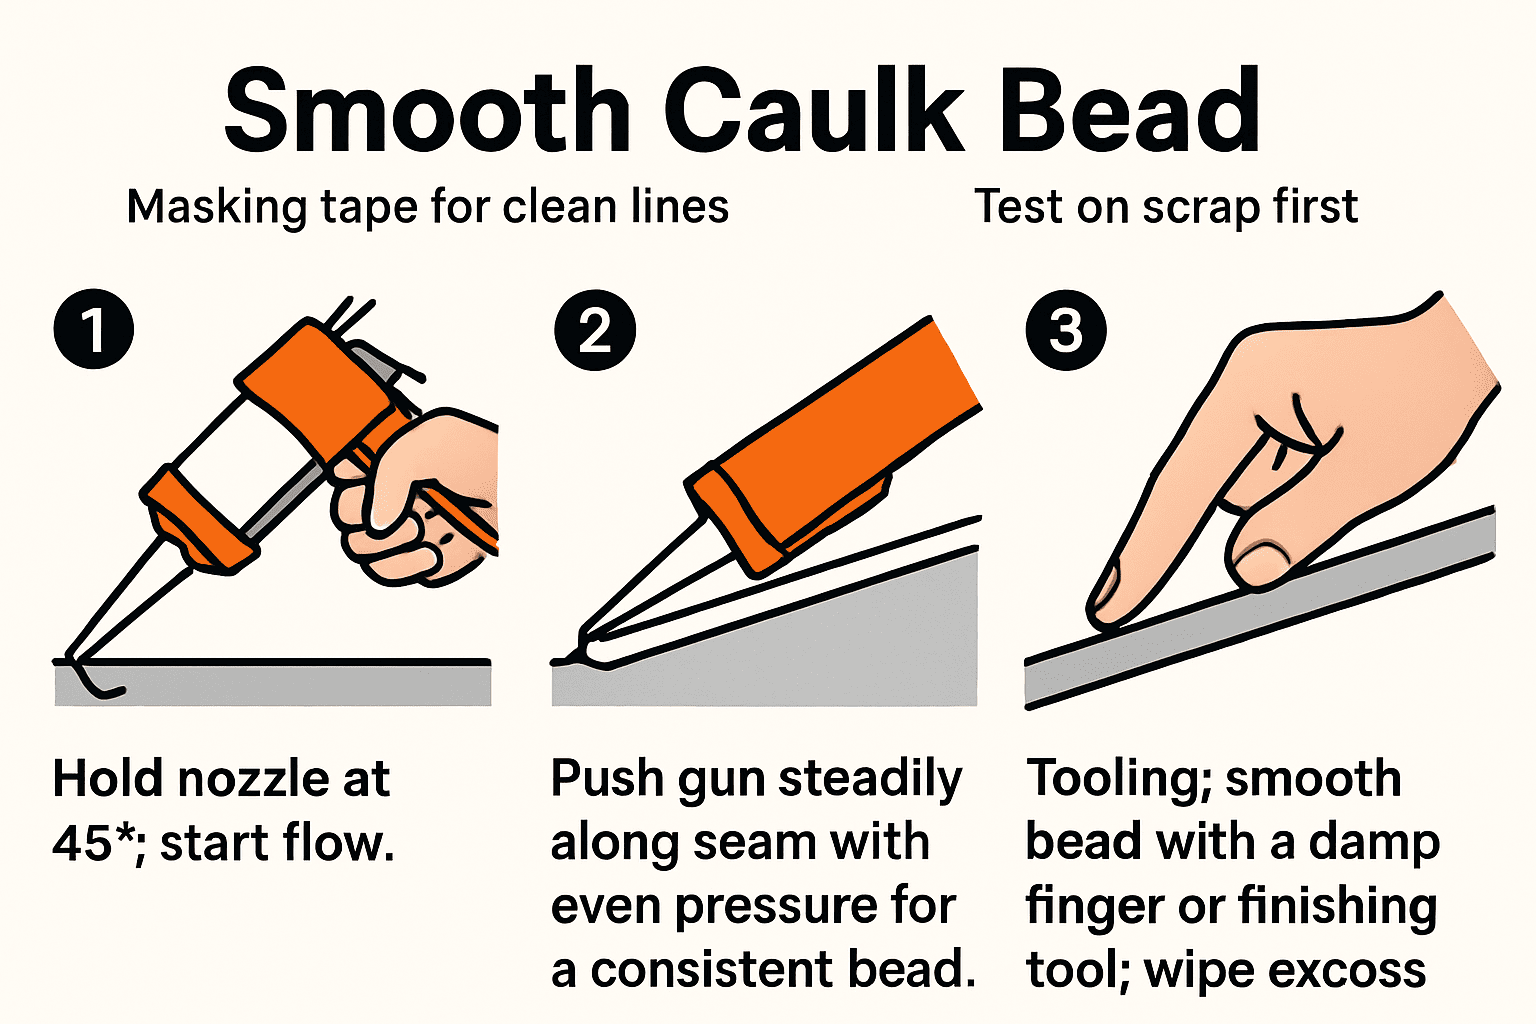
One-Pass Application Technique
Rest tube nozzle against seam edge. Squeeze trigger with steady pressure while moving at 2 inches/second. Maintain 45-degree tube angle—this directs flow deep into the gap. Apply slight overfill (10% above surface) since caulk shrinks during curing. Never stop squeezing mid-section—continuous motion prevents blobs.
Finger Smoothing Mastery
Immediately after application, dip gloved finger in soapy water. Press firmly along bead length using consistent pressure. The “dip” creates perfect concave profile while forcing caulk into hidden crevices. Wipe excess sideways onto shop towel—never drag backward. Re-wet finger every 6 inches for clean finish.
Execute Zero-Mess Cleanup in Under 5 Minutes
:max_bytes(150000):strip_icc()/how-to-remove-old-caulk-1824827-hero-4863fcf5169e426da8f822429ed46301.jpg)
Dried silicone is permanent—cleanup happens NOW. Address mistakes before skin forms (within 2 minutes). Focus on two zones: adjacent surfaces (countertop/wall) and your tools. Delaying even 30 seconds makes removal impossible without damaging surfaces.
Wipe smeared areas with dry shop towel first to absorb excess. Follow with damp (not wet) cloth for final polish. For caulk on painted walls, use rubbing alcohol on cotton swab—test in hidden spot first. Wash hands immediately with mineral spirits; soap alone won’t remove silicone.
Maximize Cure Time for Permanent Results
Most DIYers ruin perfect applications by touching caulk too soon. Full cure requires 24 hours, but critical milestones happen earlier. Know these phases to avoid accidental damage:
- 0-30 minutes: “Skin over” phase—caulk surface dries but remains soft underneath
- 30+ minutes: Paintable silicone accepts primer (per tube instructions)
- 12 hours: Safe for light moisture exposure (handwashing)
- 24 hours: Full waterproof bond achieved
Never test “dryness” by touching—fingerprints create permanent divots. Place painter’s tape flags as reminders to avoid the area.
Leverage the Redo Advantage Stress-Free
Unlike grout or paint, failed caulk applications are 100% reversible. First-timers often apply too much or create uneven beads—this is normal. If unsatisfied, let silicone cure 48 hours, then peel off completely and restart. The process has zero penalty for mistakes, eliminating performance anxiety.
Multitask Repair Sessions for Whole-Home Impact
Open caulk tubes dry out fast—capitalize on your setup. After kitchen countertops, hit these high-impact areas with the same tube:
– Bathroom sink perimeters (most neglected moisture zones)
– Living room baseboard corners (hides settling cracks)
– Window sills (prevents interior drafts)
One tube typically covers 30+ linear feet—enough for entire kitchen plus 2-3 bathroom areas.
Prevent Future Cracks With Strategic Maintenance
Quality indoor caulk lasts 8-10 years, but these habits extend life significantly:
– Run exhaust fans 20 minutes during/after cooking to reduce steam exposure
– Wipe sink/countertop spills immediately—standing water degrades silicone
– Avoid abrasive cleaners (Comet, Bar Keepers Friend) near caulk lines
– Reapply mineral oil to wood cabinets annually—reduces expansion/contraction
Avoid These 4 Costly Beginner Errors

Overfilling gaps: Creates messy overflow that’s impossible to clean perfectly. Cut tube opening smaller than gap width.
Rushing removal: Leaving 5% old caulk causes 100% failure. Use alcohol to soften stubborn residue.
Skipping finger dip: Dry fingers create rough, uneven surfaces. Soapy water = instant pro finish.
Working in long sections: Causes caulk to skin before smoothing. Restrict to 2-foot segments max.
Remember: That $5 caulk tube and 45 minutes of effort deliver disproportionate visual impact. Crisp, clean seams make dated kitchens look instantly updated—no renovation needed. Unlike complex repairs, this fix offers immediate gratification: within hours, you’ll run your hand along perfectly sealed countertops knowing you’ve eliminated a major moisture threat. Start with one sink seam today; by dinner, your kitchen will look sharper than it has in years. The longer you wait, the more moisture infiltrates—grab that caulk gun before weekend guests arrive.

