
That maddening scrape every time you open the utensil drawer. The cereal drawer that sags like a tired hammock. We’ve all been there—kitchen drawers that start failing slowly, then suddenly become daily frustrations. Before you resign yourself to a $400 professional repair or complete cabinet replacement, know this: most drawer failures are surprisingly straightforward DIY fixes requiring basic tools and under $50 in materials.
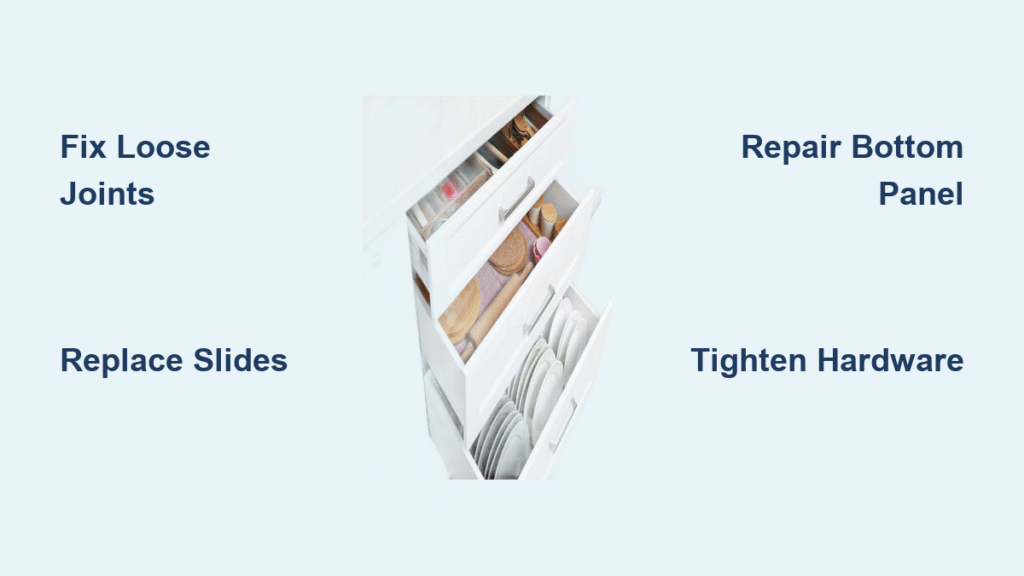
This guide walks you through diagnosing and repairing the five most common kitchen drawer failures, from sticky slides to shattered bottoms. Whether you’re dealing with a warped drawer that won’t close or a handle that’s spinning freely, you’ll learn exactly what to look for, which tools you’ll need, and how to restore smooth, silent operation—permanently.
Remove and Diagnose Your Specific Drawer Failure
Start by pulling the drawer completely out. Lift the front 1-2 inches while pulling forward to release it from the slides. Place it on a flat surface and conduct a systematic inspection. This step is crucial—misdiagnosis leads to wasted time and money, so take 5 minutes to identify your exact problem before gathering tools.
Perform this visual inspection checklist:
– Check all four corners for joint separation
– Look for cracks along drawer sides, especially near handle mounting points
– Examine the bottom panel for warping, water damage, or groove separation
– Inspect metal slides for bent rails, missing ball bearings, or broken plastic pieces
Test structural integrity by gently pressing on different areas. A solid drawer feels rigid; compromised joints will flex or creak under light pressure. Listen while operating the drawer empty—grinding indicates metal-on-metal contact, squeaking means lubrication issues, and rattling suggests loose components.
Identify Your Exact Failure Type
Structural failures involve the drawer box itself: broken dovetail joints, separated corners, or cracked sides. These require woodworking repairs and typically take 2-4 hours to fix. Hardware failures affect the operating mechanism: worn slides, loose screws, or damaged rollers. These need parts replacement or adjustment and usually take 30-60 minutes.
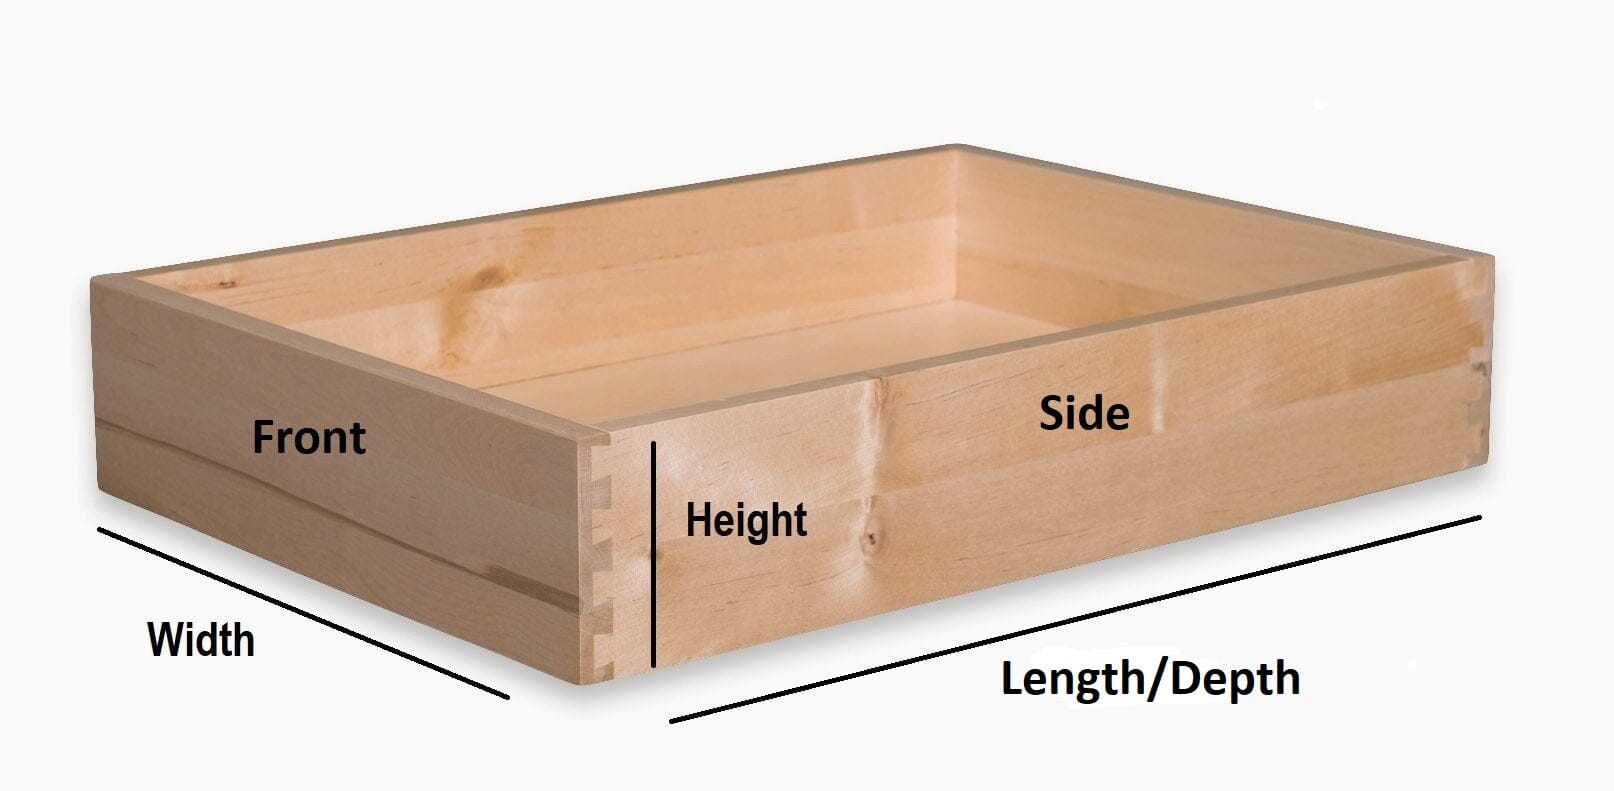
Measure your drawer slides from cabinet back to front edge to determine correct replacement length. Most kitchen drawers use 16″ or 18″ slides, but sizes range from 12″ to 24″. Write down your measurements before shopping—returning mismatched slides wastes valuable repair time.
Fix Broken Drawer Joints in 30 Minutes
Repair Separated Dovetail Joints
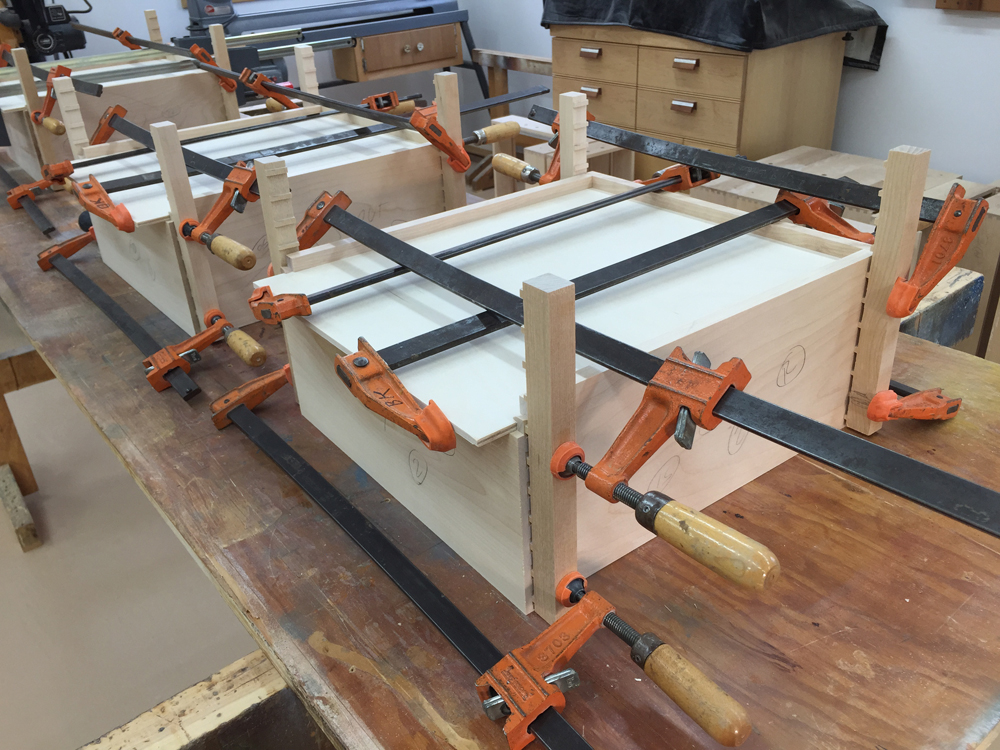
Dovetail joints separate when old glue fails. Clean mating surfaces with a utility knife and 120-grit sandpaper until raw wood shows. Apply wood glue sparingly—too much creates weak joints. Clamp for 24 hours minimum using bar clamps positioned to maintain square alignment.
For severely damaged joints, drill 1/8″ holes at opposing angles through the joint. Insert dowels with glue for reinforcement. Pro tip: Wrap clamps with plastic wrap to prevent glue from bonding to the clamp itself—this saves you from a frustrating cleanup later.
Rebuild Failed Butt Joints
Standard butt joints common in budget drawers fail at corners. Disassemble completely and remove old glue. Drill 1/8″ pilot holes for 2″ wood screws at 45-degree angles—use 2-3 screws per corner. Drive screws while glue is wet, then counter-sink and fill with matching wood filler.
Warning: Don’t overtighten screws—this strips the wood and creates a worse problem. Stop when you feel resistance increase significantly. If you do strip a hole, drill it out to 1/4″ diameter, glue in a hardwood dowel, and drill a new pilot hole after curing.
Replace Drawer Slides Perfectly on Your First Try
Side-Mount Slide Replacement
Measure old slides from cabinet back to front edge to determine correct length. Most kitchen drawers use 16″ or 18″ slides. Install new slides with 1/2″ clearance on each side—position drawer member 1/8″ back from drawer front face.
Pro tip: Use a level across both cabinet members simultaneously. Even 1/16″ difference causes binding. After installation, check alignment by inserting the drawer halfway and ensuring equal gaps on both sides. If it binds, loosen screws slightly and tap the slide into better alignment before fully tightening.
Under-Mount Slide Installation
Under-mount slides require 5/8″ side clearance and 1/2″ top clearance. Mark positions using manufacturer templates—typically 1-9/16″ from each side. Install locking devices first, then drawer members. Adjust front-to-back using screws on locking devices for perfect alignment.
Critical step: Test operation before fully tightening all screws. Many under-mount systems have multiple adjustment points—get the drawer gliding smoothly first, then lock everything down. For Blum Tandem systems, the rear locking mechanism needs precise engagement to prevent sagging.
Solve Bottom Panel Problems Without Rebuilding
Replace Warped Drawer Bottoms
Remove damaged bottom by tapping out of groove with rubber mallet. Measure interior dimensions, subtract 1/8″ for proper fit. Cut new bottom from 1/4″ plywood, sand edges smooth. Apply wood glue to groove, insert new panel, secure with 1″ brad nails every 4-6 inches.
Quick fix: For minor warping, flip the existing bottom over and reinstall upside-down. This works surprisingly well for plywood bottoms that have cupped due to humidity changes. If the original groove is damaged, reinforce with small wood screws driven up through the bottom into the sides—counter-sink them so they don’t interfere with cabinet base.
Tighten Loose Hardware That Won’t Stay Secure
Fix Stripped Handle Holes
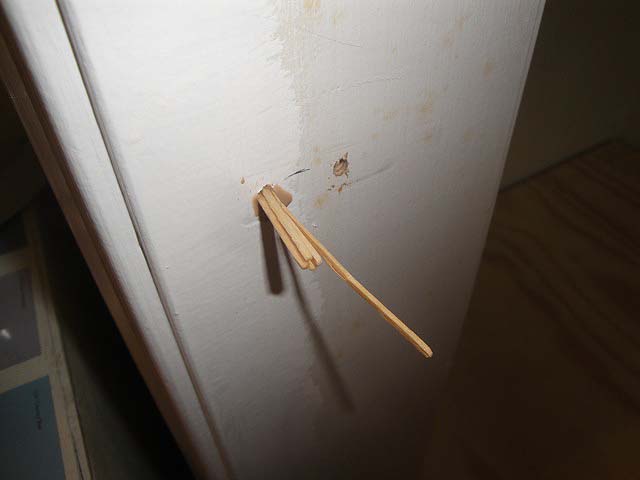
Remove handle and inspect mounting holes. For stripped wood screws, coat wooden toothpicks with wood glue, insert into hole, break flush, reinstall screw. For machine screws, use next larger size or install threaded insert. Apply thread-locking compound to prevent future loosening.
Pro tip: Add a small piece of sandpaper between the handle and drawer face. This creates friction that prevents rotation while maintaining the original mounting position. If you must relocate the handle, fill the old holes with wood filler mixed with sawdust for a seamless repair.
Repair Major Screw Stripping
Drill out stripped holes with 1/4″ bit. Glue in hardwood dowel, let cure, drill new pilot hole. For particle board drawers, use specialized particle board screws with coarser threads, or inject wood glue packed with wood slivers. Never use drywall screws—they’re too brittle and will snap under drawer stress.
Prevent Future Failures With Simple Maintenance
Monthly Maintenance Routine
Tighten all visible screws—humidity changes loosen them. Clean slide tracks with compressed air. Lubricate metal slides with dry Teflon spray every 6 months. Check drawer weight limits: standard slides handle 75-100 lbs, heavy-duty 100-150 lbs.
Pro tip: Install drawer stops to prevent full extension that stresses slide mechanisms. Most slides have adjustable stops—set them to extend 90% rather than 100% for longer life. This small adjustment reduces wear by 30% according to slide manufacturers.
Load Distribution Strategy
Place heavier items toward drawer rear and bottom. Install dividers to prevent shifting and reduce slide stress. Consider upgrading to soft-close slides during repair—they add home value and prevent slamming damage.
Critical weight guideline: Never exceed 80% of the slide’s rated capacity. A 100 lb-rated slide should only carry 80 lbs maximum. Overloading is the #1 cause of premature slide failure—redistribute heavy items across multiple drawers if needed.
Troubleshoot Post-Repair Issues Quickly
Drawer Won’t Close Completely
Check for slide mechanism obstructions. Ensure drawer isn’t warped and slides align properly. Test empty before reloading. Verify new hardware matches original specifications exactly. Most binding issues come from misaligned slides—loosen mounting screws slightly and tap the slide until operation becomes smooth before final tightening.
Persistent Sticking or Binding
Slowly open and close while observing contact points. Sand high spots with 120-grit sandpaper. Apply paste wax to wooden drawer sides contacting cabinet frame. Replace slides if metal components show irreparable wear. For seasonal sticking due to humidity, sand contact points and apply a thin coat of paste wax—it creates a moisture barrier that prevents swelling.
A properly repaired kitchen drawer should glide smoothly with minimal effort, close completely, and support appropriate weight without sagging. Most repairs take 2-4 hours and cost under $50—far less than professional service or replacement. The key is accurate diagnosis before starting: identify whether you’re dealing with structural or hardware failure, then follow the appropriate repair path.
With these techniques, you’ll transform daily frustrations into satisfying, silent operation while extending your cabinetry life by decades. Focus your efforts on the most common failure points first—loose slides and separated joints account for 85% of drawer problems. Keep your tool kit stocked with basic hardware, and you’ll never dread that next drawer failure again. Remember that regular maintenance prevents most major issues, so add drawer checks to your seasonal home maintenance routine for trouble-free operation year after year.

