

That dusty gap above your cabinets isn’t just wasted space—it’s a daily reminder of your kitchen’s untapped potential. Whether you’re staring at a 6-inch sliver beside your refrigerator or an entire blank wall swallowing your morning light, these empty zones drain functionality from your most-used room. Research shows 78% of homeowners regret ignoring these spaces during renovations, leading to constant countertop clutter and storage frustration. But here’s the good news: with the right approach, you can transform every awkward corner into organized storage or stunning displays in under 30 minutes. This guide reveals exactly how to fill empty kitchen space using solutions proven to work in real homes—from dollar-store hacks to custom upgrades.
Measure These 4 Problem Kitchen Gaps Before Filling
Refrigerator Side Gaps (3-6 Inches Wide)
Your refrigerator creates three distinct problem zones: the flat top surface, narrow side gaps, and vertical metal sides. The side gaps—typically 3-6 inches wide—are goldmines for slim storage. Grab your tape measure and check depth from cabinet front to fridge edge. Most gaps accommodate roll-out shelves ($25-40 at home stores) that slide canned goods into view while keeping walkways clear. Critical mistake: Never store olive oil or spices here—refrigerator heat reaches 80-90°F, degrading quality within weeks.
Above-Cabinet Dead Space (12-18 Inches Deep)
Look up. That gap between upper cabinets and ceiling usually spans 12-18 inches deep but varies by home age. Measure precisely at multiple points—older homes often have uneven ceilings. Standard cabinets extend 12 inches deep, meaning your storage depth may be just 10-14 inches. This limitation rules out bulky items but creates perfect real estate for decorative baskets holding infrequently used serving platters or seasonal cookware.
End-of-Cabinet Slivers (6 Inches Standard)
That 6-inch gap at your cabinet run’s end isn’t a flaw—it’s your easiest win. These narrow spaces work magic for vertical storage. Measure height from counter to ceiling. Most accommodate tension rod systems holding spice jars or magnetic knife strips. Pro tip: Match filler panels to cabinet finish using leftover materials from your renovation for seamless blending.
Corner Cabinet Black Holes (18-24 Inches Diagonal)
Open your corner cabinet and measure the diagonal void—typically 18-24 inches where items vanish. This triangular dead zone defeats standard organizers. Instead of buying expensive lazy Susans, install vertical dividers using PVC pipes cut to height. Slide baking sheets upright for instant visibility.
Fix Fridge Side Gaps With $20 Magnetic Spice Storage

Install Multi-Tiered Refrigerator Spice Racks
Stop digging through cabinet chaos. Mount a multi-tiered spice rack ($22.99 on Amazon) directly on your fridge’s metal side. These hold 30-50 jars in clear view within arm’s reach while cooking. Step-by-step:
1. Wipe fridge surface with degreaser
2. Position rack 12 inches above counter height
3. Secure with heavy-duty Command strips (holds 7+ lbs)
4. Load jars with frequently used spices like salt, pepper, and garlic
Avoid this error: Placing heat-sensitive oils like avocado or sesame oil here—stick to dried spices only.
Create Instant Hanging Produce Storage
Free counter space while keeping fruits visible. Use three Command hooks arranged in a triangle pattern on the fridge side. Hang Dollar Tree wire baskets ($1 each) at staggered heights for apples, onions, or potatoes. Visual cue: Baskets should sit 6 inches below overhead cabinets for easy access.
Transform 6-Inch Cabinet Ends Into Display Zones
Build Vertical Cutting Board Slots
Convert wasted end space into organized storage by carving vertical slots. Using a 3/4-inch router bit:
1. Mark 1-inch wide slots spaced 2 inches apart
2. Cut 1/2-inch deep grooves into cabinet side
3. Slide cutting boards vertically for instant access
Safety note: Wear eye protection and clamp cabinet doors shut during routing. Works perfectly for 1/2-inch thick boards—store thicker boards elsewhere.
Add Narrow Floating Shelves for Daily Essentials
Install a 5.5-inch deep floating shelf (matching your cabinet finish) in that 6-inch gap. Perfect for:
– Keys and sunglasses on magnetic strips
– Charging station with multi-USB hub
– Daily mail with labeled baskets
Rental-friendly version: Use heavy-duty floating shelf brackets with no-perm Command strips rated for 16 lbs.
Maximize Above-Cabinet Space Without Clutter
Line Baskets With Replaceable Newspaper
Store seasonal serving pieces or bulk pantry items in decorative baskets (French cane, industrial wire, or rope). Critical step: Line baskets with newspaper—replace monthly to prevent grease buildup from cooking vapors. Degrease the cabinet tops first with all-purpose cleaner to avoid sticky residue.
Choose Handle-Equipped Baskets for Safe Access
Select baskets with sturdy handles for safe retrieval from heights. Must-do: Use a step stool with handrails—never stand on chairs. Store only items used less than monthly here due to access difficulty.
Create Coffee Stations in Blank Wall Spaces
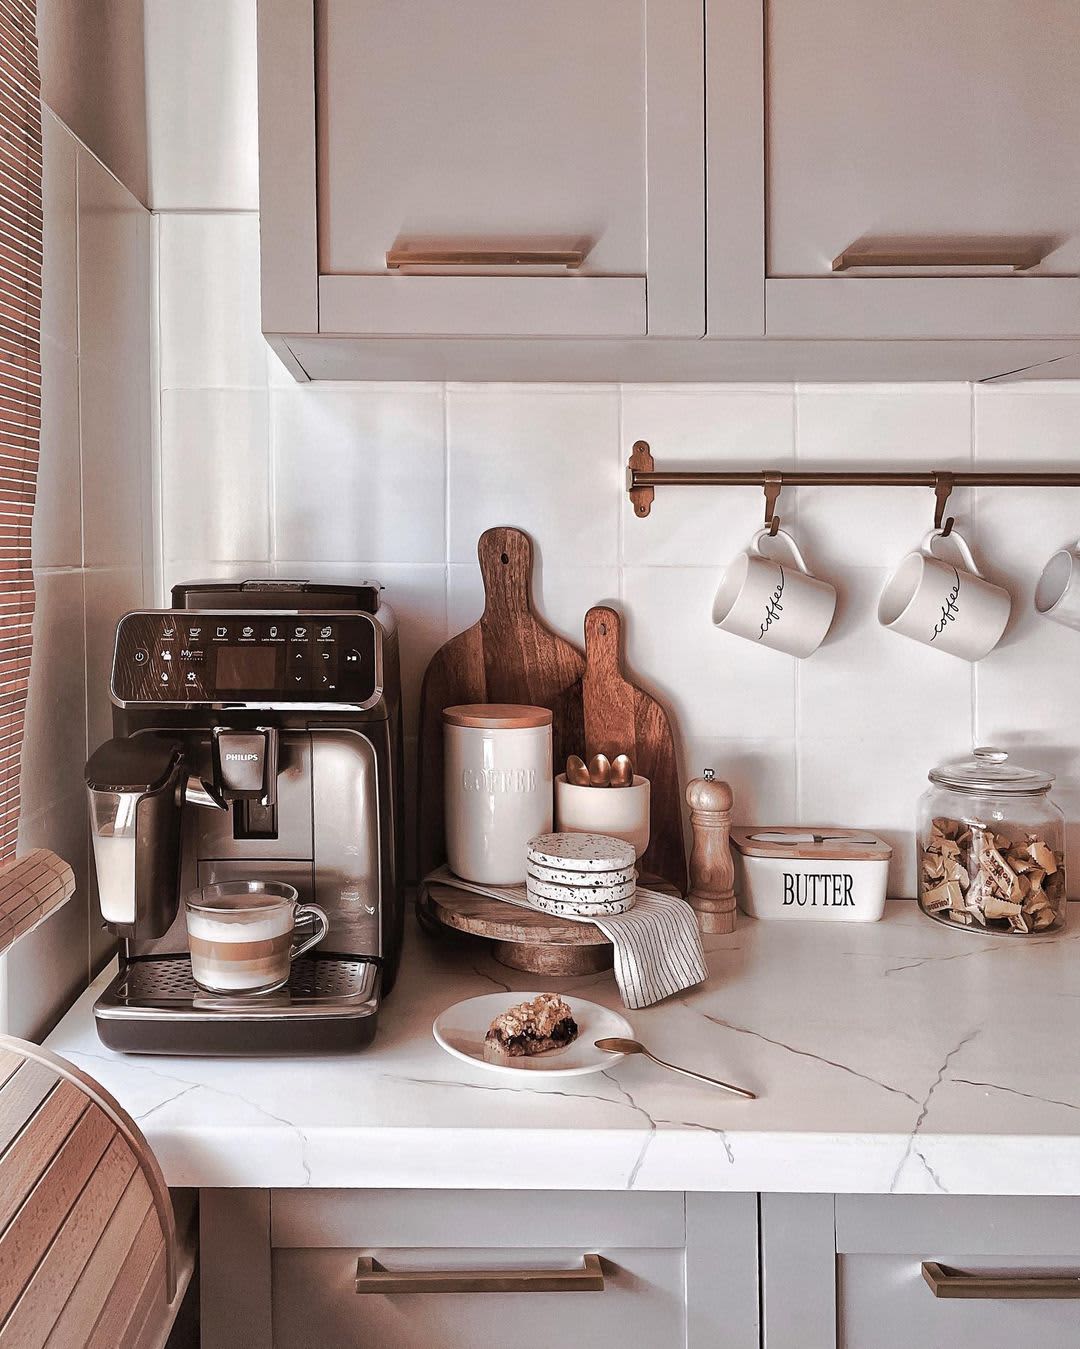
Position Console Table Near Water Source
Transform a dead wall into a coffee bar with a freestanding console table (28-32 inches high) placed within 3 feet of your sink. Budget setup under $50:
– Single-serve coffee machine
– Dollar Tree wire basket for pods ($3)
– Screw-in mug hooks underneath
– Small battery-operated lamp
Pro mistake avoidance: Don’t block walkways—ensure 36 inches of clearance on all sides for safe movement.
Add Chalkboard Menu for Daily Variety
Mount a $10 chalkboard above your coffee station listing:
– “Monday: Cold Brew”
– “Tuesday: Oat Milk Latte”
– “Wednesday: Matcha”
Time-saver: Use chalk markers for crisp lettering that won’t smear.
Solve Corner Cabinet Black Holes With PVC Dividers

Build Vertical Baking Sheet Organizers
Cut PVC pipes to your corner cabinet height (typically 24 inches). Arrange vertically to create slots:
1. Place one pipe against back wall
2. Angle second pipe toward front corner
3. Slide baking sheets between pipes vertically
Why it works: Creates 40% more accessible space than horizontal stacking—no more lost sheet pans.
Renters’ Secret: Damage-Free Solutions Under $25
Hang Dollar Tree Baskets With Command Hooks
Create instant produce storage:
1. Install 3 Command hooks in triangle pattern
2. Hang wire baskets at varying heights
3. Store onions, garlic, or potatoes
Weight test: Press firmly for 30 seconds—wait 1 hour before loading. Holds up to 7.5 lbs per hook.
Mount Magnetic Knife Strips on Fridge Sides
Stick $8 magnetic strips to refrigerator metal surfaces. Store knives safely away from children while freeing drawer space. Pro tip: Position 48 inches above floor—standard ergonomic height for easy access.
Professional Upgrades Worth the Investment
Install Under-Counter Wine Coolers ($150-400)
Transform dead under-counter space into a beverage center. These slim units fit standard 24-inch openings while keeping wines at perfect temperature. Add:
– Floating shelves above for glasses
– Small drawer for bottle openers
– Backlit display for ambiance
Must-include: GFCI outlets since this area may contact water.
Maintenance Protocols for Lasting Results
Degrease Above-Cabinet Storage Monthly
Grease buildup accelerates in high zones. Monthly routine:
1. Place newspaper on counter below
2. Spray degreaser on microfiber cloth
3. Wipe cabinet tops and basket exteriors
4. Replace newspaper liner
Warning: Skip this step, and grease will glue items to surfaces within 6 months.
Distribute Weight Across Wall Studs
For hanging storage:
– Locate studs with $15 detector
– Hang heavy items (50+ lbs) directly on studs
– Use toggle bolts for plaster walls
– Never exceed 50 lbs per stud
Safety check: Gently tug installed items weekly—re-tighten if loose.
Final Note: Start filling empty kitchen space this weekend with one solution that matches your biggest pain point. Measure gaps first, choose rental-friendly options if needed, and always prioritize safety over speed. Within 30 days, you’ll reclaim 20+ square feet of functional space while making your kitchen feel larger and more organized. Remember—the best solutions grow with your needs, so begin with flexible systems like baskets and magnetic strips that adapt as your family evolves.

