

Staring at your outdated kitchen tiles but dreading the dust, debris, and expense of full removal? You’re not alone—nearly 68% of homeowners avoid kitchen renovations specifically because of flooring demolition. The good news: modern solutions let you transform dated ceramic tiles in just days without chisels or landfills. Whether you’re renting, on a tight budget, or simply avoiding renovation chaos, this guide reveals four proven methods to cover kitchen floor tiles that actually work. You’ll discover which approach delivers permanent results versus temporary fixes, avoid costly mistakes like moisture damage, and get step-by-step instructions for professional-looking results—all while preserving your existing tile foundation.
Paint Existing Tiles for Instant Transformation
Forget slapping on regular paint—this fails catastrophically on glossy tiles within weeks. Epoxy or ceramic-specific acrylic paint is your only viable option, designed to bond with non-porous surfaces and withstand kitchen moisture. Pair it with a ceramic bonding primer and high-gloss sealer for survival against dishwater splashes and foot traffic. Skip this specialized system, and your “refresh” becomes a chipping, peeling disaster.
Master the Critical Prep Process
Your success hinges entirely on surface preparation. Start by deep cleaning with a degreaser—scrub every tile until it “squeaks” under your fingers. Grease residues from years of cooking are the #1 cause of paint failure. Next, lightly sand glossy surfaces with 120-grit paper to create microscopic texture for adhesion. Vacuum all dust, apply ceramic primer in thin even coats, then do a final degrease before painting. Rushing this stage wastes your entire project.
Realistic Expectations for Painted Tiles
Painted tiles demand maintenance—they’re not permanent. Expect to touch up high-traffic zones (like near your sink) every 6-12 months as foot traffic and pet claws wear through. Solid colors work best for durability; intricate stencils highlight wear patterns faster. Crucially, reapply sealer annually in moisture-prone areas. While ideal for budget-conscious DIYers in low-traffic kitchens, avoid this method if you have leaky faucets or steam-heavy cooking habits.
Install Peel-and-Stick Vinyl Tiles Without Special Tools
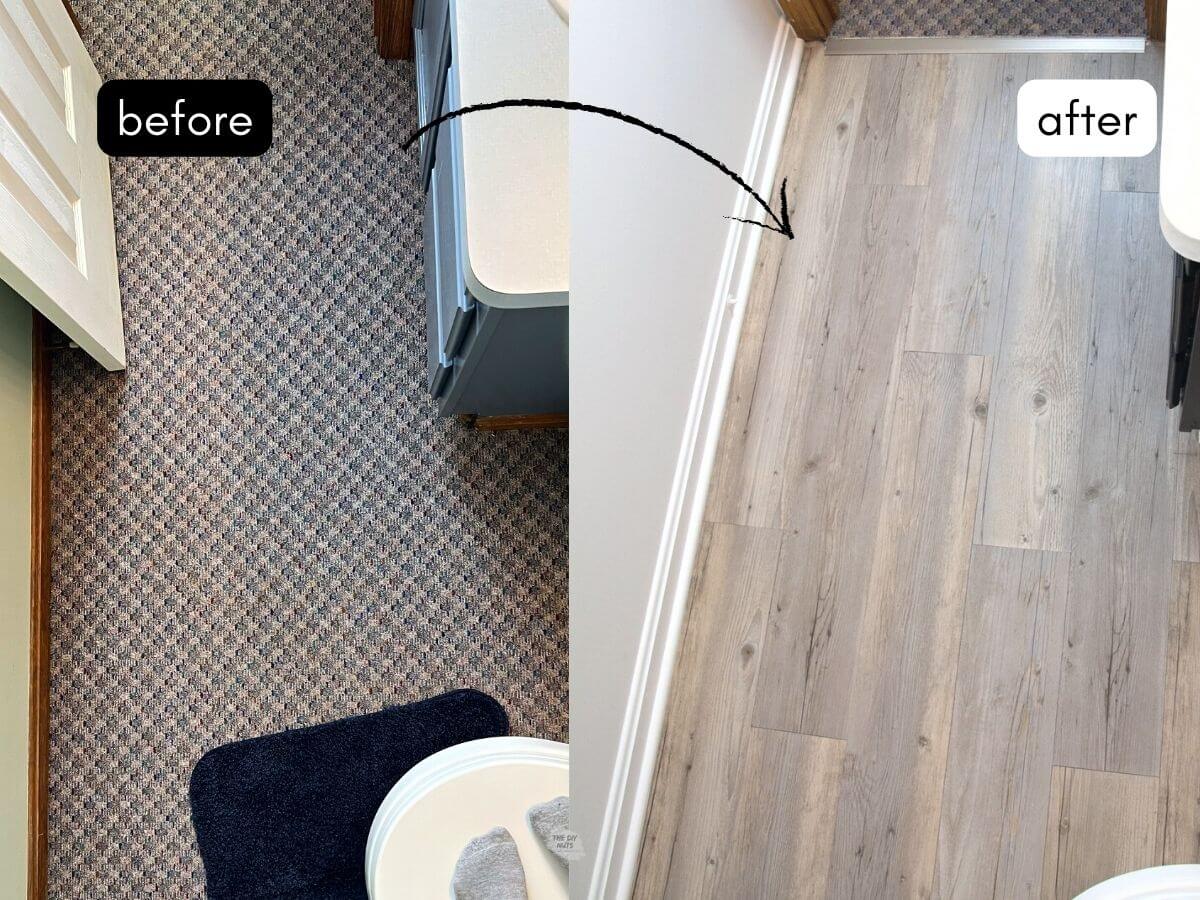
Premium groutable vinyl tiles (like Stainmaster’s wood-look options at Home Depot) deliver authentic appearance for under $1/sq ft. Unlike cheap stickers, these 2mm-thick tiles withstand kitchen conditions when installed correctly. Their secret? Microscopic grip patterns on the adhesive backing that bond securely to clean tile surfaces. For best results, choose products labeled “commercial grade”—they contain more wear-resistant vinyl.
Avoid the #1 Installation Mistake
Most peel-and-stick failures happen because installers skip deep degreasing after initial cleaning. Wash tiles with TSP cleaner, rinse thoroughly, then wipe with denatured alcohol—this removes invisible cooking oils that sabotage adhesion. Start layout from the farthest corner, working toward the door. Press tiles with firm circular motions using a J-roller (rent for $20/day) to eliminate air pockets. For moisture zones like sink bases, spray 3M Super 77 adhesive under tiles before sticking.
When This Method Backfires
Peel-and-stick tiles lift fastest where steam collects: near dishwashers, stoves, and sinks. In high-humidity kitchens, expect edges to curl within 18 months. They also struggle on textured tiles—those grooves create air pockets that prevent bonding. If your tiles have deep grout lines (>1/8″), fill them with silicone caulk first. While perfect for basements or rental kitchens needing quick fixes, avoid this method if you cook with heavy steam daily.
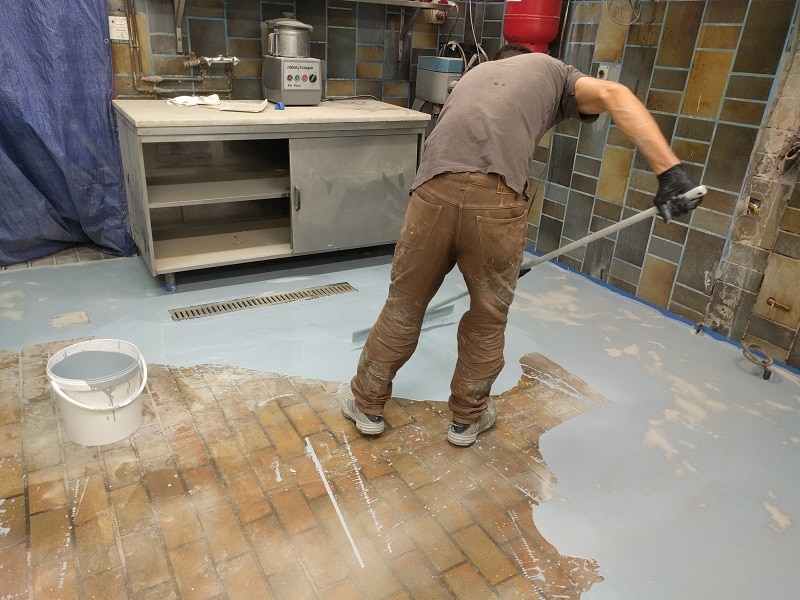
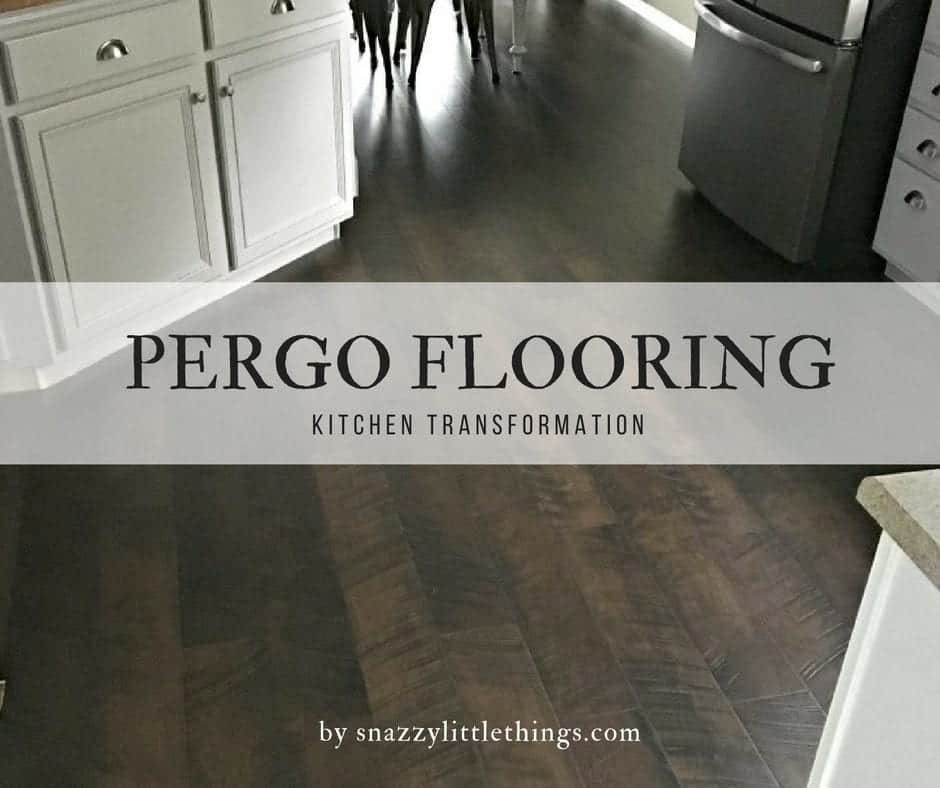
Lay Floating Vinyl Planks for Permanent Results
Pergo XP with Moisture Lock solves the biggest kitchen flooring flaw: water damage. Its attached vapor barrier blocks moisture from below while the rigid core resists warping. Unlike cheaper LVP, it features embossed wood grain texture so realistic you’ll forget it’s vinyl—Esperanza Oak mimics hand-scraped hardwood perfectly. Most crucially, it floats directly over tiles without glue, making removal possible later without tile damage.
Non-Negotiable Installation Steps
Remove all fixtures first—sinks, toilets, cabinet bases—to create a clean workspace. Vacuum the floor meticulously; trapped debris causes “telegraphing” where tile seams show through new planks. Use 1/4″ spacers around walls for expansion gaps, then start installation from the longest wall. Click planks together at 20-degree angles, tapping joints with a rubber mallet. For pipe cutouts, trace holes with a compass, then cut with an oscillating tool. Finish by caulking edges where planks meet cabinets to block water ingress.
Why This Justifies the Cost
At $3-5/sq ft, floating planks cost more upfront but deliver 15+ years of trouble-free service in kitchens. They handle dropped cookware without dents, resist fading from sunlight, and won’t swell from accidental spills. Most importantly, they eliminate moisture traps that rot subfloors under glued-down flooring. If you cook daily or have kids/pets, this is the only covering method that functions like real tile replacement.
Strategic Quick Fixes for Immediate Impact
When full coverage isn’t feasible, large non-slip rugs create instant style shifts. Place a 5×8″ rug in the main work triangle (sink-fridge-stove) to hide 70% of visible tile. Choose patterns that camouflage stains—geometrics or Persian designs hide dirt better than solids. Always use rubber-backed rugs; cheap woven ones slide dangerously on smooth tiles.
Revive Tired Tiles Temporarily
Deep-clean grout lines with a 1:1 vinegar-water mix and old toothbrush—this often restores 50% of original brightness. For stubborn stains, apply color-matched grout paint with an artist’s brush for instant uniformity. While not a covering solution, this $20 refresh buys time if you’re planning a future remodel. Avoid epoxy grout coatings—they peel within months on kitchen floors due to constant moisture exposure.
Universal Prep Checklist for All Methods
Scrub every tile with degreaser until no residue transfers to a white cloth. Repair cracked tiles using epoxy filler—never install over damaged surfaces. Check for levelness with a 4-foot straightedge; if tiles vary by more than 1/8″, apply self-leveling compound first. Verify dryness by taping plastic to the floor overnight—if condensation forms, address moisture issues before proceeding. Skipping any step guarantees failure, especially in steamy kitchens.
Which Method Fits Your Reality?
Choose painting only if you have minimal cooking moisture, a tiny budget (<$100), and accept annual touch-ups. Pick peel-and-stick for rental kitchens needing 2-day transformations where moisture exposure is low (like breakfast nooks). Invest in floating planks if you cook daily, have kids/pets, or want 10+ years of maintenance-free service—the $1,200 average cost pays off in longevity. Use rugs only as emergency fixes when funds are exhausted.
Fix These Failures Before They Ruin Your Project
Moisture damage? Seal under-sink cabinets with silicone caulk before installation—this stops steam from lifting edges. Tiles lifting at seams? Rent a 100-lb roller for peel-and-stick applications; inadequate pressure causes 90% of seam failures. Pattern misalignment? Snap chalk lines from room center outward instead of starting at walls—this prevents crooked layouts in imperfect rooms. Adhesion issues? Apply ceramic primer even for vinyl installations; it creates a uniform bonding surface over variable tile glazes.
Transforming your kitchen floor without demolition is entirely achievable when you match the method to your real-world conditions. Paint for quick budget refreshes in dry kitchens, peel-and-stick for rental-friendly speed, or floating planks for permanent, moisture-proof results. The critical factor isn’t the product—it’s obsessive surface preparation and honest assessment of your kitchen’s moisture exposure. By avoiding the pitfalls outlined here, your dated tiles will become the hidden foundation for a stunning kitchen upgrade that lasts years, not months. Your perfect kitchen floor isn’t buried under demolition dust—it’s already beneath your feet, waiting for the right covering solution.

