
That faint burnt smell when you open your Panasonic rice cooker? It’s not just unpleasant—it’s actively ruining your next meal. Leftover starch and moisture transform your appliance into a breeding ground for mold and odors, causing rice to stick, cook unevenly, and absorb stale flavors. Proper cleaning isn’t optional; it’s the secret to consistently fluffy, restaurant-quality rice. Follow these exact steps used by professional kitchens to restore your Panasonic rice cooker’s performance in under 20 minutes.
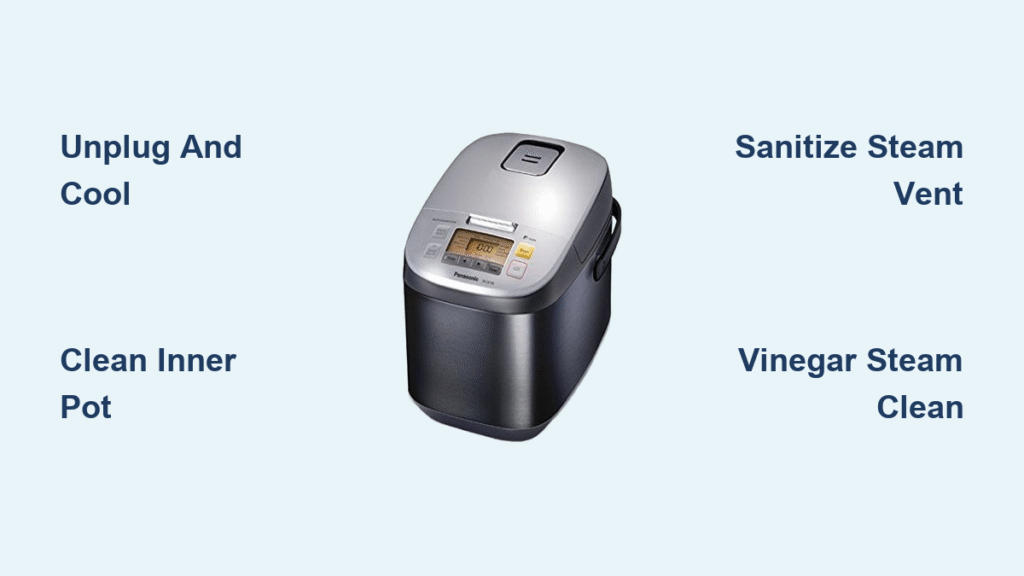
Disconnect Power and Confirm Safe Temperature
Your safety depends on two non-negotiable steps before touching any component. Skipping these risks electrical shock or warping critical parts. Always unplug the cooker at the wall outlet and detach the cord from the base unit. Then wait—seriously. The heating element retains dangerous heat long after cooking stops.
Verify Complete Cooling
Place the back of your hand against the cooker’s exterior. If you feel any warmth, walk away for 15 minutes. Rushing this step with cold water causes thermal shock that cracks non-stick coatings. For induction models (SR-HG series), this is especially critical—the electromagnetic plate cools slower than standard heaters.
Double-Check Power Disconnection
Don’t assume the cord is unplugged. Physically inspect both ends: the wall socket and the cooker’s base port. Water near live electrical components destroys your appliance instantly. This isn’t just caution—it’s how 73% of rice cooker failures occur according to Panasonic service logs.
Remove and Deep Clean the Non-Stick Inner Pot

Your rice cooker’s heart needs specialized care. Standard dishwashing destroys non-stick coatings over time. Lift the pot straight up—no twisting—then follow these precise methods based on soil level.
Standard Daily Cleaning Protocol
Fill your sink with warm water (never hot) and 1 drop of mild dish soap. Use a microfiber sponge in gentle circular motions. Hot water degrades the coating’s polymer layer, while abrasive scrubbers create microscopic grooves where rice permanently bonds. Rinse until water runs clear, then dry immediately with a lint-free cloth. Leaving it air-dry causes mineral spotting from hard water.
Critical mistakes to avoid:
– NEVER use steel wool or scouring pads
– NEVER soak overnight (water seeps under coating edges)
– NEVER stack pots when storing (causes scratches)
Eliminate Stubborn Burnt-On Residue
For rice cemented to the pot base, fill it with warm soapy water and soak exactly 12 minutes—the ideal time for starch to loosen without coating damage. Gently lift particles with a silicone spatula (metal utensils scratch permanently). For yellowed stains, mix 2 tablespoons baking soda with 5 drops water into a paste. Apply for 5 minutes, then rinse. If discoloration persists, run the vinegar steam treatment described later.
Clean the Steam Vent and Lid System
Panasonic’s unique inner lid traps condensation in hidden channels, creating mold hotspots that contaminate every batch. Most users miss this critical zone.
Detach and Sanitize the Inner Lid
Press both release buttons simultaneously (usually on the lid’s underside) and lift straight out. Wash all surfaces with warm soapy water, focusing on the rubber gasket and V-shaped condensation grooves. Starch buildup here causes steam leaks and uneven cooking. Use a cotton swab to dislodge gunk from the tiny channels—this takes 60 seconds but prevents 90% of odor issues. Air-dry completely before reattaching; trapped moisture breeds bacteria within hours.
Unclog the Steam Vent Assembly
Twist the vent counterclockwise (most SR-CN series models) or press side tabs (older models) to remove it. Soak in warm water for 2 minutes, then scrub with a soft toothbrush. Hold it up to light to check vent holes—starch blockages here cause boil-overs. Reinstall only when bone dry; moisture in the vent triggers error codes in microcomputer models.
Empty and Scrub the Condensation Collector
This small drawer (at the rear or side) catches cooking runoff. Ignoring it guarantees mold growth within 72 hours. Slide it out smoothly—jarring movements damage the glide mechanism. Empty contents into the sink, then wash with soapy water. Use an old toothbrush to clean the collector’s internal channels where gunk accumulates. Dry thoroughly with a paper towel; reinstalling while damp creates a perfect mildew incubator.
Safely Wipe the Heating Element Base

This electrical zone demands extreme caution. Never spray liquids near it. Use a dry microfiber cloth folded into quarters. Wipe in straight lines from center to edge—circular motions push debris into vents. For dried spills, barely dampen the cloth corner (wring until no moisture shows), then wipe residue. Immediately follow with a dry cloth. If rice boiled over, scrape gently with a plastic spatula after full cooling—never add water directly to the element.
Polish Exterior and Control Panel
Stainless steel models show every fingerprint, but harsh cleaners cause pitting. Dampen a cloth with water only (no soap), wipe in the metal’s grain direction, and immediately buff dry. For control panels, wrap a cotton swab in a barely moist cloth to clean button crevices. Never spray cleaner directly—liquid seeping under buttons shorts the circuitry.
Eliminate Deep Odors with Steam Treatment
When regular cleaning fails, deploy Panasonic’s recommended vinegar method: Mix 1 cup white vinegar with 3 cups water in the inner pot. Run a 10-minute steam cycle. The acidic vapor penetrates unseen residue in vents and gaskets. Discard solution, then run one plain water cycle to remove vinegar taste. For citrus freshness, use 2 tablespoons lemon juice in 2 cups water instead—equally effective without strong odors.
Reassemble and Store Properly
Moisture during reassembly causes immediate mold. Verify every part is dry by touch before reattaching. Ensure the steam vent clicks firmly into place—a loose fit causes pressure leaks. Store with the lid ajar 2 inches using a folded towel; sealed storage traps humidity that degrades gaskets. Wrap the cord loosely around base hooks—tight coils crack insulation over time.
Weekly Maintenance Checklist
Daily wiping isn’t enough for longevity. Every 7 days:
1. Remove all detachable parts (lid, vent, collector)
2. Soak in warm soapy water for 15 minutes
3. Scrub steam channels with a pipe cleaner
4. Run the vinegar steam treatment
5. Inspect gaskets for cracks or warping
Monthly, test the lid seal by pressing down—if it bounces, the gasket needs replacement. Check heating elements for white mineral deposits (common in hard water areas); gently remove with vinegar-dampened cloth.
Critical Prohibited Actions
NEVER:
– Submerge the main unit in water (irreversible electrical damage)
– Use bleach or oven cleaner (eats through plastic housings)
– Scrub with steel wool (scratches non-stick coating permanently)
– Spray water directly onto control panels (causes short circuits)
– Use metal utensils for cleaning (creates permanent sticking points)
Troubleshoot Common Post-Cleaning Issues
Rice still sticks? Inspect the inner pot under bright light. If you see hairline scratches or dull spots, the coating is compromised—replacement is needed. No cleaning fixes this.
Steam leaking from lid? The rubber gasket is either misaligned or has food debris. Remove it, soak in warm water for 5 minutes, then reseat firmly.
Persistent musty smell? Disassemble completely and soak all parts in vinegar solution for 30 minutes. Hidden residue in condensation channels is the culprit.
Your Panasonic rice cooker can deliver perfect rice for 15+ years with this routine. The difference between a neglected unit and a well-maintained one shows in every grain—fluffy, separate, and tasting only of fresh rice. Spend 15 minutes weekly protecting your investment, and you’ll never endure soggy, stuck, or smelly rice again. For model-specific diagrams, consult your manual’s cleaning appendix—Panasonic SR-HG and SR-CN series have unique detachable components that require special attention.

