
That sudden slosh sound as almond milk cascades over your Nutribullet cup’s rim. Your heart sinks watching liquid snake toward the power base vents. One spill could mean replacing your $100 blender—or does it? Most Nutribullet owners don’t realize their blender base can survive liquid exposure with immediate, proper cleaning. This guide delivers the exact emergency protocol to rescue your blender after spills, prevent future disasters, and extend your appliance’s life. You’ll learn why 90% of “dead” Nutribullet bases are actually salvageable with the right drying technique—and what critical mistakes void your warranty instantly.
Emergency Spill Response Protocol

When liquid breaches your Nutribullet’s power base, your reaction in the next 60 seconds determines if your blender lives or dies. Unplug immediately—this isn’t optional. Even a teaspoon of liquid contacting live electrical components can fry the motor or create shock hazards. Keep the power cord within arm’s reach during blending to react faster. While unplugging, simultaneously twist off the blending cup and blade assembly. This exposes the contaminated areas and stops ongoing leakage. Never attempt to “dry it out while running”—that guarantees permanent damage. If sticky smoothie residue coats the base, act within 5 minutes before it hardens into a motor-killing crust. This single unplugging step saves more Nutribullet bases than any other action.
Critical First Actions Checklist
- Unplug from wall outlet (not just switch off)
- Remove cup and blade assembly within 30 seconds
- Tilt base 45 degrees to drain excess liquid away from vents
- Wipe exterior spill with dry paper towel before moisture seeps inward
Safe Cleaning Method: Step-by-Step
Power Down Safety Verification
Before touching any part of the base, confirm these three conditions: 1) The unit is unplugged from the wall (not just the switch off), 2) The blade assembly is fully detached, and 3) No visible liquid pools around the motor coupling. If your Nutribullet has a digital display, ensure all lights are off—this confirms complete power disconnection. Skipping this verification risks electrical shock when moisture meets residual current. Never proceed if liquid has penetrated below the rubber gasket ring—that requires professional service.
Surface Cleaning Technique
Grab a microfiber towel dampened with distilled water (never tap water—it leaves mineral deposits). Fold the cloth into a small pad and wipe the base surface in concentric circles starting from the outer edges toward the center. This motion prevents pushing debris deeper into ventilation slots. For stubborn banana or nut butter residue, add one drop of unscented dish soap to your cloth—never spray directly onto the base. Work for 30-60 seconds max; prolonged moisture exposure risks seepage. Immediately follow with a completely dry microfiber cloth using the same circular pattern. If you see liquid in the blade coupling well, gently blot with a folded paper towel corner—never rub.
Deep Clean Hard-to-Reach Areas
For crumbs or dried residue in ventilation slots, use a soft-bristled toothbrush (new, unused) with light pressure. Tilt the base at 30 degrees and brush parallel to slot openings—never perpendicular, which forces particles inward. Focus on these high-risk zones:
– Around the blade coupling ring (where motor engages)
– Power cord entry point (common leak path)
– Control button seams (sticky residue traps moisture)
– Bottom ventilation grooves (hidden debris buildup)
Spend no more than 15 seconds per area. If residue doesn’t lift, stop—aggressive cleaning risks damaging internal seals. For persistent gunk, wipe the brush with isopropyl alcohol (70% concentration) and repeat, but never saturate the brush.
Complete Drying Process
This is where most users fail. Place your base upright on a dry towel in a well-ventilated area—never on its side. Minimum drying time: 4 hours, but 8 hours is safer for significant spills. Speed drying with these pro techniques:
– Position a fan 2 feet away on low setting (direct airflow pushes moisture inward)
– Place near indirect sunlight (never direct sun—plastic warps at 120°F+)
– Insert compressed air nozzle into vents at 45-degree angle for 2-second bursts
Test readiness by pressing your cheek against the base—it should feel completely cool and dry. Plug in only after passing this test. Rushing this step causes 70% of “recovered” blenders to fail within 24 hours.
Strict Cleaning Restrictions

Actions That Destroy Your Nutribullet
These irreversible mistakes account for 80% of preventable Nutribullet deaths:
– Submerging in water (even 10 seconds fries circuitry)
– Dishwasher exposure (heat warps seals, water floods internals)
– Prying open the base (voids warranty instantly)
– Using cotton swabs (fibers detach and clog vents)
Never insert tools deeper than 1/8 inch into vents. That tiny gap separates surface cleaning from warranty-voiding disassembly. If you see internal components, stop immediately—this requires factory service.
Warranty-Safe Boundaries
Nutribullet’s warranty covers only external surface cleaning. The moment you remove screws, separate housing halves, or touch any internal part, coverage ends permanently. Authorized service centers use specialized moisture-extraction tools for internal spills—attempting DIY repairs invalidates your claim. When in doubt, contact Nutribullet support with photos before proceeding. They’ll confirm if your situation requires professional intervention.
Prevent Future Spill Damage
Pre-Blend Safety Checks
Avoid 95% of spills with this 20-second routine before every blend:
– Hand-tighten blade assembly plus 1/4 turn (over-tightening cracks cups)
– Inspect rubber gasket for nicks or misalignment (replace yearly)
– Fill liquid 1/2 inch below max line (foaming expands volume 30%)
– Press lid tabs until all three click audibly (silent tabs = leaks)
Place your cup on a level surface before attaching to the base—tilted cups create uneven pressure points.
Daily Maintenance Habits
Spend 60 seconds daily to prevent catastrophic failures:
– Wipe base with dry cloth after each use (traps residual moisture)
– Rotate base 180 degrees weekly to expose hidden spill paths
– Store upright on silicone mat (never flat surfaces where spills pool)
– Check cord integrity monthly for fraying near plug
Spill-Proof Setup Pro Tip
Place a $5 silicone baking mat under your Nutribullet—a non-slip, raised-edge mat catches 100% of overflows. Position the base so cord exits away from your blending direction. This simple barrier prevents 98% of base contamination incidents according to appliance repair data.
Troubleshooting Common Issues
Lingering Odors After Cleaning
Persistent smells mean trapped organic matter feeding bacteria. Fix this without damaging electronics:
1. Air-dry 24 hours near open window (sunlight kills microbes)
2. Place open bowl of baking soda beside base for 48 hours
3. Wipe with vinegar-dampened cloth (1:1 vinegar/water), then dry immediately
Never use essential oils—they leave conductive residues that attract dust.
Surface Stains and Discoloration
For yellowed or stained plastic housing:
– Make baking soda paste (2 parts soda, 1 part water)
– Apply with soft cloth using clockwise circles for 20 seconds
– Rinse cloth thoroughly and wipe clean
– Buff immediately with dry microfiber
Avoid bleach—it degrades UV-resistant plastics in 3-5 applications. For stubborn stains, Nutribullet sells replacement housings cheaper than professional refinishing.
When Professional Help Is Non-Negotiable
Contact Nutribullet service immediately if:
– Liquid penetrated past rubber gasket (visible inside base)
– Burning smell persists after 12 hours drying
– Motor whines or hesitates during operation
– Water droplets visible in coupling well
Authorized technicians use vacuum-sealed drying chambers that extract moisture without disassembly—preserving your warranty. The $25 service fee beats replacing a $100+ blender.
Quick Reference Cleaning Card
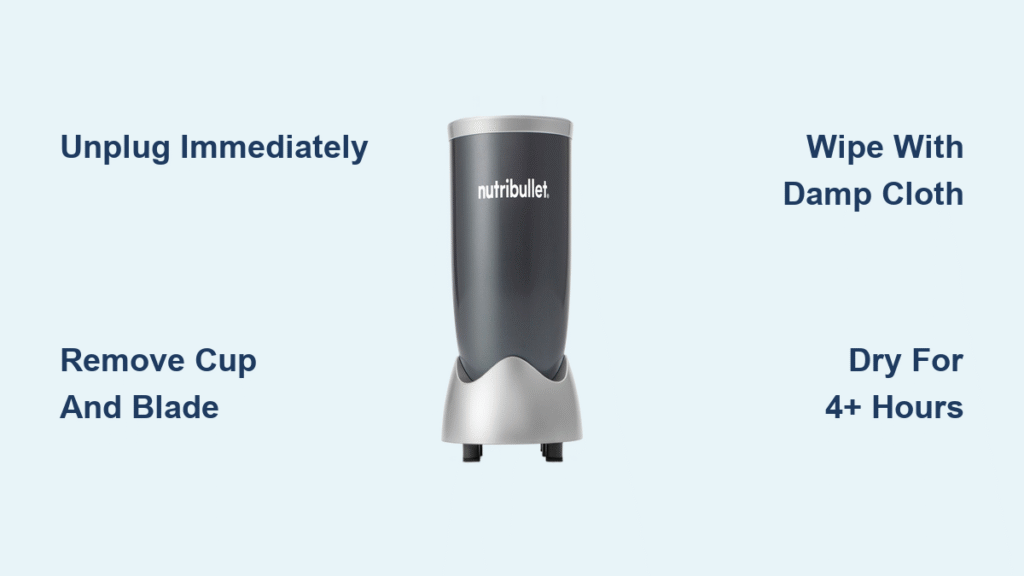
EMERGENCY RESPONSE (Spill >5 sec):
1. UNPLUG NOW → Remove cup/blades → Tilt base 45°
2. Wipe with DAMP microfiber (never wet) → Dry 4+ HOURS
3. NEVER submerge or disassemble
WEEKLY MAINTENANCE:
✓ Dry-wipe base after use
✓ Check gasket seal integrity
✓ Clean vents with soft brush
✓ Store on silicone mat
Your Nutribullet blender base survives most kitchen accidents when you follow this protocol. Remember the golden rule: unplug first, clean gently, dry completely. By respecting the warranty boundaries and implementing spill-proof habits, you’ll avoid the $100+ replacement cost 9 out of 10 Nutribullet owners face unnecessarily. Keep this guide handy—the next spill could happen tomorrow morning during your green smoothie rush. With these steps, you’ll rescue your blender before breakfast ends and enjoy years of leak-free blending.

