
That slimy film coating your sink rack? The black gunk hiding under the rubber feet? These aren’t just eyesores—they’re bacterial breeding grounds that contaminate your clean dishes. Kitchen sink racks protect your sink from scratches and speed up dish drying, but without proper care, they become the dirtiest spot in your kitchen. Left uncleaned, they trap food particles, grease, and moisture, creating perfect conditions for mold and odors that spread to your entire sink area.
This guide delivers professional techniques to restore your rack to spotless condition using everyday items you already own. You’ll learn how to tackle stubborn black sludge, prevent daily buildup, and choose the fastest method for your schedule—whether you need a 2-minute post-dinner rinse or a deep sanitizing soak. Most importantly, you’ll stop scrubbing blindly and target the exact trouble spots where grime hides.
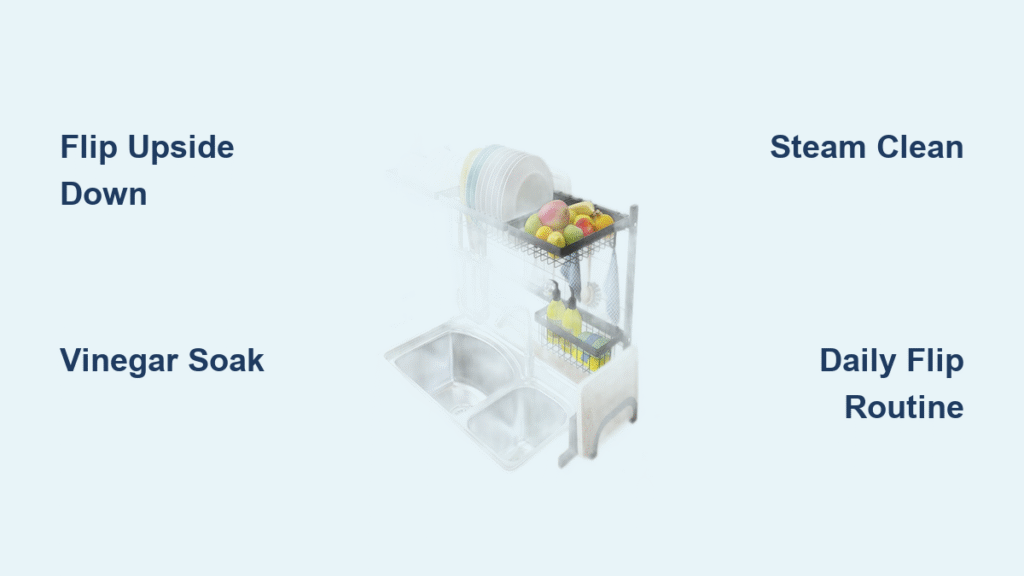
Weekly Soap & Vinegar Cleaning Routine
Flip-and-Scrub Method for Daily Grime
Stop scrubbing the top first—that’s why gunk lingers. Flip your rack upside down to access the worst buildup under the wires, where food particles and grease accumulate. Plug your sink, fill it with the hottest water your pipes allow, and add 3-4 drops of degreasing dish soap like Dawn Platinum. Submerge the flipped rack for 10 minutes, then use a nylon brush to scrub:
- Underside wires – focus on intersections where slime nests
- Rubber feet bases – pop them off and clean separately
- Drain holes – ensure water flows freely through openings
- Top surface – quick wipe after flipping right-side up
Pro tip: Clean your sink basin while the rack soaks—it takes 30 seconds to wipe away bacteria hiding under the grid’s edges. Rinse with hot water to prevent mineral spots, and dry completely before reuse.
Vinegar Soak for Musty Odors
When your rack smells sour even after soap cleaning, vinegar’s acidity breaks down odor-causing bacteria. Remove all rubber feet (store them in a mesh bag to avoid loss), then fill your sink with hot water and 1 cup of white vinegar. Soak the rack for 30 minutes—never less—to dissolve organic buildup. Use a denture brush for tight spots around wire joints, then rewash with soapy water.
Critical warning: Never combine vinegar with bleach. This creates toxic chlorine gas that can cause breathing difficulties. Always dry rubber feet thoroughly before reattaching; trapped moisture restarts the odor cycle.
Dishwasher Method Without Disasters
:strip_icc()/bhg-how-to-load-a-dishwasher-hero_7Ts7As8BKKz82vrQGg-wvx-d525443542234c49bd463a19482bbb5b.jpg)
Perfect Loading for Standard Racks
Your dishwasher can sanitize sink racks if loaded correctly. Only attempt this if your rack is under 16 inches wide with removable rubber feet. First, detach all feet and place them in a mesh bag or silverware holder. Remove your dishwasher’s top rack to gain vertical space, then position the grid vertically against the back wall at a 45-degree angle. This prevents spray arm interference while ensuring water reaches all surfaces.
Run a normal cycle with standard detergent—skip heated dry if any plastic parts remain. Afterward, inspect wire joints for trapped debris. Reattach only fully dry feet to avoid new odors. Never force oversized racks; this damages spray arms and leaves sections uncleaned.
Cutting Oversized Racks: Last Resort Fixes
If your rack won’t fit even with the top rack removed, cutting is risky but possible. Measure twice to divide it into dishwasher-safe sections (e.g., a 24-inch rack into two 12-inch pieces). Use a hacksaw with a fine-tooth blade, then smooth cut edges with a metal file to prevent scratches. Add replacement rubber feet near new edges for stability.
Hard truth: This voids most warranties and may cause wobbling. Instead, try steam cleaning—it sanitizes without permanent damage. Only cut if rust or persistent mold has already compromised the rack.
Eliminate Stubborn Black Sludge Fast
Oxygen Bleach Power Soak
For thick black buildup under wires, skip harsh chemicals. Mix hot water with 2 scoops of oxygen bleach (like OxiClean) in your sink. Submerge the rack for 30 minutes—watch as the sludge visibly lifts from stainless steel wires. The oxygen bubbles penetrate crevices without fumes or corrosion risks.
Key insight: Oxygen bleach works on organic matter but won’t harm stainless steel like chlorine bleach can. Rinse thoroughly afterward to prevent residue, and wear gloves if soaking longer than 30 minutes.
Steam Cleaning for Chemical-Free Sanitization
A handheld steam cleaner (like HomeRight SteamMachine) zaps bacteria using only water vapor. Fill the reservoir, attach a nylon brush head, and heat until steaming. Hold the nozzle 2 inches from the rack while scrubbing:
- Target wire intersections where gunk hardens
- Hover over rubber foot sockets for 5 seconds to loosen debris
- Move slowly across the underside—steam penetrates where brushes can’t
This takes 10 minutes versus 30 minutes of scrubbing. Critical: Wear heat-resistant gloves. Steam burns heal slower than cuts, and never direct steam at sink seams to avoid water damage.
Prevent Daily Buildup in Minutes
2-Minute Post-Dinner Flip Routine
After washing dishes, flip your rack upside down and rinse the underside with hot water for 30 seconds. Wipe visible debris with your dish sponge, focusing on corners where four wires meet. Replace it right-side up—this simple flip prevents 80% of weekly buildup. Do this daily if you cook often, and you’ll skip deep cleans for weeks.
Why it works: Water and food particles drain off the top surface but pool underneath during normal use. Flipping disrupts this cycle before grime sets.
Monthly Hidden Spots Checklist
Rubber feet transfer black marks to clean dishes if neglected. Every 30 days:
– Peel off feet – scrub undersides with an old toothbrush
– Check wire junctions – use a denture brush for pocketed gunk
– Inspect sink contact points – wipe mineral rings with vinegar
Ignoring these areas causes permanent stains in porcelain sinks. If your sink looks cleaner where the rack sits, it’s proof the rack is dirtying your sink.
Fix Common Problems Immediately
Blackened Rubber Feet Solution
When vinegar soaks fail, try this overnight treatment: Mix 1 tbsp baking soda and 1 tbsp vinegar into a paste, coat the feet, and leave 8+ hours. Next morning, scrub with a bottle brush nipple (the curved tip fits foot grooves). If blackness remains, replace feet—they cost $2 online and prevent sink discoloration.
Gray Marks on Sink Fix
These “ghost rings” come from rust or hard water deposits transferred from the rack. First, clean your sink with baking soda paste. Then, rinse the rack extra thoroughly after cleaning—residue causes repeat marks. For prevention, do a weekly vinegar soak: 1 cup vinegar in hot water for 15 minutes. Dry both rack and sink completely before reassembly.
Choose Your Cleaning Strategy
Time vs. Effort Comparison
| Method | Active Time | Best For | When to Use |
|---|---|---|---|
| Dishwasher | 5 min | Weekly maintenance | Racks under 16″ with removable feet |
| Soap soak | 15 min | Regular cleaning | Moderate buildup, no special tools |
| Steam clean | 10 min | Deep sanitization | Mold/odor emergencies, chemical-free |
| Daily flip | 2 min | Prevention | Heavy daily cooking use |
Deep clean now if: Odors disappear after cleaning, rubber feet are flexible, and structure is solid. Replace immediately if: Feet are missing (scratches sink), wires are bent (blocks drainage), or rust spots exceed pencil-eraser size.
Pro Maintenance Toolkit
Essential Tools List
Skip steel wool—it scratches stainless steel. Instead:
– Nylon scrub brush for wire grids (soft but effective)
– Denture brush for tight crevices (fits under rubber feet)
– Microfiber cloth to prevent water spots during drying
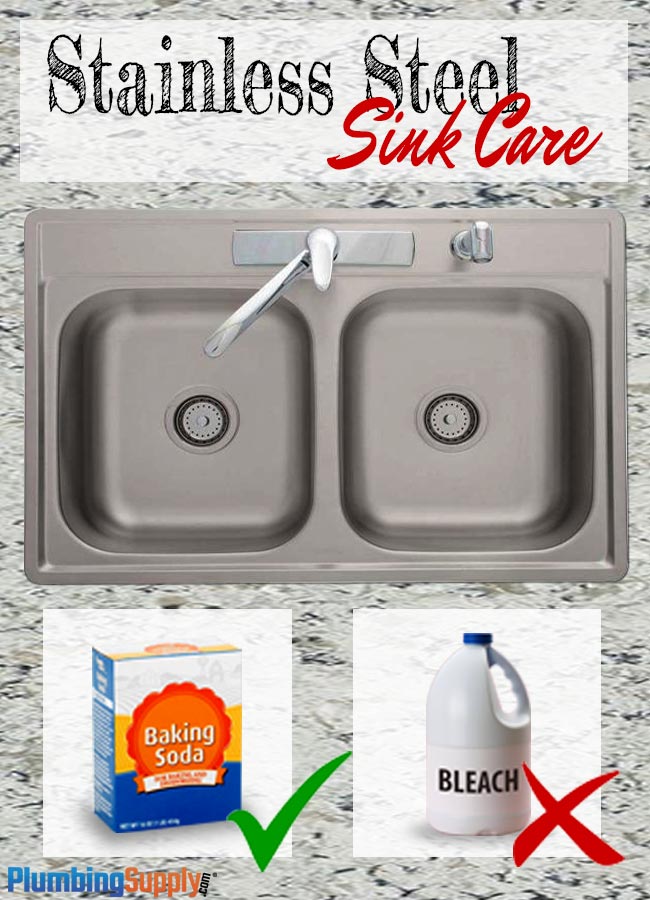
Top cleaners: Dawn Platinum for grease, white vinegar for sanitizing, and oxygen bleach for stains. Avoid oven cleaner unless used outdoors—it’s too harsh for sink proximity.
Monthly Storage Protocol
Once monthly, remove the rack completely and clean the hidden sink area underneath. This prevents permanent stains and catches debris you’d never see otherwise. Before reinstalling, dry both the sink and rack thoroughly—trapped moisture restarts bacterial growth within hours.
Your Custom Maintenance Schedule
Heavy cooks (daily use):
– Daily: 2-minute flip-and-rinse
– Weekly: Dishwasher or soap soak
– Monthly: Steam clean or oxygen bleach soak
Light users (1-2x/week):
– After each use: Quick hot-water rinse
– Bi-weekly: Soap method
– Quarterly: Deep clean + foot inspection
Clean sink racks mean cleaner dishes, faster drainage, and a kitchen that stays fresh between deep cleans. By targeting the exact spots where grime hides—underside wires, rubber feet, and wire junctions—you’ll spend less time scrubbing and more time enjoying a truly hygienic workspace. Start with the 2-minute flip tonight, and you’ll notice the difference by tomorrow’s breakfast dishes.

