
Nothing ruins a perfect meal faster than uneven flames or that dreaded yellow glow from your gas burners. When your once-reliable stovetop starts cooking unevenly or showing strange flame colors, it’s screaming for attention. The good news? Most burner issues stem from simple clogs and buildup that you can tackle with basic household supplies and about an hour of focused effort.
This guide walks you through the exact process professional technicians use to restore gas burners to peak performance. You’ll learn not just how to clean kitchen gas burners, but how to prevent future problems and recognize when it’s time to call a pro.
Why Your Gas Burner Flames Turn Yellow After Cooking
Identify the warning signs immediately. A healthy gas burner produces steady blue flames with consistent height across all ports. Yellow or orange flames indicate incomplete combustion—usually from clogged ports interrupting proper gas flow. Uneven flame patterns or burners that won’t light despite clicking sounds also signal buildup issues that require cleaning your kitchen gas burner right away.
Set a maintenance rhythm that works. Monthly deep cleaning prevents most problems, while weekly surface wipe-downs catch fresh spills before they harden. After every cooking session, quickly wipe away any new splatters to prevent them from becoming tomorrow’s cleaning nightmare. Following this schedule ensures your kitchen gas burners operate efficiently and safely.
Critical Safety Steps Before Cleaning Gas Burners
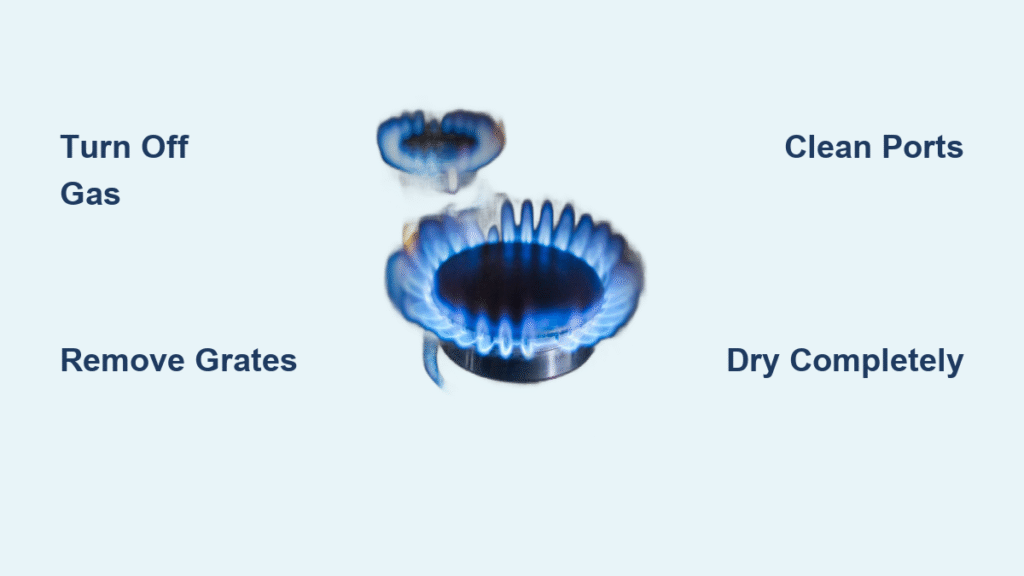
Never skip these essential precautions. Ensure all burner knobs are completely off and the stovetop feels cool to touch. For models with standing pilot lights, locate your gas shut-off valve and turn it clockwise until it stops. This prevents any gas flow during cleaning and keeps you safe from potential hazards.
Protect yourself properly during the process. Wear rubber gloves when handling cleaning solutions, especially if you have sensitive skin. Work with windows open or your range hood running—vinegar fumes and cleaning solutions need proper ventilation. Keep paper towels handy for any unexpected drips that could create slippery surfaces.
Must-Have Supplies for Proper Gas Burner Cleaning
Gather these essential basics:
– Liquid dish soap and warm water
– Distilled white vinegar
– Baking soda
– Non-abrasive scrubbing pad
– Old toothbrush or soft-bristled brush
– Microfiber cloths for drying
Specialized tools that make cleaning kitchen gas burners easier:
– Straightened paper clip or thin wire for port cleaning
– Plastic scraper for stubborn residue
– Small bowl for soaking solution
– Kitchen towels for drying components
Absolutely avoid these common mistakes:
– Steel wool (scratches surfaces and leaves metal fragments)
– Oven cleaners (too harsh for burner components)
– Bleach (corrosive to metal parts)
– Wooden toothpicks (break off and clog ports permanently)
Complete Step-by-Step Gas Burner Cleaning Process
Remove Burner Components Without Damage
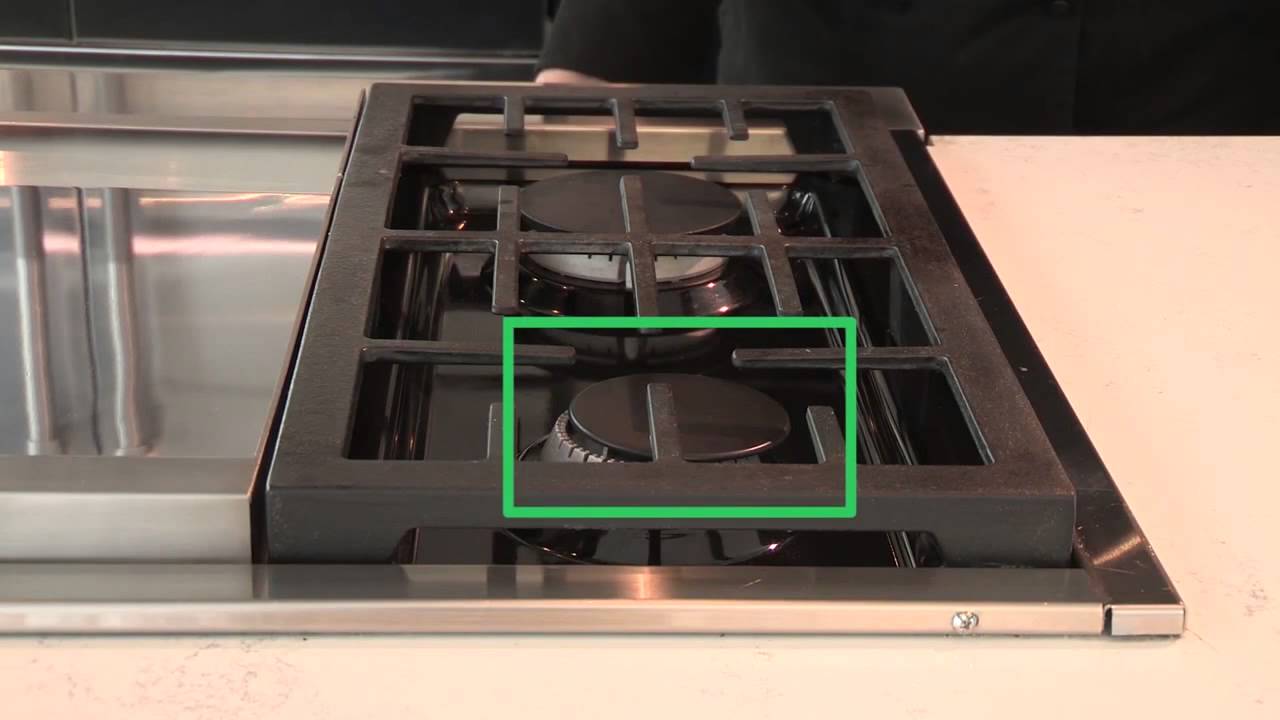
Start with complete cool-down. Wait until everything feels room temperature—rushing this step risks burns and can crack hot components. Lift burner grates straight up, never drag them across stainless steel surfaces which creates permanent scratches. For burner caps, grasp firmly and lift straight up—they should pop off easily.
Remove burner heads carefully. Most lift straight out, though some models use screws requiring a Phillips head screwdriver. If wires connect to the igniter, snap a quick phone photo before disconnecting to ensure correct reassembly later. This prevents frustration when putting everything back together.
Effective Soaking Techniques for Burner Parts
Hot water soak loosens everything. Fill your sink or large bowl with hot water and a generous squirt of dish soap. Submerge grates, caps, and heads for 15-30 minutes. This dissolves grease and softens baked-on food without harsh scrubbing. For cast iron grates, check your manual—some can be soaked while others require different care.
Tackle tough buildup with baking soda paste. Mix three parts baking soda to one part water for stubborn stains. Coat heavily soiled areas and let sit 20 minutes. The paste breaks down carbon deposits chemically rather than requiring aggressive scrubbing. For mineral deposits, try equal parts vinegar and water which dissolves hard water stains effectively.
Detailed Cleaning of Burner Components

Scrub systematically after soaking. Use your non-abrasive pad to clean all surfaces. Work the toothbrush into crevices and around burner ports where residue hides. Rinse frequently to check progress—fresh water reveals spots you missed during the cleaning process.
Clear clogged ports without causing damage. Use your straightened paper clip or thin wire to poke through each burner port. Work gently—forcing the wire can enlarge holes and create uneven flames. Clean from the outside edge toward the center, clearing all debris that’s blocking proper gas flow.
Clean the igniter properly. The small ceramic piece near each burner base needs gentle attention. Wipe with a damp cloth, removing any debris without bending or damaging the delicate electrode. A clean igniter ensures reliable lighting every time you turn the knob.
Rinse and Dry Components Thoroughly
Complete water removal prevents ignition issues. Rinse all parts under running water until soap residue disappears. Shake excess water from burner heads—trapped moisture causes sputtering flames or failure to light. Dry immediately with clean cloths, then air-dry for 30 minutes minimum before reassembly.
Double-check port dryness before reassembly. Hold burner heads up to light—you should see completely dry port openings. Any remaining moisture creates sputtering flames or failure to light. Patience here prevents frustration later when trying to use your kitchen gas burners.
Reassembly and Testing Your Cleaned Gas Burners
Place Components Correctly for Proper Function
Match caps to bases with precision. Each burner cap fits only one specific base—using the wrong combination creates uneven flames. Look for alignment pins or matching size indicators. Caps should sit flush with minimal side movement to ensure even flame distribution across the burner surface.
Secure all connections properly. Reattach any gas tubes you removed, ensuring finger-tight connections. For electronic ignition models, verify electrodes align properly without touching burner heads. Replace grates by lifting, not sliding, to protect your stovetop surface from scratches.
Test Each Burner for Optimal Performance
Light each burner individually after cleaning. Turn knobs to light position and observe flame patterns. All flames should be steady blue with consistent height. Yellow tips indicate remaining clogs or improper cap placement—common issues when learning how to clean kitchen gas burners effectively.
Adjust as needed for perfect flames. If flames appear uneven, recheck cap positioning first. Still irregular? Repeat port cleaning for that specific burner. Persistent yellow flames suggest deeper issues requiring professional attention, especially if you’ve followed all cleaning steps correctly.
Troubleshooting Common Post-Cleaning Problems

Fix Yellow Flame Issues After Cleaning
Yellow flames signal incomplete combustion. This almost always indicates dirty ports or misaligned caps. Remove the affected burner cap, verify it’s the correct one for that base, and reclean ports thoroughly. Check for any remaining food residue on the burner head itself that might be causing the discoloration.
Persistent yellow flames may indicate air shutter issues or gas pressure problems—both require professional service. Don’t ignore this safety hazard, as improper combustion can release carbon monoxide into your kitchen.
Solve Burner Lighting Problems After Cleaning
Check for moisture first. Even tiny amounts of water in ports prevent ignition. Remove the burner head and air-dry for another 30 minutes. Use a hair dryer on low setting to speed drying if needed—this simple step often solves most lighting issues after cleaning kitchen gas burners.
Verify electrical connections for electronic ignition. Ensure the spark electrode isn’t bent or touching metal. Clean igniters gently with a dry cloth—never use water directly on electrical components as this can cause short circuits or permanent damage.
Prevent Future Burner Buildup With Smart Habits
Daily habits save hours of cleaning later. Wipe fresh spills immediately while they’re still liquid. Keep a damp cloth handy during cooking sessions for quick cleanup. These 30-second efforts prevent hours of scrubbing later when tackling how to clean kitchen gas burners.
Establish your cleaning rhythm systematically:
– Daily: Quick spill cleanup while still warm
– Weekly: Surface wipe-down and grate cleaning
– Monthly: Complete burner disassembly and deep clean
– As needed: Address flame irregularities immediately
Know When to Call Professionals for Gas Burner Issues
Gas smell means immediate action. If you detect gas odors after cleaning, turn off the gas valve immediately and call your utility company. Don’t attempt further cleaning—this indicates a leak requiring professional repair that goes beyond simple kitchen gas burner maintenance.
Persistent problems need expert eyes. Flame issues continuing after thorough cleaning suggest deeper problems like gas pressure irregularities or damaged components. Regular igniter failures or loose gas connections also warrant professional attention rather than continued DIY attempts.
Clean gas burners transform cooking from frustrating to enjoyable. With monthly deep cleaning and daily attention to spills, your stovetop delivers consistent, even heat for years. Remember: blue flames mean happy burners, yellow flames mean it’s time to clean your kitchen gas burners. Your perfectly seared steaks and evenly simmered sauces will thank you for the effort—just follow this guide for reliable results every time.

