
That rotten egg smell creeping up from your sink isn’t just annoying—it’s a sign that bacteria colonies are feasting on trapped food particles in your garbage disposal. When you learn how to clean kitchen garbage disposal units properly, you eliminate these smelly invaders while preventing costly clogs and extending your appliance’s lifespan. Most homeowners only think about disposal maintenance when foul odors strike or drainage slows to a crawl, but regular cleaning takes just minutes and saves hundreds in repair bills.
Your garbage disposal works hard grinding food scraps daily, yet the chamber, splash guard, and drain pipe accumulate decaying matter that standard operation can’t reach. Grease and fibrous materials leave behind a slimy residue that becomes a breeding ground for odor-causing bacteria. This guide delivers seven actionable cleaning methods—from quick daily maintenance to deep-cleaning techniques—that tackle stubborn buildup and keep your kitchen smelling fresh.
Critical Safety Steps Before Cleaning Your Garbage Disposal
Always disconnect power completely before attempting any cleaning. Pull the disposal plug from the outlet beneath your sink or flip the dedicated breaker switch—never rely solely on the wall switch. Test by pressing the disposal button; if it doesn’t hum, you’ve successfully cut power. This step prevents accidental activation that could cause serious injury.
Never insert fingers into the disposal chamber, even when the unit appears inactive. The grinding teeth remain razor-sharp and can cause severe lacerations during cleaning. Use kitchen tongs or needle-nose pliers to remove visible debris, and always keep a flashlight nearby to inspect dark corners. One moment of carelessness can lead to emergency room visits—your safety isn’t worth risking for a smelly sink.
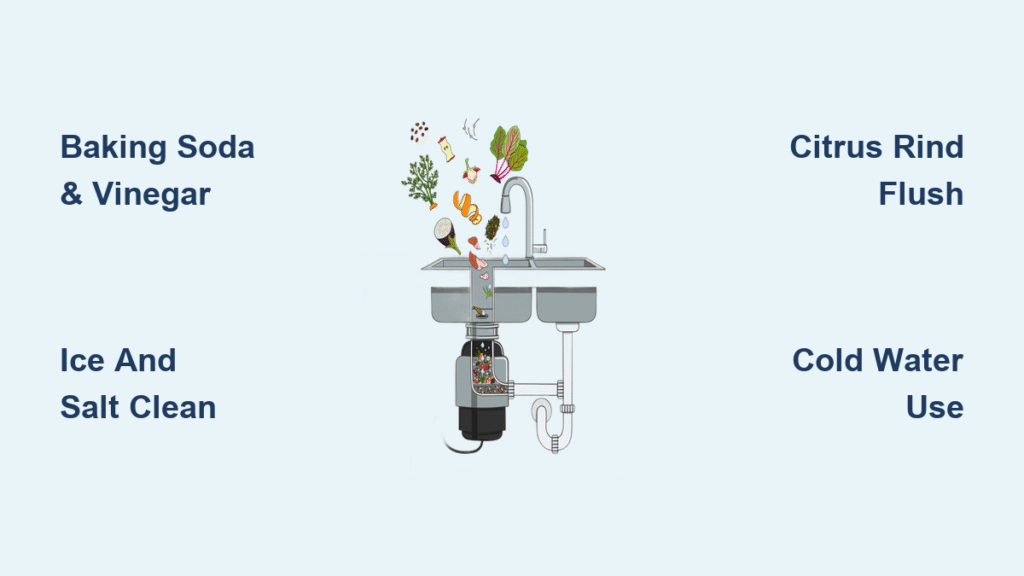
Baking Soda and Vinegar Deep Clean Method

This powerful combination breaks down organic buildup while neutralizing odors at their source. The chemical reaction creates effervescence that penetrates hard-to-reach areas, dissolving grease and food particles clinging to chamber walls.
Why This Combination Eliminates Odors at the Source
Baking soda’s alkaline properties neutralize acidic odor compounds, while vinegar’s acetic acid cuts through grease and kills bacteria. Together, they create a foaming action that reaches crevices standard cleaning misses. For maximum effectiveness, let the baking soda sit for 30 minutes before adding vinegar—this allows it to penetrate deeper into trapped debris.
Step-by-Step Execution for Maximum Effectiveness
- Pour ½ cup baking soda directly into the disposal chamber
- Allow it to work for 30 minutes while you prepare vinegar
- Add 1 cup white vinegar and watch the foaming reaction begin
- Let bubble for 3-10 minutes to break down stubborn grime
- Flush thoroughly with hot tap water for 30 seconds
Pro tip: For extra cleaning power, use boiled water during the final rinse—but avoid with PVC pipes to prevent warping. This method works best when performed weekly for daily-use disposals.
Ice and Salt Abrasive Cleaning Technique
Transform your disposal into a self-cleaning machine using natural abrasives that scrub blades without damage. The ice cubes create impact force against chamber walls while salt provides gentle scouring action on grime buildup.
How Salt and Ice Transform Your Disposal into a Self-Cleaning Machine
As the disposal grinds ice cubes, they create a scrubbing action that dislodges debris trapped along chamber walls. Salt crystals enhance this effect by providing mild abrasive properties that remove film without scratching metal components. The cold temperature from ice also causes grease to harden and break loose from surfaces.
Enhanced Version with Lemon for Added Freshness
- Fill disposal with 2 cups ice cubes
- Pour 1 cup rock salt over the ice
- Add 1 tablespoon baking soda and lemon slices
- Run cold water at full pressure
- Activate disposal until all material disappears
This enhanced version tackles both mechanical cleaning and odor elimination simultaneously. The lemon’s citric acid cuts through grease while leaving a fresh scent that lingers for days.
Citrus Deodorizing Treatment for Instant Freshness
Natural citrus oils provide powerful degreasing properties while neutralizing odors with their refreshing scent. The rinds contain d-limonene, a compound that breaks down grease and leaves your disposal smelling clean for days.
Whole Lemon Method for Deep Cleaning
- Cut one whole lemon into wedges (include rind)
- Run cold water at full pressure
- Feed wedges into disposal one piece at a time
- Continue until grinding stops completely
- Let cold water run for 20 seconds after grinding finishes
Warning: Never use hot water during this process—cold water solidifies fats for easier processing and prevents citrus oils from becoming sticky residues.
Weekly Peel Collection for Budget-Friendly Maintenance
Save citrus peels throughout the week in your freezer, then process small batches with cold water. This method costs nothing while providing regular maintenance that prevents odor buildup between deep cleanings.
Power Flush Method for Post-Heavy-Use Cleaning
This technique cleans several feet of drain pipe beyond the disposal unit, eliminating hidden buildup that causes slow drainage after holiday meals or large cooking sessions.
Why This Technique Cleans Beyond the Disposal Unit
- Plug sink drain with stopper
- Fill sink ¾ full with cold water
- Add generous squirt of dish soap
- Pull stopper while running disposal
- Continue until water runs clear
The pressurized water flow scours the entire drain line, removing food particles that standard operation misses. This method proves especially effective after processing large volumes of food waste.
Items That Will Destroy Your Garbage Disposal

Knowing what never to put down your disposal prevents 90% of clogs and mechanical failures. These common kitchen items seem harmless but cause serious damage over time.
The 7 Worst Offenders You’re Probably Putting Down Your Sink
- Grease and oils (solidify in pipes creating stubborn clogs)
- Starchy foods like pasta, rice, and potatoes (expand with water)
- Fibrous vegetables including celery and onion skins (wrap around blades)
- Coffee grounds (accumulate and form concrete-like sludge)
- Bones and seafood shells (damage grinding components)
- Banana peels (create stringy fibers that tangle)
- Bleach or chemical drain cleaners (corrode metal parts)
Pro tip: When in doubt, throw it out—your disposal isn’t designed to handle everything.
Weekly Maintenance Schedule Based on Usage Patterns
Your cleaning frequency should match how often you use the disposal. Daily users need weekly maintenance to prevent buildup, while infrequent users still require monthly cleaning to avoid stagnant debris.
Warning Signs That Demand Immediate Attention
- Persistent odors after cleaning
- Unusual grinding noises
- Slow drainage after normal use
- Frequent need to reset the unit
- Visible leaks around the unit
These symptoms indicate immediate action is needed before minor issues become major repairs. Don’t wait for complete failure—address problems at the first sign of trouble.
Daily Water Usage Protocol for Prevention
Always use cold water during food grinding—this solidifies fats and oils for easier processing and prevents them from coating chamber walls. Run water at full pressure while operating the disposal, then continue for 10-20 seconds after turning it off to flush remaining particles.
Why Cold Water Is Essential During Grinding
Hot water melts fats that later re-solidify further down the drain, creating stubborn clogs. Cold water keeps grease solid so the disposal can chop it into small particles that flow freely through pipes. Reserve hot water exclusively for cleaning processes, never during regular operation.
Troubleshooting Common Garbage Disposal Problems
Most disposal issues stem from improper use or neglected maintenance. Understanding these common problems helps you address them before they escalate.
Persistent Odors After Cleaning? Here’s Why
If smells linger despite cleaning, trapped debris likely remains in the splash guard or drain pipe. Remove the splash guard and clean it with dish soap and an old toothbrush. For severe cases, repeat the baking soda/vinegar treatment followed by citrus.
Slow Drainage Solutions That Actually Work
First try the power flush method, then follow with ice/salt treatment. If drainage remains slow, check for clogs in the P-trap under your sink. Persistent issues may require professional attention to clear deeper blockages.
When to Call a Professional for Disposal Repair
Some problems require expert intervention. Call a technician immediately if you experience:
– Disposal runs slowly despite regular cleaning (dull blades)
– Frequent electrical resets (wiring issues)
– Grinding takes longer than usual (internal damage)
– Leaks from disposal housing
Long-Term Care Strategy to Extend Disposal Lifespan
Schedule professional blade sharpening every 2-3 years for optimal performance. Between services, maintain regular cleaning using your preferred methods. A well-maintained garbage disposal lasts 10-15 years—proper care prevents the nightmare of a smelly, clogged disposal when you’re preparing dinner for guests.
Final tip: Mark your calendar for monthly cleaning—your nose (and wallet) will thank you. These simple techniques take minutes but prevent costly repairs while keeping your kitchen hygienic and fresh.

