That sticky film on your cabinet shelves? It’s not just peanut butter residue from breakfast—it’s months of airborne cooking grease slowly congealing into a permanent fixture. Most homeowners waste hours scrubbing with the wrong products, only to discover water rings, stripped finishes, or warped wood. The right how to clean kitchen cabinet shelves method depends entirely on your surface type and buildup level. This guide reveals the exact techniques professional cleaners use to remove baked-on grime while protecting finishes—plus the critical mistakes that turn a quick wipe-down into a refinishing project.
You’ll learn why Dawn dish soap outperforms expensive cleaners, how to tackle sticky jam spills in under 5 minutes, and why vacuuming before washing prevents irreversible scratches. Most importantly, you’ll discover the quarterly maintenance rhythm that keeps shelves spotless with minimal effort. Let’s transform your grimy storage spaces into kitchen showpieces.
Skip These 5 Cabinet Cleaning Products That Ruin Finishes
Bleach and ammonia-based cleaners cause irreversible damage to 90% of kitchen cabinets. Even “gentle” all-purpose sprays often contain solvents that dissolve protective finishes over time. The most common culprits include:
- Bleach: Strips wood stains and yellows painted surfaces
- Ammonia: Dulls laminate and creates cloudy film on glass
- Abrasive pads: Micro-scratches accumulate into visible wear
- Tile cleaners: Overly alkaline formulas strip protective coatings
- Undiluted vinegar: Etches wood finishes when used full-strength
Pro Tip: Always test cleaners on an inconspicuous spot like the inside of a lower cabinet. If the finish looks dull or sticky after drying, it’s unsafe for regular use.
Why Dawn Dish Soap Is Your Secret Weapon
Dawn Original’s degreasing power comes from sodium laureth sulfate—a surfactant that lifts grease without harsh chemicals. For most cabinets, mix just 1-2 drops in 2 cups warm water. This solution safely cuts through cooking residue while being gentle enough for daily use. Avoid “power wash” foams on wood—they contain propellants that dry out finishes.
Gather Your Cabinet Cleaning Arsenal: 7 Must-Have Tools

Successful how to clean kitchen cabinet shelves sessions start with the right tools. Skip these professional essentials at your peril:
- Color-coded microfiber cloths: Dust (gray), wash (blue), dry (white), polish (yellow)
- Soft-bristled brush: For grooves and hardware (an old toothbrush works)
- Cotton swabs: Critical for hinge crevices and trim details
- Mr. Clean Magic Eraser: Only for painted/laminate scuffs (test first!)
- Non-abrasive sponge: Never use steel wool—even “fine” grades scratch
- Vacuum with brush attachment: Removes crumbs before they become abrasive paste
- Shelf liners: Wax paper or reusable mats (never adhesive contact paper)
Critical Mistake: Spraying cleaners directly onto cabinets. Always apply to cloths first to prevent moisture seepage into joints.
Empty Shelves Without Creating Kitchen Chaos
Working section-by-section prevents the “where did I put the cinnamon?” panic. Start with the top shelf of one cabinet section and complete the entire cleaning process before moving down.
The Box Labeling System That Saves Hours
- Place empty boxes on your counter labeled “Top Shelf – Spices”
- Remove only items from that shelf section
- Clean the shelf completely before returning items
- Repeat for each shelf section
This method keeps your kitchen functional during cleaning. Toss expired items as you empty each shelf—deep cleaning is the perfect time to audit your pantry. Never remove all cabinet contents at once; it triples reorganization time.
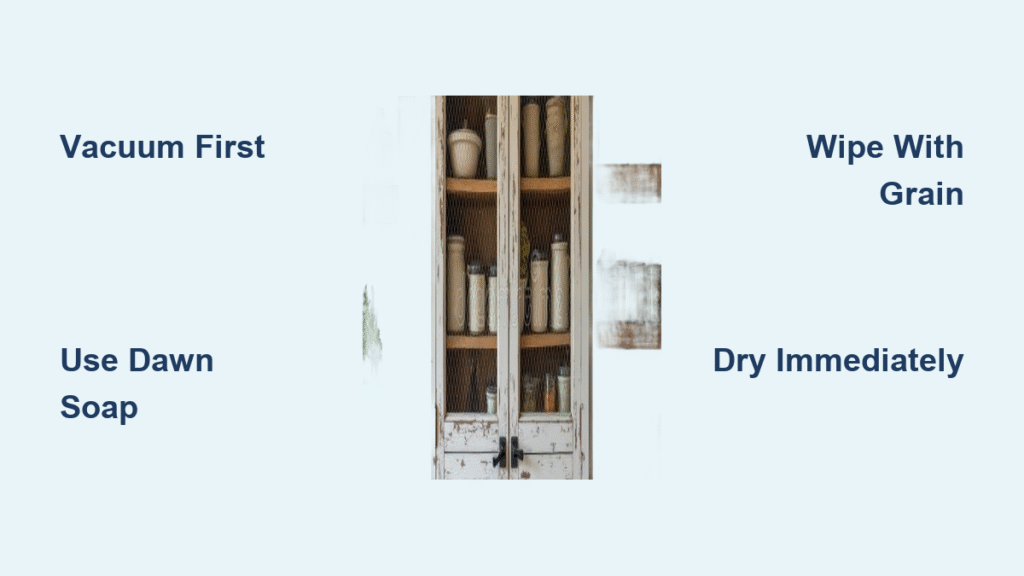
Vacuum First: Why Skipping This Step Causes Scratches
Crumbs and dust become destructive when mixed with water. Vacuum all shelf surfaces with a brush attachment before applying any liquid. Pay special attention to corners where debris accumulates.
What to look for: A gritty sensation when wiping indicates missed particles. These act like sandpaper during cleaning, creating micro-scratches that dull finishes over time. For glass-front cabinets, use a dry microfiber cloth first to lift dust—wet cleaning pushes particles into frame joints.
Mix the Perfect Cleaning Solution for Your Cabinet Type

Using the wrong solution is the #1 cause of cabinet damage. Match your cleaner to your surface:
Wood Cabinet Formula
Combine 1 part Murphy Oil Soap with 5 parts warm water. This cleans while conditioning the wood. Never soak wood—dampen cloths thoroughly but wring until barely moist. Wipe with the grain, not across it.
Laminate & Painted Surface Formula
Use plain Dawn solution (1-2 drops in 2 cups water). For heavy grease, switch to orange oil cleaner. Always rinse with a clean damp cloth to remove soap residue that attracts more grime.
Warning: Never use vinegar on stone or unsealed wood—it etches surfaces. The 1:1 vinegar-water mix is only safe for glass inserts.
Interior Shelf Cleaning: The 4-Step Method That Prevents Water Damage
Most cabinet warping happens from improper drying. Follow this sequence:
- Vacuum all crumbs and debris
- Wipe with damp soapy cloth using top-to-bottom motion
- Rinse with clean damp cloth (no soap residue)
- Dry immediately with microfiber cloth
Key Timing: Never let liquid sit more than 30 seconds on wood. For stubborn spots, reapply cleaner and let dwell 1 minute—not longer. Always air-dry shelves 10 minutes before replacing items to prevent moisture traps.
Erase Stubborn Grease on Cabinet Exteriors in 10 Minutes
Heavy grease buildup requires strategic dwell time. For baked-on grime:
- Dust surface with dry microfiber
- Apply orange oil cleaner undiluted
- Let sit exactly 5 minutes (set timer!)
- Wipe top-to-bottom with damp cloth
- Buff dry immediately
Pro Technique: For extreme buildup, attach a soft brush to a drill and let the tool do the work—never scrub hard. The drill’s vibration lifts grease without damaging finishes. Avoid power tools on painted surfaces; use the toothbrush method instead.
Remove and Deep Clean Cabinet Hardware Without Losing Screws
Hardware hides the most grime but takes just 5 minutes to refresh. Here’s how:
- Unscrew knobs/pulls with correct-sized screwdriver
- Soak in warm soapy water 10-15 minutes
- Scrub crevices with toothbrush
- Rinse and air-dry completely
- Reinstall only when bone-dry
Screw Savior Tip: Place screws on labeled tape—e.g., “Top Left Cabinet”—to avoid mismatching during reassembly. While hardware is off, check for stripped screw holes and tighten loose hinges.
Fix Sticky Residue and Scuff Marks in Under 5 Minutes
Sticky spills like syrup need freeze-drying before cleaning:
- Press ice cube on spot 2 minutes
- Gently chip away hardened residue
- Wipe with Dawn Power Wash foam
- Dwell 60 seconds
- Wipe clean
For scuff marks on painted surfaces:
– Lightly dampen Magic Eraser
– Use feather-light pressure
– Follow with olive oil on cloth for shine
Never do: Rub sticky spots vigorously—it grinds residue deeper. Freeze first, then lift.
Prevent Future Buildup: 3 Proactive Steps You’re Probably Skipping
Most cabinet damage is preventable with these habits:
- Use splatter screens when frying—reduces airborne grease by 75%
- Wipe handles weekly with damp microfiber to prevent hand-oil migration
- Install traditional pulls instead of finger grooves to minimize contact points
Hidden Hack: Place baking soda sachets inside cabinets to absorb cooking odors. Replace during quarterly deep cleans. Under-sink cabinets need waterproof plastic mats (never adhesive liners—they attract pests).
Warning Signs Your Cabinets Need Professional Repair
Stop cleaning immediately if you see:
– Swelling or bubbling wood: Indicates moisture damage
– Peeling finish: Caused by harsh cleaners or oversoaking
– Persistent stickiness: Residue from improper products
– Loose hardware holes: Requires professional filling
These issues require refinishing—not more cleaning. Prevention is key: deep-clean every 3 months before problems escalate.
Your Quarterly Cabinet Maintenance Schedule
Follow this rhythm to avoid overwhelming deep cleans:
- Daily: Wipe spills immediately with damp cloth
- Weekly: Dust cabinet tops and wipe exterior handles
- Monthly: Quick interior wipe with diluted Dawn
- Quarterly: Full deep clean with hardware removal
- Annually: Replace shelf liners and inspect for damage
Pro Tip: Schedule deep cleans after major cooking holidays (Thanksgiving, Christmas). Mark your calendar—consistency prevents the “where did this grease come from?” shock.
Final Note: Proper cabinet care starts with understanding your surface type and using targeted solutions. By vacuuming first, controlling moisture, and avoiding abrasive tools, you’ll keep shelves pristine for years. Start with one cabinet section this weekend using the Dawn solution—it takes just 20 minutes and delivers instant results. Once you master these techniques, your cabinets will stay cleaner longer with minimal effort, transforming kitchen chaos into organized serenity.


