
That stubborn crust of rice clinging to your Hamilton Beach cooker isn’t just unsightly—it’s actively ruining your next meal. When yesterday’s starch buildup bakes onto the heating plate, you’ll get unevenly cooked grains, unpleasant odors, and eventually a broken appliance. The good news? Proper cleaning takes just 15 minutes once you know exactly how to handle each component without scratching that delicate non-stick surface. This guide delivers the precise steps Hamilton Beach engineers recommend for restoring your rice cooker to like-new condition.
Stop wasting money on replacement pots or risking electrical damage with improper cleaning methods. You’ll discover how to safely remove burnt residue from the heating plate, eliminate hidden mold in steam vents, and prevent the white mineral deposits that cause undercooked rice. Most importantly, you’ll learn the one mistake 80% of users make that permanently damages their cooker’s non-stick coating.
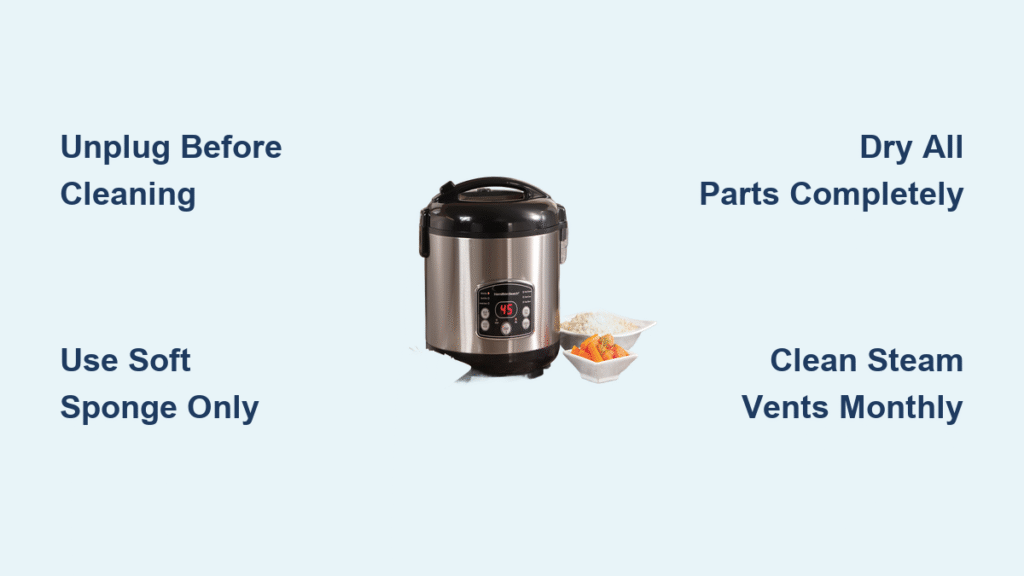
Unplug and Cool Before Touching Any Component
Never skip this critical safety step—the heating plate retains scorching heat for 60 minutes after cooking. Attempting to clean while warm causes painful burns and risks dropping the hot inner pot. Always unplug the unit immediately after serving rice, then set a timer for 30 minutes before proceeding. During this cooling period, inspect the power cord for fraying or exposed wires; damaged cords require replacement before next use.
Water is the enemy of electronics—never immerse the base unit in water or run it under the faucet. Moisture seeping into electrical components causes instant failure. Instead, wipe the exterior housing with a cloth barely dampened with water (wring out thoroughly first), keeping all liquid away from control panels and vents. For stainless steel models, use a dedicated stainless cleaner applied to your cloth—not directly on the appliance.
Remove Stuck Rice From Inner Pot Without Scratches
Soak Before Scrubbing to Preserve Coating
Transfer cooked rice immediately after the “keep warm” cycle ends. Leftover grains harden into concrete-like residue that requires aggressive scrubbing, destroying the non-stick surface. Fill the pot with warm water and 2 drops of dish soap, letting it soak for 15 minutes while you clean other components. For stubborn spots, create a paste with 1 tablespoon baking soda and 1 teaspoon water—apply directly to burnt areas and let sit 5 minutes before gentle cleaning.
Use Only Non-Scratch Cleaning Tools
Your sponge choice determines your cooker’s lifespan—never use steel wool, abrasive pads, or metal utensils. These instantly gouge the non-stick coating, exposing metal that causes rice to stick permanently. Instead, use a soft cellulose sponge or microfiber cloth with light circular motions. After washing, rinse until water runs completely clear; soap residue creates chemical flavors in your next batch. Dry thoroughly with a lint-free towel—trapped moisture between the pot and heating plate causes dangerous electrical shorts.
Clean Lid Components That Harbor Mold
Remove Inner Lid and Gasket Immediately
Most Hamilton Beach models feature a pop-out inner lid—press the release tab and lift straight up. Wash this component separately in warm, soapy water, focusing on the rubber gasket where moisture breeds black mold. Use an old toothbrush to scrub the hinge crevices where starchy water collects; neglected hinges cause sour odors within days. Never microwave the lid to dry it—this warps plastic components. Air-dry completely on a towel before reassembly.
Clear Steam Vent Blockages in 60 Seconds
Slide or pop off the steam vent cap (usually on the lid’s side) and soak in warm soapy water for 5 minutes. Use a toothpick to poke through each vent hole—clogged vents cause dangerous boil-overs during cooking. Rinse under running water while blowing through the vents to verify full clearance. Dry with compressed air or a cotton swab; moisture left inside creates musty smells that transfer to rice.
Wipe Heating Plate Without Causing Electrical Failure

Remove Residue With Zero Water Contact
This is where most users destroy their cookers—the heating plate must never get wet. After confirming the unit is unplugged and stone cold, use a dry microfiber cloth to lift loose rice grains. For stuck-on residue, dampen a corner of the cloth with baking soda paste (not water!), then wipe gently in circular motions. Immediately follow with a dry section of the cloth to absorb any moisture. Never spray liquids directly on the plate—even small amounts seep into electrical contacts.
Eliminate White Mineral Buildup Safely
Hard water leaves chalky deposits that reduce heating efficiency, causing undercooked rice. Dampen a cloth corner with white vinegar (not full-strength!), then rub affected areas for 10 seconds. Wipe immediately with a dry cloth—vinegar left sitting corrodes metal components. Perform this monthly in hard water areas; skipping it shortens your cooker’s lifespan by up to 40%.
Empty Hidden Condensation Collector Daily
Locate the small plastic reservoir (typically on the back or side of the lid assembly) that catches starchy steam runoff. Slide it out and discard the cloudy liquid—this is where sour odors originate. Wash with warm soapy water using a soft sponge, ensuring no residue remains in the narrow channel. Never ignore this component—stale water here breeds bacteria that contaminates future rice batches. Air-dry completely before reinserting; moisture prevents proper sealing.
Deep Clean Monthly With Vinegar Steam
Prevent Odors With 1-Step Cycle
Mix 1 cup white vinegar and 1 cup water in the inner pot—never exceed your cooker’s maximum fill line. Run a complete cooking cycle, then let the solution sit for 30 minutes (unplugged!) to loosen hidden residue. Empty and rinse the pot 3 times with clean water to remove vinegar taste. This process eliminates odors from hard-to-reach areas like the lid’s internal channels.
Descaling for Hard Water Areas
In regions with hard water, create a solution of 2 cups water to 1 cup vinegar monthly. Run a full cycle, then scrub the pot gently with a soft sponge before rinsing 3 times. Skipping this causes permanent mineral buildup that reduces heating efficiency by 25% within 6 months.
Avoid These 4 Costly Cleaning Mistakes
Never use these destructive items:
– ✘ Steel wool or metal scrubbers (permanently damages non-stick coating)
– ✘ Bleach or ammonia (creates toxic fumes when heated later)
– ✘ Sharp objects to scrape residue (punctures the pot’s protective layer)
– ✘ Abrasive cleaners like Comet (voids Hamilton Beach warranty)
Always unplug before cleaning—even “quick wipes” while plugged in risk electrical shock. Never submerge the base unit, and never use oven cleaner on any component. These shortcuts cause irreversible damage requiring full appliance replacement.
Reassemble Correctly to Prevent Future Problems
Before storage, ensure every component is bone dry—moisture causes mold and electrical faults. Place the inner pot on the heating plate; it should sit flush without wobbling. Test the lid closure—gaps allow steam escape during cooking. Store with the lid slightly ajar using a folded paper towel to prevent moisture buildup. Wrap the power cord loosely around the unit; tight coiling damages internal wires over time.
Fix Lingering Issues in Under 10 Minutes
Eliminate Sour Odors Permanently
For persistent smells, place 3 tablespoons of dry coffee grounds in the empty pot and close the lid overnight. Alternatively, boil lemon slices in 2 cups water for one cycle—citric acid neutralizes odor-causing bacteria. Never use air fresheners inside the cooker.
Remove White Heating Plate Residue
Dampen a cloth corner with vinegar, rub affected areas for 15 seconds, then dry immediately with a clean cloth. Repeat if needed, but never let vinegar sit for more than 30 seconds on metal surfaces.
Restore Discolored Pot Appearance
Fill the pot with water, add 2 tablespoons baking soda, and run one cooking cycle. The alkaline solution lifts discoloration from acidic foods like tomato rice. Rinse thoroughly afterward—baking soda residue affects rice texture.
Follow This Exact Maintenance Schedule
After every use:
– Clean inner pot, lid, and steam vent
– Wipe heating plate with dry cloth
– Empty condensation collector
Weekly:
– Deep-clean rubber gaskets with toothbrush
– Inspect power cord for damage
– Clean control panel with damp cloth
Monthly:
– Perform vinegar steam cleaning
– Check pot for coating damage
– Test heating plate temperature consistency
Digital models require extra care around touchscreens—use only microfiber cloths slightly dampened with water. For 8+ cup units, check for secondary condensation collectors behind the main reservoir. When in doubt, consult your model-specific manual—Hamilton Beach’s warranty covers cleaning-related damage only if proper methods are followed.
Your Hamilton Beach rice cooker will deliver perfect grains for 7+ years with this routine. The key is treating the non-stick pot like fine china—gentle cleaning prevents the #1 reason for replacement: scratched coatings that turn every batch into a sticky disaster. Start tonight after dinner, and your next jasmine rice will fluff like it’s fresh from a Thai restaurant. No more scrubbing battles or foul odors—just consistently perfect rice with minimal effort.

