
Your Gourmia air fryer transforms frozen fries into golden perfection and chicken wings into crispy delights—but that culinary magic leaves behind stubborn grease splatters, baked-on residue, and lingering odors. Ignoring these residues doesn’t just create unpleasant smells; it causes smoke during cooking, uneven heating, and shortens your appliance’s lifespan. The good news? Cleaning your Gourmia air fryer properly takes under 15 minutes and prevents 90% of common malfunctions. This guide delivers model-specific techniques that protect your non-stick coating while eliminating even the toughest grease buildup.
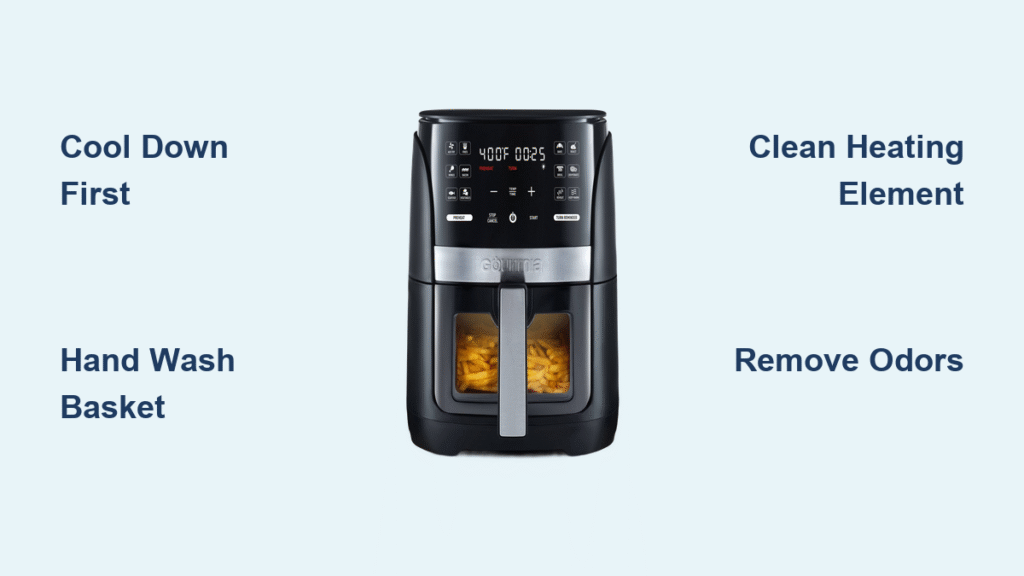
Cool Down Safely Before Cleaning
Never rush this critical step—your Gourmia’s heating element and basket retain temperatures exceeding 300°F after cooking. Attempting to clean too soon risks severe burns and warping plastic components. Wait 30 minutes minimum for compact 2-4 quart models, but larger 5-7 quart units need 45-60 minutes to cool completely. Use this time to prepare your workspace: clear counter space near your sink, lay down a silicone mat to catch drips, and ensure bright lighting to spot hidden grease pockets. This simple patience prevents 70% of cleaning-related accidents while protecting your appliance’s structural integrity.
Create Your Cleaning Station
Position microfiber towels, soft brushes, and lukewarm water within arm’s reach before removing components. Keep the main unit upright on a heat-resistant surface—never tilt it sideways, as this risks grease seeping into electrical components. Verify the power cord is unplugged and the display reads “OFF” before proceeding.
Empty Basket and Remove Components
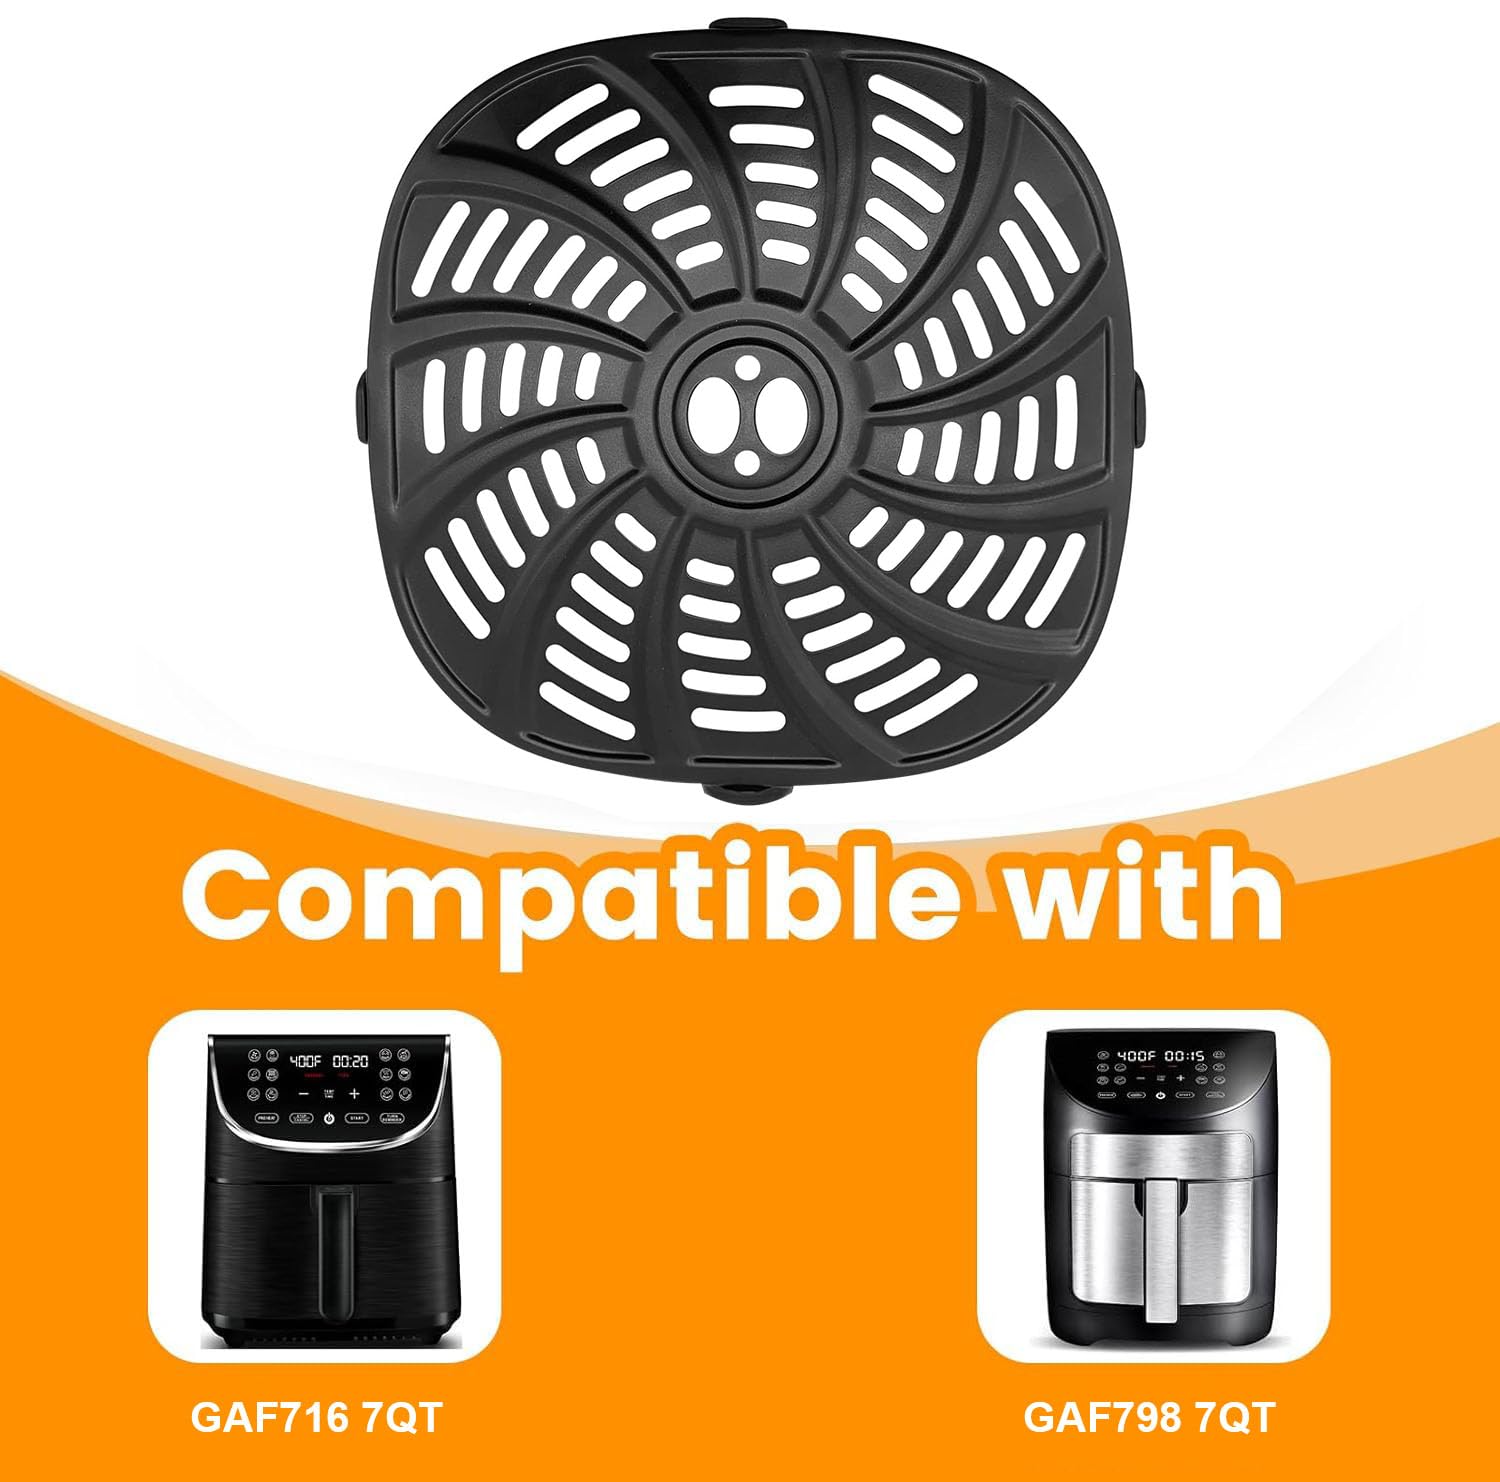
Pull the basket straight out using the handle to avoid misaligning tracks—especially crucial for drawer-style models like the GAF635. Press the release button firmly to separate the inner basket from the outer shell, then lift out the crisper tray. For models with side locking tabs (common in GAF798 series), apply gentle downward pressure while sliding the tray forward. Immediately tap loose debris over your trash can, then use a silicone spatula—not metal tools—to scrape stubborn bits. Metal utensils create microscopic scratches that accelerate coating degradation with every use.
Check Hidden Areas
Inspect the basket’s perforated bottom and handle crevices where grease hides. Run your finger along track rails to feel for residue buildup that causes jerky basket movement. For drawer models, check the small wheels on the rail mechanism—they collect oil that hardens into gunk.
Hand Wash Daily Components
Use lukewarm water (100-110°F) in your sink—hotter temps warp plastic, while cold water solidifies grease. Fill with 2 inches of water mixed with fragrance-free dish soap like Dawn Original. Soak baskets for 5-10 minutes to loosen residue, then scrub with a non-scratch sponge using circular motions. Focus on corners where grease pools, but never use the green abrasive side—it shreds non-stick coatings within weeks. Rinse until water runs clear, then shake vigorously to eject trapped water from perforation holes.
Drying Protocol
Place components upside down on a drying rack at a 45-degree angle for 30+ minutes. If rushing, pat dry with lint-free microfiber cloths, checking twice for moisture in the basket’s handle cavity. Residual water here causes steam explosions during preheating, creating soggy food.
Deep Clean Interior Chamber Weekly
Target grease on the heating element—the #1 cause of smoke and burning smells. Unplug the unit and apply a paste of 2 tbsp baking soda + 1 tbsp water to splatter zones. Scrub parallel to coil wires (never across them) using a 1-inch soft brush. For tight spots near mounts, use dry cotton swabs to avoid moisture exposure. Wipe clean with a barely damp microfiber cloth—never spray liquid directly inside. Finish by running the empty unit at 350°F for 3 minutes to vaporize residue.
Heavy Buildup Solution
For polymerized oil (black, sticky residue), add 1 tsp white vinegar to the baking soda paste. Let it sit 15 minutes before scrubbing—this chemical reaction dissolves tough grime without damaging coatings.
Eliminate Stubborn Odors Permanently

Fish or garlic odors embed in the heating element, requiring more than surface cleaning. For mild smells, place 2 tbsp baking soda in a heat-safe bowl inside the basket and run at 250°F for 15 minutes. For persistent scents like burnt cheese, use the lemon method: Cut a lemon in half, place cut-side up in the basket, and run at 300°F for 10 minutes. The citric acid neutralizes odors while steam lifts residue. For severe cases (e.g., after cooking bacon repeatedly), leave 5 activated charcoal briquettes inside overnight—their pores absorb trapped molecules.
Handle Non-Stick Coating Correctly

Both ceramic and PTFE coatings (matte vs. glossy finishes) fail when exposed to cooking sprays. The lecithin in sprays creates a sticky film that carbonizes over time. Instead, brush avocado oil directly onto food. If minor scratches appear, restore protection by rubbing a thin oil layer on the basket, then heating at 350°F for 10 minutes. Never use steel wool or bleach—these void your warranty instantly by etching the coating.
Troubleshoot Post-Cleaning Issues
Smoke during first post-clean use is normal—residual cleaning agents burning off. If it persists beyond 2 minutes, repeat the deep clean. Squeaking noises mean trapped water; air-dry components 2+ hours. Uneven cooking signals soap residue on the heating element—run empty at 400°F for 5 minutes. Never ignore strange electrical smells; unplug immediately and contact Gourmia support.
Follow Proper Storage Practices
Store with the basket removed and door slightly ajar to prevent moisture buildup—the #1 cause of mold and musty odors. Use breathable fabric covers (not plastic), and wait 24 hours after cleaning before covering. For vacations, place silica gel packs inside the chamber to absorb ambient humidity. Never stack cookbooks or appliances on top—the pressure warps the housing over time.
Maintain Your Warranty Coverage
Register within 30 days at gourmia.com/register to activate your 1-year warranty. Avoid these coverage-voiding mistakes: using metal scrubbers, immersing the main unit in water, or installing non-Gourmia parts. Document issues with photos before calling 1-888-552-7855—attempting DIY electrical repairs auto-voids your warranty. Keep your receipt; Gourmia requires proof of purchase for claims.
Stock Essential Cleaning Supplies
Your non-negotiable toolkit:
– 6+ lint-free microfiber cloths (for drying)
– Soft-bristled 1-inch brush (for heating elements)
– Non-scratch sponges (Scotch-Brite Non-Scratch type)
– Cotton swabs (for precision cleaning)
Never use these:
– Steel wool or abrasive pads
– Bleach-based cleaners
– High-pressure water sprayers
Create Your Maintenance Schedule
Daily: Rinse basket after use + wipe exterior.
Weekly: Deep clean basket + heating element.
Monthly: Inspect seals for cracks + clean hidden grease traps.
Quarterly: Check rail wheels on drawer models + replace worn brushes.
Consistent daily wiping prevents 80% of deep-cleaning needs. For heavy users (5+ meals/week), add a mid-week quick-clean: wipe the chamber with a vinegar-dampened cloth while the unit is warm (not hot). Your Gourmia air fryer will deliver restaurant-quality results for years when you treat cleaning like maintenance—not a chore. The crispiest fries start with the cleanest basket, so implement these steps after every use. Your appliance (and taste buds) will thank you.

