
That moment when you stand in front of your cabinets, drill in hand, sweating over which knobs or pulls to install? It’s more consequential than you think. Choosing kitchen hardware wrong means staring at mismatched knobs for years—or worse, drilling permanent holes that scream “DIY disaster.” But get it right, and $200 in hardware can make builder-grade cabinets look custom-designed. The secret isn’t guesswork; it’s following the exact system designers use to avoid costly mistakes.
Here’s the hard truth: hardware is the jewelry of your kitchen. It’s the first detail guests notice and what you’ll grip daily for a decade. A single wrong finish choice can undermine $50,000 in renovations. But armed with precise sizing rules, style-matching tricks, and budget hacks, you’ll transform uncertainty into confidence. This guide cuts through the noise—no vague advice, just actionable steps to nail your hardware selection before that drill bit touches wood.
Knobs vs Pulls: Where Each Belongs in Your Kitchen

Your hardware mix (knobs, pulls, or both) impacts aesthetics and daily usability. Choose strategically—not randomly—to avoid ergonomic headaches and style clashes.
Why Knobs Win on Doors and Small Drawers
Knobs dominate on cabinet doors and drawers under 24 inches wide. Their single-screw installation hides mistakes, costs less, and maintains visual lightness. For shaker-style doors, align knobs with the inside edge of the stile for traditional charm. Modern kitchens? Center knobs on the panel for minimalist impact. Oversized 1.5–2″ knobs add drama to wide drawers—but always install two, spaced exactly half the drawer width apart (e.g., 12″ apart on a 24″ drawer).
Critical mistake to avoid: Using knobs on deep drawers holding heavy pots. Without proper leverage, you’ll strain your wrist daily. Stick to knobs only where grip isn’t critical.
Pull Length Formulas for Effortless Function
Pulls rule heavy drawers—they distribute force evenly so you’re not wrestling stuck cabinet fronts. Use this foolproof sizing rule: pull length = ⅓ of drawer width. For a 12″ spice drawer? A 4″ pull. A 36″ oven base? An 8–12″ pull or two smaller pulls spaced at the one-third and two-thirds marks. Contemporary kitchens stretch pulls to half the drawer width (e.g., a 16″ pull on a 32″ drawer) for sleek, elongated lines.
Specialty pulls decoded:
– Bar pulls (straight rods): Modern kitchens’ secret weapon
– Cup pulls (half-moon shape): Non-negotiable for farmhouse style
– Finger pulls (recessed edges): Only for slab-front cabinets—zero visual clutter
– Appliance pulls (12–18″ monsters): Mandatory for paneled fridges to avoid “toy-like” scale
Match Hardware to Your Kitchen Style in 3 Steps
Hardware instantly signals your kitchen’s era. One mismatched finish can make $10,000 in cabinetry look dated. Follow this style-specific cheat sheet.
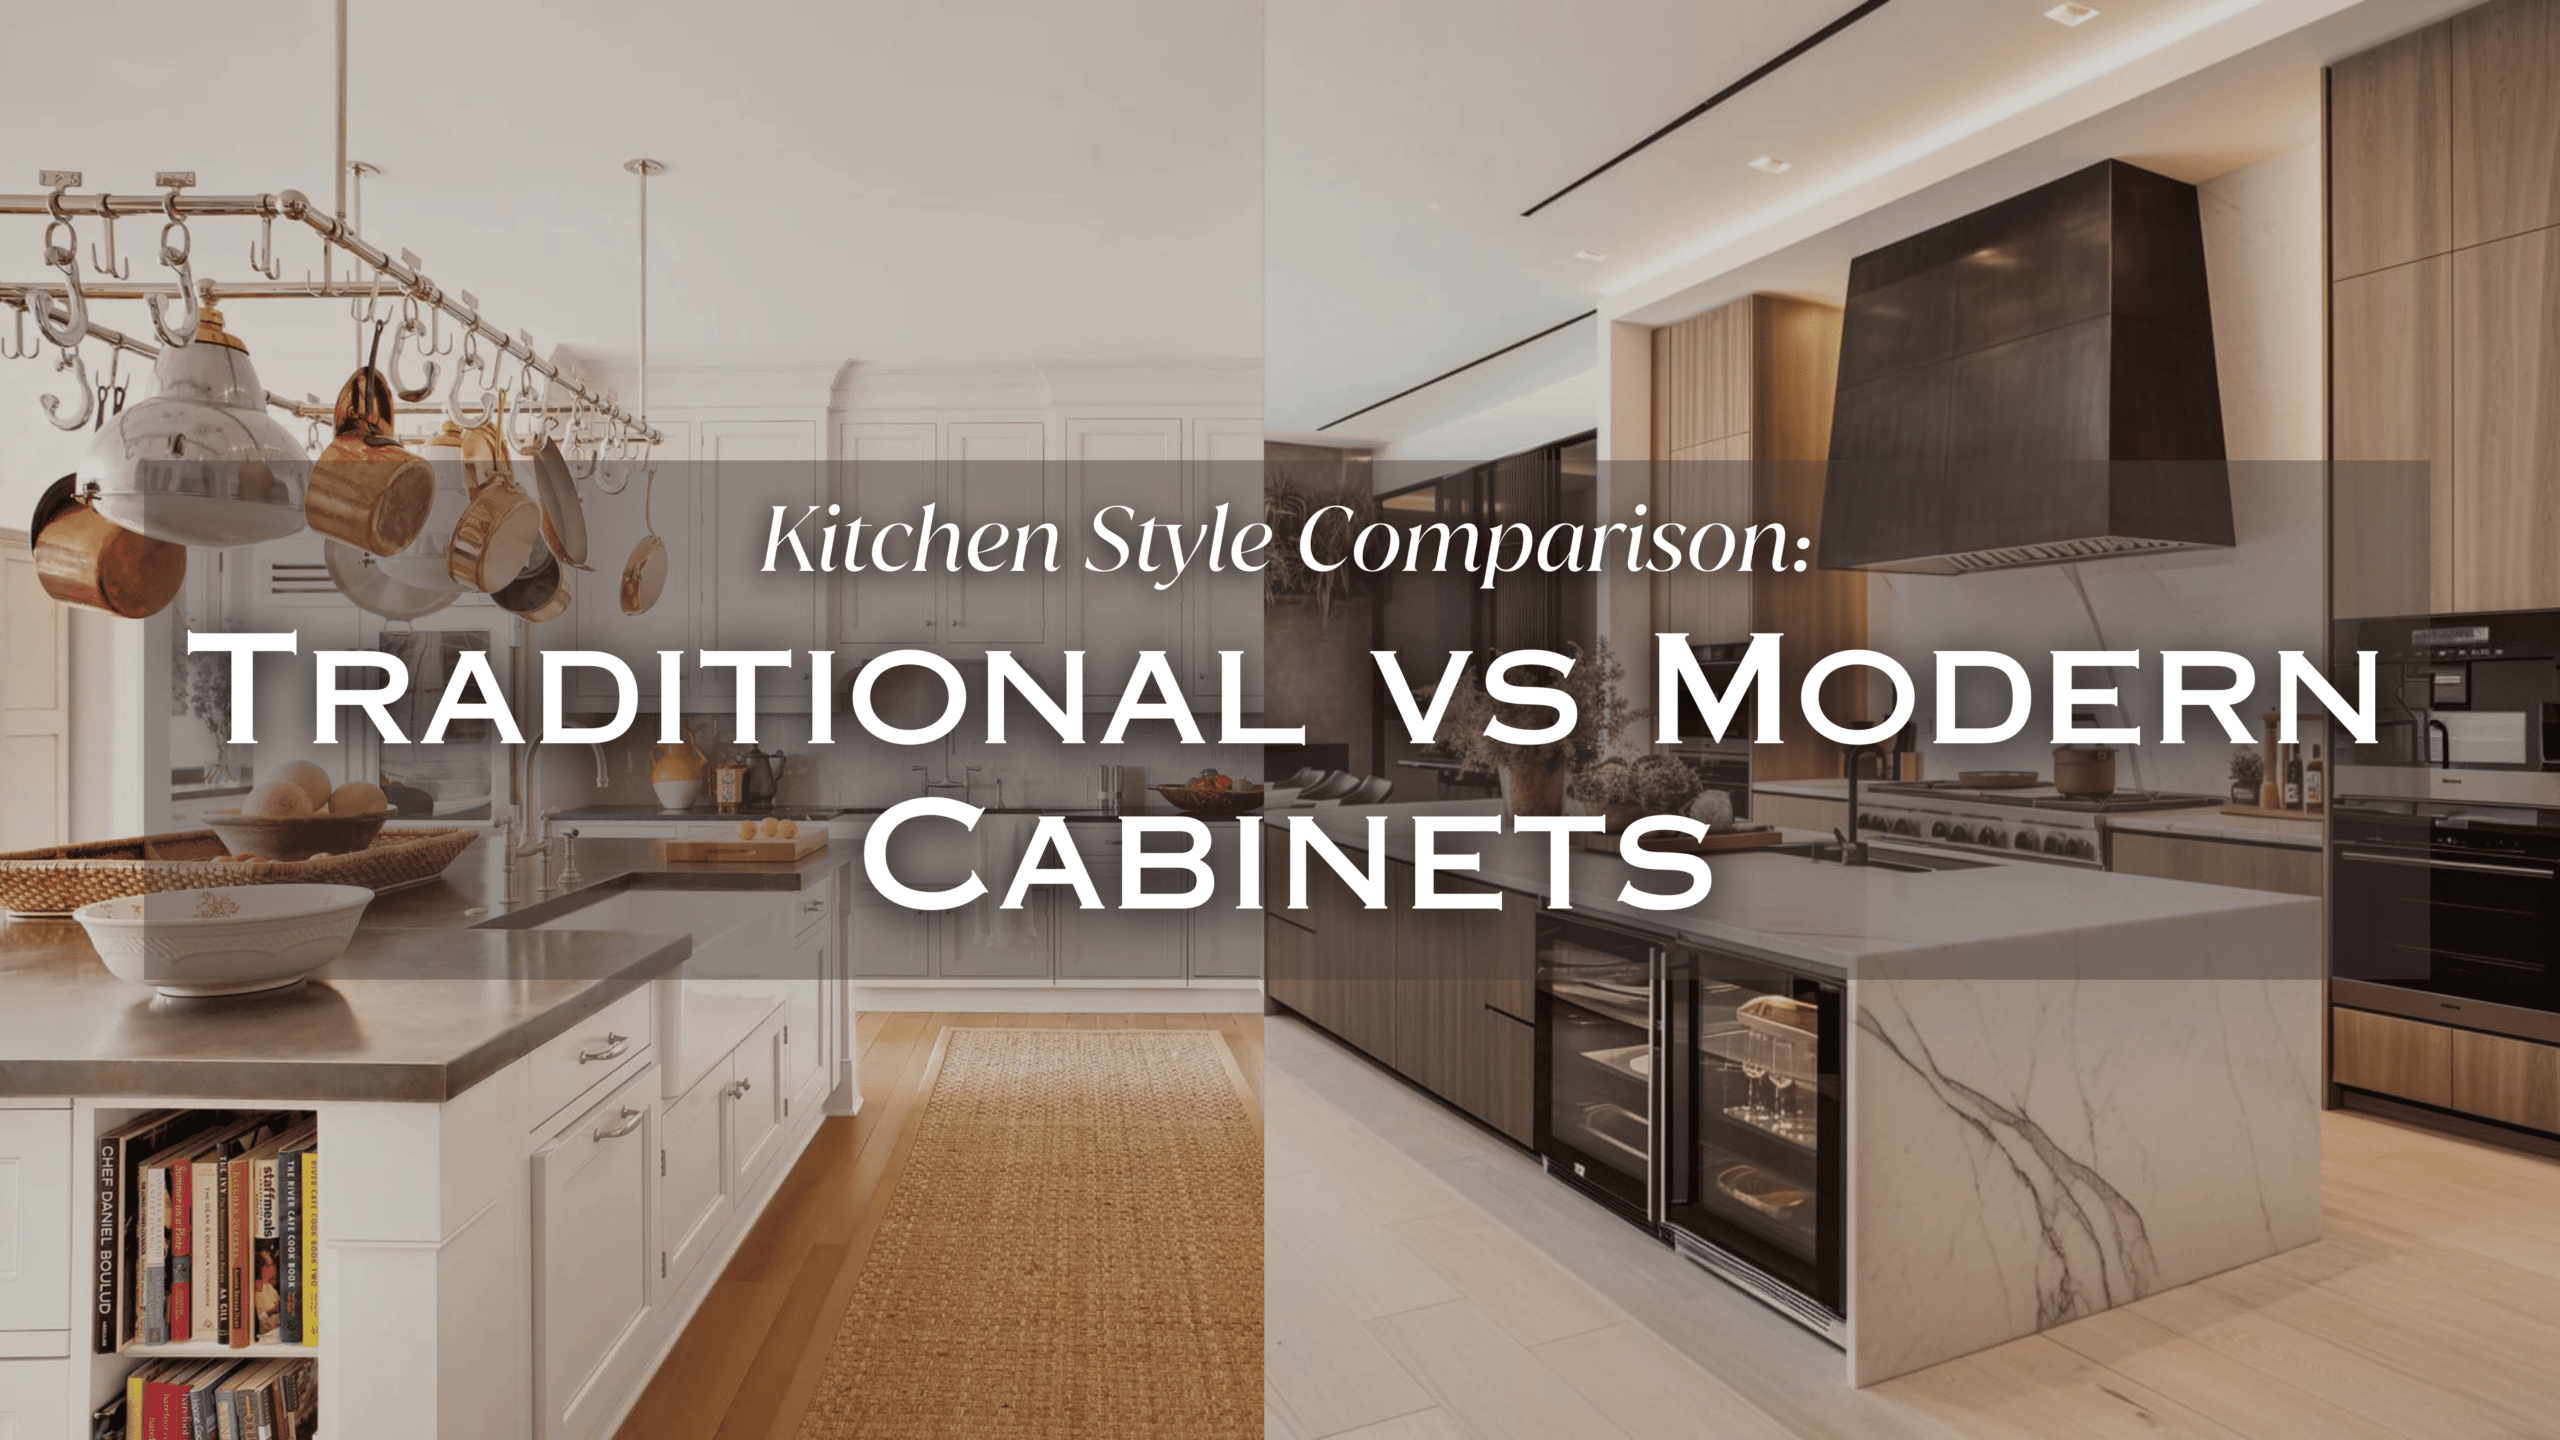
Modern Kitchens Demand Linear Simplicity
Forget ornate details. Modern spaces require long bar pulls (5–6.5″), finger pulls, or hidden edge hardware. Finishes must be cool-toned: matte black for high-contrast drama, brushed nickel for warmth without fuss, or chrome for retro-diner flair. Oil-rubbed bronze or antique brass? Instant style suicide here—these scream “1990s traditional.”
Traditional Kitchens Thrive on Layered Details
Traditional kitchens crave cup pulls on drawers paired with round knobs on doors. Oil-rubbed bronze adds cozy patina, while polished nickel delivers old-world elegance. Don’t skip latches or ring pulls on furniture-style islands—they’re the subtle accents that sell authenticity. Avoid matte black; it clashes with traditional warmth.
Transitional Kitchens: The Mixing Sweet Spot
Transitional spaces blend old and new. Use simple bar pulls with slim knobs in mixed metals—like brushed nickel pulls paired with antique brass faucets. Never alternate brass and chrome hardware on cabinets (chaos!), but do layer metals through lighting or plumbing. This intentional contrast feels curated, not confused.
Finish Selection Secrets That Prevent Regrets

A cheap “brushed gold” pull can look like spray-painted plastic under kitchen lighting. Invest wisely with these finish rules.
The Quality Test You Must Do
Hold hardware in your palm. Solid brass feels substantial; hollow zinc rattles and loosens within months. Check edges—crisp detailing means quality casting. Run your finger over the finish; inconsistent texture indicates poor plating. Stick to reputable brands like Emtek or Rejuvenation for finishes that last.
Top finish breakdown:
– Matte black: Pair with dark cabinets or white kitchens with black fixtures (avoid alone on white—it looks flat)
– Brushed nickel: Hides fingerprints, works with any style (the “jeans of hardware”)
– Unlacquered brass: Develops rich patina but requires monthly cleaning with Bar Keeper’s Friend
– Oil-rubbed bronze: Classic but fading—use only if your faucet matches exactly
– Polished nickel: Warmer than chrome, perfect for traditional kitchens with brass accents
Metal Mixing Without the Mess
Your dominant hardware metal (e.g., cabinet pulls) must stay consistent. Introduce a second metal only through plumbing or lighting—like brass pulls with a chrome faucet. Swapping metals between cabinets (e.g., upper brass, lower nickel) creates visual static.
Sizing & Placement Formulas for Flawless Installation
Drill once, cry never. These measurements prevent crooked hardware and mismatched spacing.
Drawer Width Placement Rules
- Under 24″: Single knob or pull centered horizontally
- 24–36″: Two knobs at one-third points (e.g., 8″ and 16″ on a 24″ drawer)
- Over 36″: Two pulls OR one extra-long pull (12″+ for appliance panels)
Door Placement Cheat Sheet
| Location | Measurement | Pro Tip |
|---|---|---|
| Upper doors | 2.5–3″ up from bottom | Align with shaker rail for traditional kitchens |
| Lower doors | 2.5–3″ down from top | Shift 2″ inward from corners on slab doors |
| Tall pantry doors | Center vertically on panel | Use 12–15″ appliance pulls for height emphasis |
Installation hack: Cut painter’s tape into pull-shaped templates. Stick them on cabinets to visualize spacing before drilling. Buy a $15 hardware jig—it guarantees identical hole placement across 20+ cabinets.
Budget Hacks That Save $500 Without Sacrificing Quality
You don’t need $100 designer pulls everywhere—but skimping in key spots backfires. Allocate strategically.
Where to Splurge vs. Save
- Splurge on appliance pulls and sink-base hardware: These take daily abuse. Solid brass here prevents wobbling.
- Save on upper cabinets: $5–8 pulls work fine where leverage matters less.
- Never cheap out on knobs for heavy drawers: Hollow zinc fails under stress.
Smart budget tiers:
– Entry level ($1–5/piece): For rental properties or temporary fixes (replace later)
– Sweet spot ($8–25/piece): Solid brass with designer looks (Rejuvenation’s budget line)
– Investment ($30+/piece): Heirloom quality for custom kitchens (Emtek’s solid brass)
Pro tip: Pair budget cabinets with $20 pulls—they instantly read “custom.” But never match $50k walnut cabinets with $3 hardware; it’s like putting knockoff watches on a Rolex.
Replace Existing Hardware Without Visible Mistakes
Replacing old hardware? Your existing hole pattern limits options—but not permanently.
Fix Mismatched Hole Spacing in 2 Ways
- Downsizing to knobs? Use backplates to cover old pull holes—they add style while hiding evidence.
- Complete style change? Fill old holes with wood putty, sand smooth, and drill fresh placement. Critical: Let putty cure 48 hours before re-drilling to avoid splintering.
Warning: Measure center-to-center distance on old hardware first. If new pulls don’t match, backplates are your only no-sand solution.
Ergonomic Must-Haves for Daily Comfort
Hardware isn’t just pretty—it must function flawlessly for your household.
Child-Friendly and Arthritis-Safe Choices
- Pulls beat knobs for weak grips (kids, elderly, or arthritis sufferers)—they offer better leverage.
- Add backplates on sink-base cabinets: They shield painted surfaces from hand oils and daily scuffs.
- Install magnetic latches on under-sink cabinets: Keep chemicals secure without ugly plastic catches.
Pro insight: Soft-close hinges paired with substantial pulls create effortless, silent operation—a luxury worth the upgrade.
Your 8-Step Hardware Shopping Checklist
Follow this exact sequence to avoid returns and mismatched shipments:
- Measure every door/drawer width (don’t assume uniformity)
- Note existing hole spacing if replacing (center-to-center in inches)
- Define your mix: All pulls? Knobs on doors/pulls on drawers?
- Pick one dominant finish (e.g., brushed nickel)
- Confirm secondary metal (faucet/lighting must complement)
- Order physical samples—view in your kitchen lighting at dawn and dusk
- Buy a hardware jig ($15) for perfect hole alignment
- Size appliance pulls separately (12–18″ for fridges)
Final tip: Purchase 10% extra pieces. Finishes vary between production batches, and one broken pull shouldn’t force a full re-do years later.
Choosing kitchen hardware isn’t about picking pretty knobs—it’s strategic design with permanent consequences. By matching hardware to your kitchen’s DNA (not Pinterest trends), using pro sizing formulas, and investing where it counts, you’ll create cohesion that lasts decades. The moment you install those first pulls and step back? That’s when builder-grade cabinets transform into a space that feels intentionally, expensively yours. Grab samples today—your future self will thank you every time you open a cabinet.

