
That moment when your contractor asks, “Which kitchen sink?” can derail your entire renovation. You’re standing in a showroom surrounded by stainless steel bowls, farmhouse aprons, and gleaming composites—overwhelmed by choices that seem identical but carry wildly different consequences for your daily routine. The truth? How to choose a kitchen sink correctly impacts 5+ daily uses for 15+ years, yet 68% of homeowners regret their selection within 6 months due to space conflicts or material failures. Before you spend $1,200 on a showpiece that won’t fit your cabinets or shatters under a dropped pot, let’s cut through the noise. This guide gives you the exact measurements, material science, and installation hacks contractors won’t share—so you avoid costly cabinet modifications and get a sink that works with your cooking style, not against it.
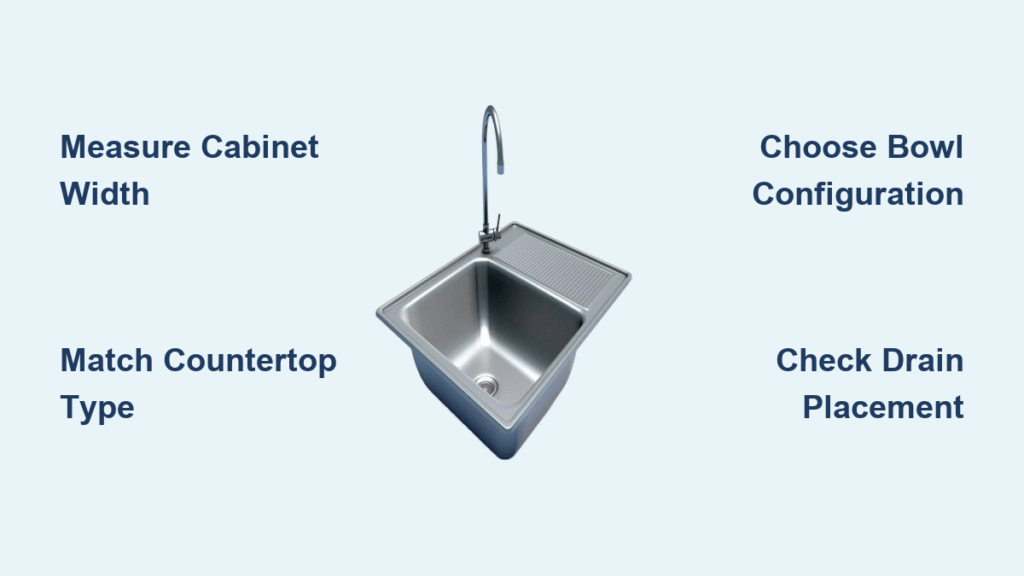
Measure Your Cabinet Width Before Anything Else
Your existing cabinetry locks in your maximum sink size unless you’re gutting the entire kitchen. Standard cabinets grow in precise 3-inch increments (18″, 21″, 24″, 30″, 36″), and choosing a kitchen sink that exceeds these dimensions triggers $500+ cabinet modifications. Grab your tape measure immediately: subtract 1 inch from your cabinet’s interior width for clearance. For example, a 36″ cabinet fits sinks up to 35″ wide—any larger requires custom cabinet cuts.
Countertop Depth Rules You Can’t Ignore
Your backsplash dictates critical depth limits that affect usability:
– Laminate countertops with backsplash: Maximum sink depth = 20½” (any deeper blocks the backsplash)
– Solid-surface counters without backsplash: You can go up to 22″ deep
– Undermount installations: Gain 1½” of usable depth since the bowl sits below the counter edge
Pro tip: Deep basins (10″+) reduce splashing but strain your back if you’re under 5’4″. Test this by crouching at your current sink—if your elbows hit the counter, stick to 8-9″ depths for comfortable washing.
Match Installation Type to Your Countertop Material
:max_bytes(150000):strip_icc()/undermount-vs-drop-in-kitchen-sink-1821203-f726447907dd46698cce0470da4c5e26.png)
Switching sink styles mid-renovation often forces expensive countertop replacements. Laminate owners are trapped with drop-in sinks since undermounts require solid surfaces like quartz or granite. Farmhouse sinks? They demand custom cabinet modifications unless you find retrofit-specific fireclay models.
The Installation Trap Most Homeowners Fall Into
When choosing a kitchen sink, 40% of DIYers attempt to convert drop-in to undermount with laminate counters—only to face catastrophic leaks. Laminate’s particleboard core swells when glued, causing separation. Instead, use this rule: if your countertop isn’t solid stone or quartz, your only safe options are drop-in, flush-mount, or integrated sinks. For solid surfaces, undermounts add seamless style but require professional installation ($200-$400) to prevent cracking during mounting.
Bowl Configuration Based on Your Cooking Reality

Your sink’s bowl layout should mirror how you actually cook—not how Pinterest suggests you should cook. Single-bowl sinks dominate professional kitchens because they swallow sheet pans and stockpots, but they eliminate simultaneous tasks like filling the dishwasher while washing lettuce.
Which Bowl Split Actually Works for You?
- Single bowl: Ideal if you regularly wash roasting pans (requires 33″+ width) but forces you to dry dishes on counters
- Offset double (60/40): The family sweet spot—large bowl for pots, small bowl for disposal prep
- Low-divider double: Acts like a single bowl when needed (slide pans over divider) but separates soapy water from rinse water
Critical mistake: Equal double bowls (50/50) look balanced but fit neither a standard baking sheet (18″x26″) nor a large stockpot. If you cook with big cookware weekly, skip these.
Stainless Steel Gauges vs. Composite Durability
Material choice makes or breaks sink longevity. How to choose a kitchen sink material depends on your tolerance for scratches and noise. 16-gauge stainless steel (thicker than 18-gauge) resists dents from dropped pots but costs 35% more. For noise control, prioritize models with sound-dampening pads—thin rubber undercoatings cut clatter by 60%.
Heavy Materials That Break Cabinets
Cast iron and fireclay sinks weigh 100+ pounds—twice as heavy as stainless. If your cabinets are older than 15 years, they likely lack reinforcement brackets. Installing these without $300 in support hardware risks cabinet collapse within 2 years. Granite composite (like BLANCO’s Silgranit) offers similar durability at half the weight but limits color options.
Rear Drain Placement for Smarter Storage
Center drains look symmetrical but waste precious under-sink space. Rear-drain sinks shift plumbing toward the wall, freeing 4-6 inches of vertical space for pull-out trash bins or water filtration systems. This is non-negotiable if you use a garbage disposal—center drains force you to mount the disposal directly under the sink, blocking storage.
The Hidden Trade-Off
Rear drains complicate plumbing repairs since pipes run to the back corners. If you’re handy with a wrench, this isn’t an issue. But if you’ve never unclogged a P-trap, center drains save future headaches. Measure your under-sink depth before deciding: if it’s less than 12″, rear drains are your only option for tall storage.
Faucet Hole Compatibility: Avoid This Costly Mistake
Count existing faucet holes before ordering your sink. Most sinks have 1, 3, or 4 holes spaced 4″ or 8″ apart. A common error is buying a 3-hole sink for a single-hole faucet—escutcheon plates can cover extras, but single-hole faucets look awkward on 3-hole sinks.
Pro move: If you plan a future filtered-water tap or soap dispenser, get a 4-hole sink now. Retrofitting requires drilling new holes in solid surfaces—a $200 professional job.
Budget Breakdown: Where to Splurge and Where to Save
Skipping how to choose a kitchen sink strategically wastes money. Budget sinks ($200-$300) work fine for 18-gauge stainless drop-ins, but composite materials under $400 often use brittle resins that crack under heat. The mid-range ($400-$800) delivers the best value: fireclay farmhouse sinks and granite composites with lifetime warranties.
Hidden Costs That Blow Budgets
- Installation: +$150-$300 (more for undermounts)
- Cabinet reinforcement: +$200-$400 for heavy sinks
- Accessories: Bottom grids ($30) and workstation ledges ($80) aren’t optional—they prevent scratches
Reality check: A $1,200 luxury sink with $0 accessories lasts less time than a $600 mid-range sink with proper grids and drying racks.
Workstation Sinks: Worth It Only If You Cook Daily
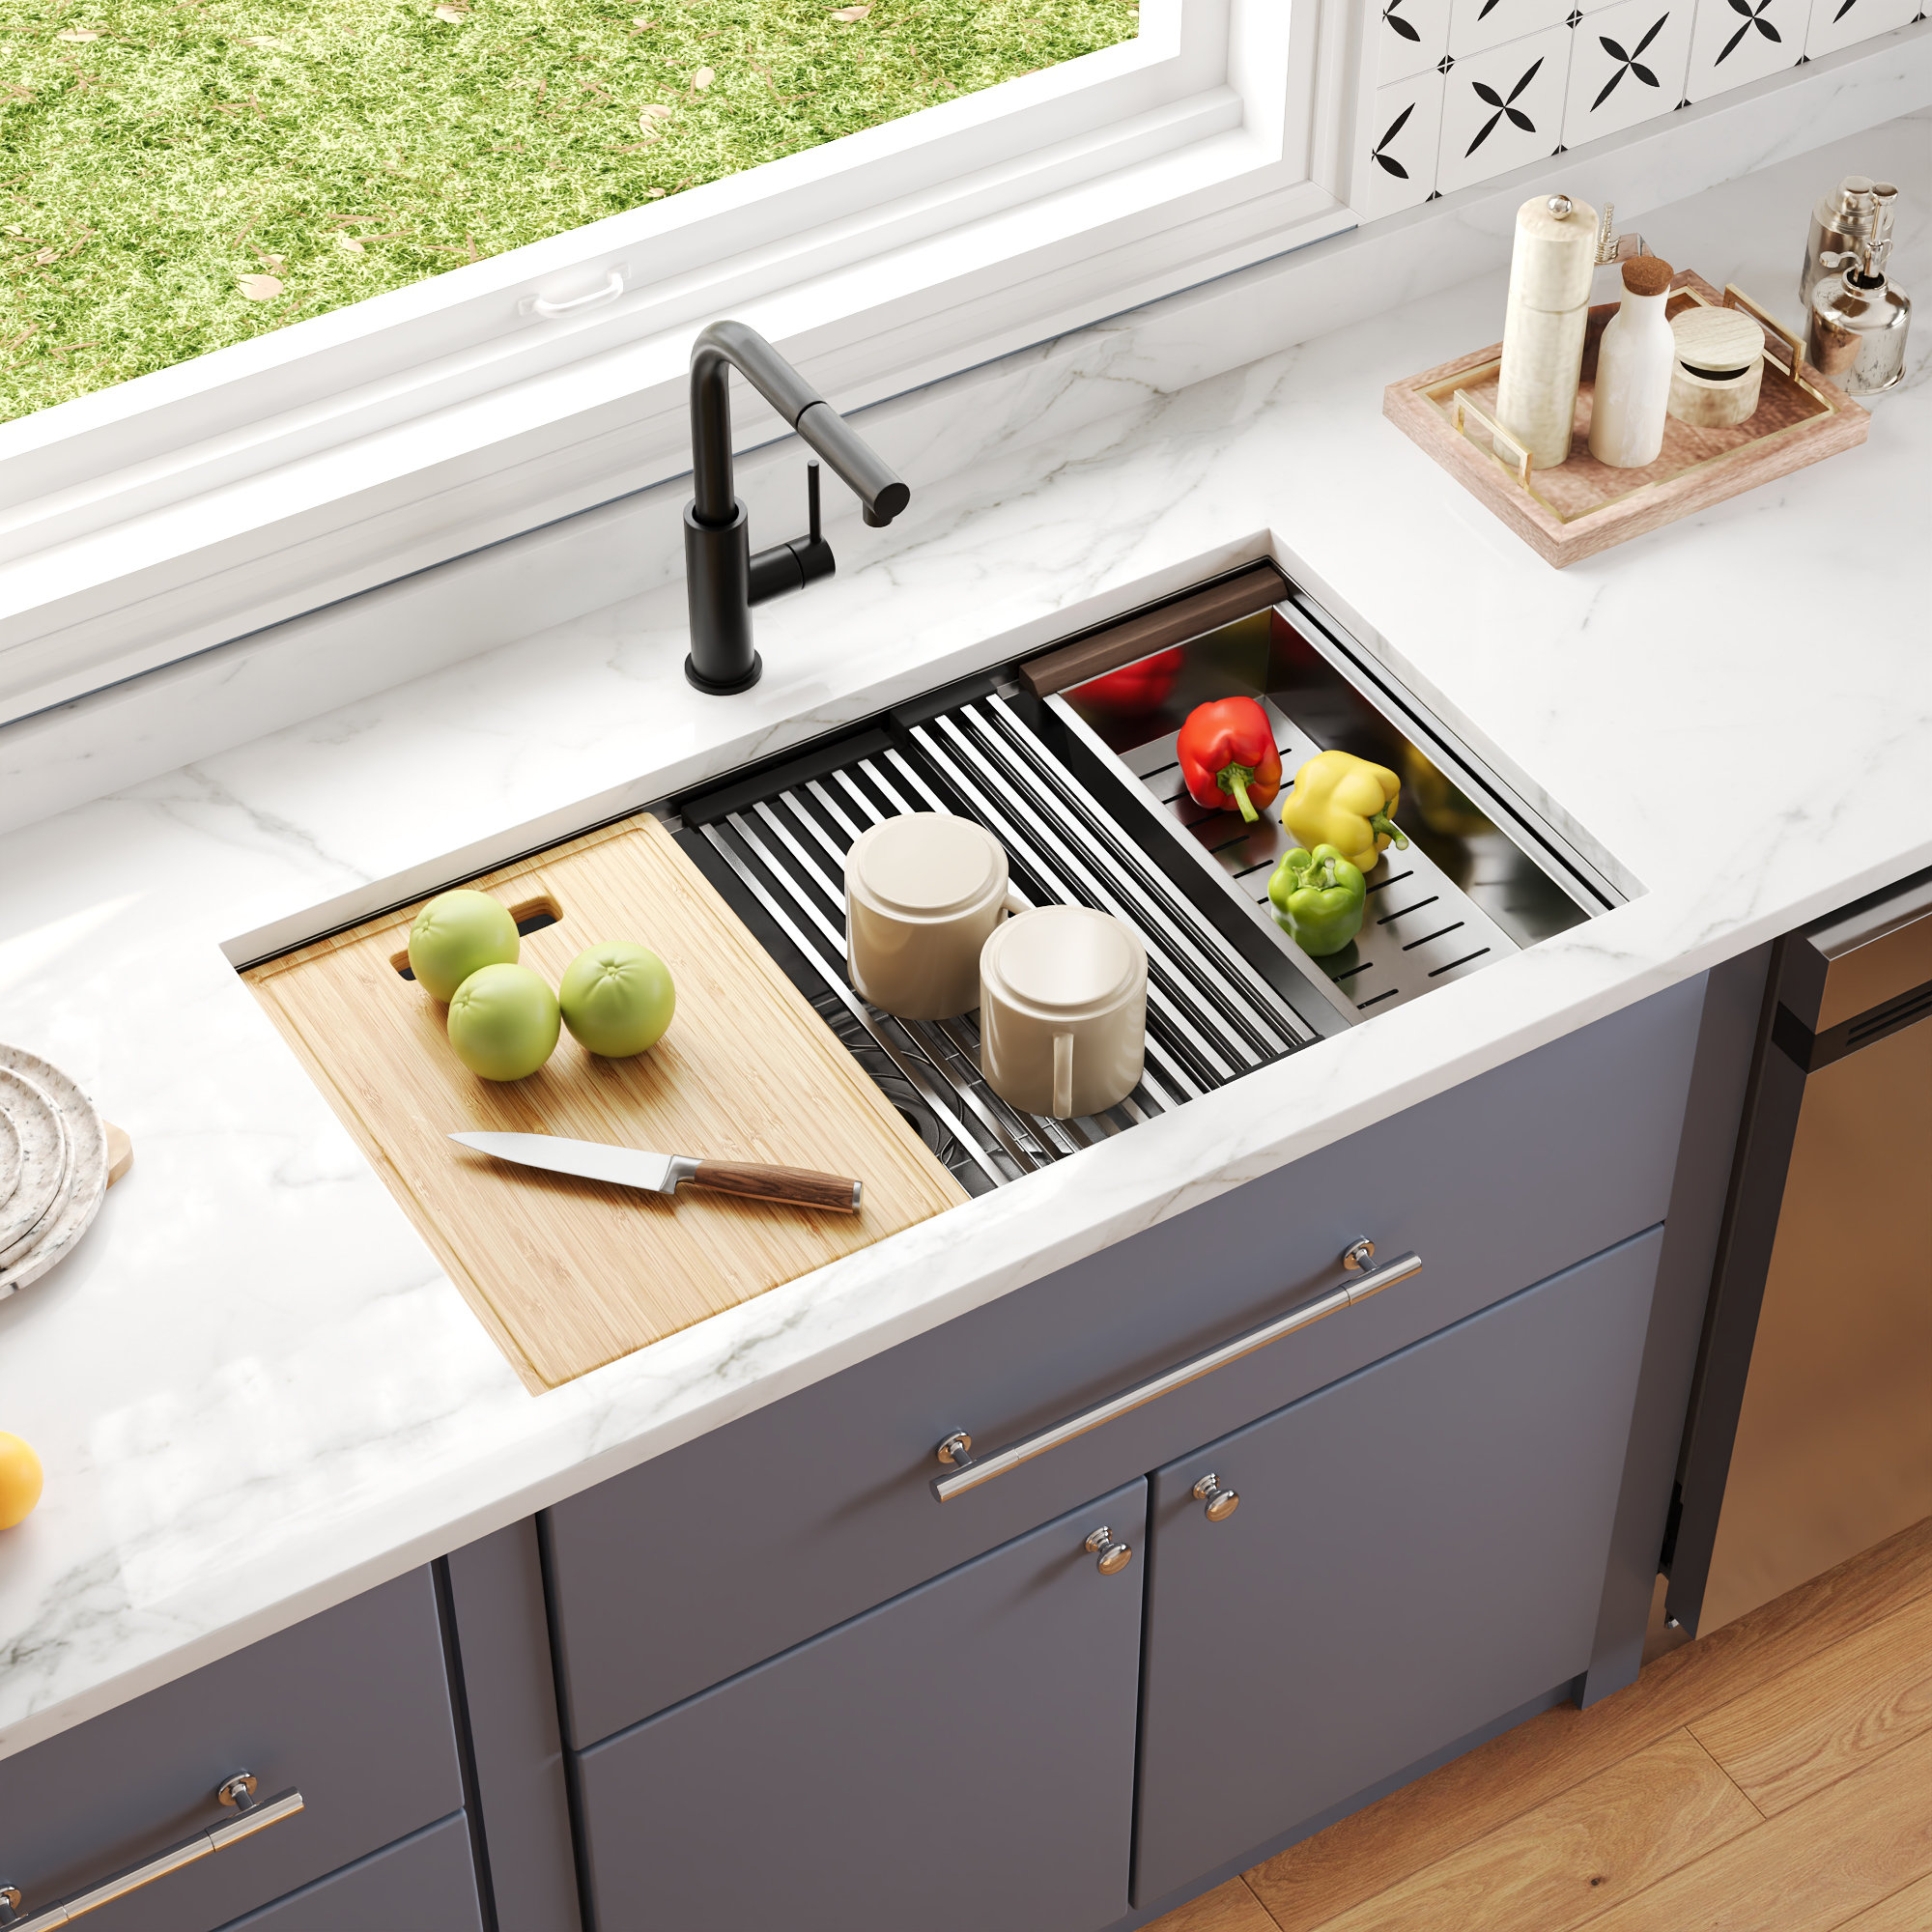
Workstation sinks transform prep with slide-in cutting boards, colanders, and drying racks—but they’re overkill unless you cook 5+ times weekly. The rails must align perfectly with your counter height; otherwise, accessories wobble.
Space-Saving Math
A 36″ workstation sink with accessories effectively adds 12″ of counter space by eliminating separate cutting boards. But in kitchens under 150 sq ft, the bulk consumes valuable workflow area. Only invest if you lack a dedicated prep zone.
Quick Decision Matrix for Your Lifestyle
Stop analyzing endless specs. Match your sink to your actual life with this cheat sheet:
– Tiny kitchen, $300 budget: 25″ single-bowl 18-gauge stainless drop-in (Elkay Dayton)
– Serious home chef: 33″ workstation undermount in granite composite (BLANCO Silgranit)
– Clumsy household: 16-gauge stainless or Silgranit (scratches hide better than fireclay)
– Vintage remodel: 30″ fireclay farmhouse (Shaws of England) with bridge faucet
Final Verification Checklist Before You Buy
Before clicking “purchase,” confirm these seven make-or-break details:
1. Cabinet width: Sink must be 1″ narrower than cabinet interior
2. Countertop depth: With backsplash? Max 20½” depth
3. Disposal clearance: Measure cabinet height minus disposal depth (typically 14″)
4. Weight limits: Sinks >70 lbs need reinforced cabinets
5. Faucet holes: Match existing or plan for escutcheon plates
6. Plumbing alignment: Rear drains require accessible rear-wall access
7. Warranty: Verify coverage for chips (fireclay) or rust (stainless)
Bottom line: The perfect sink isn’t about aesthetics—it’s about matching your daily workflow, cabinet specs, and cooking habits. Measure twice, prioritize function over trends, and remember: you’ll use this sink more than any other kitchen element. Choose for your reality, not a showroom fantasy. When how to choose a kitchen sink becomes a targeted mission—not an emotional decision—you’ll gain 15 years of splash-free satisfaction.

