
Building your own kitchen table transforms your dining space while creating a centerpiece you’ll use daily. This intermediate woodworking project delivers professional results in 10-40 hours, depending on your chosen design complexity. Whether you’re crafting a rustic farmhouse table for family dinners or a sleek modern design for entertaining, the process remains fundamentally the same.
You’ll construct four key components: a sturdy tabletop, supporting legs, structural aprons, and reliable joinery. The satisfaction of sliding into chairs around a table you built yourself makes every measurement and cut worthwhile. Let’s dive into creating a dining surface that will serve your family for decades.
Choose Your Ideal Table Design
Standard dining height measures 30 inches, perfect for most dining chairs. Counter-height tables rise to 36 inches, requiring taller seating but offering a more casual dining experience. For rectangular tables, 72 inches long by 36 inches wide accommodates six people comfortably.
Extension options deserve early consideration. If you frequently host large gatherings, factor in 36-48 inches of clearance around fully extended tables. Round pedestal tables work brilliantly in tight spaces, eliminating corner legs while maximizing seating flexibility. Your design choice directly impacts the construction process, so finalize this before gathering materials.
Select Premium Materials That Last
Best Wood Choices for Kitchen Tables
Pine offers the most budget-friendly option, readily available at any home center. Its light color accepts stain beautifully, making it perfect for farmhouse or painted finishes. Oak provides exceptional durability with distinctive grain patterns that hide everyday wear.
Maple delivers a dense, fine-grained surface that resists dents and scratches—ideal for busy families. Cherry darkens to a rich patina over time, creating heirloom-quality furniture. Reclaimed lumber adds character through nail holes and weathering, but requires thorough cleaning and structural assessment before you build a kitchen table.
Complete Material Shopping List
For a basic farmhouse table, gather these supplies:
- ¾” pine plywood sheet (4×8 ft) for tabletop
- 2×4 pine boards for legs and supports
- 2×6 pine boards for aprons and benches
- 12 pocket hole screws (2½”)
- 16 wood screws (2″)
- Premium wood glue
- Wood filler for imperfections
- Polyurethane or oil-based finish
- 80, 120, and 220-grit sandpaper
Pro tip: Buy 10% extra lumber to account for knots, warping, or cutting mistakes—this is crucial when you’re learning how to build a kitchen table for the first time.
Essential Tools for Success
Must-Have Cutting Tools
A circular saw handles most straight cuts efficiently. Add a miter saw for precise angle cuts on aprons and legs. While optional, a table saw ensures perfectly straight edges for seamless tabletop joints. These tools make the process of building a kitchen table significantly faster and more precise.
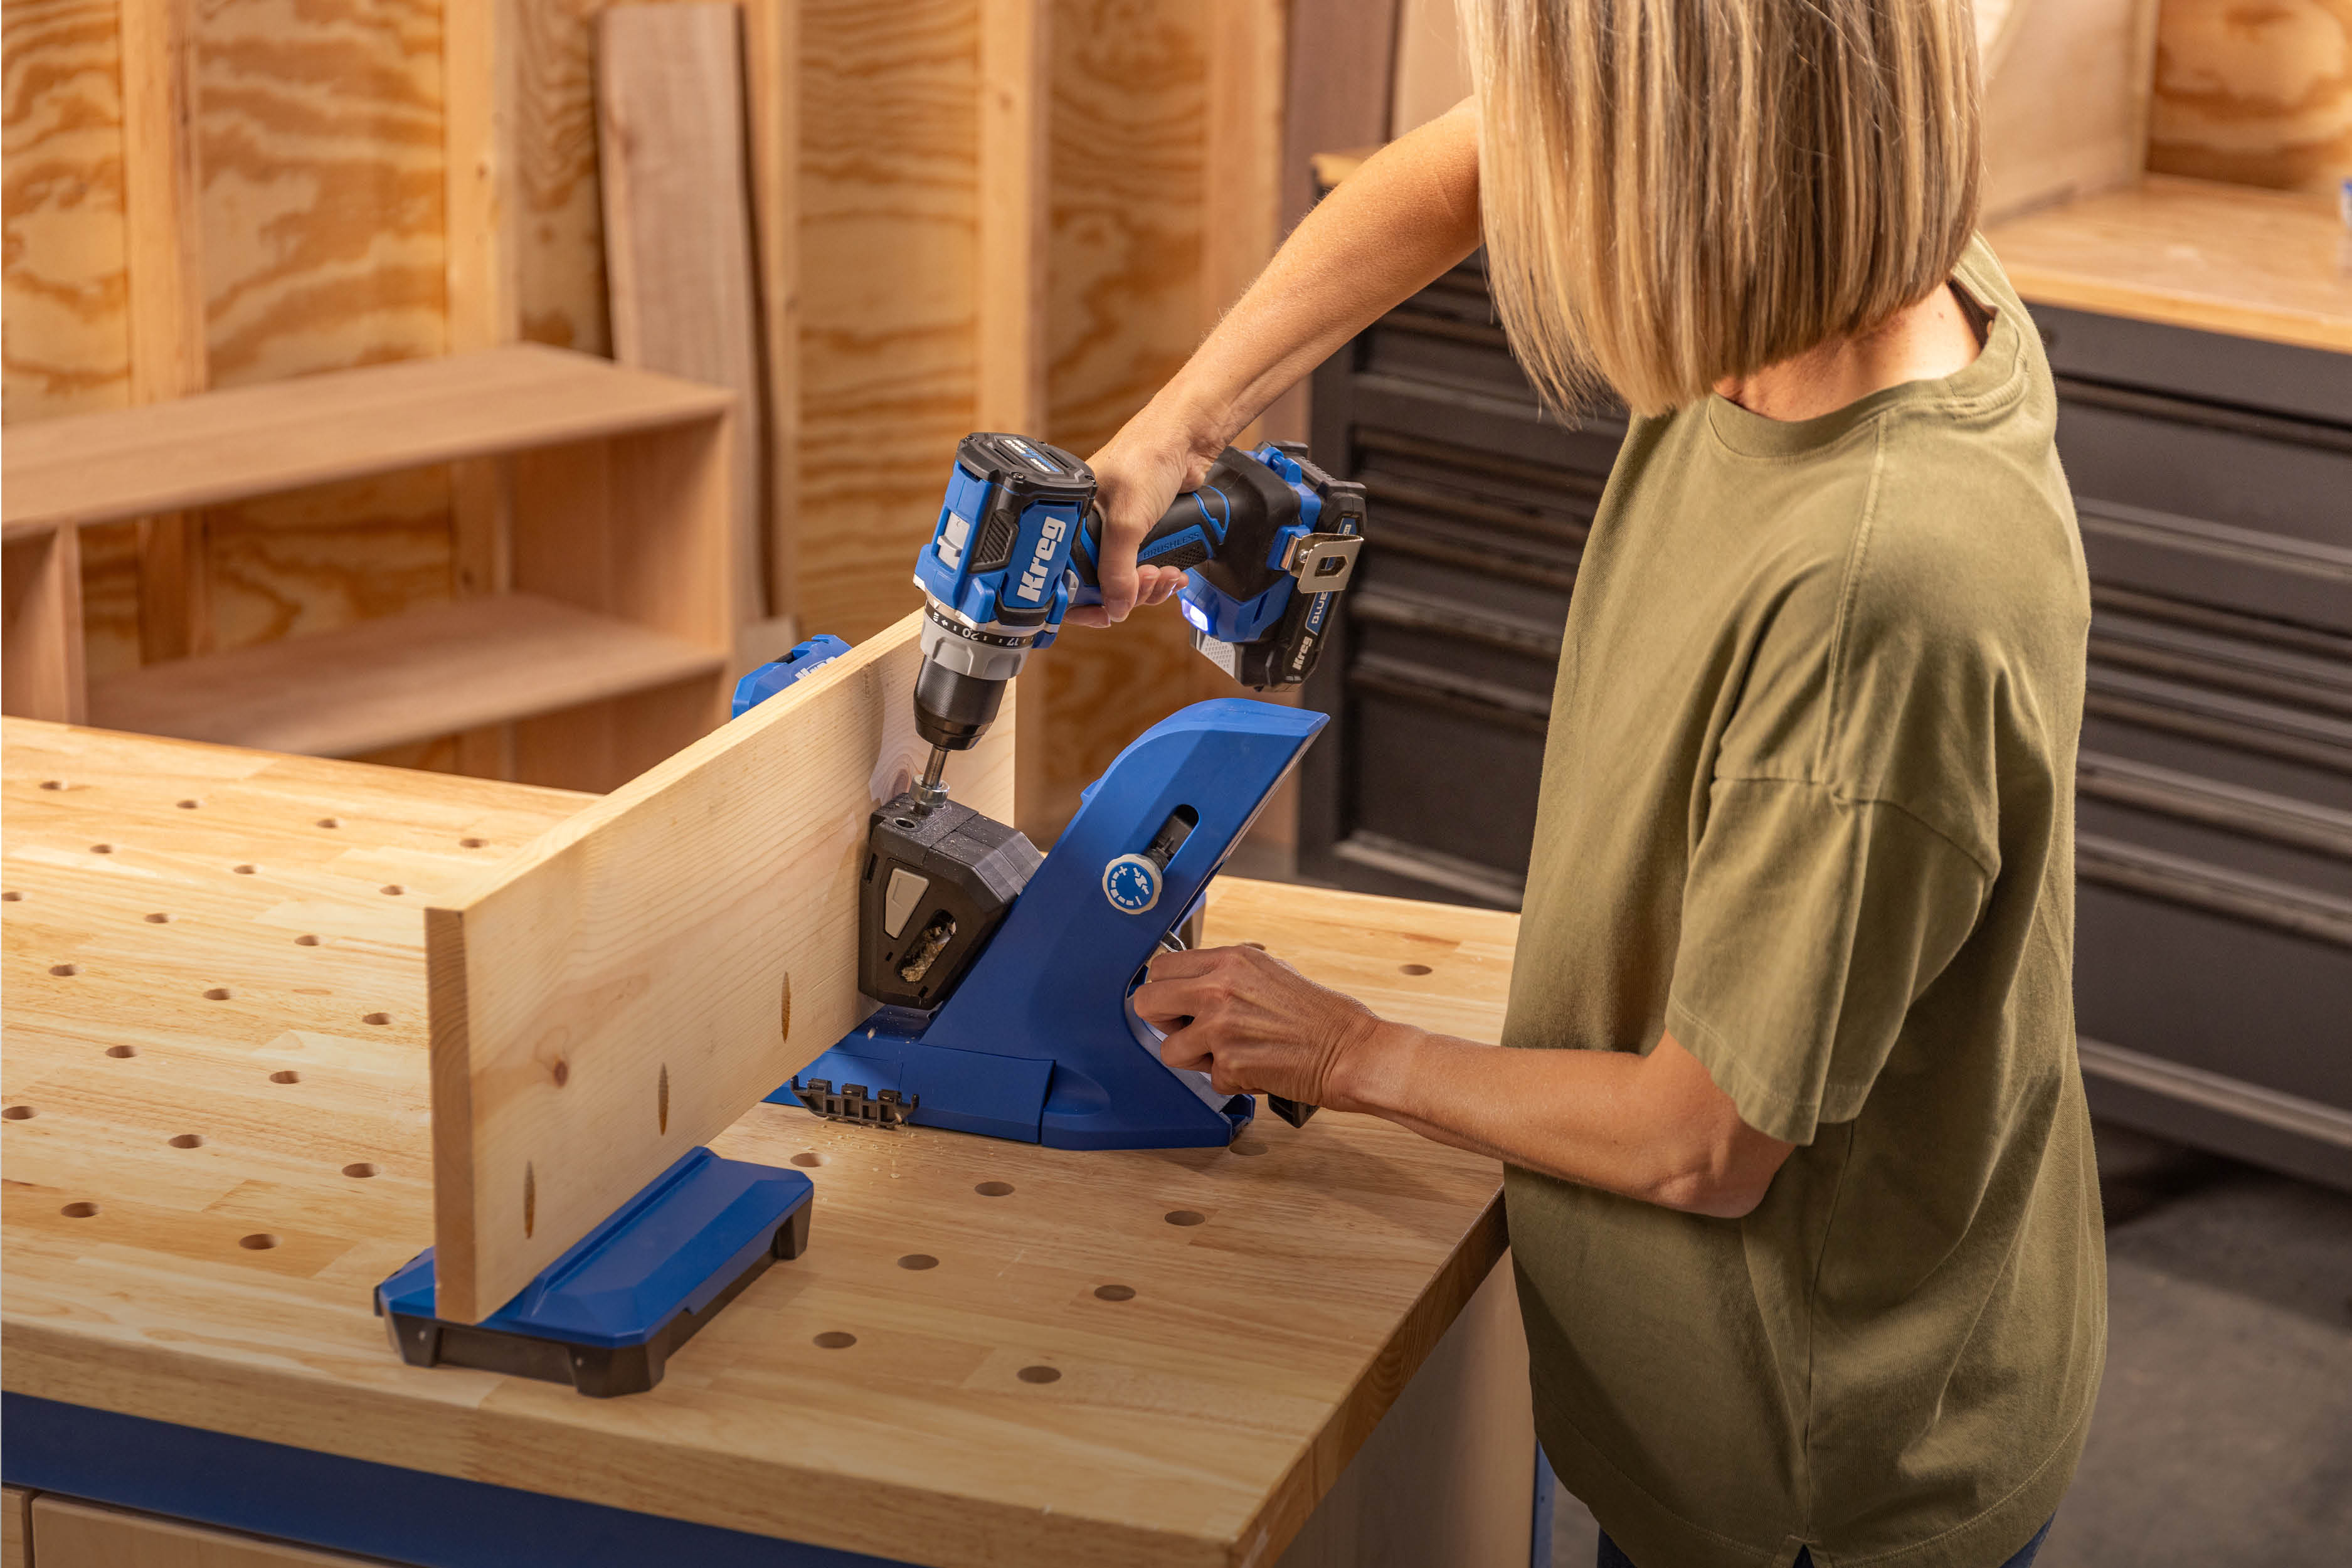
Assembly and Finishing Gear
Kreg Jig creates strong pocket hole joints without visible hardware. Invest in quality clamps—you’ll need various sizes for assembly. An electric sander (Ronix 6401 recommended) saves hours of hand sanding. Safety equipment remains non-negotiable: safety glasses, dust mask, work gloves, and hearing protection for power tools. Proper tools transform your how to build a kitchen table project from frustrating to fulfilling.
Master the Construction Process
Step 1: Create Detailed Plans
Sketch your table dimensions on graph paper, noting every measurement. Account for wood movement—solid wood expands across the grain seasonally. Choose leg style based on your design: straight boards for modern simplicity, turned legs for traditional elegance, or trestle bases for farmhouse charm.
Mark pocket hole locations before cutting—this prevents mistakes during assembly. Plan apron height at 4-5 inches for adequate leg clearance. Detailed planning is the most critical step when you learn how to build a kitchen table.
Step 2: Precision Cutting and Preparation
Cut Tabletop Components
Cut planks to 72 inches for standard rectangular tables. Square ends perfectly using a miter saw or table saw sled. Arrange boards by grain pattern and color before marking pocket hole locations.
Drill 1½” pocket holes at both ends of each board, plus along edges (except final boards). This creates invisible joints when assembled. Sand edges lightly to remove splinters before assembly—smooth edges ensure better glue adhesion.
Prepare Base Components
Cut four legs at 30 inches (or 36 inches for counter-height). Long aprons measure 60-65 inches, accounting for leg thickness. Short aprons span 28-33 inches between legs. Support braces cut from 2×4 stock provide diagonal stability. Precise measurements prevent frustration during assembly.
Step 3: Build the Sturdy Base
Frame Assembly Sequence
- Create rectangular apron frame using pocket holes and wood glue
- Position legs at corners, checking for square with framing square
- Secure legs with pocket screws every 8 inches
- Install diagonal braces between aprons for rock-solid stability
- Add center runner for tables over 60 inches long
Critical check: Measure diagonals—the frame is square when measurements match exactly. This step determines whether your kitchen table will wobble.
Reinforcement Strategies
Add decorative corner brackets for extra support and visual appeal. Counterbore screw holes to hide hardware completely. Test for wobble by gently rocking the frame—add shims or adjust joints as needed. Solid construction ensures your table withstands daily family use.
Step 4: Craft the Perfect Tabletop
Board Alignment Technique
Number your boards 1-6 (or more) in sequence. Apply thin, even wood glue to mating edges—excess creates messy joints. Clamp boards firmly using pipe clamps or bar clamps, alternating top and bottom to prevent bowing.
Check for flatness using a straight edge across joints. Scrape excess glue immediately with putty knife for cleaner finish work. A flawless tabletop makes all the difference in your kitchen table project.
Breadboard End Installation
Measure end pieces to match tabletop width precisely. Create elongated pocket holes to allow seasonal wood movement. Secure breadboard ends through pre-drilled holes, ensuring expansion space remains. This prevents cracking as wood naturally expands and contracts.
Step 5: Final Assembly Mastery
Base-to-Top Connection
Invert tabletop on padded surface to prevent scratches. Center base precisely using measuring tape from all edges. Drive 2½” screws through apron into tabletop underside—avoid over-tightening.
Install figure-8 connectors or elongated holes for wood movement accommodation. Test stability thoroughly before moving to finishing stage. Proper attachment ensures your kitchen table remains stable for years.
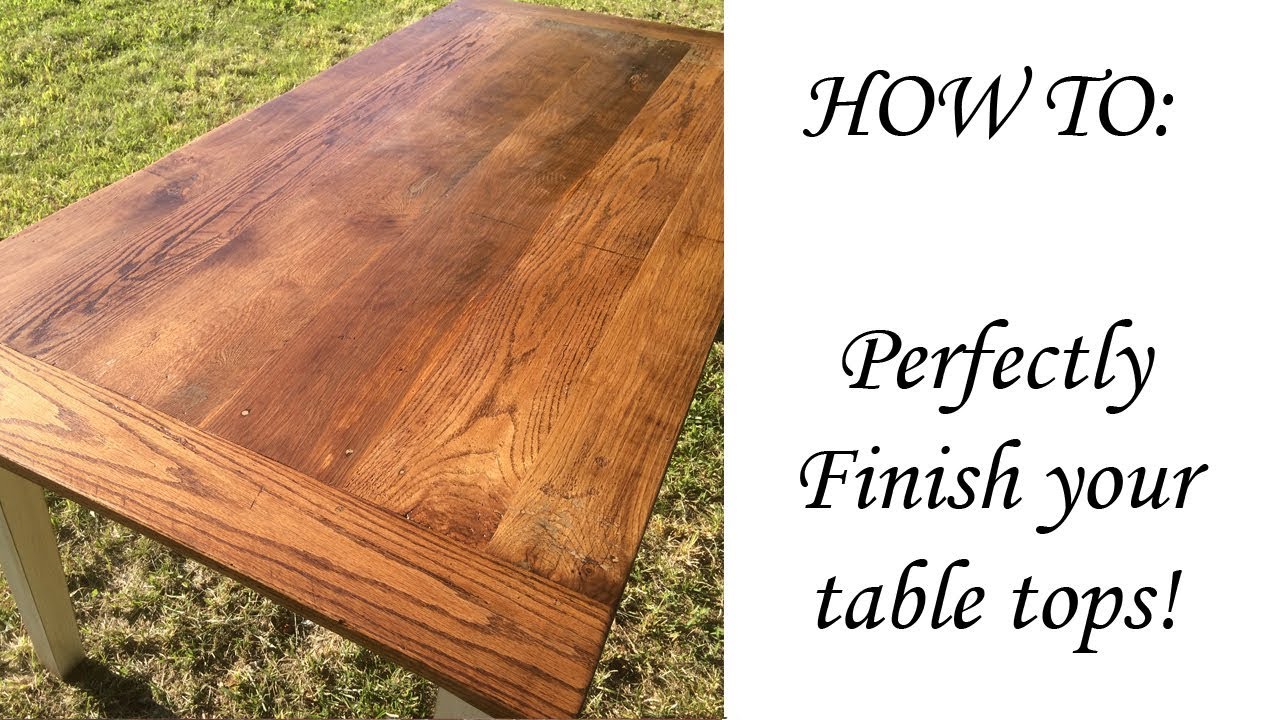
Professional Finishing Techniques
Sanding Progression System
Start with 80-grit to remove mill marks and flatten joints. Progress to 120-grit for surface smoothing. Finish with 220-grit for furniture-grade smoothness. Vacuum thoroughly between grits to prevent scratches.
Round over edges slightly using 120-grit paper—sharp edges chip easily. Clean surface completely with tack cloth before applying finish. Proper sanding creates the perfect foundation for your kitchen table’s appearance.
Stain and Protect Application
Apply thin sanding sealer coat on raw wood—this prevents blotchy stain absorption. Wipe stain on evenly with clean rag, following wood grain direction. Remove excess after 5-10 minutes for consistent color.
Brush polyurethane thinly using high-quality brush. Sand lightly between coats with 220-grit paper. Apply 2-3 coats minimum for kitchen use durability. Allow 72 hours full cure before heavy use. Quality finishing protects your investment in building a kitchen table.
Specialized Design Variations
Rustic Farmhouse Style
Embrace imperfections—knots and grain variations add character. Use 2×8 or 2×10 boards for authentic thick tabletop appearance. Consider distressing techniques like chain marks or worm holes for aged patina.
Whitewash finish creates classic farmhouse appeal. Add breadboard ends with visible dowels for traditional detail. This style remains popular when people search for how to build a kitchen table with character.
Expandable Table Solutions
Choose leaf storage method: internal storage requires hollow base design, external storage needs dedicated cabinet. Install equalizer slides for smooth extension operation—test thoroughly before finishing.
Add center leg support for stability when fully extended. Install alignment pins for precise leaf fitting every time. An expandable table solves space challenges in smaller kitchens.
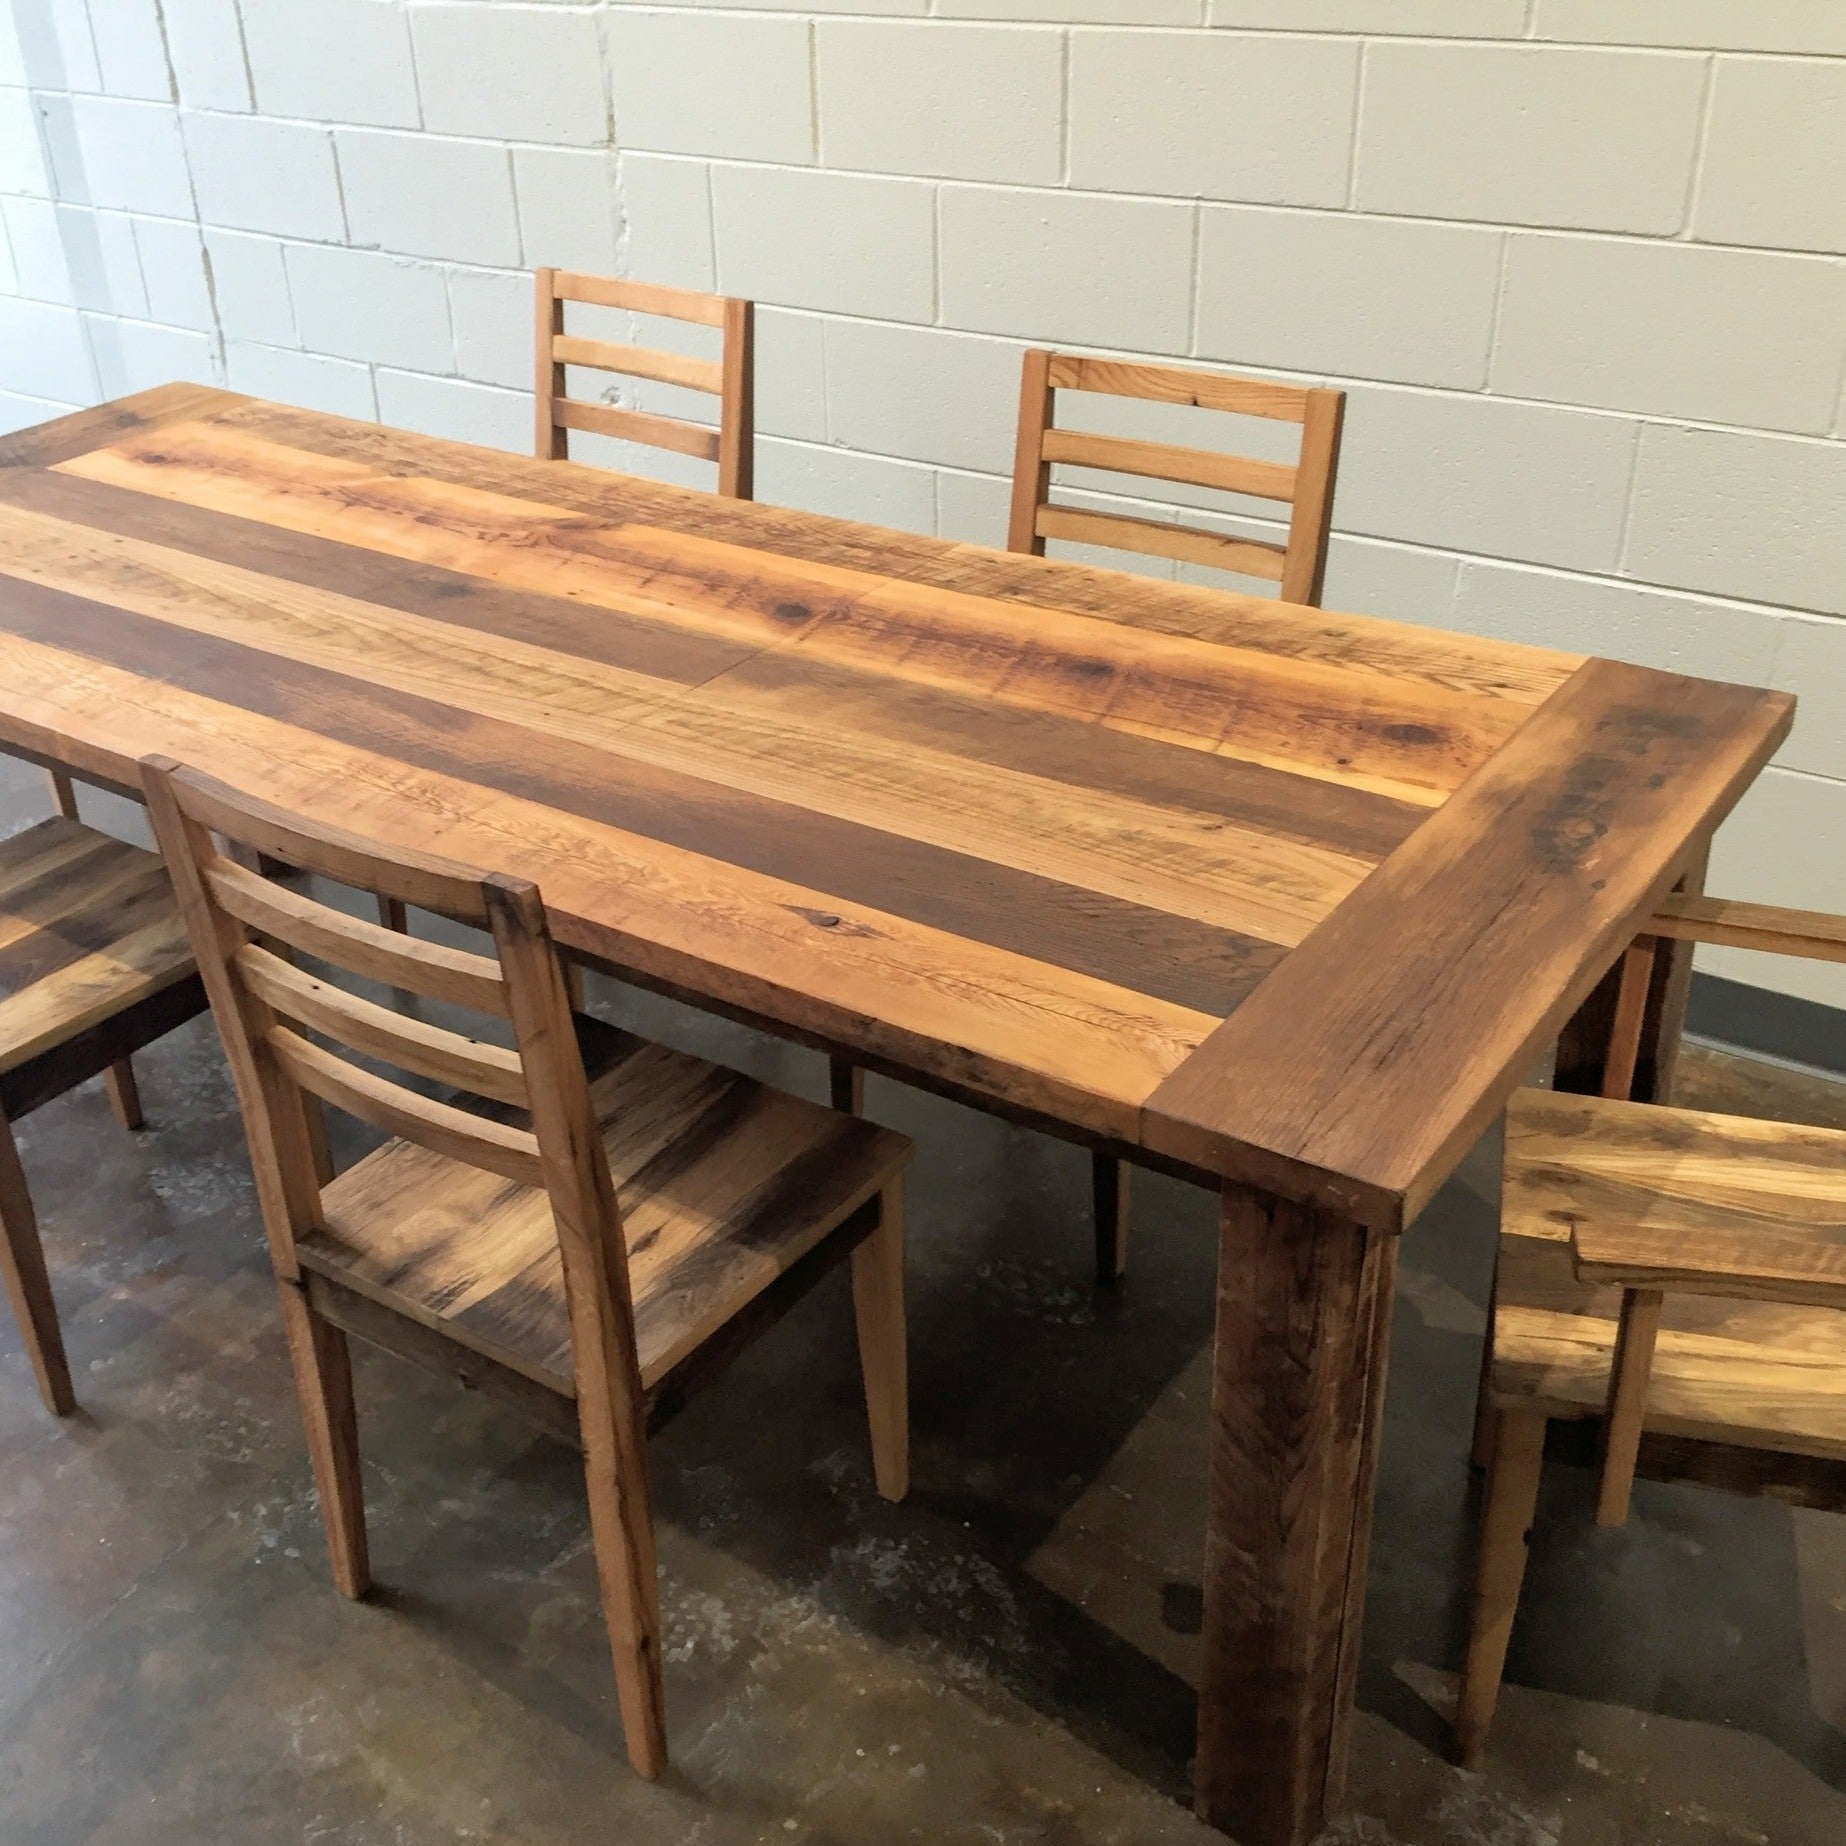
Reclaimed Wood Projects
Remove all hardware carefully using nail pullers and metal detectors. Clean thoroughly with wire brush and appropriate cleaners—avoid pressure washing which raises grain. Check structural integrity by testing each board’s strength.
Plane surfaces carefully to reveal fresh wood while preserving character marks. Incorporate natural defects strategically for authentic reclaimed appearance. Reclaimed wood tables tell a unique story.
Quality Control Checklist
Structural Integrity Testing
Place on level surface and test for wobbling from all directions. Gradually load with 200+ pounds distributed across surface. Check joint tightness by inspecting for gaps or movement.
Verify smooth operation of extension mechanisms if applicable. Test finish durability by placing hot and cold items on scrap pieces first. Thorough testing ensures your kitchen table meets daily demands.
Final Inspection Points
Examine surface for uneven joints or finishing defects. Confirm all hardware sits flush without sharp edges. Check wood movement by ensuring tabletop can expand/contract freely.
Adjust level using furniture glides if floors are uneven. Apply felt pads to leg bottoms for floor protection. These final touches complete your how to build a kitchen table project.
Maintenance for Longevity
Daily Care Guidelines
Use coasters and placemats religiously—heat and moisture damage finishes quickly. Clean spills immediately with damp cloth, avoiding harsh chemicals. Dust weekly using microfiber cloth to prevent abrasive buildup.
Annual Maintenance Schedule
Inspect joints annually for loosening—tighten screws or add glue as needed. Touch up scratches using matching stain markers. Apply fresh topcoat every 3-5 years for heavily used tables.
Pro tip: Keep leftover stain and finish for easy touch-ups throughout the table’s life. Proper maintenance preserves your handcrafted kitchen table for generations.
Building your kitchen table creates more than furniture—it crafts memories around meals, homework, and celebrations. The skills you develop extend to countless future projects. Start planning your design today, and enjoy the satisfaction of dining at a table built with your own hands.

