
Tired of crammed countertops and zero prep space? Learning how to build a kitchen island on wheels transforms your kitchen in just 48 hours, adding 52 inches of seamless counter space that rolls wherever you need it. This isn’t a flimsy cart—it’s a professional-grade workstation with soft-close drawers, a food-safe butcher-block top, and heavy-duty casters that handle 300+ pounds of cookware and appliances. Forget $1,200 store-bought units; with $400 in materials and basic tools, you’ll create a custom mobile island that matches your cabinetry and solves real kitchen pain points. I’ll show you exactly how to avoid wobbling, misaligned drawers, and drifting islands—common failures that plague DIY builds. By Sunday evening, you’ll have a rock-solid rolling kitchen island ready for holiday feasts or daily coffee prep.
Why wheels beat fixed islands? They unlock your kitchen’s flow: tuck it against the wall during meals, roll it out for buffet service, or slide it near the stove when cooking for crowds. This guide cuts through guesswork with laser-focused dimensions, caster specs, and alignment tricks you won’t find elsewhere. Let’s build your game-changing kitchen upgrade.
Lock In Your 52″ x 24½” Rolling Island Dimensions
Stick to the battle-tested 52″ long × 24½” wide × 36″ high blueprint—it’s the only size that aligns perfectly with standard countertops for uninterrupted chopping. This footprint delivers 4½ feet of continuous workspace plus room for three drawers and a tall pull-out for trash bins. If your kitchen’s narrow (under 8 feet wide), shrink the width to 18″ and length to 40″ for a galley-friendly version that still fits two drawers. Need appliance storage? Drop one side panel to create a 24″ × 18″ microwave cavity—just ensure the opening stays centered to avoid structural weakness.
Critical tip: Always measure your clearance zones first. Wheel your island through doorways and past appliances while holding a 52″ × 24½” cardboard template. If it snags, trim 2″ from the length—never the width—to maintain drawer functionality. With 4″ casters, your base height must be exactly 32″ to hit the 36″ finished top height. Skip this, and you’ll end up with a counter that’s either too high for comfortable prep or too low for serving.
Source $400-Worth of Rolling Island Materials
Grab two ¾” A-C plywood sheets ($50 each) for the carcass—ripped to 50½” × 22½” (top/bottom) and 34½” × 22½” (sides). For the face frame, buy eight 8-foot poplar 1×3s ($4 each) and four 1×4s ($5 each) to hide plywood edges. Your countertop needs fourteen 1½” × 54″ maple strips ($7/bf; total ~$24) or a pre-made Ikea Karlby slab ($149). Skip cheap casters—they fail under weight. Instead, invest in four 4″ plate casters: two locking swivel front ($22 each) and two fixed rear ($18 each), all rated 300+ lbs total.
Hardware pitfalls to avoid:
– Drawer slides: Buy three sets of 100-lb soft-close undermount slides ($35/set)—not side-mount. Undermounts hide hardware and prevent snagging clothes.
– Fasteners: Grab 2½” pocket screws ($8) for carcass assembly and 1¼” wood screws ($5) for moldings.
– Casters: Ensure swivel locks engage with a foot stomp—hand-twist locks fail mid-recipe.
Pro tip: Hit Habitat ReStore first for discounted maple slabs or pre-built cabinet bases to slash costs to $250.
Prepare Power Tools for Island Construction

Set up your workspace with these non-negotiable tools: a table saw (for clean plywood rips), miter saw (for poplar face frames), and Kreg pocket-hole jig ($40). Skip the circular saw for hardwood strips—dense maple splits without a table saw’s fence guidance. You’ll also need a router with ¼” round-over bit for countertop edges, orbital sander (60→220 grit), and drill/driver. For casters, use a ¼” drill bit to pre-bore holes—never screw directly into plywood or you’ll split the base.
Safety must-dos:
– Wear ear protection during hardwood ripping (maple hits 105 dB on table saws).
– Clamp all stock—hands-free routing prevents 40% of workshop injuries.
– Vacuum sawdust hourly; fine particles ignite at 500°F near tools.
Time-saver: Label every cut piece with tape (e.g., “SIDE L,” “DIVIDER”) before assembly. One mislabeled panel derails your entire build.
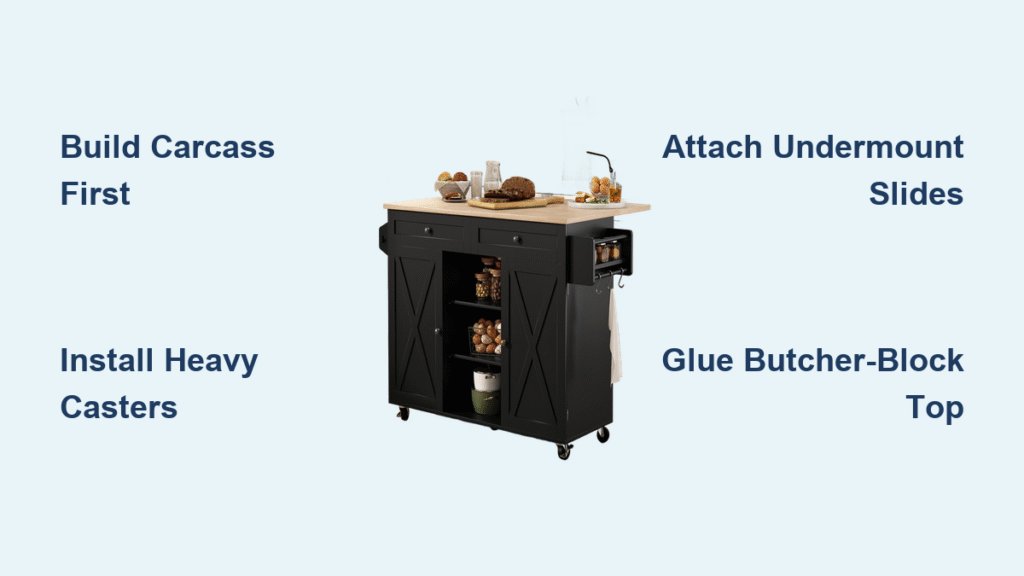
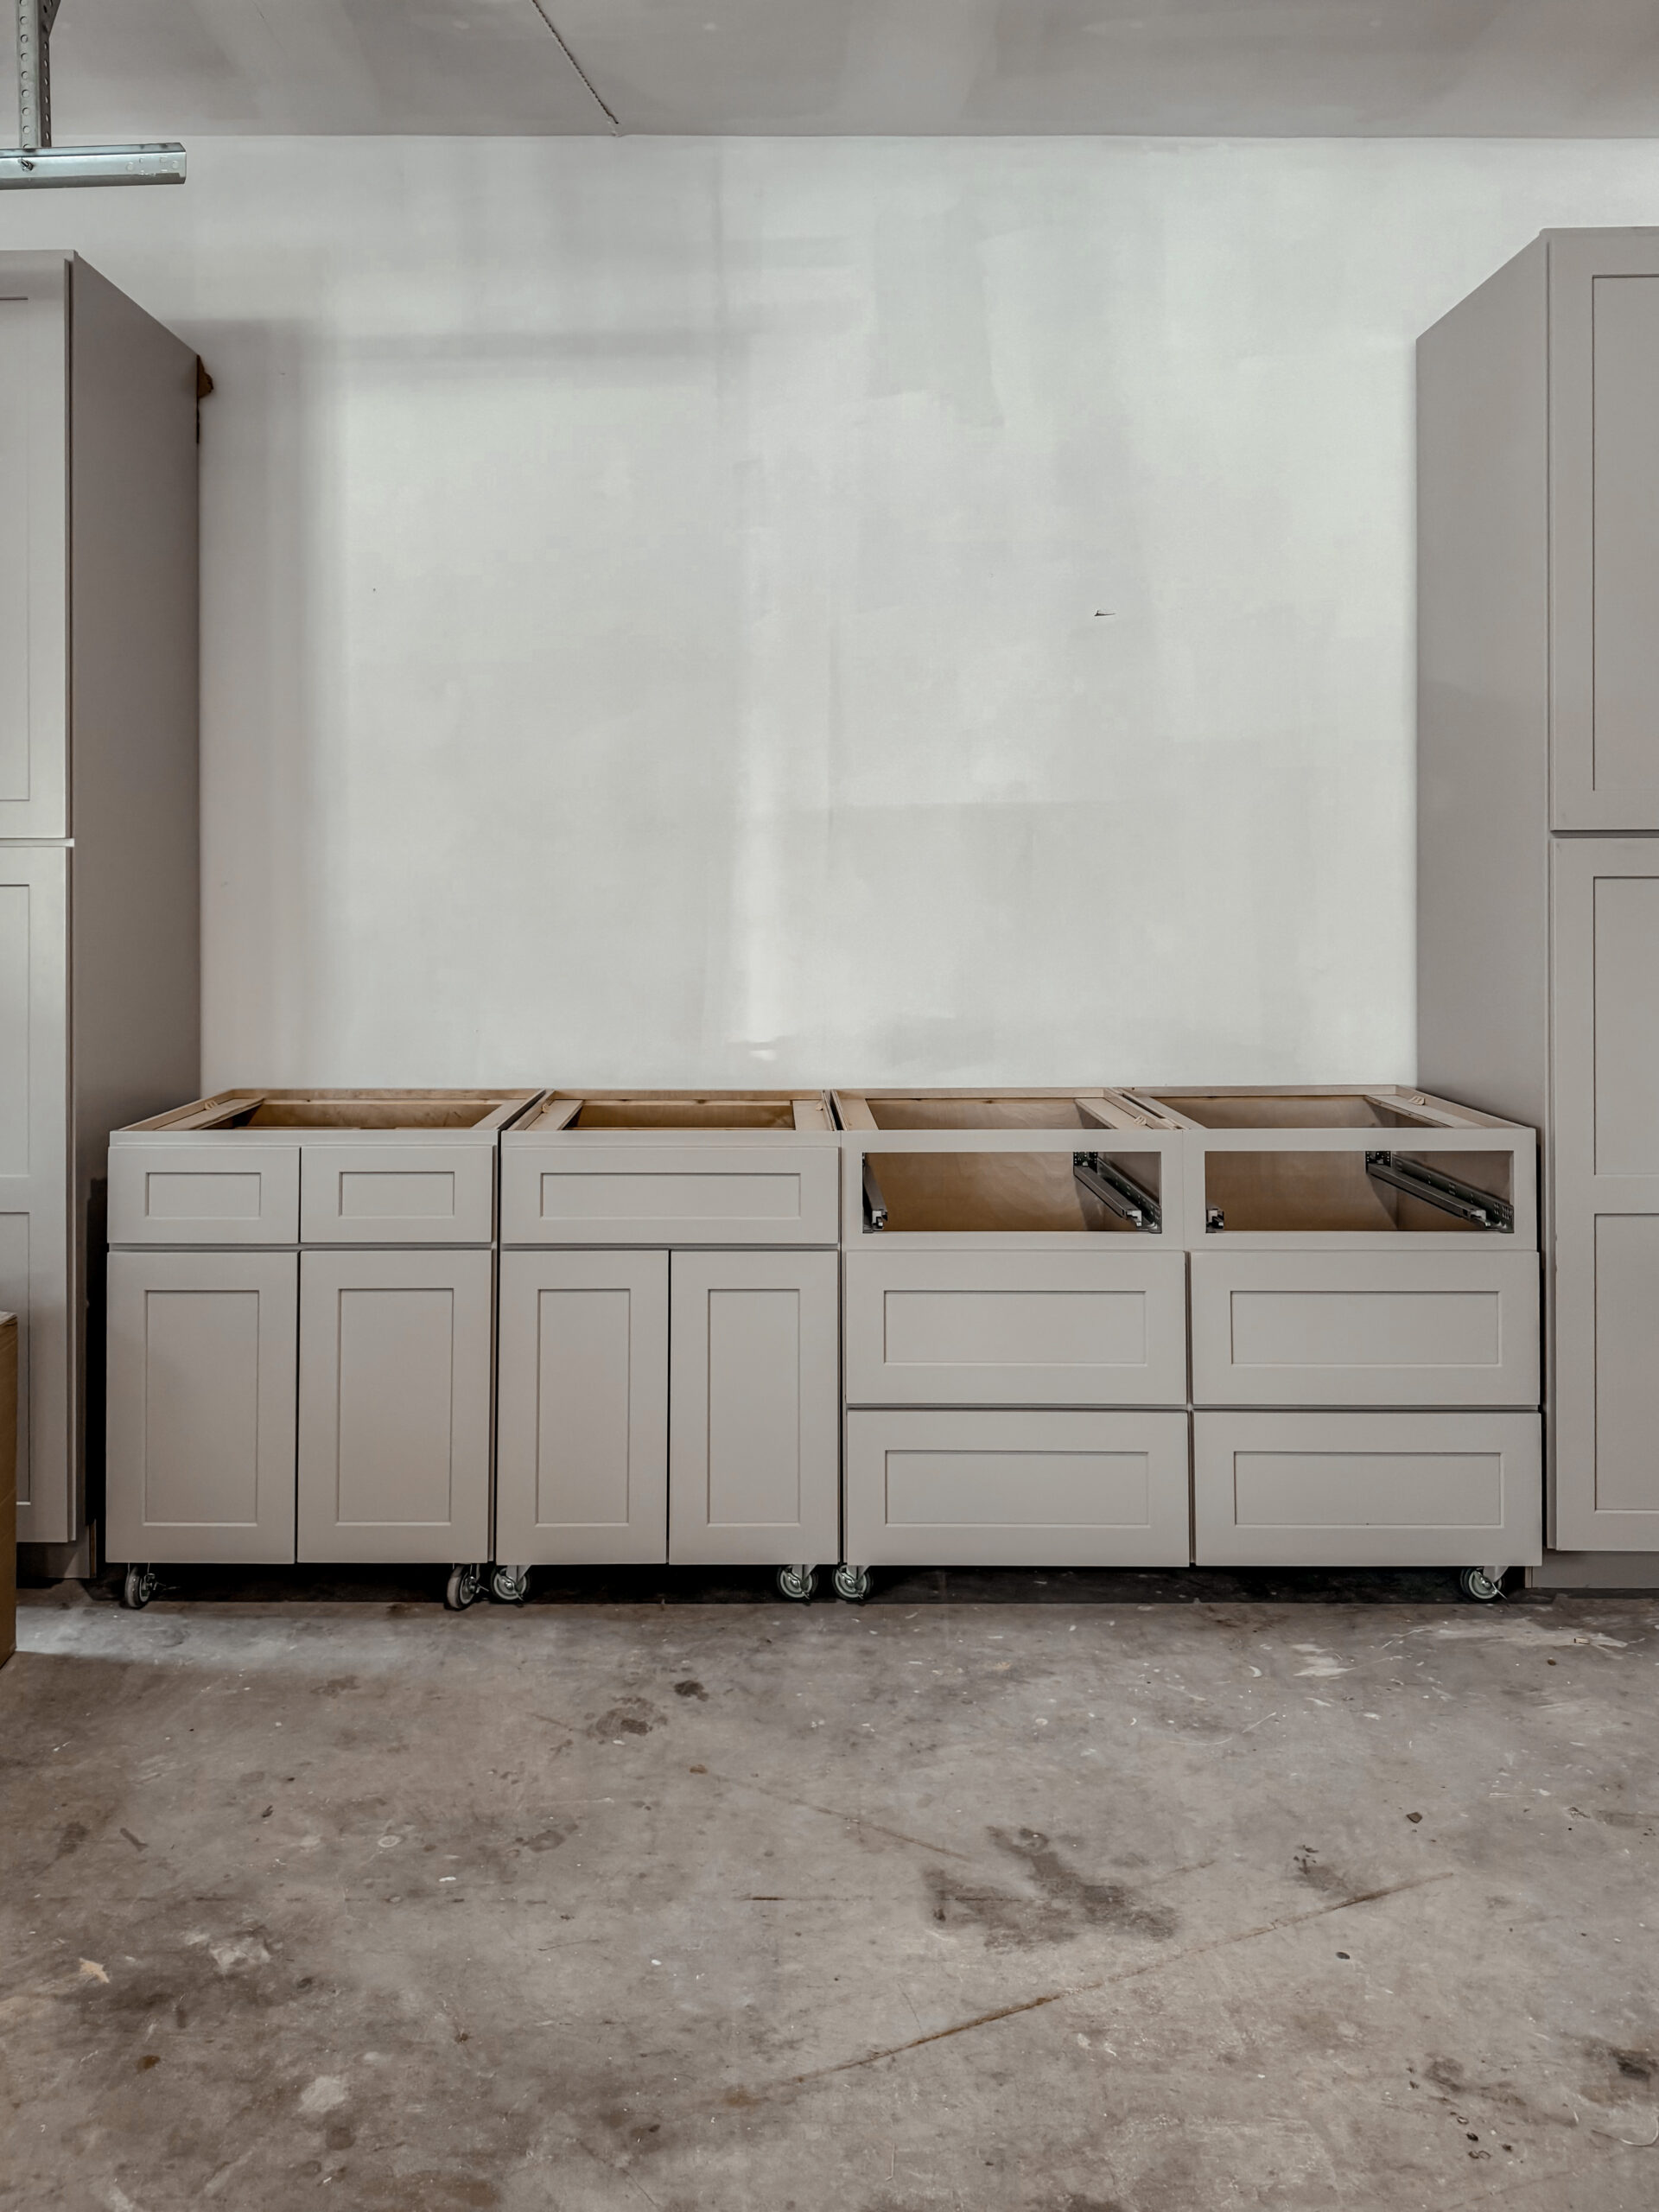
Build a Warp-Resistant Plywood Carcass
:max_bytes(150000):strip_icc()/ExplodedViewIllustration-b396290cf5df466eb4fe0d037143a751.png)
Cut your ¾” plywood to precise dimensions: top/bottom (50½” × 22½”), sides (34½” × 22½”), and divider (34½” × 21″). Machine ¾” × ⅜” rabbets on the top/bottom panels’ inside faces to accept the back panel—this creates a rigid box that won’t rack. Then, cut ½” deep × ¾” wide dados in the top/bottom to lock the vertical divider. Dry-fit everything first; check diagonals with a tape measure—both must read 59¼” or your island will lean.
Assembly hack: Apply glue to joints, then screw through pre-drilled ⅛” pilot holes. Clamp diagonally opposite corners while driving 2½” pocket screws. Attach the ¾” back panel last with 1¼” screws—this traps moisture and prevents warping. If your box isn’t square, place a 2×4 across the diagonal and tap with a mallet until diagonals match. A non-square carcass guarantees wobbly drawers later.
Attach Poplar Face Frames to Hide Plywood Edges
Mill poplar rails/stiles to 2½” width, then build separate rectangles for front, back, and sides. Dry-fit each frame to the carcass, ensuring ¼” overhang on all edges. Attach with wood glue and 1″ brads—never screws, which telegraph through paint. Fill visible plywood edges by gluing ¾” hardwood strips to panel perimeters; sand flush after drying. Nail ¾” shoe molding along the base with 1″ brads, mitering corners at 45 degrees for seamless joints.
Pro alignment trick: Place playing cards (⅛” thick) between the face frame and carcass at each corner. This creates consistent reveals so drawers glide perfectly later. If your poplar warps, rip it to 2¼” width instead—extra thickness compensates for movement. Skip this step, and your “custom” island will look like a plywood box in a skirt.
Construct Strong Drawer Boxes for Your Island
Cut ½” plywood parts: fronts/backs (4½” × 20½”), sides (4½” × 20½” deep), and ¼” bottoms (20½” × 19½”). Dado a ¼” groove ½” up from the bottom edge on all four sides to capture the panel. Rabbet the back edges to fit inside the sides—this hides fasteners. Crucially, cut ¾” × ¾” notches in the rear bottom corners to clear undermount slide hardware. Assemble with glue and 1″ brads; clamp overnight.
Why this works: Dado-and-rabbet joinery creates square boxes that won’t rack under weight. Pocket screws would weaken thin drawer sides. Test each box by standing it on a flat surface—any rocking means sand the high spots before installing slides. Misaligned boxes cause 70% of “sticky drawer” complaints.
Install Undermount Slides for Silent Drawer Operation
Position slides ⅞” back from the carcass front edge—measure twice. Secure with manufacturer-provided screws, checking level with a 6″ ruler. On drawers, clip plastic front brackets flush to the sides, then drill 8mm holes ½” from the back for rear guide pins. Slide the drawer in; it should glide silently and self-close the last inch. If it sticks, sand the notch corners—you likely cut them too tight.
Troubleshooting drift: If drawers pull sideways when opening, loosen the cabinet-side screws and shift the slide inward ⅛”. Re-tighten while holding the drawer square. Never force a drawer—this strips plastic clips. Pro tip: Vacuum slide tracks monthly with a crevice tool to maintain soft-close action.
Glue Up a Food-Safe Butcher-Block Countertop
Joint and rip 1½” maple strips to 54″ length, alternating grain direction (light/dark) to prevent warping. Apply Titebond III glue evenly, then clamp every 8–10″ with parallel clamps. Scrape excess glue after 45 minutes—waiting longer creates stubborn residue. After 24 hours, trim to 52½” × 25″ with a circular saw and straightedge. Rout ¼” round-overs on all edges, then sand through 60→220 grit.
Finish right: Flood with food-safe mineral oil, let soak 15 minutes, then wipe off. Repeat twice more the first day. Avoid polyurethane—it flakes under knives. For instant results, buy a pre-made Grizzly T34230 slab ($90), but sand edges to 220 grit first. Skip oiling, and your top will crack within months from kitchen moisture.
Secure Heavy-Duty Casters to Your Island Base
Install two fixed casters at the rear and two locking swivel casters at the front—never mix positions. Pre-drill ¼” holes through the bottom frame, then secure plates with 1½” #14 screws. Test the lock mechanism: stomp the front caster pedal—it should click audibly. With 4″ casters, your base height must be 32″ to hit 36″ total. If your island drifts, tighten the swivel kingpin bolts with a 10mm wrench.
Critical check: Load the island with 50 lbs of sandbags and roll it across tile. If it wobbles, add a 1×2 cross-brace between the casters. Uneven floors? Use adjustable casters ($5 more per wheel) to level the top within ⅛”.
Finish and Assemble Your Rolling Kitchen Island
Prime and paint the carcass/drawer fronts before countertop installation—spray for smooth coverage. Attach the top with elongated slots in the carcass top (drill ⅛” oval holes) to allow seasonal wood movement. Clip drawers into slides, then align false fronts using double-face tape and ⅛” spacers. Install handles with machine screws cut to length.
Pro move: Remove hardware before final spraying. Reattach pulls with threadlocker to prevent loosening from movement. For vintage charm, try Annie Sloan Chalk Paint in Duck Egg with a Paris Gray wash, then seal with clear wax. Skip elongated slots, and your countertop will split when humidity shifts.
Fix Common Rolling Island Problems
Drawer gaps uneven? Use playing cards as ⅛” spacers when aligning false fronts—tighten screws only after perfect reveals. Island drifts when locked? Swap caster positions: fixed wheels must be on the same end (usually rear). Hardwood splitting during rips? Switch to a corded table saw—cordless models stall on dense maple. Always use a zero-clearance throat plate to prevent tear-out.
Prevention tip: Lubricate casters quarterly with silicone spray (not WD-40—it degrades polyurethane wheels). Check caster bolts monthly; vibration loosens them after 50 rolls.
Personalize Your Rolling Kitchen Island Design
Swap the trash pull-out for an X-divider wine rack using 1×2 poplar lattice—ideal for open-concept kitchens. Or omit one side panel to create an open shelf for displaying dishes. For industrial flair, replace poplar trim with black iron corner brackets ($8 each). Try color play: two coats of Behr Deep Base White with a vinegar-washed oak stain for weathered charm.
Space-saver hack: Install an Ikea Fintorp rail on the end for hanging mugs—no drilling needed. In micro-kitchens, build a 24″ × 18″ microwave bay by dropping the right-side panel 4″.
Maintain Your Mobile Island for Longevity
Monthly: Re-oil the butcher-block top with mineral oil (it’s dry if water beads disappear in <5 minutes). Vacuum drawer slide tracks to prevent grit buildup. Quarterly: Tighten all caster and handle bolts—vibration loosens them after 50 rolls. Lubricate wheels with silicone spray to maintain smooth rolling.
Never hose down the island—wipe spills immediately with a damp cloth. If the top dries out, sand lightly with 220 grit and re-oil. With this care, your $400 DIY island will outlast store-bought units for decades. Now roll it to the center of your kitchen, load it with mixing bowls, and savor the extra space you built yourself.

