
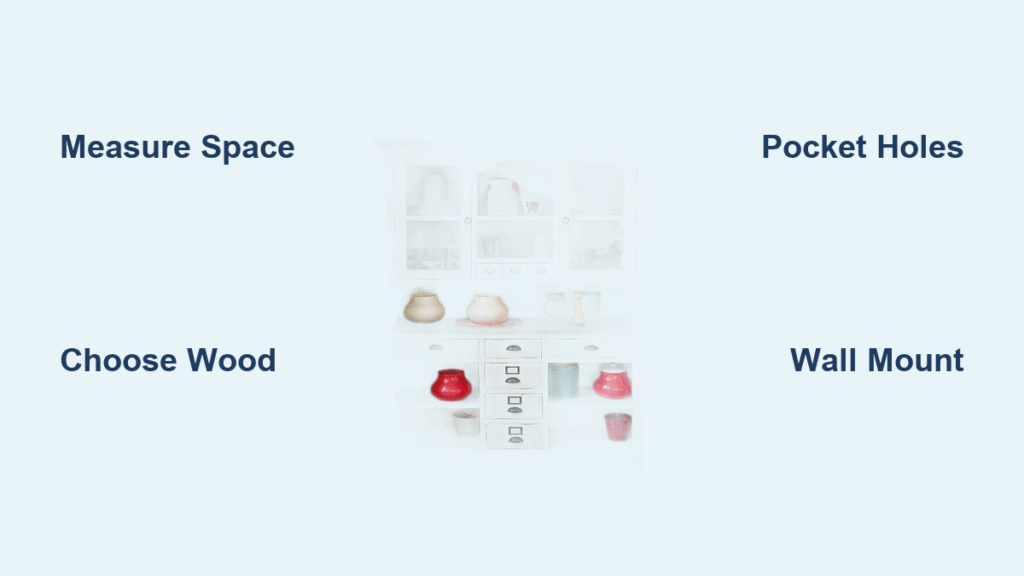
You’ve seen those elegant kitchen hutches in home magazines—sleek storage solutions that blend functionality with style—but assumed they were too expensive or complex for DIY. What if you could build a custom piece that perfectly fits your space for under $500? Building a kitchen hutch transforms cramped countertops into organized display zones while adding serious resale value. Whether you’re creating a compact coffee bar or a full dining room showcase, this guide reveals professional techniques for constructing a sturdy, beautiful hutch using pocket hole joinery and smart material choices. You’ll learn to avoid common pitfalls like improper measurements and weak joints that ruin beginner projects.
The difference between a wobbly eyesore and heirloom furniture lies in precise planning. Before cutting your first board, you must determine whether a countertop hutch (sitting directly on existing counters) or floor-standing unit best suits your kitchen’s layout and storage needs. This guide walks you through critical space measurements, budget-friendly wood options, and electrical integration tricks that professional carpenters use. By the end, you’ll have a clear roadmap to build a kitchen hutch that looks custom-made and functions flawlessly for decades.
Measure Your Kitchen Space for Perfect Hutch Placement
Skipping precise measurements guarantees costly rework. Grab your tape measure and record three non-negotiable dimensions: height (countertop versions align with standard 36-inch counters; floor models reach 84+ inches), width (48-60 inches fits most kitchens), and depth (12.5 inches for display-focused builds; 24 inches for maximum storage). Measure twice—especially near wall vents or baseboard heaters you can’t obstruct. A hutch placed too close to a door jamb will block full cabinet access, turning your project into a daily frustration.
Avoid These Measurement Mistakes
Never assume standard dimensions—older homes often have uneven floors that tilt your entire structure. Place shims under your level during measurement to account for slopes. Forget door swing clearance at your peril: leave 3 inches minimum between the hutch’s edge and adjacent walls for smooth operation. For floor-standing units, elevate buffet sections 1 inch off the floor to allow Roomba access and prevent moisture damage. Professional builders always dry-fit the frame on the ground first, verifying cabinet door alignment before permanent assembly.
Choose Budget-Friendly or Premium Woods for Your Hutch Build
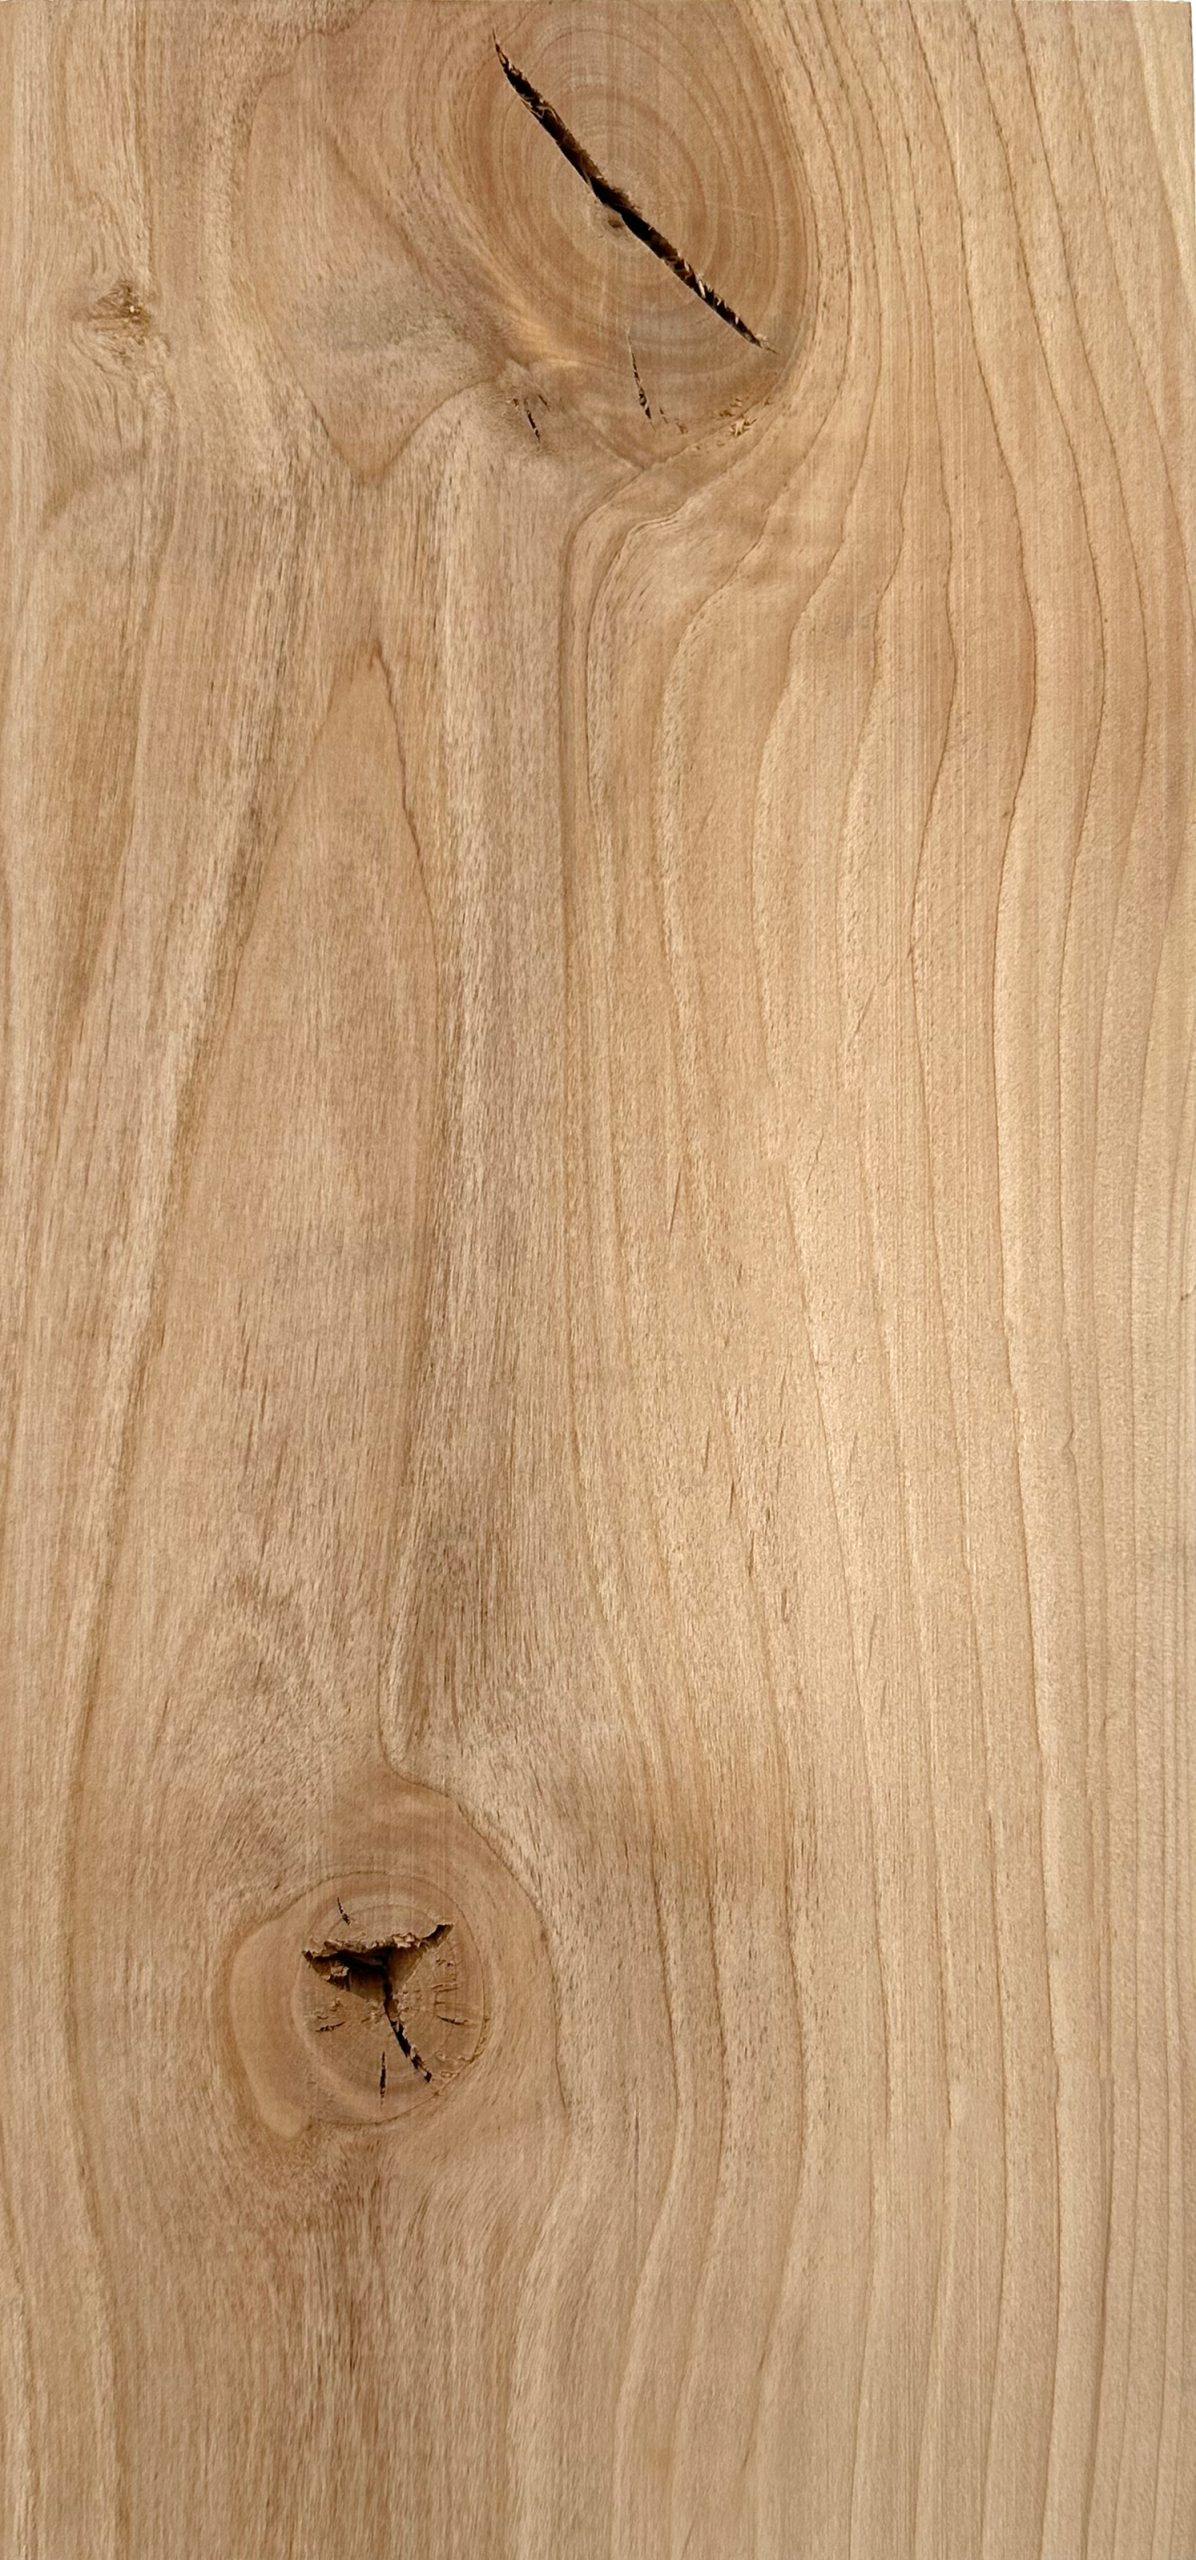
Your wood selection impacts both cost and final appearance. Knotty Alder delivers the best value under $500 total project cost, with visible knots creating character through painted finishes like Sherwin Williams “Dream Dusk.” This hardwood handles pocket hole joinery well and resists warping. For raw wood interiors, Birch Plywood (3/4-inch for main structure; 1/2-inch Baltic birch for boxes) provides stable, consistent substrate that won’t crack like MDF when humidity shifts.
Premium Wood Upgrade Secrets
Wormy Chestnut transforms dramatically with Danish Oil but requires meticulous board sorting to eliminate damaged pieces. Expect to discard 20% of reclaimed lumber during selection. This wood’s unique grain patterns justify the higher cost for statement pieces, especially when finished with three coats of Watco Danish Oil followed by 1000-3000 grit Mirlon pad buffing. Never skip face framing—nail poplar hardwood strips to raw edges for professional appearance, regardless of your primary wood choice.
Must-Have Tools for Pocket Hole Joinery and Precise Assembly
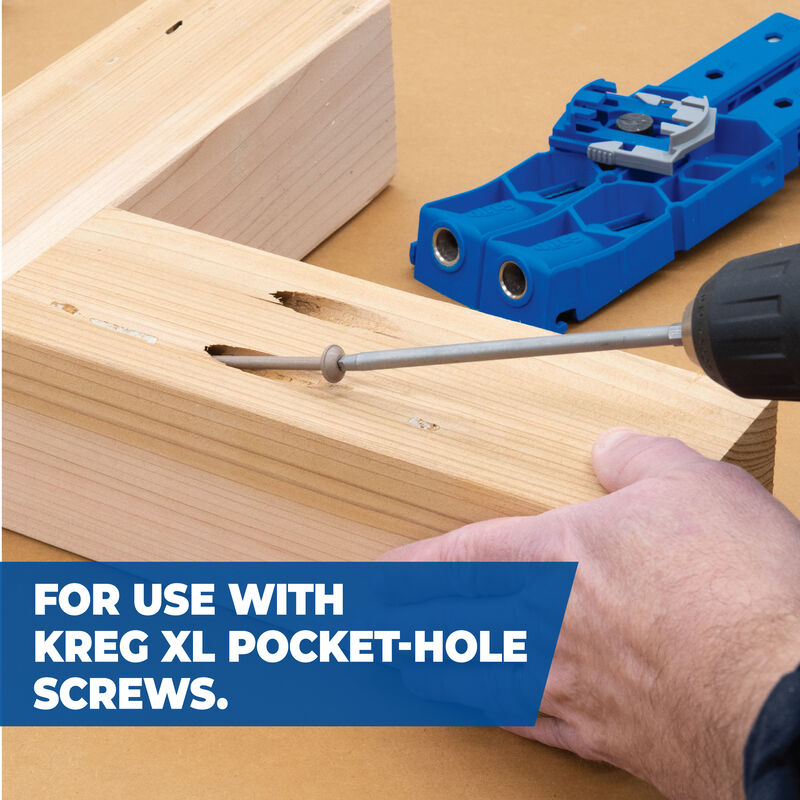
Skip the expensive joinery tools most beginners overbuy. A Kreg Jig is non-negotiable for creating hidden pocket holes every 6 inches along joints—this method creates stronger bonds than glue alone for painted finishes. Pair it with a concealed hinge jig to ensure cabinet doors align perfectly on first try. For electrical integration, rare earth magnets let you create removable back panels without visible fasteners, while a shelf pin jig enables adjustable shelving in under 10 minutes.
Critical Tool Shortcuts
Skip the Domino joiner for budget builds—pocket holes provide equal strength for knotty alder projects. But never compromise on drawer hardware: Blum drawer face adjusters eliminate frustrating alignment issues with inset drawers. Use a cabinet hardware jig for dead-center handle placement every time. Pro builders always pre-drill holes for 1.5-inch overtravel hinges to prevent wood splitting—a mistake that wastes $50 doors in seconds.
Build a Sturdy Hutch Frame: Step-by-Step Assembly Guide
Frame construction makes or breaks your hutch’s longevity. Start by laying all components on the ground for a dry-fit, verifying cabinet door clearance and accounting for door swing against walls. Assemble the box first using Kreg pocket holes every 6 inches, then attach face frames with 18-gauge nails. For floor-standing units, add a middle “foot” support under heavy marble tops (like 50-inch rainforest green with bullnosed edges) to prevent sagging.
Frame Reinforcement Tactics
Never attach the hutch to walls after door installation—secure the cabinet box to wall studs first for easier maneuvering in tight spaces. Full hutches require anchoring into two studs minimum using 3-inch lag bolts; skip this and 200+ pounds of weight could topple during earthquakes. For ventilation, elevate buffet sections off the floor by 1 inch and design around existing wall vents—blocking returns triggers costly HVAC repairs.
Craft Professional Cabinet Doors and Smooth-Running Drawers

Shaker-style doors create timeless appeal with minimal skill: route frame edges, insert 1/4-inch plywood panels, and secure with glue. For glass fronts, use plexiglass instead of real glass—it won’t shatter during installation and fits perfectly in 3/4-inch rabbets. Pre-made doors from Nieu.com (use code ANGELAROSEHOME5) save 10+ hours for beginners, but require precise hinge jig alignment.
Drawer Construction Hacks
Dovetail joinery isn’t necessary for functional drawers—pocket holes work fine for budget builds. But always add beaded edges to drawer fronts for visual relief against flat cabinet faces. For tech integration, cut slots in walnut burl inserts to organize batteries and glue angled maple wedges into top drawers for phone charging stations. Test-draw all drawers before final assembly; misaligned slides cause 70% of beginner frustrations.
Install Hidden Charging Stations in Your Kitchen Hutch
Transform ordinary storage into smart charging hubs with two pro techniques. First, mount plug strips vertically along the back of top drawers using double-sided tape, then cut 1.5-inch slots in drawer inserts to thread cords through. Second, embed rare earth magnets into the back panel and cabinet frame—this creates removable access for electrical maintenance without visible screws. Never run cords through solid wood; use pre-drilled 3/8-inch channels to prevent fire hazards.
Cord Management Checklist
- Angle charging slots downward to hide cords from view
- Leave 2 inches of slack behind removable panels for future access
- Use cable sleeves in buffet sections for appliance cords
- Never cover wall vents with enclosed storage—leave 3-inch clearance
Achieve Flawless Painted or Oil Finishes for Your Hutch
Painted finishes hide wood imperfections but require meticulous prep. Sand knotty alder to 220 grit, then apply two coats of oil-based primer to seal knots before Sherwin Williams “Dream Dusk” paint. For premium wormy chestnut, skip paint entirely—buff with 1000-grit Mirlon pads between three Danish Oil coats to enhance natural grain. Always finish interiors before assembly; you can’t reach inside corners once the hutch is built.
Finish Failures to Avoid
Never sand between oil coats—it creates visible grit lines. Rushing drying time causes sticky surfaces; allow 24 hours between Danish Oil applications. For two-tone looks, paint exteriors first, then apply oil to interiors—paint fumes ruin oil finishes. Test finishes on scrap wood first; knotty alder’s resin pockets sometimes bleed through paint.
Secure Your Kitchen Hutch to Wall Studs for Safety
Wall mounting isn’t optional for floor-standing units. Locate studs with a magnetic detector, then drill 1/4-inch pilot holes through the cabinet’s top rail into studs. Use 3-inch lag bolts with washers—never rely on drywall anchors for hutches over 50 pounds. For countertop models, secure to backsplash brackets using 2-inch screws through the back panel. Test stability by pushing firmly at the top; any movement means re-anchoring.
Installation Red Flags
- Doors binding after installation? Check for uneven floors—add shims under legs
- Visible gaps between hutch and wall? Use 1/8-inch trim strips to conceal
- Drawers sticking? Loosen hinge screws slightly and realign
- Never skip final buffing—3000-grit Mirlon pads create furniture-store smoothness
Your kitchen hutch project delivers maximum impact when you prioritize measurements over speed and precision over perfectionism. By selecting knotty alder for under $500 or investing in wormy chestnut’s heirloom quality, you create storage that evolves with your needs—especially with hidden charging stations and adjustable shelving. Download Kreg Tools’ free 48-inch plans at BuildSomething.com to start your build this weekend, and remember: the most beautiful hutches solve real problems, not just hold pretty dishes. In six months, you’ll wonder how you ever cooked without it.

