
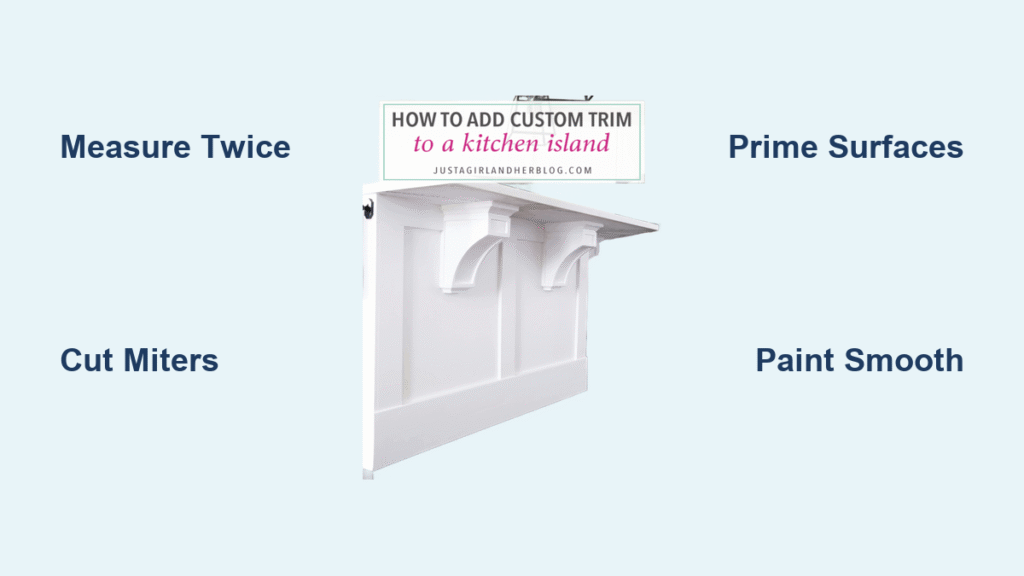
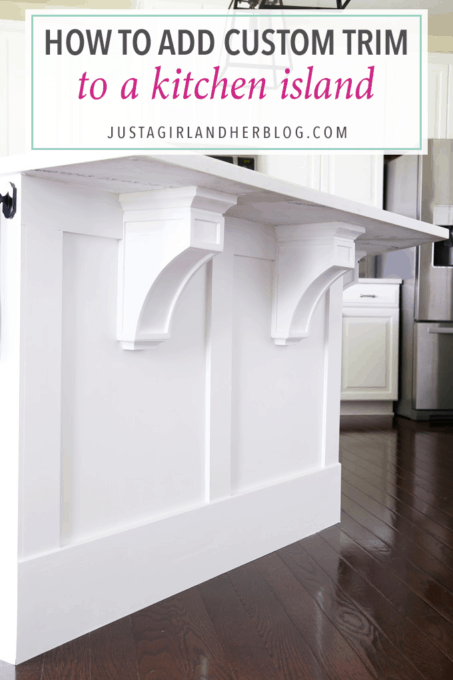
That plain kitchen island staring back at you? It doesn’t have to scream “builder basic.” Adding molding is your secret weapon to transform that utilitarian box into a showstopper focal point that looks like it cost thousands. This accessible weekend project leverages basic tools and skills you likely already own to create dramatic architectural depth and custom furniture appeal. Whether you’re craving farmhouse charm or modern geometry, how to add molding to kitchen island surfaces delivers instant sophistication while hiding imperfections and creating that coveted built-in look. Best of all, you’ll complete this upgrade in 1-2 days without hiring a contractor—just measure twice, cut once, and watch your kitchen’s value skyrocket.
The magic lies in how molding manipulates perception. Strategic trim creates visual weight where you want it, draws the eye to details, and makes standard cabinetry appear bespoke. Forget expensive custom islands—this project costs pennies per square foot when keeping your existing countertop. As you follow this precise roadmap, remember: professional results live in the details. Rushing prep or skipping caulk lines means amateur results, but meticulous execution fools even discerning eyes into thinking you hired a high-end designer.
Essential Trim Materials for Kitchen Island Molding Installation
Core Components for Custom-Looking Results
Your molding journey starts with selecting the right materials. For foundational framing, grab 1×3, 1×4, or 1×2 boards—they create substantial geometric patterns that anchor your design. Baseboard molding (typically 3-5 inches tall) forms your bottom foundation, while thin screen molding adds delicate details like X-patterns. Pressboard island owners need Fusion’s Ultra Grip primer; it dries clear from milky white to ensure paint adhesion on slick surfaces. Real wood islands simply require light sanding before priming. Don’t skip poplar strips (1/4 inch thick)—they’re essential for creating inset boxes in craftsman styles. Faux furniture feet and corbels provide those final custom touches that scream “designer island.”
Fastening and Finishing Must-Haves
Skip standard nails—opt for pin nails or finish nails paired with construction adhesive for permanent bonds. Liquid Nails works if you lack a nail gun, but extra-strength wood glue is non-negotiable for butcher block countertop installations. For seamless results, use joint compound (not wood putty) to fill nail holes—it sands smoother and prevents paint divots. Benjamin Moore Advance paint delivers cabinet-grade finishes, but prime everything first with Zinnser flat primer. Fine grit sandpaper (220+ grit) and painter’s caulk complete your arsenal. Pro tip: Buy 10% extra molding—outlets and miter cuts always eat more material than expected.
Safely Remove Old Trim and Prep Island Surfaces
Professional-Grade Trim Removal Technique
Start by prying off quarter round or corner molding with a dedicated trim removal tool. Slide the flat end behind the molding, gently twisting to release nails without splintering wood. Wear gloves—nails pop out unexpectedly! For stubborn sections, drive a thin putty knife between molding and island to break adhesive bonds. Clean exposed surfaces with TSP cleaner, then sand lightly with 120-grit paper. Pressboard islands get special treatment: apply Ultra Grip with a foam brush, letting it dry completely clear before proceeding. This step prevents future paint peeling—the difference between lasting results and costly do-overs.
Strategic Design Planning Before Cutting
Before measuring a single board, map your island’s obstacles. Use painter’s tape to mark outlet locations on existing surfaces—this prevents cutting blind later. Decide your style direction: modern geometric (thin 1×2 boards in angular patterns), farmhouse traditional (wide baseboards with corbels), or craftsman (inset poplar boxes). Longer island sides need visual breaks—plan middle trim pieces every 24-36 inches to avoid monotonous expanses. Dry-fit key pieces with temporary tape to test proportions. Remember: your molding should complement existing kitchen elements, not compete with them. This 20-minute planning phase prevents days of regret.
Build Your Kitchen Island’s Base Molding Framework
Foundation Layer Installation Process
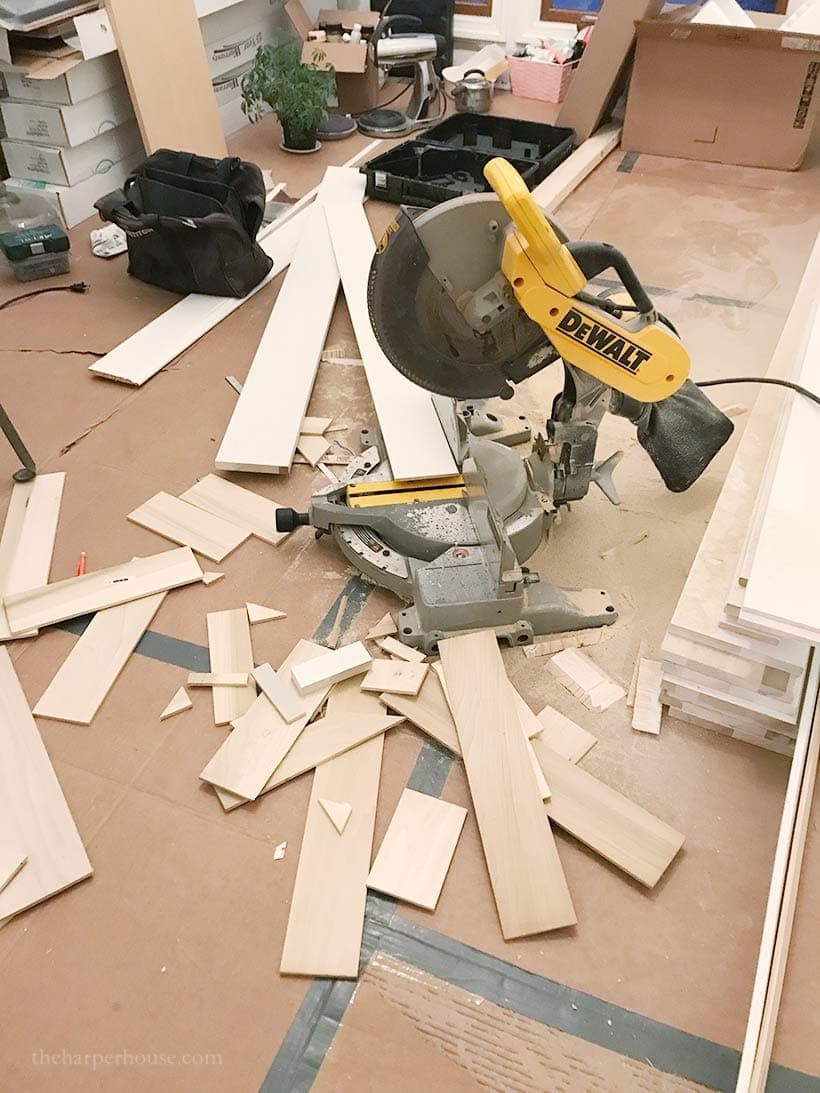
Begin at the floor with baseboard molding around all sides except the front. Measure twice, cut miters at 45 degrees for inside corners, and dry-fit before securing. Hold pieces tight against the island, using a level to ensure straight installation. Fasten with construction adhesive plus pin nails every 8 inches—staples won’t hold long-term. For seamless joints, apply liquid filler to gaps before sanding. Pay special attention to the back edge where island meets wall; this area needs extra caulk later for that built-in illusion. If your island has uneven flooring, scribe the baseboard to follow contours rather than forcing level—it hides imperfections better.
Creating Dimensional Frame Patterns
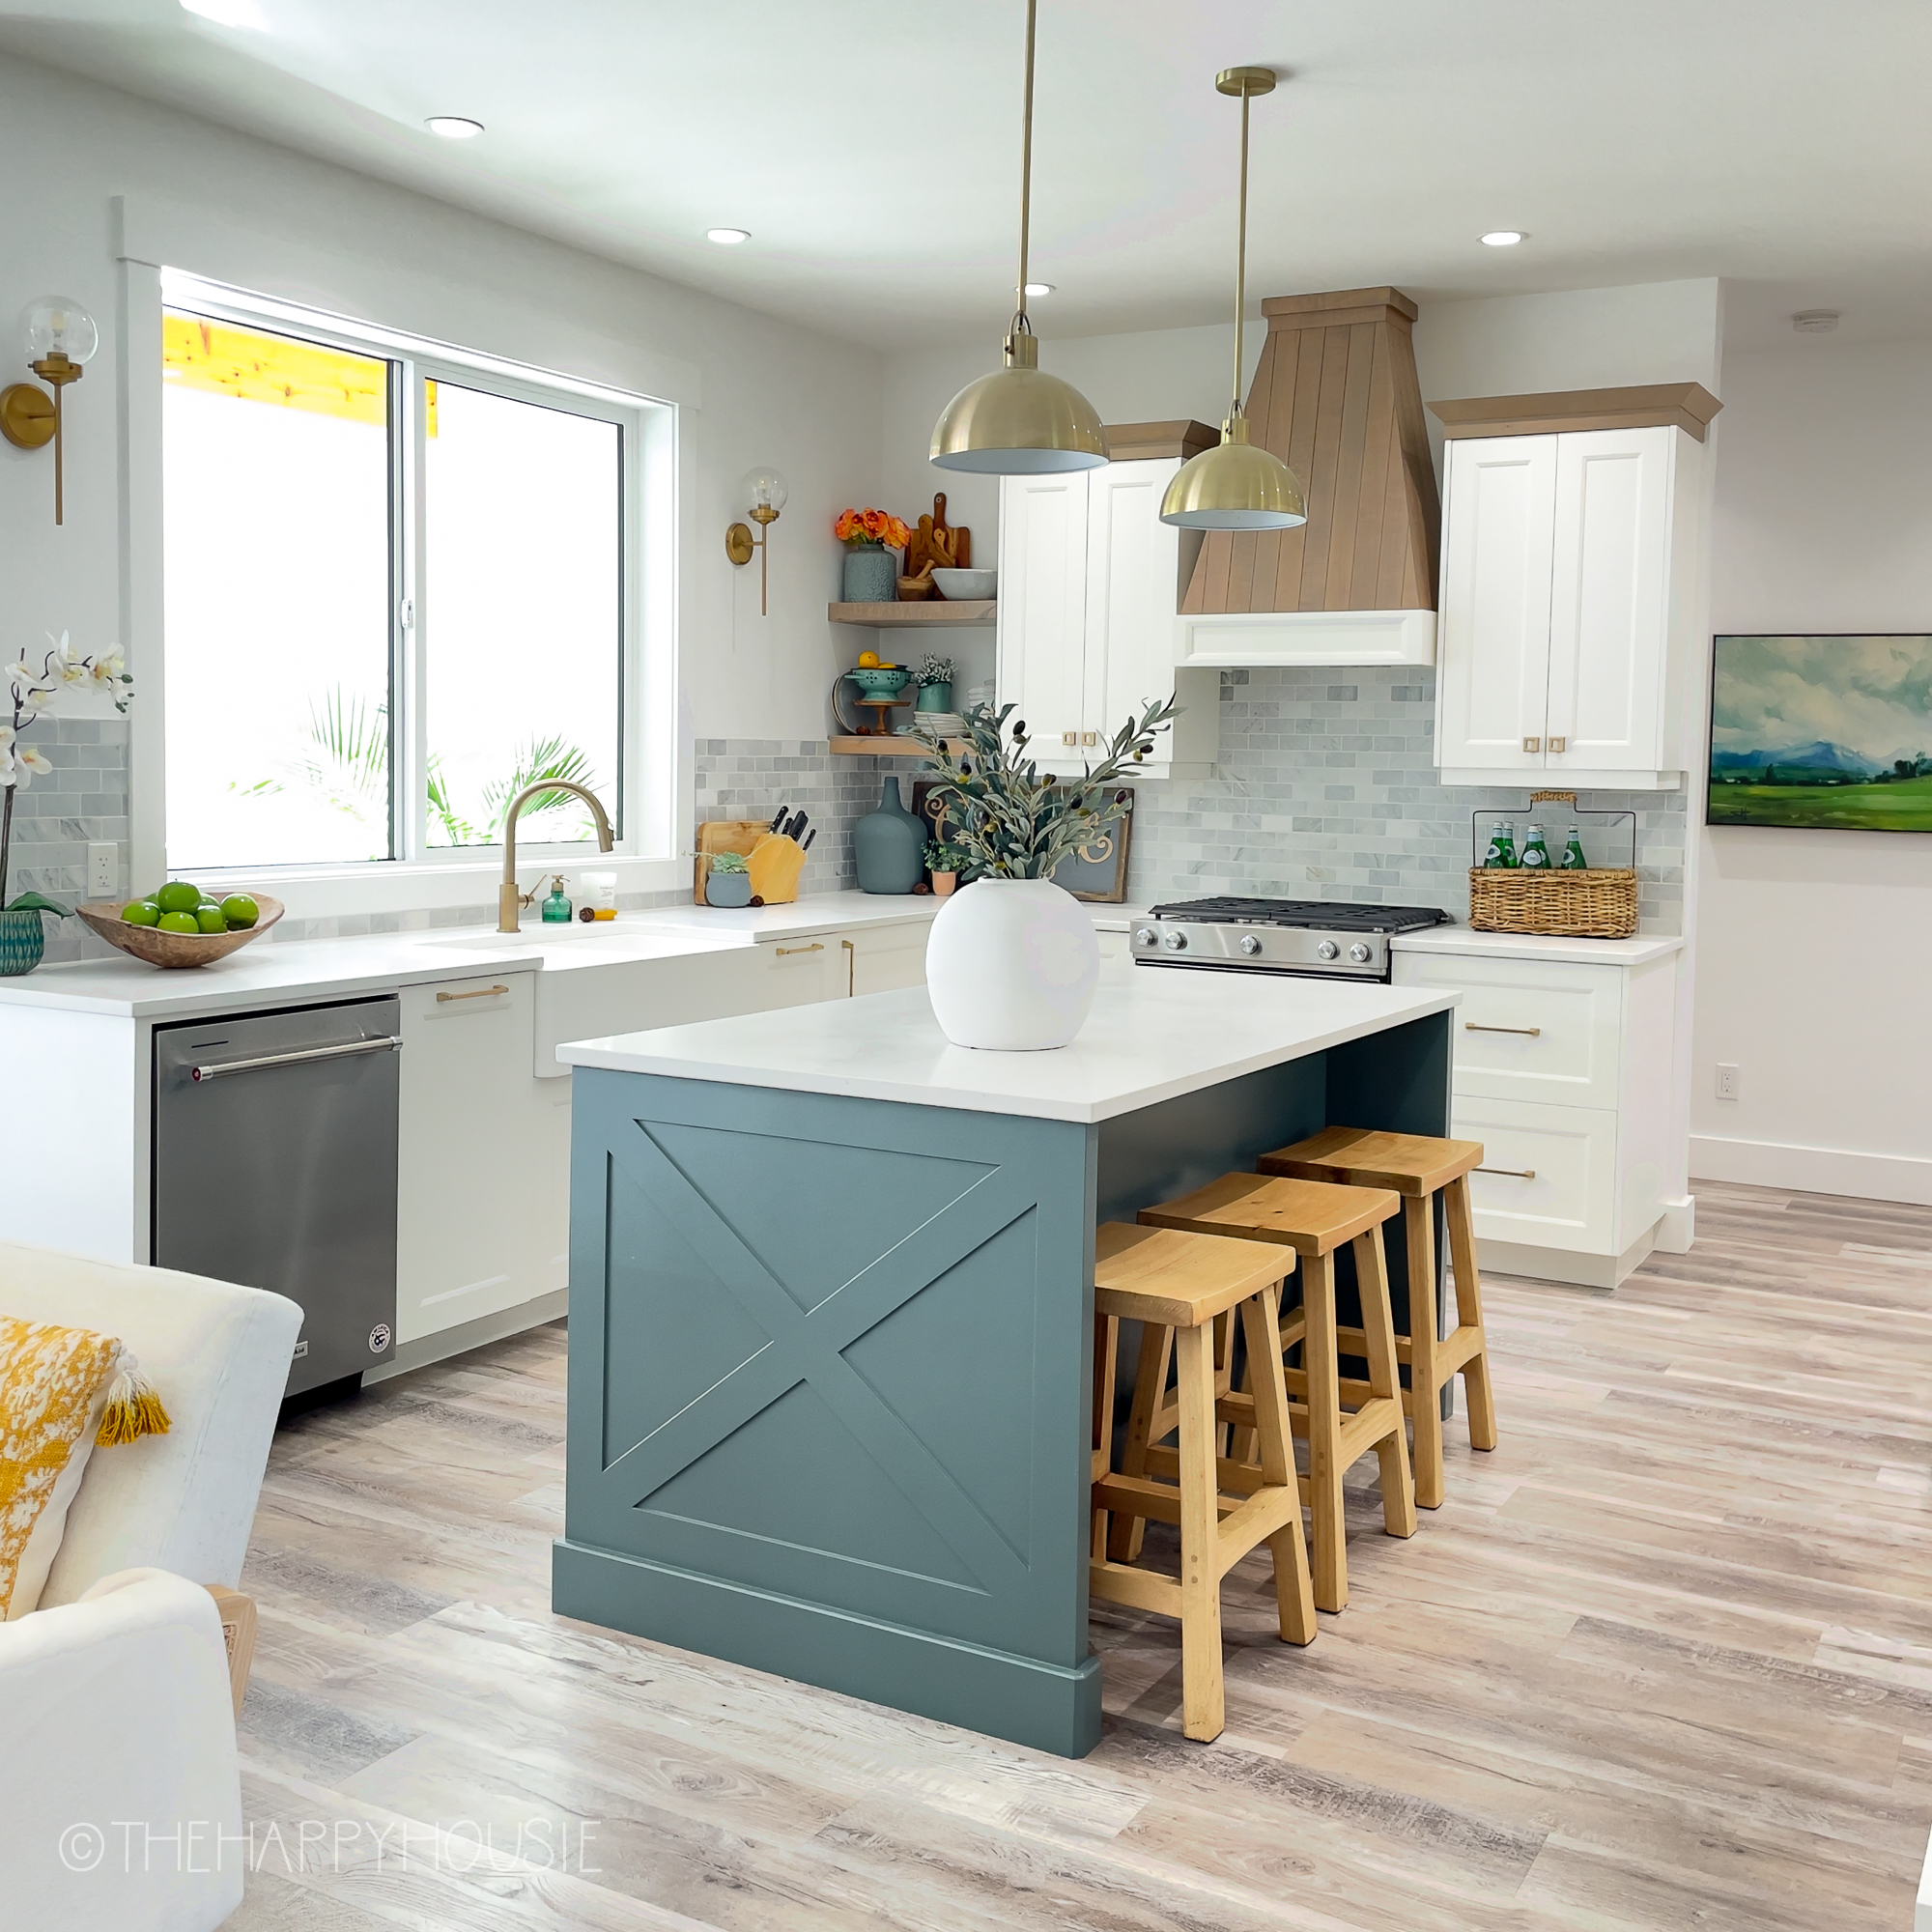
Now build your signature style. For craftsman looks, position 1/4-inch poplar strips 1 inch from cabinet edges to create recessed panels. Front strips sit flush against facing; back strips extend slightly to form new visual corners. Longer sides get vertical dividers every 2-3 feet—measure from center outward for symmetry. Modern designs use 1×3 boards in clean horizontal bands, while farmhouse styles stack 1×4 boards vertically. When framing outlets, cut precise notches using a jigsaw: measure outlet dimensions, transfer to molding, then cut relief holes before dry-fitting. Pro tip: Apply blue painter’s tape along cut lines—it prevents splintering on the show side.
Add Decorative Molding Details to Your Kitchen Island
Corbel and Furniture Foot Installation
Mount decorative corbels under countertop overhangs using included hardware, then reinforce with 2-inch screws driven upward through corbel bases. Space them 12-18 inches apart for visual rhythm—they’re decorative but add structural confidence. At corners, attach faux furniture feet to cover baseboard edges and create authentic furniture styling. These 4-6 inch details transform boxy cabinets into custom pieces. For geometric flair, use screen molding to create X-patterns within framed sections: cut pieces at 45-degree angles, dry-fit for symmetry, then secure with adhesive and pin nails. Remember—less is more; overcrowding makes islands look busy.
Secure Countertop After Adding Island Molding
Butcher Block Top Integration
If upgrading surfaces, apply extra-strength wood glue along the entire cabinet top and corbel surfaces. Position your butcher block top carefully, then weight it down with bricks for 4+ hours—this prevents future movement and gaps. Existing countertops need special attention: ensure new molding appears to support the overhang naturally. Sand the countertop edge lightly where molding meets it, then apply a thin bead of construction adhesive before final molding placement. This creates the illusion of structural support rather than just decoration. Never attach molding directly to laminate countertops—it will peel off over time.
Achieve Seamless Molding with Pro Finishing Techniques
Flawless Fill and Sand Protocol
Fill every nail hole with joint compound using a flexible putty knife—press hard to force material deep into voids. Wipe excess immediately with a damp cloth. For gaps between trim pieces, apply compound slightly proud of the surface; it shrinks as it dries. Allow 24 hours drying time before sanding. Start with 120-grit to knock down high spots, then switch to 220-grit for final smoothing. Sand with the wood grain in long, even strokes. Critical step: wipe all surfaces with a tack cloth, not a rag—loose dust ruins paint finishes. Miss this, and your “pro” job will look dusty under kitchen lighting.
Cabinet-Grade Painting Method
Prime all surfaces with Zinnser flat primer—it evens out wood absorption for uniform sheen. When painting with Benjamin Moore Advance, work in small sections: brush molding edges first, then roll flat interior surfaces with a microfiber roller, and finally brush corners to blend. This “brush-roll-brush” technique eliminates visible roller marks. Paint dries fast—complete each section before moving on. For seamless joints, apply painter’s caulk where new molding meets walls, floors, or cabinets. Smooth beads with a wet finger immediately; caulk shrinks if left too long. Let dry 48 hours before heavy use—patience prevents dents in your hard work.
Kitchen Island Molding Styles That Transform Your Space
Style-Specific Implementation Guide
Modern kitchens shine with thin 1×2 boards creating geometric patterns—think asymmetrical rectangles or floating shelves. Farmhouse styles demand substantial baseboards (5+ inches) paired with simple 1×4 vertical dividers and chunky corbels. Craftsman lovers should build inset poplar boxes topped with corbels and a butcher block surface. Board and batten enthusiasts mount beadboard panels first, then overlay with vertical and horizontal trim. For rustic charm, distress wood panels with sandpaper before framing them with molding. Key insight: Your molding profile should mirror existing kitchen elements—match crown molding profiles or baseboard widths for cohesive flow.
Realistic Budget and Timeline for Island Molding Projects
Cost Breakdown and Scheduling Tips
Most homeowners spend $150-$400 when keeping existing countertops—primarily on molding ($80-$200), paint ($50), and supplies. New butcher block tops add $300-$800 depending on size. Avoid timeline traps: Day 1 covers measuring (2 hours), cutting (3 hours), and installation (4 hours). Day 2 handles filling (2 hours), sanding (2 hours), priming (1 hour), and painting (3 hours). Rushing sanding or paint drying creates visible flaws. Pro shortcut: Rent a brad nailer for $20/day—it speeds installation 3x over hammering. Remember: This project pays dividends—you’ll recoup 80%+ of costs in home value when selling.
Maintain Your Molded Kitchen Island for Longevity
Care Protocol and Future Updates
Treat your new molding like fine furniture—wipe spills immediately with a damp microfiber cloth. Avoid abrasive cleaners that dull paint finishes. The Benjamin Moore Advance paint creates durable surfaces, but construction adhesive bonds are permanent: removal damages surfaces. Plan for color updates instead—paint changes cost $30 and take 4 hours. Every 2 years, inspect caulk lines and reapply where cracked. If future renovations require removal, cut molding at joints with a utility knife rather than prying—this minimizes substrate damage. Most importantly: Stand back and admire your work. That “wow” moment when guests assume you hired a designer? That’s the real payoff of mastering how to add molding to kitchen island surfaces.

