
That innocent sponge sitting by your sink could harbor 20 million bacteria—more than your toilet seat. Recent lab studies found kitchen sponges teem with foodborne pathogens, E. coli, and mold within just two weeks of use. The good news? You can eliminate 99.99999% of these contaminants with the right cleaning method.
This guide reveals the scientifically proven techniques to sanitize your sponge effectively, backed by data from ARS Laboratory, EPA testing, and NSF studies. You’ll learn exactly which method works best for your situation, safety precautions to prevent kitchen disasters, and when it’s time to toss that sponge for good.
Microwave Method: 99.99999% Effective Sanitizing
Immediate Bacteria Destruction in 60 Seconds
The microwave method isn’t just convenient—it’s the most effective way to eliminate bacteria from your kitchen sponge. Research from the ARS Laboratory shows this method kills 99.99999% of bacteria, leaving virtually no harmful microbes behind. When you microwave a thoroughly wet sponge for the proper duration, you’re using the same principle as pasteurization to destroy pathogens.
Step-by-Step Microwave Sanitizing
- Completely saturate your sponge with water—never microwave a dry sponge
- Place the soaked sponge on a microwave-safe dish
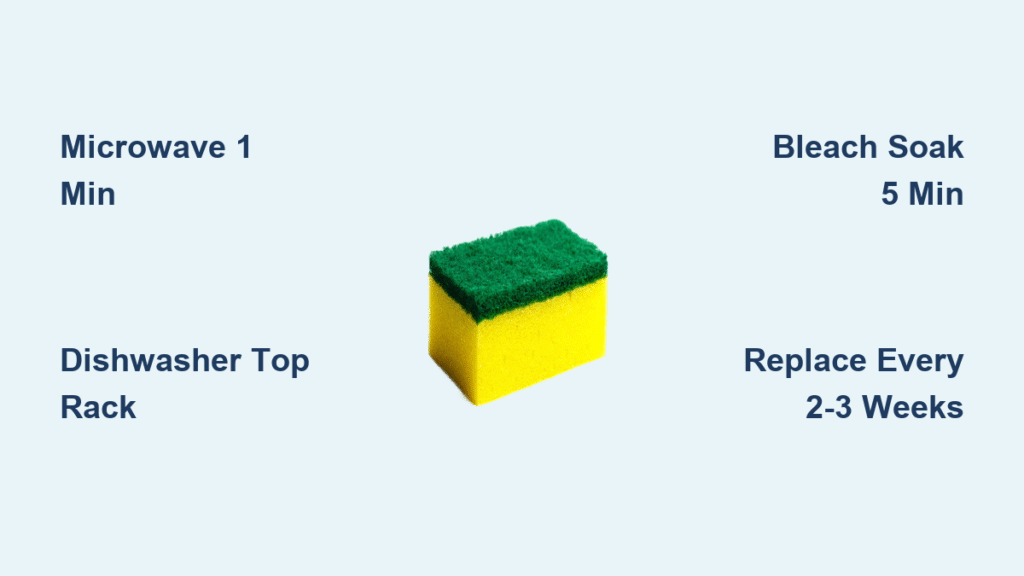
- Microwave on high for 1 minute for scrub sponges or 1-2 minutes for cellulose sponges
- Wait 2-3 minutes before handling (sponge will be extremely hot)
- Wring out excess water and allow to air dry completely
Critical Safety Rules You Must Follow
- Never microwave dry sponges—this creates a serious fire hazard
- Remove all metallic scrub pads before microwaving
- Always use a microwave-safe container to prevent melting
- Test your microwave’s power with 30-second intervals if unsure of timing
Pro tip: The microwave method works best on regular cellulose sponges but is equally effective on scrub sponges when timed correctly. Make this part of your weekly routine for maximum protection against hidden germs.
Dishwasher Method: Built-In Daily Sanitizing
Seamless Integration with Your Dish Routine
Placing your sponge on the top rack during your regular dishwasher cycle provides 99.9998% bacteria elimination according to ARS Laboratory testing. The combination of hot water, detergent, and heated dry creates the perfect environment for killing pathogens without requiring extra effort on your part.
Optimal Settings for Maximum Effectiveness
- Run the hottest cycle available on your dishwasher
- Activate the heated dry setting—this is critical for complete sanitization
- Choose the longest wash cycle for thorough cleaning
- Remove only after complete cooling to prevent burns
This method works particularly well for households that run the dishwasher daily, providing consistent sanitization without additional steps. The convenience factor makes this an excellent choice for maintaining sponge hygiene in busy households.
Bleach Solution: EPA-Validated Bacteria Elimination

Precise Formula for 99.9% Sanitization
For those dealing with heavy contamination, the EPA-validated bleach method delivers reliable results. Mix 3/4 cup bleach per 1 gallon of water or use the more practical 1/2 teaspoon concentrated bleach per 1 quart of warm water for effective sanitization that kills 99.9% of bacteria.
Safe Bleach Application Procedure
- Prepare solution in a well-ventilated area
- Submerge sponge completely for exactly 5 minutes (the EPA standard)
- Rinse thoroughly with clean water to remove all chemical residue
- Wring out excess water completely
- Allow to air dry in a well-ventilated area
Warning: Never mix bleach with other cleaners, and always wear gloves when handling bleach solutions. Improper dilution or insufficient rinsing can leave harmful residues on your dishes.
Natural Cleaning Alternatives That Actually Work
Vinegar Soak: Chemical-Free 99.6% Effectiveness
For those avoiding harsh chemicals, full-strength white vinegar provides a natural sanitizing solution. Submerge your sponge for 5-7 minutes in undiluted vinegar, then rinse thoroughly with hot water. This method kills 99.6% of bacteria according to testing data, making it a viable chemical-free option for regular maintenance.
Boiling Water Treatment: Traditional Method with Limitations
Bring 1 cup of water to a rolling boil, then use a kitchen spoon to submerge your sponge completely for 5-7 minutes. While effective at killing bacteria, this method can damage sponge integrity over time, especially with frequent use. Always monitor the pot to prevent it from boiling dry.
When to Replace Your Sponge: Critical Warning Signs
Immediate Replacement Indicators
- Persistent sour odor after cleaning (indicates advanced bacterial growth)
- Visible mold or mildew in any color
- Tears, holes, or excessive wear that creates bacterial hiding spots
- Discoloration that doesn’t improve with cleaning
- Slow drying or constantly damp texture
Recommended Replacement Schedule
- Every 2-3 weeks for typical household use
- Weekly in households with heavy cooking or multiple occupants
- Immediately after contact with raw meat, poultry, or fish
- Without hesitation when any warning signs appear, regardless of age
Daily Maintenance Habits for Longer Sponge Life
Essential Post-Use Routine
- Rinse thoroughly with hot water after each use
- Wring completely until no water drips out
- Store upright in a dry location away from sink bottom
- Allow complete air drying between uses (never leave in standing water)
Cross-Contamination Prevention Strategies
- Designate separate sponges for dishes versus countertops
- Use paper towels for cleaning up raw meat juices
- Rotate between 2-3 sponges to ensure complete drying time
- Consider dishcloths for daily tasks (launder in hot water daily)
Most Dangerous Cleaning Mistakes to Avoid
Critical errors that compromise safety:
– Only rinsing without proper sanitizing (bacteria remain)
– Microwaving dry sponges (creates fire hazard)
– Ignoring metal components before microwaving (causes sparks)
– Using same sponge for multiple high-risk tasks (spreads bacteria)
– Skipping the drying step (moisture breeds bacteria)
– Ignoring persistent odors (indicates dangerous bacterial overgrowth)
Quick Method Comparison for Busy Cooks

| Method | Effectiveness | Time Required | Best For |
|---|---|---|---|
| Microwave | 99.99999% | 2 minutes | Weekly deep clean |
| Dishwasher | 99.9998% | Zero extra steps | Daily sanitizing |
| Bleach | 99.9% | 5 minutes | Heavy contamination |
| Vinegar | 99.6% | 7 minutes | Chemical-free cleaning |
Extend Your Sponge’s Useful Life with Smart Practices
Weekly Deep Cleaning Routine
Choose one method and stick to it consistently—Microwave Monday or Dishwasher Daily creates reliable sanitizing habits that prevent bacterial buildup. Consistency matters more than perfection when it comes to sponge hygiene.
Optimal Storage Solutions
- Use mesh bags that promote air circulation
- Install sponge holders that elevate sponges from sink bottom
- Implement a rotation system using 2-3 sponges
- Store away from sink splash zone in a dry cabinet or drawer
Your kitchen sponge doesn’t have to be a bacterial breeding ground. By implementing these proven cleaning methods—especially the microwave or dishwasher techniques—you’ll eliminate 99.999% of harmful microorganisms. Combine weekly sanitizing with smart daily habits like thorough rinsing and proper storage to maximize your sponge’s usefulness while keeping your kitchen safe. Replace promptly when signs of wear appear, and you’ll never wonder about hidden germs again. Remember: a clean sponge isn’t just about appearance—it’s your first line of defense against foodborne illness in your home.

