
Your Beast blender won’t turn on, blend properly, or shows mysterious lights? You’re not alone. These premium blenders occasionally hit snags that frustrate even experienced users. The good news: most issues have quick, DIY solutions that take minutes—not hours—to resolve. Whether you own the B10 Health Blender or Beastmode model, understanding these failures is half the battle. This guide walks you through every common failure point, from power problems to stubborn ingredients. You’ll learn exactly what each indicator light means, how to spot assembly mistakes, and when it’s time for warranty support. Let’s get your Beast back to crushing ice like a pro.
Power Problems & Quick Fixes
Unit Completely Dead (No Lights)
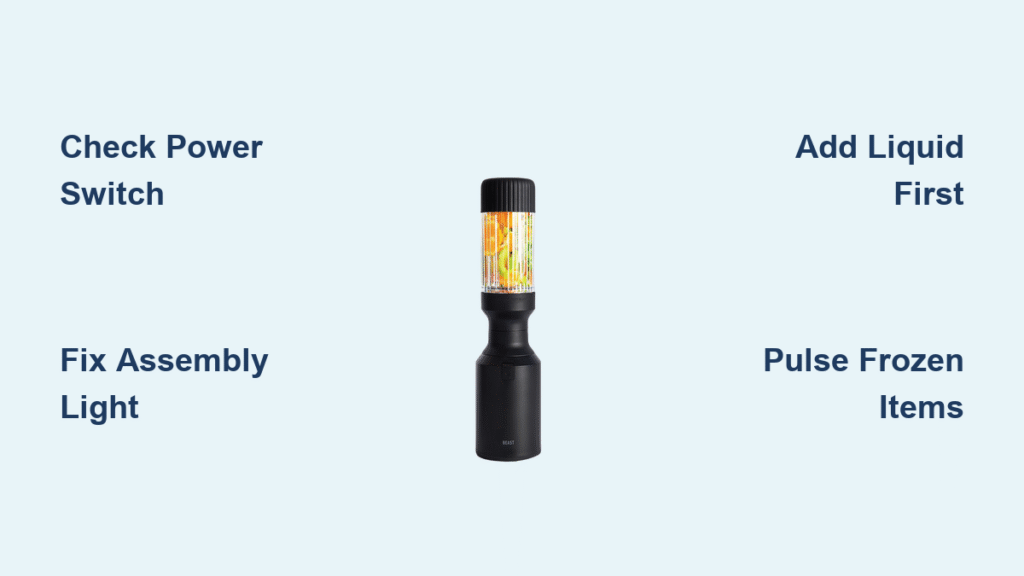
When your Beast blender not working shows zero signs of life, start with the most overlooked solution: the orange power switch on the unit’s base. Many users plug in the blender but forget this critical step. Flip it firmly to “on” while ensuring the outlet powers other devices. If still dead, inspect the proprietary power cord for fraying or kinks near the plug—these blenders require official replacement cords, not generic alternatives. Never force a damaged connector into the base, as this can cause permanent electrical issues. For North American models (120V), remember they’ll fail completely if used abroad with incompatible 220V/240V outlets.
Assembly Light Won’t Turn White
An amber light means your Beast blender not working due to improper assembly—a safety feature preventing motor damage. This occurs when the blade isn’t threaded securely onto the vessel or the vessel assembly isn’t locked onto the base. To fix: completely disassemble then rebuild in this exact sequence:
1. Thread the blade firmly onto the vessel until snug (hand-tight only)
2. Twist the vessel assembly onto the base until you hear a distinct click
3. Verify the indicator shifts from amber to solid white
If amber persists after multiple attempts, check for food debris on the connection points. A single grain of rice or spinach fiber can disrupt the electrical contacts. Wipe all mating surfaces with a damp cloth before reassembling.
Decoding Indicator Light Colors

Amber Light Issues
That persistent amber glow signals assembly problems, not mechanical failure. Common triggers include:
– Blade partially threaded (not fully seated)
– Vessel base misaligned during connection
– Foreign material obstructing the safety interlock
Critical check: Hold the vessel assembly at eye level while twisting onto the base. If it doesn’t sit perfectly flush, disengage and restart. Forcing it causes internal damage. Never operate with an amber light—this risks burning out the motor.
Solid White Light Problems
Solid white confirms proper assembly, yet blending fails? This points to ingredient or operational errors. Your Beast blender not working likely suffers from:
– Insufficient liquid (less than 1/3 of total ingredients)
– Overfilling beyond the max line
– Incorrect ingredient layering
Immediate fix: Remove ¼ cup of contents, add liquid, and shake the detached vessel to redistribute ingredients. Always layer liquids first, ice second, produce third, greens fourth, and powders last.
Flashing Orange Warnings
Flashing orange means the motor is overloaded—a serious red flag. This occurs when:
– Blending dense frozen items without pulsing
– Exceeding max capacity with thick mixtures
– Using insufficient liquid for vortex formation
Stop immediately! Continuing risks permanent motor damage. Unplug, let the blender cool for 15 minutes, then restart with reduced ingredients. If flashing persists after correction, contact Beast support—this may indicate internal component failure.
Performance Troubleshooting
Blender Runs But Won’t Blend
You hear the motor but get chunky results? This classic issue stems from liquid ratio errors. Beast blenders require at least 33% liquid by volume to create the vortex that pulls ingredients toward the blade. Without it, ingredients float uselessly above the blade. Fix in 60 seconds:
– Add ½ cup water or almond milk
– Pulse 3-5 times to initiate circulation
– Hold for 30 seconds (not full 60-second cycle)
For frozen fruit, let it sit at room temperature for 3-5 minutes first—this reduces strain on the motor while improving texture.
Frozen Ingredients Won’t Break Down
Dense ice or frozen bananas overwhelm even the 1200-watt B12 Beastmode. Never dump a full cup of frozen fruit directly into the vessel. Instead:
1. Add liquid to ⅓ full first
2. Pulse frozen items 3-5 times (1-second presses)
3. Wait 10 seconds between pulses to prevent overheating
4. Only then initiate full 60-second cycle
Pro tip: Smaller ice cubes work better than large cubes in all Beast models. The B6 Mini (600W) especially struggles with oversized ice—crush cubes slightly before adding.
Mechanical Issues & Solutions
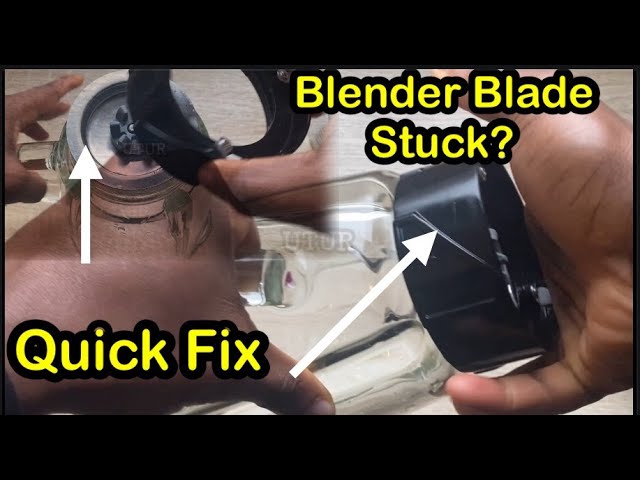
Blade Stuck After Blending
Pressure buildup from overfilling locks the blade assembly tight. Never twist forcefully—this strips the vessel threads. Instead:
1. Set the assembly upright on counter
2. Wait 5 minutes for pressure equalization
3. Hold vessel firmly while twisting blade counterclockwise
4. If still stuck, tap blade edge gently on wooden cutting board
For chronic overfillers, the official Beast wrench provides safe leverage without damage. Never use pliers—they mar the blade surface.
Motor Sounds Strained
A healthy Beast hums quietly; a struggling unit emits loud grinding or screeching. This indicates:
– Overfilled vessel: Remove contents to below max line
– Jammed ingredients: Add ¼ cup liquid, detach vessel, and shake vigorously
– Frozen overload: Blend in two batches for large recipes
If sounds continue after correction, unplug immediately. Persistent strain often precedes flashing orange warnings—don’t risk permanent damage.
Cleaning & Safety Failures
Hot Ingredients Damage
Never blend hot soups or recently cooked ingredients. Steam pressure can explosively separate the vessel from the base mid-blend. This isn’t covered under warranty! For warm ingredients:
– Cool to room temperature first
– Blend in 30-second intervals with lid slightly ajar
– Never exceed 110°F (43°C)
The 2-year warranty explicitly voids for steam-related damage—Beast support will ask if you blended hot items.
Carbonated Ingredients Explosions
Baking soda, yeast, or fizzy drinks turn your Beast into a pressure bomb. The sealed system traps expanding gases, risking vessel rupture. Absolutely never blend:
– Carbonated beverages
– Baking powder/soda recipes
– Fermented foods (kefir, kombucha)
– Egg whites for meringue
These cause immediate flashing orange warnings followed by dangerous pressure release. When in doubt, skip carbonated ingredients entirely.
Warranty & Model-Specific Fixes
When DIY Fails: Warranty Path
Contact Beast support if you experience:
– Malfunctioning indicator lights (e.g., white light with no blending)
– Grinding noises during operation
– Base overheating (too hot to touch)
– Persistent power issues after outlet testing
Have ready:
– Model number (under Beast logo on base)
– Serial number (white barcode sticker)
– Purchase receipt (warranty voids for unauthorized resellers)
The 2-year limited warranty covers manufacturing defects but excludes misuse damage. Registration isn’t required but speeds claims.
Model Power Matching
Match fixes to your specific Beast:
– B6 Mini (600W): Struggles with frozen bananas—thaw 5 minutes first
– B10 Health Blender (1000W): Use small ice cubes; large cubes stall motor
– B12 Beastmode (1200W): Reduce blend time by 25% for smoothies to prevent overprocessing
All models share the same assembly requirements—never assume higher wattage means ignoring max fill lines.
Prevention Strategies
Daily Best Practices
Prevent most “Beast blender not working” scenarios with these habits:
– Always add liquid first (creates essential vortex)
– Respect max fill lines (overfilling causes 70% of assembly errors)
– Pulse frozen items before full cycles
– Rinse immediately after staining ingredients (turmeric, beets)
– Store disassembled to prevent seal deterioration
Blade Maintenance Protocol
Replace blades every 6-12 months based on usage:
– Signs of dullness: Longer blend times, chunky textures, high-pitched noises
– Cleaning: Dishwasher top-rack only for vessels and lids—never submerge blade
– Drying: Air-dry blades vertically; never towel-dry sharp edges
Critical: Only use official Beast replacement blades. Generic versions void your warranty and cause inconsistent performance.
Your Beast blender not working is rarely a death sentence—it’s usually a simple fix once you speak its indicator-light language. Master these troubleshooting steps, respect the engineering limits, and your blender will deliver restaurant-quality results for years. When in doubt, consult the digital manual for your specific model on Beast Health’s website before disassembling further. Now go crush that ice!

