
That sleek Breville air fryer on your counter promises restaurant-quality crispy fries, golden chicken, and perfectly roasted vegetables with just a fraction of the oil traditional frying requires. But when you’re staring at those sophisticated controls for the first time—whether you have the Smart Oven Air Fryer Pro or the compact Joule model—the process can feel surprisingly complex. Understanding how to use Breville air fryer properly transforms it from a countertop ornament into your most valuable kitchen tool.
Unlike basic air fryers, Breville models feature precise temperature control, multiple cooking functions, and intelligent airflow systems that deliver exceptional results when used correctly. The difference between soggy disappointment and crispy perfection often comes down to knowing your specific model’s quirks and mastering a few essential techniques that most instruction manuals gloss over.
This comprehensive guide cuts through the confusion with specific, actionable steps to help you become a Breville expert. You’ll discover exactly how to preheat for optimal results, which settings work best for different foods, and the professional techniques that make Breville owners consistently achieve better outcomes than with standard air fryers.
Proper Breville Air Fryer Setup Before First Use
Skip this critical setup phase and you’ll likely encounter smoking, uneven cooking, or even damage to your investment. Begin by removing every piece of packaging material—many users miss the thin protective film covering the basket mesh, which melts and smokes during first use. Wash the air fry basket, crumb tray, and any accessories like the wire rack or baking pan in warm, soapy water with a non-abrasive sponge. Rinse thoroughly and dry completely, as water droplets cause smoking when they hit the heating elements.
Position your Breville on a stable, heat-resistant surface with minimum 4-inch clearance on all sides and 6 inches above. This airflow space prevents overheating and extends your appliance’s lifespan. Always plug directly into a dedicated wall outlet—sharing circuits with high-wattage appliances like microwaves frequently trips breakers during operation.
Running Your Initial Test Cycle
Never skip this crucial step: heat your empty Breville at 400°F for 10 minutes to burn off manufacturing residues. During this cycle, familiarize yourself with control navigation—rotate the dial through temperature and time settings while watching the display respond. Expect a slight odor during this initial burn-off; it disappears after the first few uses. This test run also verifies your unit functions correctly before adding food.
Decoding Your Control Panel Layout
Breville models vary significantly in interface design. The Smart Oven Air Fryer Pro features a combination dial and button system where you press the function button first, then adjust time/temperature. Newer Joule models use a touchscreen interface requiring specific swipe patterns. Locate your primary controls: the central dial adjusts both time and temperature depending on which parameter you’ve selected, while dedicated function buttons (Air Fry, Bake, Dehydrate) optimize settings automatically.
Achieving Perfect Preheat for Crispy Results

Many users skip preheating, but Breville’s rapid heating system delivers dramatically better results when properly preheated. Set your desired temperature (typically 350-400°F for most foods), then press start—the preheat cycle takes just 2-3 minutes. Wait for the visual indicator: on most models, a solid blue light or “READY” display confirms optimal temperature has been reached. Skipping this step creates uneven cooking and soggy exteriors.
Verifying Temperature Accuracy
Your Breville likely runs slightly hotter or cooler than displayed—this is normal but affects results. For your first five cooks, place an oven thermometer in the basket center during preheating. If it reads 20°F higher than set, reduce future temperatures accordingly. This calibration step prevents countless ruined meals while you learn your specific unit’s behavior.
Professional Cooking Techniques That Make Breville Shine
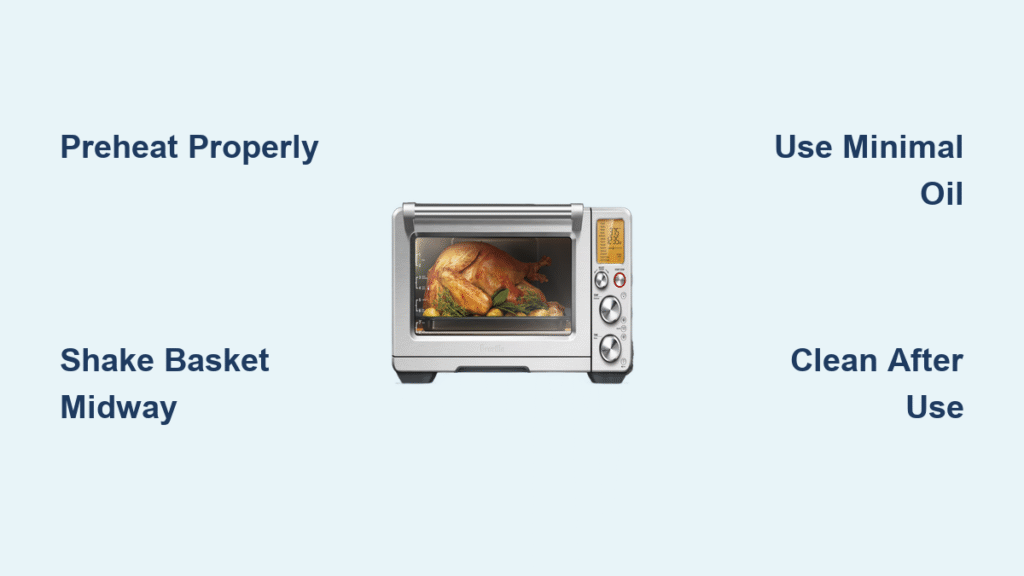
Breville’s powerful convection system cooks 25-30% faster than conventional ovens, requiring specific techniques for success. Always reduce package cooking times by 20% initially—frozen fries need just 12 minutes at 380°F instead of the suggested 15. Never fill the basket more than halfway; overcrowding blocks the critical 360° airflow that creates even crisping. Shake the basket vigorously at the halfway point using the handle for perfect results without flipping individual pieces.
Oil Application Methods for Maximum Crispness
Despite the “air” in its name, strategic oil use creates superior browning. Apply just 1 teaspoon of high-smoke-point oil (avocado or grapeseed) per serving using a pump-style oil sprayer—aerosol sprays contain propellants that damage non-stick coatings over time. Brush delicate items like fish fillets gently with oil before seasoning. For even distribution, toss food in a bowl with oil before loading the basket.
Strategic Food Arrangement for Even Cooking
Place dense items like potatoes or chicken thighs on the bottom rack, with thinner vegetables above. For mixed ingredients, add quicker-cooking items like zucchini halfway through the cycle. When cooking wings or similar items, arrange them upright using the wire rack accessory to expose all surfaces to circulating hot air. Never stack foods—single-layer placement ensures proper crisping.
Unlocking Advanced Breville Functions for Better Meals
Your Breville offers specialized cooking modes beyond basic air frying that most users never explore. The “Air Fry” setting maximizes fan speed for crispy exteriors, while “Bake” reduces fan intensity for delicate foods like custards. Use “Reheat” mode at 300°F to revive pizza without drying it out—this setting maintains moisture while restoring crispness.
Saving Custom Preset Recipes
After perfecting a recipe, save it permanently: with the basket empty, set your ideal temperature and time, then hold the preset button for 3 seconds until it beeps. Name it descriptively (“Salmon 375-14min”) using the dial to scroll through letters. These custom presets eliminate guesswork for your most-cooked dishes, making weeknight meals effortless.
Effective Dehydration Mode Usage
If your model includes dehydration, slice foods uniformly to ¼-inch thickness for consistent drying. Arrange in single layers without touching, set temperature to 135°F for fruit or 125°F for herbs, and dry for 6-8 hours. Rotate trays every 2 hours for even results. This function creates incredible homemade jerky, dried fruit, and herb bundles with minimal energy use.
Solving Common Breville Air Fryer Problems
White smoke during cooking signals excess oil or food debris burning on heating elements. Immediately stop the cycle, remove food, and clean the basket thoroughly. For persistent smoking, unplug the unit, let it cool completely, then wipe heating elements with a damp microfiber cloth. Prevent this by using minimal oil and cleaning after every use.
Fixing Uneven Cooking Results
If one side browns faster than the other, rotate the basket 180° at the halfway point. Ensure you’re using the middle rack position for most foods—top rack causes excessive browning while bottom rack yields uneven results. For consistent outcomes, shake the basket vigorously rather than just tilting it.
Error Code Troubleshooting Guide
“E01” indicates overheating—unplug and let cool for 30 minutes before restarting. “E02” points to electrical issues; check your outlet with another appliance. “F01” means the door isn’t fully closed; ensure proper alignment before restarting. Persistent errors require contacting Breville support with your model number (found on the unit’s back panel).
Cleaning and Maintenance for Longevity
Clean your Breville after every use to prevent performance-killing buildup. Once cooled, remove the basket and wash with warm soapy water using a non-abrasive sponge—never steel wool that damages the non-stick coating. Soak stubborn residue in hot water for 10 minutes before gentle scrubbing. Wipe the crumb tray daily; this small component catches drips that cause smoking if neglected.
Deep Cleaning Schedule for Peak Performance
Weekly: Clean heating elements with a damp cloth while cool. Monthly: Remove and soak the crumb tray in degreaser solution. Quarterly: Use compressed air to clear vent obstructions that reduce airflow efficiency. Never immerse the main unit in water or use oven cleaners—these damage electrical components.
Pro Tips for Restaurant-Quality Results Every Time
Pat proteins dry with paper towels before seasoning—excess moisture steams instead of crisps. Cook frozen foods directly from freezer for optimal texture; thawing creates sogginess. Let meats rest 5 minutes after cooking for juicier results as juices redistribute. Invest in an instant-read thermometer—chicken finishes at 165°F while medium-rare steak hits 145°F.
Batch Cooking Strategies for Family Meals
When cooking large quantities, work in batches rather than overcrowding. Keep finished batches warm in a 200°F conventional oven. For parties, prep ingredients ahead, then air fry in quick succession—the Breville reheats to temperature in under 3 minutes between batches. Cook dense items like potatoes first, adding quicker-cooking vegetables later in the cycle.
Mastering how to use Breville air fryer properly transforms your cooking experience, delivering healthier versions of favorite foods with minimal effort. Start with simple recipes to learn your unit’s personality, then gradually experiment with more complex dishes. Clean regularly, never overcrowd the basket, and trust visual cues over strict timing. Within weeks, you’ll achieve perfectly crisp fries, juicy chicken, and roasted vegetables that make you wonder how you ever managed without this kitchen powerhouse.

