
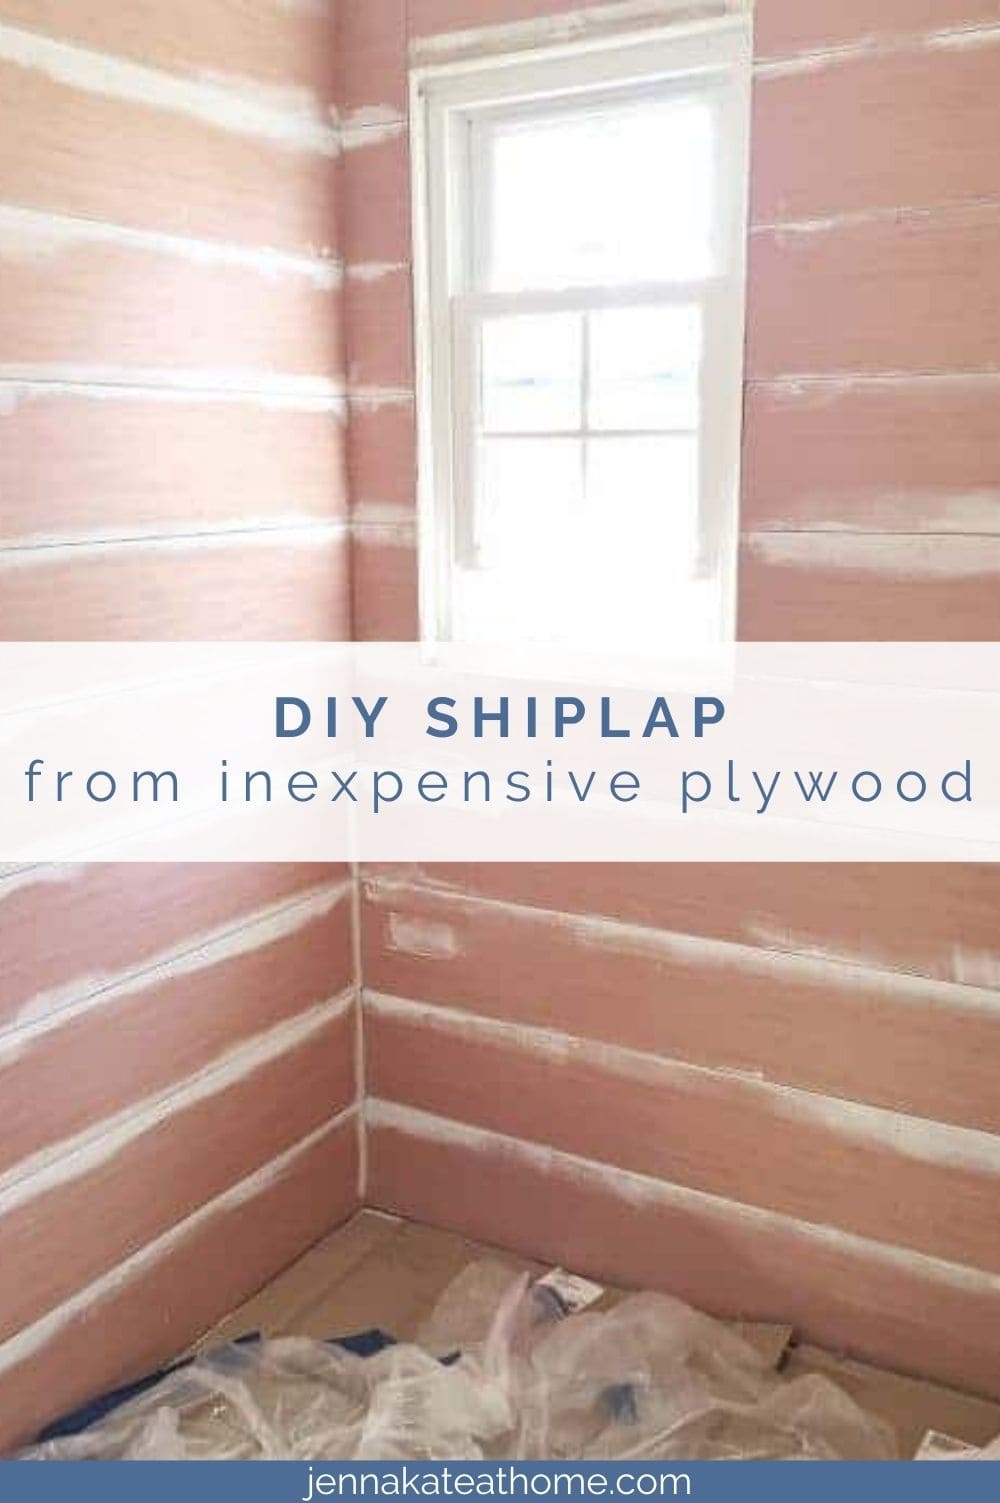
Tired of staring at that dated tile backsplash? Installing shiplap in your kitchen delivers instant farmhouse charm at half the cost of tile—just $8.50 per board. This weekend project transforms cramped spaces with vertical boards that create soaring ceiling illusions while offering endless repaint options for future style updates. Forget complex grout lines and messy mortar; shiplap installation skips the tile headaches while delivering that coveted textured wall aesthetic. Whether you’re refreshing a rental kitchen or renovating your forever home, this guide reveals the exact steps for flawless shiplap installation that withstands kitchen moisture and daily wear. You’ll learn pro techniques for seamless countertop integration, electrical outlet cuts, and moisture-proof finishing that even beginners can master.
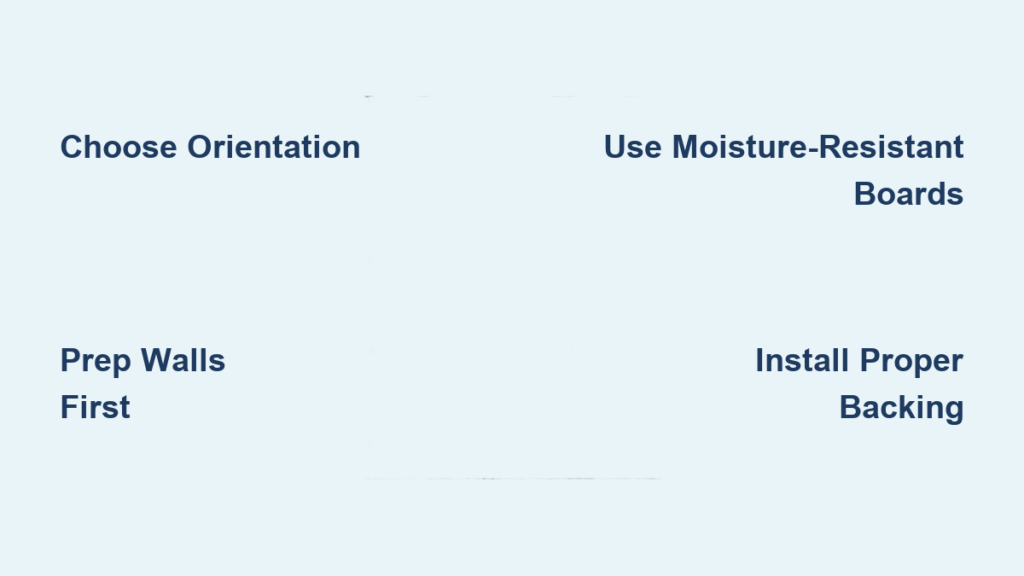
Choose Your Shiplap Orientation Strategically
Vertical vs Horizontal Installation Impact
Vertical shiplap tricks the eye into seeing taller ceilings—a lifesaver for low-ceilinged kitchens—but requires plywood backing since boards run perpendicular to studs. Horizontal installation nails directly into wall studs for simpler installation, making it ideal for DIYers tackling their first shiplap project. Avoid the common mistake of choosing orientation based solely on aesthetics; measure your wall height first. Kitchens under 8 feet benefit dramatically from vertical boards, while horizontal works best for standard-height walls where stud alignment simplifies fastening.
Selecting Moisture-Resistant Boards
Skip traditional pine—its knots demand endless sanding and absorb kitchen splatters like a sponge. Opt for eased-edge shiplap instead; its rounded corners create soft shadows that hide minor installation flaws while resisting moisture better than quarter-gap styles. If you’re short on time, pre-primed boards cut prep work by half, but raw wood lets you customize paint color to match existing cabinetry perfectly. Always buy 10% extra boards for waste during countertop notching and electrical cutouts.
Prep Walls Like a Professional Contractor
Removing Existing Backsplash Without Damage
Start by scoring tile edges with a utility knife to prevent drywall tearing. Use a pry bar with a wood block to gently lift materials away from the wall. Expect some drywall damage—this is normal. Patch large holes with mesh tape and joint compound, feathering edges smooth. Never skip the level check: run a 4-foot level vertically and horizontally to identify uneven spots requiring drywall replacement before shiplap goes up.
Cabinet Removal Decision Points
For new kitchen builds, install shiplap before cabinetry to avoid visible seams. During renovations, remove upper cabinets only if changing the backsplash height or if existing cabinets have uneven mounting. Leaving cabinets intact saves time but creates tricky gaps at the countertop line. If cabinets stay, use a router to carve a precise groove along the cabinet bottom edge for seamless shiplap integration—a pro shortcut most tutorials omit.
Process Raw Boards for Kitchen Durability
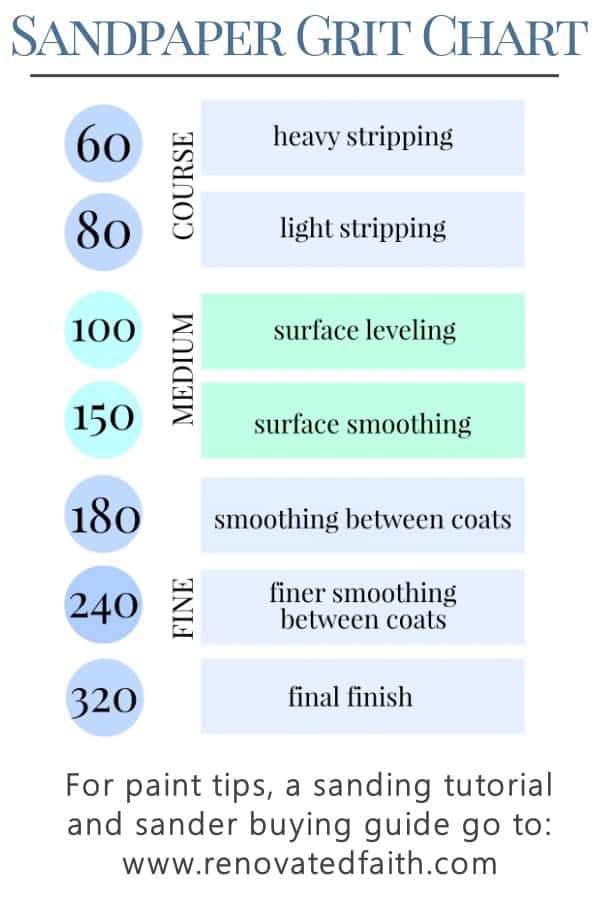
Three-Stage Sanding System
Raw wood demands meticulous prep. Begin with 120-grit sandpaper in circular motions following the grain to remove mill marks. Switch to 150-grit for a smooth base, then apply primer before the final 220-grit pass. Crucially, sand twice after priming—once when tacky and again when fully dry—for a glass-smooth surface that won’t trap grease splatters. Vacuum all dust between stages and wipe boards with a tack cloth; embedded particles ruin paint finishes.
Moisture-Proof Priming Technique
Kitchen humidity demands double-duty protection. Apply two coats of oil-based primer to every board surface—including ends and edges—to seal against steam. Let primer cure fully before painting; rushed drying causes peeling. Use three thin paint coats of satin or semi-gloss enamel formulated for kitchens; the extra sheen repels water while hiding minor imperfections. Always paint boards before installation—it’s 10x faster than cutting in around edges later.
Build Unshakeable Wall Support
Vertical Shiplap Backing Solutions
Vertical boards can’t hit studs, so install 1/4″ sanded plywood over the entire wall using construction adhesive and 1 1/4″ screws every 8 inches. For quicker work, nail 1×3 furring strips horizontally every 16″ on center—this creates nailing surfaces while allowing wall ventilation to prevent moisture trapping. Never skip this step; attaching vertical shiplap directly to drywall causes sagging within months as humidity swells the wood.
Horizontal Installation Time-Saver
Horizontal shiplap nails into studs, eliminating backing needs—unless your wall has severe damage. Use a stud finder to mark every 16″ interval, then snap chalk lines between marks. This creates a grid ensuring nails hit solid wood every time. Patch any damaged drywall sections with mesh tape first; shiplap won’t hide dents or holes like drywall mud would.
Gather Precision Installation Tools
Must-Have Tools for Flawless Results
Ditch the hammer—a 16-gauge finish nailer is non-negotiable for clean, dent-free fastening. Pair it with a laser level (not a bubble level) for perfect first-board alignment, and keep a rubber mallet handy to seat tongue-and-groove connections without splitting wood. Your jigsaw needs a fine-tooth blade for smooth electrical cutouts; standard blades tear shiplap edges. Skip the circular saw—most lumber stores cut boards to length for free.
Exact Materials Calculation
Calculate wall square footage (height x width), then add 10% for waste. For a standard 10×3 foot backsplash, buy 33 linear feet of shiplap. You’ll need:
– Paintable caulk (not regular silicone) for seamless joints
– White wood filler matching your paint color
– 1 1/4″ finish nails (copper or stainless to prevent rust stains)
– 2″ wide trim for the top edge finish
Install Vertical Shiplap Step-by-Step
Perfect First-Board Alignment
Start at the sink or range—your kitchen’s focal point—using your best boards there. Place the first board plumb (not level) against the countertop, checking with a laser level. Nail through the tongue every 16″ into your backing, angling nails up and down at 45 degrees for maximum hold. This prevents the telltale “bowing” seen on amateur installations.
Countertop Notching Pro Method
Slide a shiplap scrap between the wall and countertop to trace its contour onto your board. Cut the notch with a jigsaw using slow, controlled strokes from the board’s backside to prevent splintering. Test-fit before nailing—gaps here collect crumbs and moisture. For wrap-around countertops, cut 45-degree miters at corners using a miter box.
Electrical Outlet Integration

Turn off power at the breaker first. Measure outlet box dimensions, then add 1/4″ to all sides for wiggle room. Transfer these measurements to your board, drilling starter holes in each corner before jigsaw work. Cut slowly to avoid jagged edges that show under cover plates. Never cut outlets flush with the box—leave 1/8″ clearance for safe cover plate installation.
Achieve Horizontal Shiplap Mastery
Stud-Finding Accuracy System
Horizontal installation lives or dies by stud alignment. Use a stud finder with deep-scan mode, then verify with a 1/8″ drill bit in an inconspicuous spot. Mark stud centers with painter’s tape—never pencil, which shows through paint. If studs fall between boards, install vertical 1×2 blocking between them for secure nailing.
First-Board Leveling Protocol
Your first horizontal board sets the entire wall’s trajectory. Position it 1/8″ above the countertop to allow for expansion gaps. Use shims behind the board where walls bow, checking level every 6 inches. Nail only at stud locations initially, then add angled nails between studs after verifying straightness. This prevents cumulative errors that create wavy walls.
Execute Professional Finish Details
Strategic Caulking Technique
Only caulk eased-edge shiplap seams—quarter-gap styles look authentic without it. Apply a thin bead of paintable caulk where boards meet the countertop, then smooth with a wet finger before it skins over. Never caulk the top edge; moisture trapped against the ceiling causes rot. For outlets, caulk only the bottom seam where water might pool.
Nail Hole Concealment Method
Fill holes with white wood filler tinted to your paint color. Apply with a putty knife, scraping excess sideways to avoid dents. Once dry, lightly sand with 320-grit paper—aggressive sanding removes the wood’s eased edge. Touch up with a small artist’s brush, feathering paint outward to hide the repair.
Implement Kitchen-Specific Moisture Defense
Countertop Junction Protection
Leave a 1/16″ gap between shiplap and countertop—never caulk this seam shut. Moisture needs an escape route; sealing it traps steam against drywall. Instead, apply silicone caulk only to the countertop’s vertical edge where it meets the wall. Pair this with a moisture-resistant enamel paint like Benjamin Moore’s Aura Bath & Spa for steam-heavy zones near sinks.
Safe Cleaning Protocol
Wipe spills immediately with a barely damp microfiber cloth—never spray cleaner directly onto shiplap. Vinegar-water solutions (1:1) safely cut grease without damaging paint. Avoid paper towels; their fibers scratch the finish. For stubborn splatters, use a magic eraser sparingly on cool, dry surfaces only.
Optimize Installation Sequencing
New Construction Workflow
Install shiplap before cabinets run from floor to ceiling behind cabinet locations. Paint the entire wall before cabinet mounting to avoid touch-up nightmares in tight spaces. When cabinets go in, their weight compresses the top shiplap edge against the wall, creating a seamless transition.
Renovation Project Timeline
Complete this sequence in 3 days: Day 1—remove backsplash and patch walls; Day 2—install backing and shiplap; Day 3—caulk, fill holes, and touch up paint. If cabinets stay, mask them thoroughly with painter’s tape and plastic—shiplap dust ruins cabinet finishes.
Maintain Your Shiplap Investment
Long-Term Care Schedule
Inspect caulk lines quarterly near sinks and stoves, reapplying when cracks appear. Repaint every 3-5 years using the same sheen to maintain moisture resistance. For localized damage, remove the affected board by cutting nails with a multi-tool, then tap in the replacement using the tongue-and-groove system.
Heat-Zone Design Strategy
Install tile behind your stove instead of shiplap—it withstands heat better. Match the tile’s grout color to your shiplap paint for visual continuity. Run shiplap vertically up to the tile line, then use a thin metal transition strip for a clean seam that handles expansion.
Transform your kitchen with shiplap that costs less than tile but delivers timeless charm. The secret lies in meticulous prep: choose moisture-resistant boards, build solid backing, and never skip the triple-sanding step. When installing, prioritize plumb over level for vertical runs and nail only into studs for horizontal layouts. Remember the golden rule—kitchen shiplap must breathe at countertop junctions to prevent rot. With these pro techniques, your installation will withstand daily splashes while looking effortlessly stylish. Ready to start? Your dream farmhouse kitchen is just one weekend and $200 in materials away.

