

Your dinner prep grinds to a halt when the utensil drawer refuses to budge. That “kitchen drawer won’t open” panic hits hardest when you’re mid-recipe and the spatula’s trapped inside. Whether it’s a minor obstruction or a swollen wooden slide, this guide delivers immediate solutions to free your stuck kitchen drawer in under 15 minutes—no professional help required. You’ll learn to diagnose the exact cause, apply targeted fixes, and prevent future jams before they disrupt your cooking flow.
Most stuck drawers stem from simple issues like food debris jams or misaligned slides. This guide walks you through proven methods to restore smooth operation using household tools. By the time you finish reading, you’ll have your favorite cooking tools back in hand and know exactly how to keep drawers operating flawlessly year-round.
Spot Hidden Obstructions Blocking Your Drawer
Identify Jammed Items Through Visible Gaps
Grab a flashlight and press your face close to any opening between the drawer and cabinet frame. Scan methodically for common culprits: a wooden spoon wedged sideways, spice packets stacked against the back, or cereal box inserts blocking the track. Most obstructions reveal themselves within 30 seconds of close inspection. If you spot an item, gently tap the drawer front downward while applying steady outward pressure—this often drops obstructions below the slide path.
Decode Resistance Patterns for Precise Diagnosis
Apply light pressure to open the drawer while noting exactly where resistance occurs. Immediate front-end resistance usually means contents are jammed against the drawer face. Resistance midway through travel indicates slide mechanism issues like bent rails or missing ball bearings. Complete jamming at full extension suggests over-extension stops are engaged or items are trapped behind the drawer. Each pattern directs you to the exact fix needed.
Remove Common Blockages Without Forcing the Drawer
Dislodge Items Using Household Tools
For drawers that open partially, slide a butter knife or ruler along the interior edges while gently rocking the drawer side-to-side. Work left to right in 2-inch increments to nudge items away from contact points. If a utensil handle is visible through the gap, use needle-nose pliers to rotate it parallel to the drawer direction. Never yank forcefully—this can snap slide mechanisms and cause costly damage.
Access Stuck Drawers Through Alternate Angles
Remove the drawer directly above or below your stuck unit. This creates access points to reach obstructions with a bent coat hanger or flexible grabber tool. For top-mounted drawers, insert tools from above to push items toward the front. For bottom drawers, work upward through the gap below. Most kitchen cabinets allow this approach without disassembly, giving you critical access when the main opening is completely blocked.
Repair Slide Mechanisms Causing Sticking
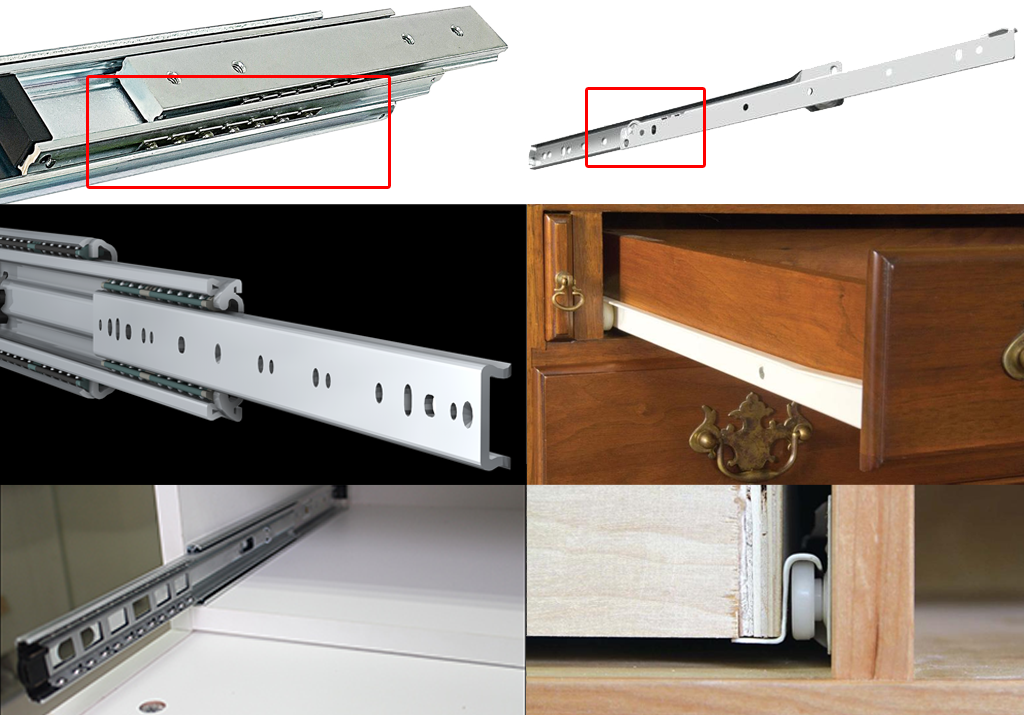
Match Fixes to Your Specific Slide Type
Roller slides develop flat spots on plastic wheels that create rhythmic “thumping” resistance—replace damaged rollers immediately. Ball-bearing slides lose individual bearings over time, causing gritty movement or sudden seizure—clean tracks thoroughly before relubricating. Wooden slides swell during humid months, binding tightly against cabinet sides—sand contact points lightly with 220-grit paper. Identifying your slide type prevents wasted effort on inappropriate fixes.
Apply Correct Lubrication Without Attracting Grime
Wipe metal slides clean with a dry microfiber cloth before applying lubricant. Spray silicone lubricant (never WD-40) sparingly along the entire track length, then work the drawer back and forth 15 times to distribute it evenly. Immediately wipe excess with a clean cloth to prevent dripping onto stored items. For wooden slides, rub paraffin wax on sticking surfaces—this creates a dry lubricant that won’t attract kitchen debris like oil-based products do.
Correct Misaligned Slides in 3 Steps
Locate vertical adjustment screws at the front of each slide mechanism. Turn both screws clockwise 1/4 turn to raise the drawer front if it drags on the cabinet base. Turn counterclockwise to lower it if the top binds. After each adjustment, test the drawer while watching for diagonal binding—uneven slides create twisting resistance that mimics obstructions. Perfect alignment eliminates 80% of recurring sticking issues.
Fix Swollen Wooden Drawers From Humidity Changes
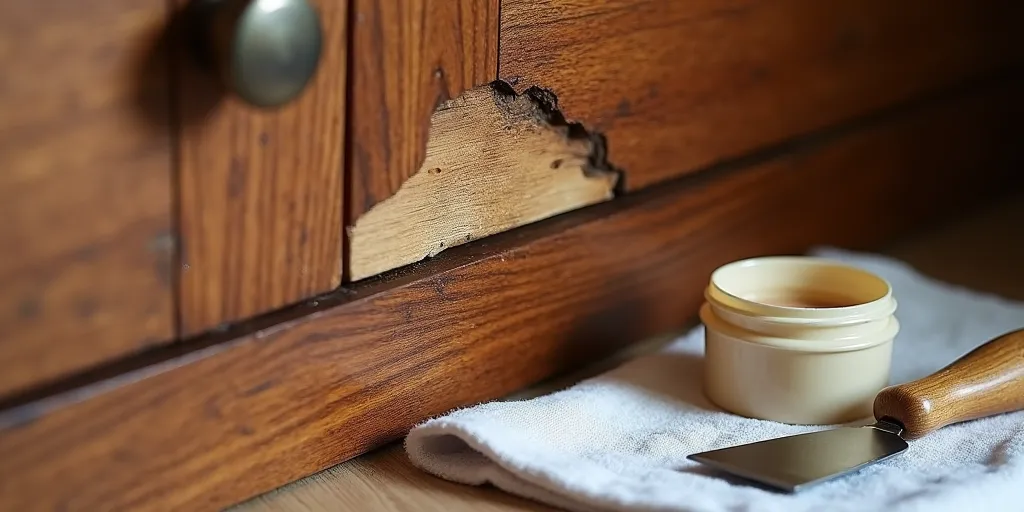
Confirm Seasonal Wood Expansion Damage
Measure both diagonal corners of the drawer front with a tape measure. Equal measurements indicate square construction, while differences exceeding 1/8 inch confirm warping from humidity changes. Check for visible gaps narrowing at the top during summer months or widening in winter. Kitchen steam from dishwashers accelerates this cycle, especially in cabinets near cooking zones.
Implement Immediate Swelling Relief
Rub bar soap along all contact points where wood rubs against the cabinet frame—this creates instant lubrication. For severe cases, wrap an ice pack in a thin towel and apply it to swollen areas for 10 minutes. The temporary contraction provides enough clearance to open the drawer, giving you time for permanent fixes like sanding or seasonal slide adjustments.
Replace Damaged Slides Correctly
Choose Exact Replacement Hardware
Measure from the drawer front to the cabinet back while the drawer is removed. Add 1/8 inch to this measurement for slide selection—too short causes binding, too long prevents full closure. Verify side clearance by measuring the gap between drawer side and cabinet wall; this determines slide width compatibility. For utensil drawers, select slides rated for 50 pounds; pots-and-pans drawers need 100+ pound capacity.
Install New Slides Without Cabinet Damage
Remove the stuck drawer by lifting the front 1/2 inch while pulling straight out. Clean mounting surfaces with denatured alcohol to ensure strong adhesion. Position new cabinet members using existing screw holes when possible, checking level with a 24-inch bubble level. Test-fit the drawer before tightening all screws—this prevents binding from misaligned hardware. Load items gradually to confirm smooth operation under weight.
Prevent Future Sticking With Smart Habits
Implement Weekly Drawer Maintenance
During routine kitchen cleanups, quickly scan drawer contents while unloading groceries. Remove crumbs and debris from slide areas using a dry cloth. Check for loose mounting screws monthly—tighten gently with a screwdriver (never a drill) to avoid stripping wood. This 60-second routine prevents 90% of common sticking issues before they escalate.
Optimize Drawer Loading for Smooth Operation
Distribute weight evenly across the bottom—place heavy cast iron pans centrally, not at the front. Use adjustable organizers to compartmentalize utensils and prevent migration during opening/closing. Never exceed slide weight ratings (typically 75 pounds for standard hardware). Install rubber bumpers at the back to cushion full-extension stops and reduce slide wear.
Emergency Fixes When You Need Immediate Access
Apply Instant Release Methods
Slide wax paper between the drawer face and cabinet frame for instant lubrication during cooking emergencies. Rub a dry bar of soap along visible rubbing points where wood contacts wood. For metal slides, apply a hair dryer on low heat for 30 seconds to expand tracks slightly—this creates temporary clearance without damaging finishes.
Critical Safety Avoidances
Never insert screwdrivers or knives to force a stuck drawer—this scars finishes and damages slide mechanisms. Avoid petroleum-based lubricants that attract grease and create sticky buildup. Keep fingers clear of slide tracks during operation to prevent pinching injuries. If resistance persists after two attempts, stop and reassess—forcing causes irreversible damage.
Recognize When to Call a Professional
Contact cabinet specialists when stuck drawers involve custom cabinetry with integrated electrical components like charging stations. Multiple jammed drawers indicate cabinet settlement requiring structural assessment. Antique furniture or high-end cabinetry demands restoration expertise to preserve value. If you notice cracks in drawer sides or cabinet frames during diagnosis, professional intervention prevents further damage.
Upgrade Hardware for Permanent Solutions

Convert standard slides to soft-close mechanisms during replacement—this eliminates slamming and reduces slide wear. Install full-extension slides in corner cabinets where partial extension wastes storage space. For pots-and-pans drawers, upgrade to heavy-duty under-mount slides rated for 150 pounds. Add compartment organizers while slides are accessible to maintain optimal weight distribution.
Final Tip: Test all kitchen drawers seasonally as humidity shifts. Wood expands up to 1/16 inch during summer months—adjust slide heights downward slightly to compensate. In dry winter air, raise slides 1/16 inch to prevent rattling. This proactive seasonal tuning keeps drawers operating smoothly year-round without emergency fixes. When your kitchen drawer won’t open, remember that 95% of issues resolve with these targeted solutions—saving you time, money, and dinner prep frustration.

