
That orange-tinted cabinet finish from the ’90s has officially overstayed its welcome. You’ve scrubbed, polished, and considered a full refinishing project—but what if you could transform tired, grease-coated cabinets into rich, furniture-quality surfaces in just one evening? How to use Briwax on kitchen cabinets is your shortcut to professional-looking results without sanding, stripping, or waiting days for polyurethane to cure. This solvent-based wax blend of beeswax and carnauba wax simultaneously cleans grime, deepens wood tones, and seals with a silky touchable finish—all while preserving your kitchen’s functionality during the process.
Forget weekend-long renovations. Briwax works cabinet-by-cabinet, letting you maintain cooking access while you revitalize surfaces. The magic happens through its unique chemistry: solvents dissolve light grease buildup during application, pigments enrich faded wood tones, and natural waxes create a protective barrier against daily wear. Whether you’re battling stove-splatter buildup or dull, scratched surfaces, this guide reveals the exact techniques pros use to achieve streak-free, warm brown finishes that make kitchens look instantly upgraded.
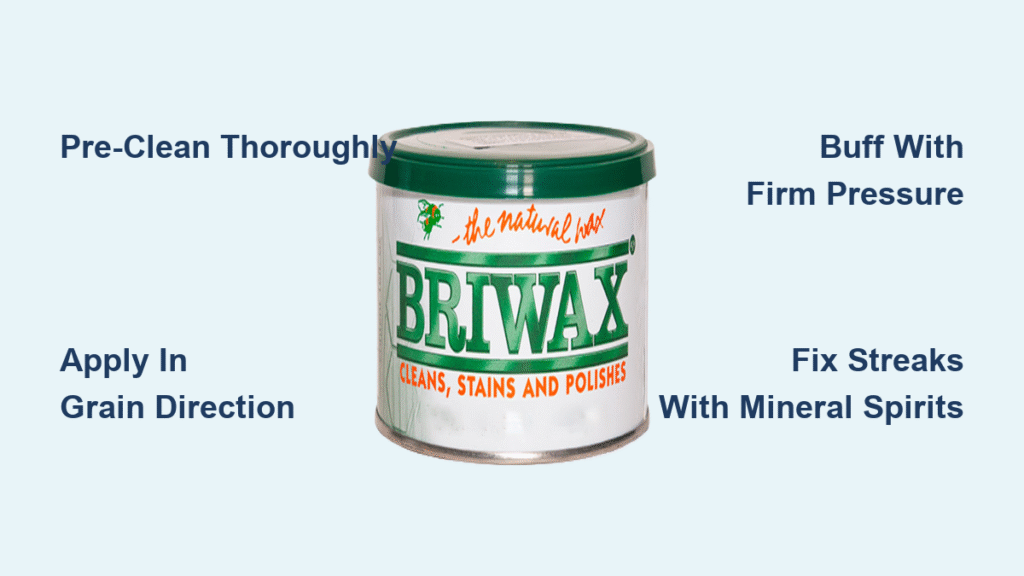
Gather Your Supplies Before Starting
Don’t wing this project—having the right tools prevents frustrating mistakes. Tudor Brown Briwax delivers the ideal warm brown transformation for orange-toned cabinets, but verify color suitability on a hidden spot first. You’ll need exactly two soft, lint-free cloths: one for aggressive wax application (like an old cotton t-shirt), another for final buffing (microfiber works best). A butter knife wrapped in cloth becomes your secret weapon for crevice cleanup—never skip this for detailed cabinet profiles.
Critical additions based on real projects:
– Mild degreaser (like diluted Dawn dish soap) for pre-cleaning
– Painter’s tape to shield countertops and hardware
– Knee pads—bending over cabinet bases for 20+ minutes causes real strain
– Skip these: Sandpaper (Briwax requires no prep sanding), topcoats (wax seals itself), or paper towels (they leave fibers)
Prepare Your Workspace for Efficient Results

Open every window and run exhaust fans—Briwax’s solvent fumes demand serious ventilation. Work in batches of just 2-3 cabinet doors at most; attempting full-wall coverage leads to uneven curing and exhaustion. Here’s the pro sequence that saves hours: start with inside door surfaces while they’re still attached. These hidden areas let you perfect pressure control and buffing rhythm before tackling visible exteriors. Tape off hinges and adjacent walls immediately—wax smears are brutal to remove once set.
Temperature matters more than you think:
– Ideal range: 65-75°F (18-24°C)
– Below 60°F? Wax hardens too fast, causing streaks
– Above 80°F? Solvents evaporate prematurely, reducing cleaning power
– Pro move: Warm cabinets with a hairdryer for 30 seconds in cool rooms to improve wax absorption
Deep Clean Cabinets to Prevent Color Disaster
Skipping this step causes patchy, orange-streaked results—Briwax amplifies existing residue. Mix 1 tsp dish soap per quart of warm water and scrub every surface with a non-scratch sponge. Focus on high-touch zones: door edges, handles, and areas above the stove where grease hides in the grain. Rinse with clean water and check for beading—if droplets form instead of soaking in, repeat cleaning.
Warning signs you missed grease:
– Wax applies unevenly (thick in some spots, thin in others)
– Streaks appear immediately during buffing
– Finished surface feels slightly tacky after 24 hours
– Fix: Wipe with vinegar-water mix (1:1), dry completely, then re-clean
Apply Wax Like a Cabinet Restoration Pro
Load Your Cloth for Flawless Coverage
Scoop a nickel-sized dollop of Briwax onto your application cloth—this isn’t the time for restraint. Rub the cloth to emulsify the wax into a spreadable paste; it should feel like softened peanut butter, not dry crumbles. Test on a hidden spot: if it drags, add more wax. If it slides off instantly, you’ve overloaded.
Work Grain Patterns Like a Woodworker
Start with intricate areas first: push wax deep into corner joints and carved profiles using your cloth-wrapped butter knife. On flat panels, apply in tight circular motions to force wax into the grain. When grain direction shifts (common on raised-panel doors), apply extra wax at transition points then buff with the dominant grain direction. Never rub perpendicular to grain—it creates visible scratches.
Sequence for Zero-Streak Results
- Edges and moldings (apply heavy pressure to fill cracks)
- Recessed panels (use long strokes matching panel grain)
- Raised fields (lighter pressure to avoid buildup on flat surfaces)
– Critical timing: Work each section for 90 seconds max before moving on—wax hardens faster than you expect
Master the Buffing Technique That Makes or Breaks Results
Buffing transforms sticky wax into glass-smooth finishes—it’s where 90% of DIYers fail. Wait 15-20 minutes after application (touch-test: surface should feel cool but not wet). Use your second cloth with firm pressure in overlapping circles, then finish with long strokes following the grain. Stop when the cloth glides silently—if it squeaks, you’ve over-buffed.
Physical effort alert:
– Upper cabinets require 3x more effort than lower ones
– Take 2-minute breaks every door to prevent shoulder fatigue
– Replace cloths immediately when they become saturated (wax buildup causes haze)
Eliminate Streaks and Haze in 5 Minutes Flat
Streaks usually mean rushed buffing, not bad application. Hold a flashlight sideways across the surface—dull spots need more wax, shiny streaks mean excess. Fix both by applying a rice-grain-sized wax dab to problem areas, waiting 5 minutes, then re-buffing the entire section. For stubborn crevice haze, wrap your cloth around the butter knife and pull wax outward from grooves toward flat surfaces—never push deeper.
Pro tip for panel doors: Buff recessed areas first, then raised fields. This prevents wax from migrating into cleaned recesses during final passes. If haze persists, lightly mist your cloth with mineral spirits and re-buff—solvents reactivate the wax for seamless blending.
Maintain Your Briwax Finish for Years of Beauty
No topcoat needed—Briwax’s carnauba wax creates a self-sealing finish that repels water and resists fingerprints. Expect to refresh high-touch zones (like door pulls) every 12-18 months, but full reapplication isn’t necessary. When surfaces lose luster, clean with mild soap, dry completely, then apply a thin wax coat only to dull areas. Buff for 5 minutes to blend with surrounding finish—no stripping required.
Longevity boosters:
– Avoid abrasive cleaners (even “natural” ones like baking soda)
– Wipe spills immediately with damp microfiber cloth
– Re-wax in winter when indoor heating dries wood finishes
– Never use: Furniture polish sprays—they create slippery buildup
Troubleshooting Common Briwax Issues

Streaky appearance after buffing
Cause: Wax cured too hard before buffing or uneven pressure
Fix: Dampen cloth with 2 drops mineral spirits, re-buff in 30-second intervals
White residue trapped in grooves
Cause: Excess wax pushed deeper during application
Fix: Scrape gently with cloth-wrapped knife, then re-buff entire section
Uneven color absorption (orange patches)
Cause: Incomplete degreasing—grease blocks pigment penetration
Fix: Clean with TSP substitute, dry 24 hours, then re-wax
Surface stays tacky for hours
Cause: Humidity over 60% or too-thick application
Fix: Buff with dry cloth every hour until smooth; avoid heavy use for 48 hours
Your kitchen cabinets now showcase warm, deep brown tones with visible wood grain that looks professionally refinished—achieved in hours, not days. The beeswax finish feels smooth under your palm and develops a beautiful patina with daily use, resisting cooking splatters while aging gracefully. Remember: Briwax isn’t just a quick fix—it’s a long-term solution where spot touch-ups maintain the look for years. Start with one cabinet door tonight; by breakfast, you’ll see why this method has saved thousands from full kitchen renovations. For Tudor Brown cabinets, the transformation is particularly dramatic—watching orange undertones melt into rich, organic warmth never gets old. Now go reclaim your kitchen’s potential, one swipe of wax at a time.

