
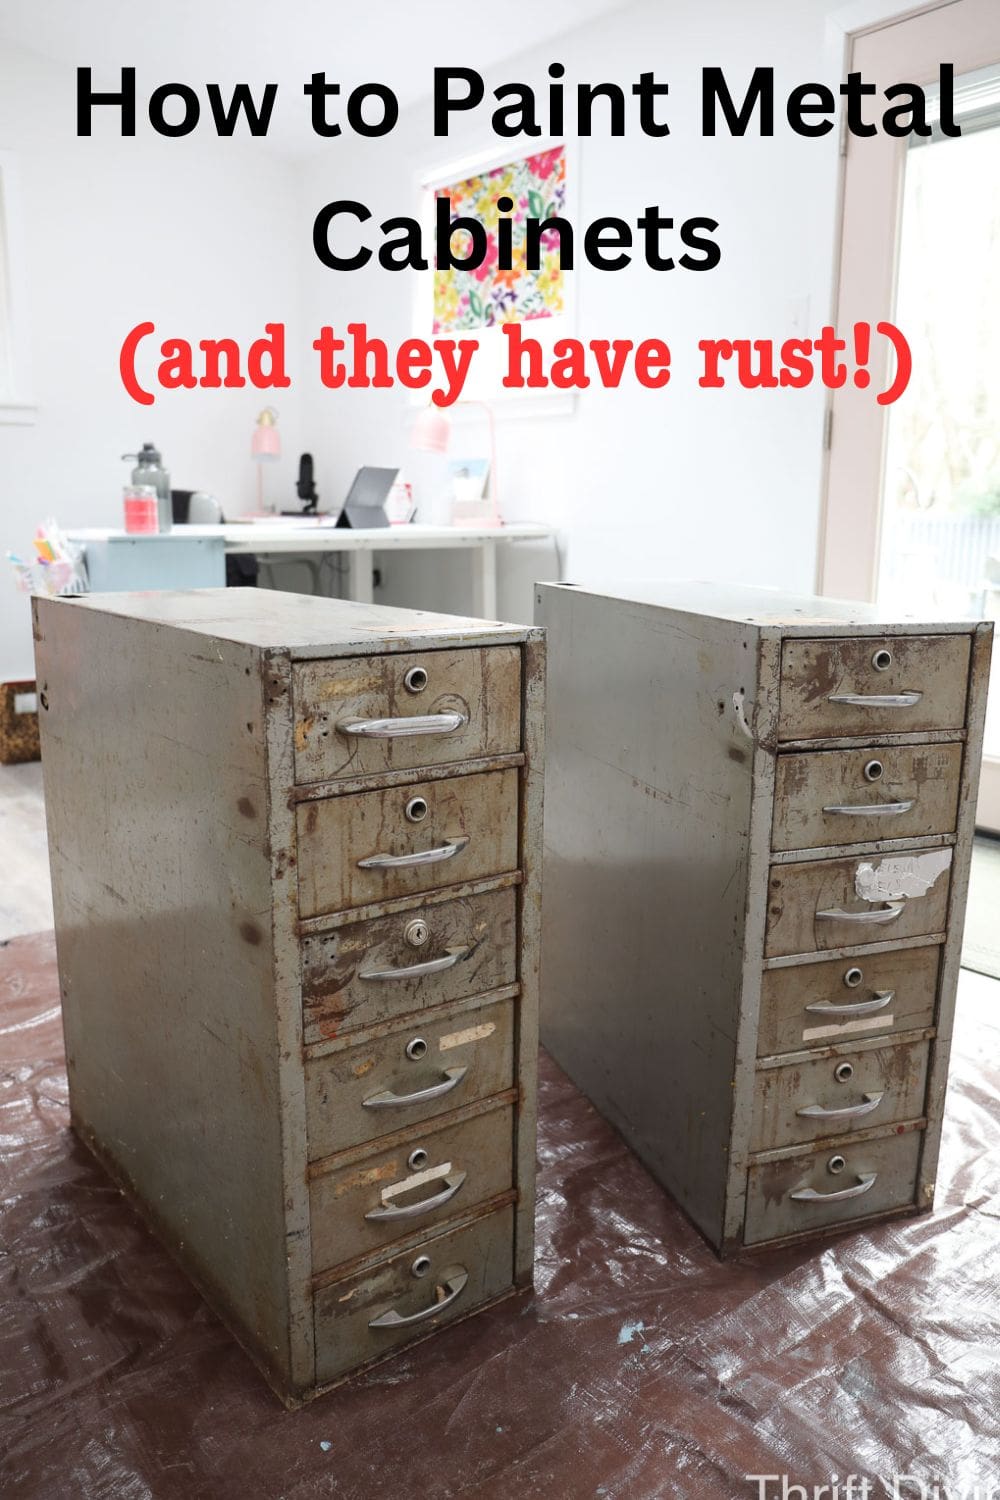
That chipped, rust-speckled metal cabinet from your grandmother’s kitchen isn’t junk—it’s a $75 design treasure waiting for your touch. Vintage metal cabinets (like Youngstown or Geneva models) often outlive modern wood counterparts by decades, but their peeling finish screams “neglected relic.” Skip expensive replacements: with the right prep and epoxy paint, you’ll achieve a powder-coated look that repels stains and resists dings for 20+ years. This guide reveals exactly how to paint old metal kitchen cabinets using pro techniques that bond paint to steel permanently—no bubbling or peeling, even in steamy kitchens.
Unlike wood surfaces that warp with moisture, properly prepped metal creates the ideal canvas for long-lasting color. The secret lies in conquering decades of grease and creating microscopic “tooth” for paint adhesion. I’ve restored 12 vintage cabinets using this method, and they still look factory-fresh after daily coffee spills and sponge scrubbing. By the end of this guide, you’ll know precisely which sandpaper grit stops rust cold, why appliance-grade epoxy beats regular spray paint, and how to fix orange peel texture before it ruins your finish.
Find Quality Vintage Cabinets Under $75
Thrift stores and architectural salvage yards hide gems like Youngstown steel cabinets priced between $25-$75 each—far cheaper than new custom cabinetry. Focus on units with minimal dents and functional hinges; the paint process will handle surface flaws. Check for structural integrity by lifting the cabinet: if it feels solid (not spongy), the metal frame is sound. Avoid units with deep rust holes that compromise structural strength.
Bring a removable shelf or door to paint stores for instant color matching. Staff will scan the existing finish and mix custom pigments to blend repairs seamlessly. This prevents obvious patchwork when touching up damaged areas later. Pro tip: salvage yards often discount cabinets with paint damage since they’re harder to sell—your “flaw” is actually a budget advantage.
Gather Your Metal Cabinet Painting Toolkit
Cleaning Arsenal for Invisible Grease
- Degreaser spray: Cuts through decades of kitchen oils (even on non-cooking surfaces)
- Dish soap + warm water: Final residue removal after degreasing
- Microfiber cloths (3+): Prevents grease redeposition during cleaning
- Cotton cloths: For final moisture-free drying
Sanding Supplies That Prevent Rust
- 220-grit sandpaper: Initial scuffing to remove rust and create adhesion
- 300-grit sandpaper: Between-coat smoothing for glass-like finish
- Microfiber dusting cloth: Removes particles without scratching
Professional-Grade Paint System
- Metal-specific primer spray: Bonds to bare steel (rust-inhibiting formula)
- Appliance epoxy spray paint: Hardens to a dishwasher-safe finish
- High-gloss clear coat: Unifies sheen and blocks UV fading
- Painter’s tape: For crisp edges near countertops
Safety Essentials
- N95 respirator: Blocks toxic spray particles during application
- Drop cloths: Protects floors from overspray (essential for outdoor work)
- Well-ventilated workspace: Garage with open doors or shaded patio
Remove Decades of Grease in 30 Minutes
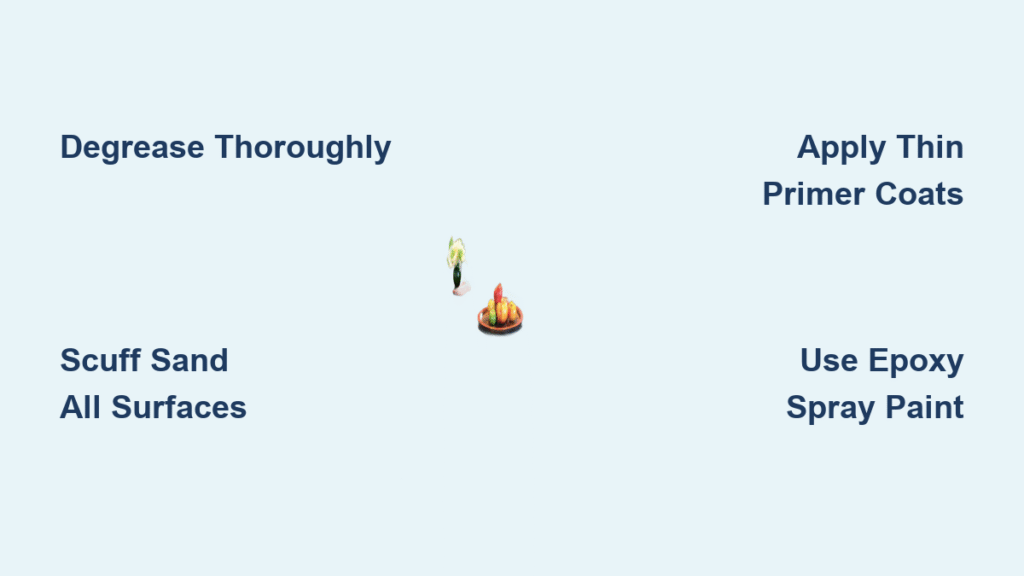
Degrease Like a Pro
Kitchen cabinets absorb invisible oil films from cooking and hand contact—even surfaces far from stoves. Spray degreaser onto a microfiber cloth (never directly on cabinets to avoid drips into seams), then wipe all surfaces in overlapping strokes. Pay special attention to handle areas where skin oils concentrate. You’ll see the cloth turn gray immediately, revealing hidden grime.
Final Wash Protocol
Mix warm water with 5 drops of dish soap in a bucket. Dip a fresh microfiber cloth, wring until damp (not dripping), and wipe cabinets from top to bottom. Rinse cloth frequently to avoid redepositing grease. Dry immediately with cotton cloths—any moisture left overnight creates bubbles under primer. Critical warning: Skipping this step causes paint to peel within months as oils seep through.
Create Perfect Paint Adhesion With Scuff Sanding
Target All Surfaces, Not Just Damaged Spots
Use 220-grit sandpaper to scuff the entire cabinet surface—not just rust spots. This creates microscopic grooves for primer to grip. For rusted areas, sand until smooth and metal shines through (about 2-3 minutes per square foot). Don’t over-sand; you’re not removing metal, just creating texture. Visual cue: the surface should look uniformly dull, not shiny.
Eliminate Dust Before Primer
After sanding, wipe every surface with a dry microfiber cloth using straight-line motions (not circles). Check for dust by holding a flashlight at a 45-degree angle—it highlights particles invisible under normal light. Repeat until the cloth shows zero residue. Any leftover dust becomes trapped under paint, creating rough spots.
Apply Primer Without Runs or Blisters
Mask Like a Finish Carpenter
Apply painter’s tape along cabinet edges where they meet walls or countertops. Press tape edges firmly with a credit card to prevent primer seepage. Leave a 1/16-inch gap between tape and cabinet edge—this allows paint to lay flat without “bleeding” under the tape.
Spray Technique for Smooth Coverage
Hold primer can 8-10 inches from the surface. Spray in steady, overlapping horizontal passes (like mowing a lawn), moving continuously to avoid pooling. Apply thin coats—primer should look slightly translucent, not opaque. Wait 45 minutes between coats (time varies by brand; check label). Pro tip: Spray a test patch on cardboard first to dial in distance and speed.
Choose Brush vs. Spray for Your Cabinet Project
Brush Method for Targeted Repairs
Best for spot-fixing chips on existing cabinets. Pour color-matched paint into a roller tray with a fresh 1/4″ nap sleeve. Start 4 inches from the bottom edge, roll upward in one stroke, then reverse downward without lifting. Overlap each pass by 50% to prevent streaks. Allow 3 hours drying time between coats. Time-saver: Use angled brushes for corners and edges.
Spray Method for Full Cabinet Transformation
Essential for that factory-fresh look. Use appliance-grade epoxy spray paint (like Rust-Oleum Appliance Epoxy) for dishwasher-proof durability. Apply three light coats instead of one heavy coat—each should look slightly hazy. Wait 24 hours between coats for full hardening. Hold can 12 inches away in 70-80°F weather to prevent orange peel texture. Critical: Sand lightly with 300-grit between coats.
Build Professional Results With Three Thin Coats

Between-Coat Sanding Ritual
After each paint coat dries (minimum 3 hours for brushed, 24 hours for spray), lightly sand with 300-grit paper using feather-light pressure. This knocks down dust nibs and creates “tooth” for the next layer. Wipe thoroughly with microfiber cloth—skip this and your final coat will show every imperfection.
Why Thin Coats Win Every Time
Epoxy paint self-levels when applied thinly, eliminating brush marks. Thick coats trap solvents that cause bubbling or slow curing. Visual cue: your third coat should look uniformly glossy with no “dry spots” where metal shows through. If needed, apply a fourth coat—but never skip sanding between layers.
Seal With High-Gloss Clear Coat Protection
Fix “Hot Spots” in One Step
Inconsistent gloss (“hot spots”) happens when spray passes overlap unevenly. Apply two coats of high-gloss clear spray paint to unify the sheen. Hold can 10 inches away, using the same sweeping motion as paint application. The clear coat fills microscopic valleys, creating a reflective surface that hides minor imperfections.
Cure Time That Prevents Disaster
Wait 72 hours before reinstalling hardware or touching cabinets. Epoxy reaches only 50% hardness after 24 hours—premature contact leaves permanent fingerprints. During curing, avoid humidity above 70% and temperatures below 60°F. Expert note: Full chemical cure takes 30 days, but cabinets withstand light use after 72 hours.
Fix Orange Peel Texture and Runs Immediately

Orange Peel Texture Solution
Caused by spraying too far away (>12 inches) or in high humidity. Don’t panic—sand the affected area with 400-grit paper until smooth, then respray a slightly wider area. The key: thin the next coat by 10% with epoxy reducer (check product label) and spray at 8 inches.
Paint Run Emergency Protocol
Wipe runs immediately with a clean cloth dampened with mineral spirits. For dried runs, sand lightly with 300-grit until level with surrounding paint, then apply a targeted touch-up coat. Prevention: Keep the spray can moving constantly—never hover over one spot.
Update Hardware Without Drilling New Holes
Vintage cabinets often have non-standard screw hole spacing. Measure existing holes with a caliper before ordering new pulls. Use template paper to test fit new hardware positions on cardboard first. When installing, apply wood filler to old holes, let dry, then drill new pilot holes at updated locations. Soft-close hinges retrofit perfectly to metal frames—look for models with adjustable mounting plates.
Maintain Your Cabinets for Decades of Shine
Daily Cleaning That Preserves Gloss
Wipe spills within 5 minutes using a microfiber cloth dampened with water. For stuck-on food, use a drop of Dawn dish soap on the cloth—never spray cleaners directly on cabinets. Avoid abrasive sponges; they scratch the gloss layer over time. Pro tip: Keep a dedicated “cabinet cloth” in your sink caddy.
Annual Touch-Up System
Save leftover paint in labeled containers. For chips smaller than a dime, apply paint with a toothpick, let dry 24 hours, then buff with 0000 steel wool. Larger repairs require light sanding first. Reapply clear coat every 3 years to maintain UV protection—this prevents yellowing in sun-exposed kitchens.
Your refinished metal cabinets now have a finish tougher than most new cabinetry. The epoxy paint forms a chemical bond with the steel that laughs at coffee spills and sponge scrubbing. In my own kitchen, these cabinets have survived seven years of toddler fingerprints and weekly cleanings without a single chip. By investing three days in proper prep and technique, you’ve added decades of beauty to a vintage piece that tells a story—every time you reach for a mug, you’re touching history made new. Ready for the next project? Try painting the matching vintage refrigerator next using these same metal-prep secrets.

