
Your KitchenAid ice maker suddenly stopped producing ice just when you need it most—whether you’re hosting a summer gathering or simply want a chilled drink after a long day. That frustrating silence where the familiar clinking of ice cubes should be leaves you scrambling for alternatives. KitchenAid ice maker not working issues affect thousands of homeowners each year, disrupting daily routines and causing unnecessary stress. This troubleshooting guide delivers actionable solutions to diagnose and fix your malfunctioning KitchenAid ice maker, getting your appliance back to peak performance quickly and safely.
Why Your KitchenAid Ice Maker Produces No Ice
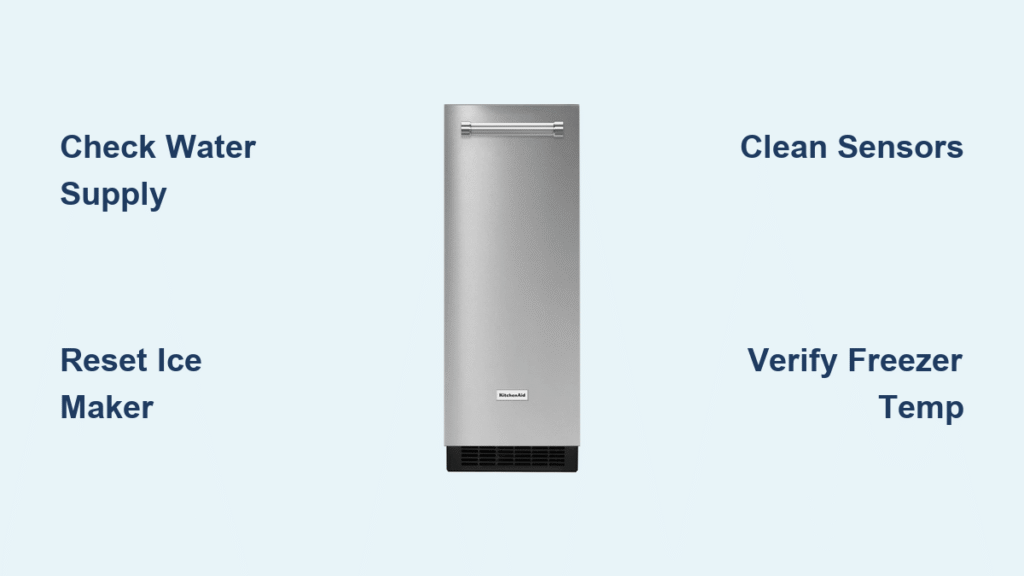
Water Supply Line Blockage Signs
When your KitchenAid ice maker not working issue stems from water supply problems, you’ll notice specific visual cues. Check for kinks in the supply line behind your refrigerator—these bends restrict water flow essential for ice formation. Inspect connections at both the refrigerator inlet valve and the water source for leaks or loose fittings. A common mistake homeowners make is overlooking the shutoff valve under the sink, which might have been accidentally turned off during recent plumbing work. If you hear clicking sounds but see no water filling the ice mold, this confirms a water supply interruption rather than an electrical problem.
Power Connection Failures to Check Immediately
Many KitchenAid ice maker not working scenarios result from simple power interruptions rather than complex mechanical failures. Start by verifying the ice maker’s power switch is in the “on” position—this small toggle often gets bumped during routine cleaning. Next, check your home’s circuit breaker panel for any tripped switches affecting the kitchen circuit. KitchenAid recommends using a dedicated circuit for refrigerators with ice makers to prevent electrical overload. If your ice maker has a digital display that’s blank, this indicates a complete power loss requiring further investigation of the outlet and wiring connections.
KitchenAid Ice Maker Won’t Stop Running Solutions
Faulty Sensor Detection Techniques

When your KitchenAid ice maker continues running despite a full bin, the optical sensor likely needs attention. Locate the sensor ports on either side of the ice maker assembly—these small openings must remain clear of ice buildup or food debris. Shine a flashlight into these ports while the ice maker operates; if you can’t see light passing through both sides, clean the sensors with a cotton swab and isopropyl alcohol. For models with mechanical shut-off arms, ensure the arm moves freely without obstruction and makes proper contact when the bin fills. KitchenAid’s official troubleshooting videos demonstrate this specific sensor cleaning process for undercounter models.
Thermostat Calibration Checks
An improperly calibrated thermostat causes continuous ice production by failing to recognize when the freezer reaches optimal temperature. Use an independent appliance thermometer to verify your freezer maintains 0°F (-18°C) or below—built-in displays often provide inaccurate readings. If temperatures fluctuate above this threshold, adjust the thermostat setting incrementally, allowing 24 hours between adjustments for stabilization. KitchenAid recommends against drastic temperature changes, as this strains the compressor and creates condensation issues. For persistent thermostat problems, consult KitchenAid’s service technicians who can recalibrate or replace this critical component.
Water Filter Replacement Protocol
Identifying Clogged Filter Symptoms
Your KitchenAid ice maker not working properly might simply need a fresh water filter. Signs of a clogged filter include small, hollow ice cubes, reduced water dispenser flow, and unusual tastes or odors in your ice. KitchenAid specifies filter replacement every six months, but hard water areas may require more frequent changes. Locate your filter housing—typically in the upper right interior or base grille—and check for the filter change indicator light. Press the reset button after installation, then run approximately two gallons of water through the dispenser to purge air and carbon particles from the new filter.
Correct Filter Installation Steps
Improper filter installation causes many KitchenAid ice maker not working issues after replacement. First, turn off the water supply and release pressure by dispensing water until it stops flowing. Rotate the old filter counterclockwise to remove it, noting its orientation for the new installation. Remove protective caps from the new filter just before insertion, aligning the arrows properly. Push the filter firmly into place until it locks with an audible click—many homeowners fail to seat filters completely, causing leaks or restricted flow. After installation, reset the filter indicator light according to your model’s manual, which requires your exact model number for precise instructions.
Temperature-Related Ice Maker Failures
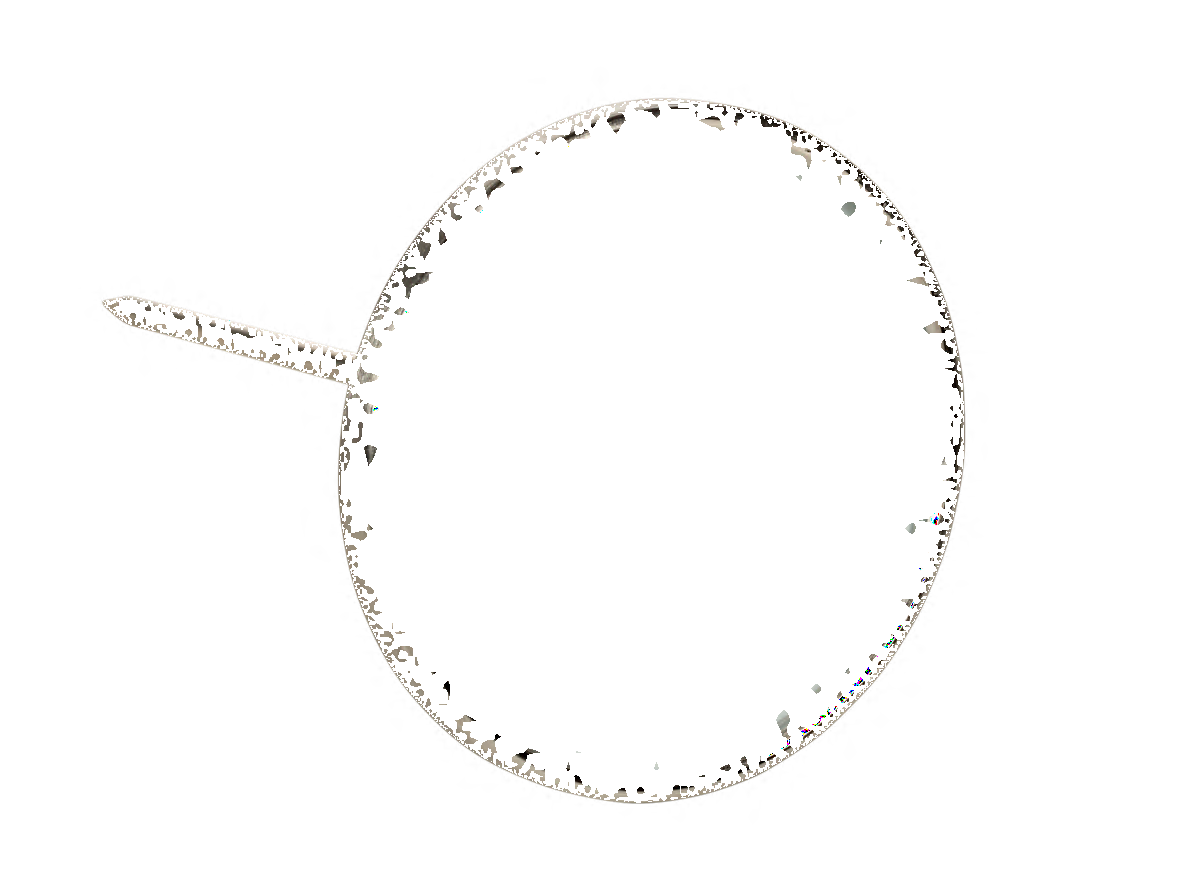
Freezer Temperature Verification Process
Incorrect freezer temperatures directly cause KitchenAid ice maker not working scenarios. Place an appliance thermometer in a glass of vodka (which won’t freeze) near the ice maker for 24 hours for accurate readings. If temperatures exceed 5°F (-15°C), adjust the thermostat setting downward incrementally. Avoid setting the freezer too cold, as this can cause ice buildup that jams the ejector mechanism. KitchenAid’s service technicians report that 30% of ice maker service calls result from improper temperature settings rather than actual component failures. Allow 48 hours after temperature adjustments before concluding the ice maker itself has failed.
Door Seal Inspection and Maintenance
Worn door seals allow warm air infiltration that prevents proper ice formation. Test your seals by closing the door on a dollar bill at various points around the perimeter—if you can easily pull the bill out, replacement is needed. Clean existing seals monthly with a solution of warm water and mild detergent, then apply a thin layer of petroleum jelly to maintain flexibility. KitchenAid recommends checking seals quarterly, especially in households with frequent door openings. Poor door seals force the compressor to work harder, raising internal temperatures enough to disrupt ice production cycles while increasing energy consumption by up to 25%.
KitchenAid Ice Maker Reset Procedures
Model-Specific Reset Methods
KitchenAid ice maker not working issues often resolve with a proper reset, but techniques vary by model. For most undercounter models, locate the reset button near the front of the ice maker assembly and press it for 10 seconds until an indicator light flashes. Built-in models may require holding both the water and ice buttons simultaneously for 5 seconds. After resetting, allow 24-48 hours for the system to complete a full production cycle. KitchenAid’s official support channels emphasize that improper resetting—either too brief or too prolonged—can create additional errors, so consult your specific model’s manual for precise instructions.
Post-Reset Verification Steps
After performing a KitchenAid ice maker reset, verify success by monitoring the production cycle. Within 30 minutes, you should hear the water valve activating and filling the ice mold. The harvest cycle (when ice ejects) typically occurs 90-120 minutes after water fills the mold. If you hear clicking but no water flow, the issue likely involves the water inlet valve rather than electronic controls. KitchenAid recommends keeping a log of sounds and cycle times to share with technicians if problems persist, as this diagnostic information significantly speeds up professional repairs.
When to Contact KitchenAid Professional Support
Warranty Coverage Considerations
Before attempting complex repairs on your KitchenAid ice maker not working issue, verify your warranty status through KitchenAid’s online portal. Built-in and higher-end models often include extended ice maker coverage beyond standard refrigerator warranties. Attempting DIY repairs on covered components may void your warranty, so KitchenAid recommends contacting their support team first at 1-800-422-1230. Have your model and serial numbers ready—these are essential for retrieving your specific appliance documentation and determining appropriate service options.
Scheduling Authorized Service Visits
When troubleshooting fails to resolve your KitchenAid ice maker not working problem, KitchenAid’s online service scheduling offers convenient appointment booking with factory-trained technicians. Their diagnostic process includes checking refrigerant levels, electrical components, and water systems that require specialized tools and expertise. Most service appointments can be scheduled within 48 hours, with technicians arriving equipped with genuine KitchenAid parts for same-day repairs. Customers who use authorized service maintain full warranty coverage and receive documentation of all performed work for future reference.
Your KitchenAid ice maker should now produce fresh, clear ice reliably after implementing these targeted solutions. Remember that ice production typically resumes gradually—allow 24-48 hours for the system to stabilize after any adjustments or repairs. For persistent KitchenAid ice maker not working issues, KitchenAid’s direct support channels provide model-specific guidance through phone (1-800-422-1230), live chat, or their online service scheduler. Regular maintenance prevents most common problems, so establish a routine of checking water filters, cleaning sensors, and verifying temperature settings every three months. Keep this guide handy for quick reference during future troubleshooting, and don’t hesitate to contact KitchenAid’s professional support when DIY solutions reach their limits—they’re equipped to handle complex issues while preserving your warranty coverage.

