
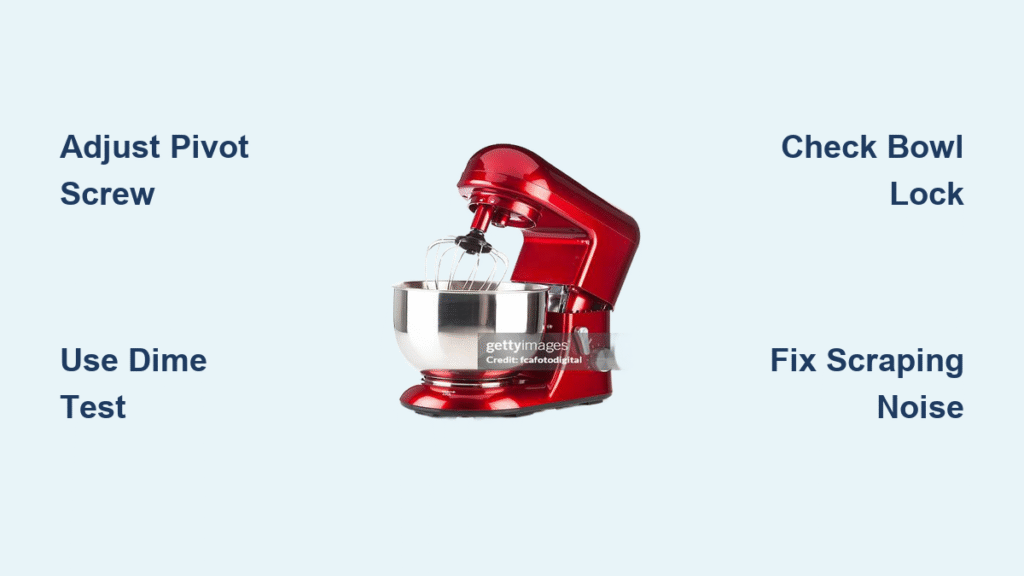
That sinking feeling when your KitchenAid stand mixer leaves stubborn flour patches in your cookie dough or screeches as the beater scrapes the bowl—it means your mixer height needs immediate correction. This common issue sabotages baking results by creating unevenly mixed ingredients, damaging your expensive bowl, and forcing constant scraping interruptions. The good news? How to adjust KitchenAid mixer height is a five-minute fix that transforms your mixer from frustrating to flawless. Whether you own a classic tilt-head or heavy-duty bowl-lift model, this guide delivers the exact dime-test method and pro adjustments pros use to achieve perfect beater-to-bowl clearance every time.
Ignoring height problems accelerates wear on your mixer’s gears and coatings, potentially creating metal shavings in your food. Yet most users don’t realize their mixer’s adjustment screw only moves 1/8 turn total—making microscopic tweaks crucial. I’ve seen bakers ruin $400 artisan bowls trying to “force” a fix. But by following these precise steps drawn from KitchenAid’s engineering specs, you’ll restore factory-perfect performance without voiding your warranty. Let’s diagnose your symptoms and get your mixer mixing like new.
Spot These 4 Critical Height Warning Signs
Flat Beater Leaves Raw Flour at Bowl Bottom
When your flat beater spins but leaves dry streaks clinging to the stainless steel, ingredients won’t fully incorporate. This happens because excessive clearance prevents the beater from reaching the bowl’s lowest point—common after shipping vibrations or heavy dough kneading. You’ll notice needing to stop every 30 seconds to scrape unmixed flour, especially with thick batters like brownie mix. Don’t confuse this with insufficient mixing time; if raw ingredients persist after 2 minutes on speed 2, height adjustment is required immediately.
Metal Scraping Sounds During Operation
That grating noise isn’t just annoying—it’s dangerous. When accessories scrape the bowl’s sides or bottom, they chip the non-stick coating on flat beaters and create microscopic metal fragments in your food. Visible scratches on your bowl’s interior confirm this issue, typically caused by over-tightening the adjustment screw or accidental impacts during storage. Stop using your mixer immediately if you hear scraping; continued operation risks permanent damage to the planetary gear mechanism. This symptom requires correction within 24 hours to prevent costly repairs.
Essential Tools for Precision Adjustment

Grab these before starting:
– Precision flathead screwdriver (1/8-inch width—standard hardware store size)
– One U.S. dime (critical for the clearance test—no substitutes)
– Microfiber cloth (to clean adjustment points)
– Penetrating oil (like PB Blaster for seized screws)
Pro tip: Wrap your screwdriver handle with rubber grip tape. The adjustment screw’s tiny slot strips easily when slippery from flour residue, and KitchenAid charges $75 for stripped screw replacement. Always wipe the screw head with isopropyl alcohol first to dissolve baked-on grease.
Tilt-Head Mixer Height Fix: Step-by-Step
Accessing the Hidden Pivot Screw
Tilt your mixer head fully backward until it locks in place. The adjustment screw hides at the head’s pivot point—look for a flathead slot where the neck meets the base housing. On models newer than 2015, it’s recessed behind a metal flap; gently pry this up with your fingernail. Older models (K45, K5SS) have two screws here, but only the front one controls height—never touch the rear screw to avoid misalignment.
Micro-Adjustment Technique That Works
Turn the screw exactly 1/8 rotation using these directional rules:
– Counterclockwise (left) = Raises beater 1/32 inch
– Clockwise (right) = Lowers beater 1/32 inch
Critical warning: Over-rotating past 1/8 turn prevents the head from locking securely—a major safety hazard. After each tiny turn, lower the head and test bowl lock engagement before retesting clearance. Most mixers need just two 1/8-turn adjustments total. If resistance increases suddenly, stop—you’ve hit the mechanism’s limit.
Bowl-Lift Mixer Height Calibration Guide
Finding the Base Adjustment Point
Lower the bowl completely to expose the adjustment screw beneath the lift arms. It’s nestled where the metal arms connect to the base—often obscured by flour dust. Shine a flashlight here; you’ll spot a flathead slot pointing downward. Unlike tilt-head models, bowl-lift screws require upward pressure while turning to prevent slippage. Place a folded paper towel under your screwdriver for grip.
Speed-Sensitive Clearance Testing
Bowl-lift mixers behave differently at various speeds due to torque deflection. Always test at speed 2 first, then verify:
1. Speed 4: Beater should maintain consistent dime movement
2. Speed 6: No increased scraping sounds
3. Speed 8+: Slight clearance increase is normal (don’t adjust for high speeds)
If clearance changes between speeds, your lift arm bushings are worn—this requires professional service. Don’t over-adjust to compensate, as it accelerates wear.
Master the Dime Test: Your Clearance Gold Standard
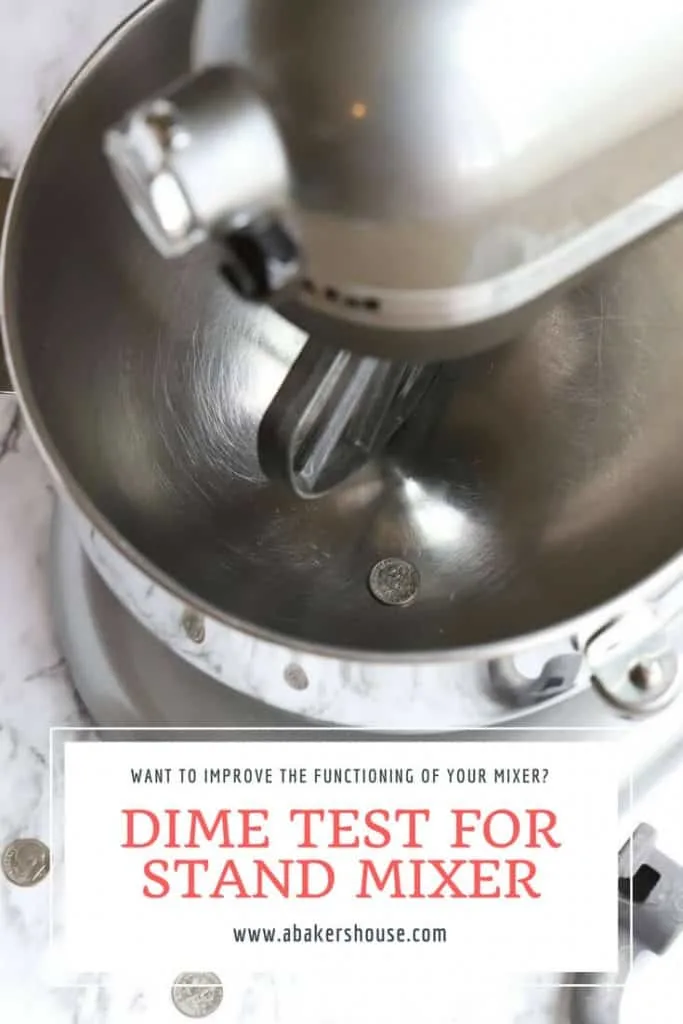
Why a Dime Is Non-Negotiable
KitchenAid engineers designed the 1/4-inch clearance spec around the dime’s thickness (1.35mm). Pennies or quarters give false readings due to different diameters. Place the dime perfectly centered in an empty bowl—off-center placement causes erratic movement. Use a fresh dime; worn coins have reduced thickness that skews results.
Interpreting Dime Movement Like a Pro
Run the mixer on speed 2 for exactly 5 seconds with the flat beater attached:
– ✅ Perfect: Dime slides 1/4 inch in a smooth arc
– ❌ Too high: Dime stays completely still (needs 1/8 turn clockwise)
– ❌ Too low: Dime jumps violently or gets pinned (needs 1/8 turn counterclockwise)
– ⚠️ Danger zone: Dime flies out—stop immediately and raise beater
Repeat the test after each adjustment. It takes 3-5 iterations for most users to nail the sweet spot.
Fix These 3 Stubborn Adjustment Failures
Frozen Adjustment Screw Solution
If the screw won’t budge after gentle pressure:
1. Apply 2 drops of penetrating oil directly into the screw slot
2. Wait 10 minutes for oil to seep into threads
3. Tap screwdriver handle once with a hammer to break corrosion
4. Turn counterclockwise with firm, steady pressure
Never use pliers—that strips the slot. If it still resists, your mixer needs warranty service; forced turning cracks the housing.
When Adjustments Don’t Change Clearance
If turning the screw has zero effect:
– For bowl-lift models: Try the hose washer hack—place two 1/16-inch rubber washers on the bowl support pegs. Secure with a single drop of super glue (cyanoacrylate) on the peg base. This raises the bowl 1/8 inch without voiding warranty.
– For tilt-head models: Check if the planetary gear assembly is loose. Tighten the central nut 1/16 turn—over-tightening here causes similar symptoms.
If these fail, the internal cam is worn; contact KitchenAid with your receipt.
Bowl Lock Failure After Adjustment
This means you’ve over-rotated the screw. Turn it counterclockwise 1/16 turn (half your previous adjustment), then test lock engagement. The bowl should click securely into place with moderate hand pressure. If not, back off another 1/16 turn. Never force the bowl lock—it can shear the plastic cam teeth.
Warranty Service: When to Call KitchenAid
Contact KitchenAid directly if:
– Your mixer is under 1 year old (keep Amazon receipts—they accept them)
– The adjustment screw turns freely without height change
– You hear grinding from the head pivot point
They’ll email a prepaid shipping label for replacement—no repair attempts needed. For out-of-warranty units, their service centers charge $120+ for height recalibration, making the washer hack worthwhile for minor issues.
Prevent Height Drift With These Habits
Monthly Clearance Check Routine
Before baking day each month:
1. Wipe adjustment points with alcohol-dampened cloth
2. Perform the dime test with your flat beater
3. Listen for unusual sounds at speed 4
4. Verify bowl locks securely
If you switch between heavy bread doughs and light meringues, adjust height for each task—dense doughs need slightly lower clearance.
Long-Term Protection Protocol
- Never store beaters attached to the mixer—pressure warps the mechanism
- Always center the bowl before locking (off-center placement wears bushings)
- Immediately clean flour spills from the pivot area—they harden into abrasive paste
These habits extend mixer life by 5+ years based on KitchenAid’s durability testing.
Height Adjustment Cheat Sheet
| Symptom | Quick Fix | Danger Signs |
|---|---|---|
| Beater misses ingredients | Clockwise 1/8 turn | Forcing bowl lock |
| Scraping sounds | Counterclockwise 1/8 turn | Using pliers on screw |
| Screw won’t turn | Penetrating oil + wait | Hammering screwdriver |
| No clearance change | Washer hack or warranty | Ignoring grinding noises |
Final Verification Before Baking
✅ Dime slides exactly 1/4 inch on speed 2
✅ Zero scraping during 1-minute test run
✅ Bowl locks with one-handed pressure
✅ All ingredients incorporate in ≤90 seconds
✅ Mixer runs silently at speed 4
Mastering how to adjust KitchenAid mixer height transforms frustrating baking sessions into seamless experiences. That perfect hum as your beater glides through cookie dough? That’s the sound of factory-fresh precision restored. Perform this dime-test check every three months, and your mixer will deliver professional results for decades—no more scraping bowls or ruined batches. Now go bake that perfect loaf; your mixer’s ready.

