
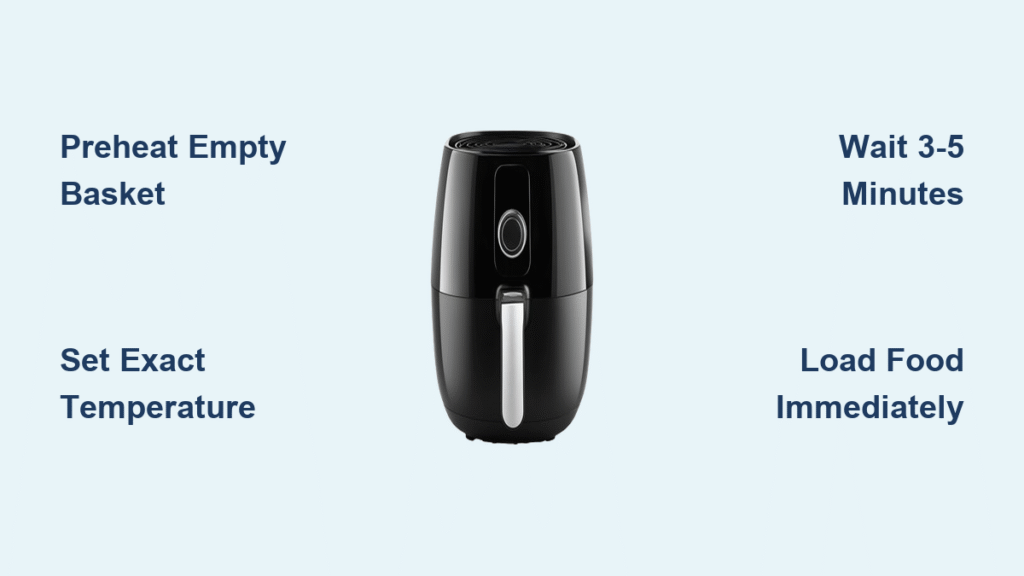
That sinking feeling when your air-fried chicken wings emerge pale and soggy instead of restaurant-crisp? More often than not, skipping the preheat cycle is the culprit. Unlike deep frying where oil is always hot, your air fryer needs 3-5 minutes to reach that magic temperature where hot air transforms food texture. Properly learning how to preheat air fryer units isn’t just an extra step—it’s the secret to achieving golden exteriors with juicy interiors, cutting cooking times by 2-3 minutes, and avoiding the dreaded “steam-fried” effect.
Mastering this simple technique unlocks consistent results whether you’re reviving last night’s pizza or searing a steakhouse-quality ribeye. Without preheating, your food starts cooking in a cold chamber, creating uneven textures and extending cooking time. But get this right, and every batch emerges with that signature crunch professionals achieve. Let’s fix your air frying forever.
Preheat Air Fryer Step-by-Step Without Guesswork
Standard Manual Method for Most Models
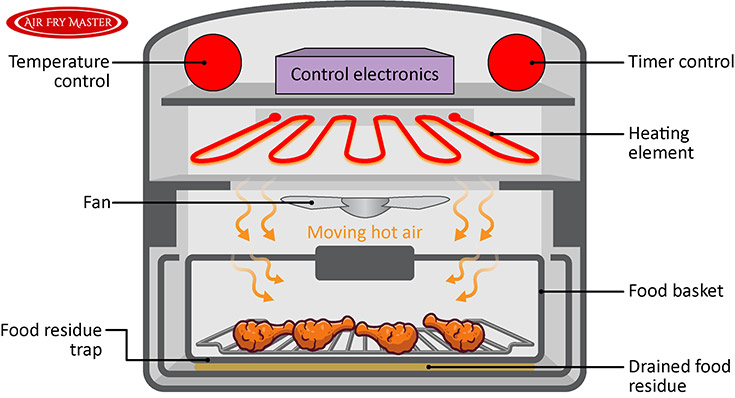
Start with a critical safety check: Ensure your air fryer basket and heating chamber are completely clean. Any leftover crumbs or oil splatters will scorch during preheating, creating bitter flavors that transfer to your food and potentially damaging the heating element. Plug the unit directly into a wall outlet—never use extension cords that cause power fluctuations.
Set the temperature dial to exactly match your recipe’s cooking temperature (not higher!). This precision matters because thermal shock from sudden temperature changes stresses both food and appliance. Keep the empty basket inside the chamber during preheating so both components reach optimal temperature together—this ensures immediate searing when food hits the basket. Press start and wait precisely 3-5 minutes while listening for the heating element’s distinct hum. When time’s up, open the drawer carefully (hot air escapes rapidly upward) and load food immediately to maintain thermal momentum.
Models with Dedicated Preheat Button
Newer digital models like Ninja Foodi or Cosori streamline the process significantly. Power on your unit and press the preheat button (usually marked with a thermometer icon). Input your recipe’s exact temperature using the digital keypad—don’t eyeball it. Enter preheating time based on capacity: 2 minutes for compact 2-3 quart units, 3-4 minutes for standard 4-6 quart models. The air fryer will beep when ready, often displaying “PREHEAT COMPLETE” or stabilizing at your target temperature. Load food within 15 seconds; any delay causes a 20-30°F temperature drop that ruins the sear.
Quick Fix for Non-Preheat Models
If your basic model lacks a preheat function (common in older Philips units), use this pro technique: Set temperature to 400°F regardless of recipe requirements. Run empty for 3-5 minutes to rapidly build chamber heat. Immediately reset to your recipe’s exact temperature before adding food. This “heat spike” method works especially well for small frozen batches like tater tots that need instant high heat to crisp properly. Never skip this step for frozen foods—starting cold creates ice crystals that steam instead of fry.
Preheat Time Guidelines by Air Fryer Size
Small Air Fryers (2-3 quarts)
Preheating time: 2-3 minutes
These countertop heroes heat astonishingly fast due to minimal air volume. Ideal for single-serving reheats or small batches of fries, but don’t underestimate their power—preheating just 10 seconds too long can scorch delicate foods like salmon fillets. Always use the lower end of the time range (2 minutes) unless cooking at 400°F+.
Standard Air Fryers (4-6 quarts)
Preheating time: 3-5 minutes
The workhorses of home kitchens balance capacity with efficiency. These require the full 5 minutes when set to 425°F for thick chicken breasts but only 3 minutes for lower-temp dishes like reheating pizza. Watch for the heating element cycling off—that’s your visual cue it’s ready. Models like Instant Vortex or GoWISE need this full cycle for even heat distribution across larger baskets.
Large Air Fryers (7+ quarts)
Preheating time: 4-5 minutes
Mammoth units like the Ninja Foodi Max require maximum preheating time, especially when cooking at full capacity. Never shorten this for family-sized batches—insufficient preheating causes the bottom layer to burn while top pieces stay raw. Always preheat with the basket fully inserted; removing it during preheat creates cold spots that ruin texture.
Temperature-Specific Adjustments
400°F takes 3-5 minutes across all models regardless of size—that’s why it’s the universal test temperature. Lower temperatures (300-350°F) finish 30-60 seconds faster since they require less thermal energy. High-heat recipes (425-450°F) need the full 5 minutes plus 30 seconds for dense foods like steak. Cold kitchen environments? Add 60 seconds to all times.
Foods That Demand Preheating for Best Results
Proteins That Transform with Instant Heat
Steaks, burgers, and thin-cut meats develop that coveted restaurant crust only when hitting preheated surfaces. The immediate 400°F blast seals juices while creating complex Maillard reaction flavors—skip preheating and you’ll get gray, boiled-looking meat. Pounded chicken cutlets and shaved flank steak particularly suffer without preheating, turning rubbery instead of tender-crisp.
Crispy Classics That Fail Without Preheating
French fries, chicken wings, and bacon achieve structural integrity through rapid surface dehydration only possible in preheated air. Frozen Tater Tots and chicken nuggets develop uneven textures when starting cold—their exteriors absorb moisture before crisping, creating a “mushy shell” effect. Even reheated pizza relies on preheating: cold starts make cheese congeal before the crust re-crisps.
Baked Goods That Rise Better
Cakes, donuts, and cookies need immediate oven-like conditions to activate leavening agents properly. Without preheating, air-fried baked goods emerge dense and gummy—imagine a cupcake that never rises. The sudden heat expansion is non-negotiable for texture development.
Skip Preheating for These Sensitive Foods
Delicate Ingredients That Burn Instantly
Shrimp, garlic slices, and cherry tomatoes char within 60 seconds in preheated chambers. These require gradual temperature increases to caramelize properly without turning acrid. Roasted tomato salsa ingredients lose their bright acidity when blasted with immediate high heat.
Large Cuts Needing Gentle Cooking
Whole chickens or 2-inch-thick roasts develop burnt exteriors before interiors reach safe temperatures when preheating. The extended cook time means the initial sear isn’t crucial—start cold to allow heat penetration. Thick pork chops follow the same rule; preheating creates a tough outer layer that impedes moisture retention.
Slow-Cooked Dishes That Benefit from Gradual Heat
Baked potatoes and casseroles cook from the inside out—preheating creates a hardened shell that blocks steam penetration. If you wouldn’t preheat your oven for a dish (like a 45-minute lasagna), skip it in the air fryer too. Always follow manufacturer exceptions; some models like certain Dash units explicitly advise against preheating in manuals.
Critical Preheating Mistakes That Ruin Food
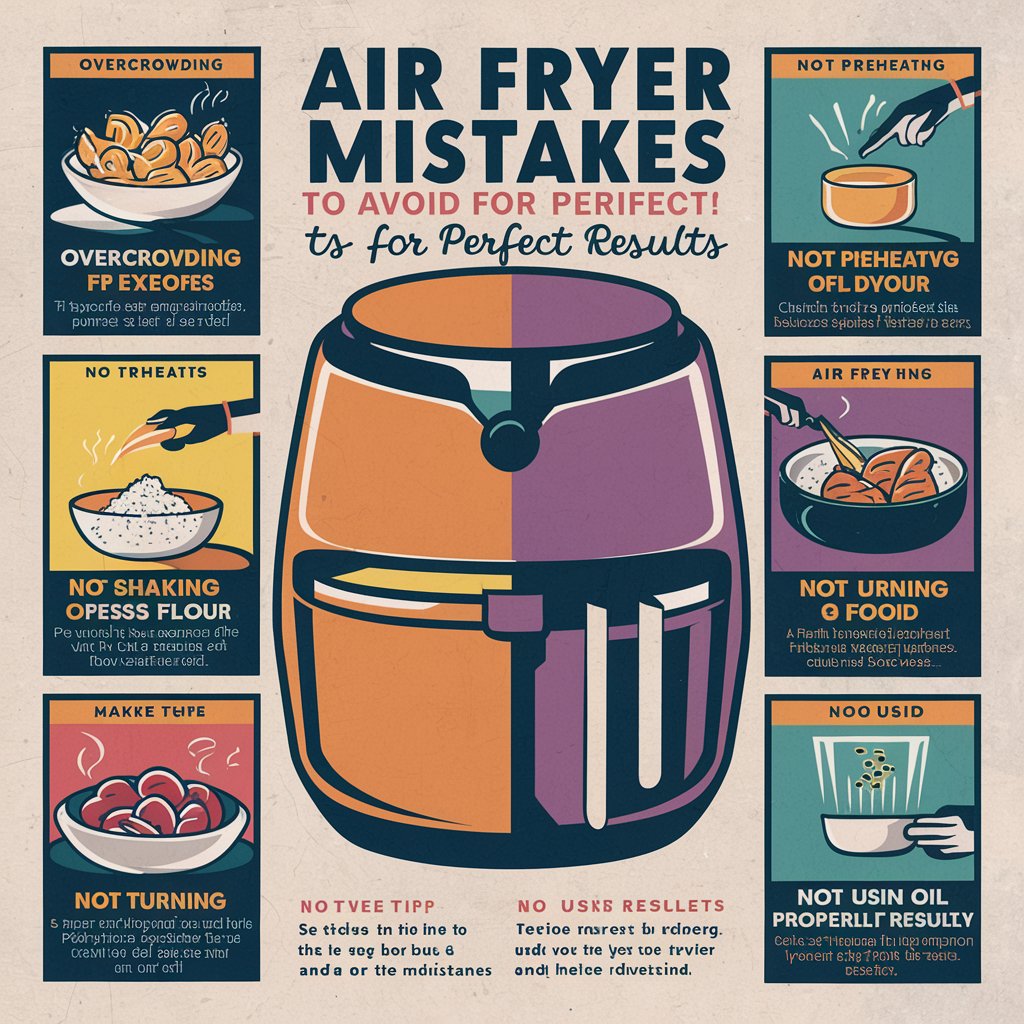
Never Do These Four Things
Preheating with food inside creates disastrous steam pockets that prevent crisping—this is the #1 mistake beginners make. Over-preheating beyond 5 minutes wastes 15% more energy and risks overheating compact units. Using “close enough” temperatures (like 375°F instead of 400°F) sabotages the Maillard reaction. Ignoring basket cleanliness transfers burnt residue flavors—wipe the chamber with a damp cloth after every use while still warm.
Quick Fixes for Common Errors
Set a separate timer—don’t rely on the air fryer’s beeper which often sounds early. Clean stubborn grease with a vinegar-water solution before preheating to prevent smoke. Verify temperature with an infrared thermometer (aim for 395-405°F at 400°F setting). If you forget to preheat, add 90 seconds to cooking time but expect slightly less crispness.
Expert Preheating Tips You Won’t Find in Manuals
Temperature Matching Strategy
Always match preheat temperature to cooking temperature—don’t “preheat hot then lower.” This prevents thermal shock that cracks ceramic coatings and ensures consistent cooking from second one. For example, preheat to 375°F for salmon, not 400°F then dial down.
Basket Positioning Secrets
Center the basket perfectly during preheating—off-center placement creates hot/cold zones. Never line with parchment paper while preheating; the paper can lift and touch heating elements causing fire hazards. Only add liners after preheating for delicate foods.
Testing Readiness Like a Pro
Hold your hand 6 inches above the basket (safely!) after preheat time—intense radiant heat should be unmistakable. Listen for the heating element cycling off—a quiet hum means it’s maintaining temperature. For visual confirmation, place a drop of water on the basket; it should sizzle and evaporate instantly.
Energy Efficiency Hacks
Preheat while prepping ingredients to save 3-5 minutes of total meal time. Batch cook similar-temp foods (like wings then fries) after one preheat cycle. Group low-temp dishes (300-350°F) together since they require shorter preheats than high-temp recipes.
| Air Fryer Size | Preheat Time | Best For | Temperature Tip |
|---|---|---|---|
| 2-3 quart | 2-3 minutes | Single servings | +60 sec in cold kitchens |
| 4-6 quart | 3-5 minutes | Family meals | Full 5 min for 400°F+ |
| 7+ quart | 4-5 minutes | Large batches | Always 5 min for full loads |
| All sizes | 400°F test | Universal check | Verify with IR thermometer |
Final Preheating Protocol for Foolproof Results
Follow these five steps religiously for restaurant-quality air frying:
- Clean the basket and chamber with a damp microfiber cloth—no residue means no burnt flavors
- Set exact temperature per recipe (use digital models’ precision controls)
- Preheat empty basket for size-appropriate time (never with food inside)
- Load food immediately after beeping—delaying 20 seconds drops temp 50°F
- Reduce total cook time by 2-3 minutes since preheating does initial work
This isn’t just about following steps—it’s about understanding why each matters. Proper preheating transforms your air fryer from a convenient gadget into a precision cooking instrument that delivers consistent crunch, optimal texture, and professional results. When you master how to preheat air fryer units correctly, you’ll never serve soggy fries or pale chicken again. The extra 3 minutes upfront saves wasted food, energy, and frustration—making every meal worthy of a five-star kitchen. Now fire it up and taste the difference immediate heat makes.

