
That shiny new air fryer sitting on your counter promises restaurant-quality fries with a fraction of the oil, but you’re staring at the basket wondering where to even begin. You’re not alone—most beginners waste their first few batches trying to figure out why their chicken turns out dry or their fries end up soggy. The truth is, air fryers aren’t actually fryers at all, and using them like deep fryers guarantees disappointment.
Mastering your air fryer takes just a few essential techniques that transform confusing buttons into perfectly crispy chicken wings, golden French fries, and tender vegetables—all in half the time of conventional cooking. In the next few minutes, you’ll learn exactly how to use air fryer technology to its full potential, avoid the top beginner mistakes, and unlock consistent results that’ll make this your most-used kitchen appliance.
Select Your Air Fryer Model Based on Cooking Needs

Basket-Style Air Fryers Deliver Compact Convenience
These countertop workhorses fit under standard cabinets and handle portions for 2-4 people with ease. The removable basket design makes shaking mid-cook effortless—critical for even browning. Models like the Cosori Dual Blaze work exceptionally well for frozen foods and single proteins but require batch cooking for family-sized meals.
Air Fryer Ovens Provide Multi-Function Flexibility
If you regularly cook for four or more, consider an air fryer oven like the Ninja Foodi. These replace multiple appliances with dual racks, rotisserie functions, and dehydrating capabilities. You’ll gain cooking versatility but sacrifice 40% more counter space. The extra capacity pays off when roasting a whole chicken or baking multiple sheet-pan meals.
Both styles create crispy results through rapid hot air circulation—not oil immersion—so don’t waste money on “air fryer oil spray” gimmicks.
Position Your Air Fryer for Safe Operation
Critical Counter Space Requirements
Your air fryer needs breathing room to prevent overheating hazards. Leave at least 5 inches of clearance on all sides, especially behind the unit where heat exhaust vents operate. Placing it against a wall traps heat, potentially triggering automatic shut-offs during cooking.
Pre-First-Use Safety Protocol
Never skip this essential step: Remove all packaging materials from the heating chamber, then run your air fryer empty at 400°F for 10 minutes. This burns off manufacturing residues that could otherwise taint your first meal with chemical odors. Always place the unit on a heat-resistant surface away from water sources.
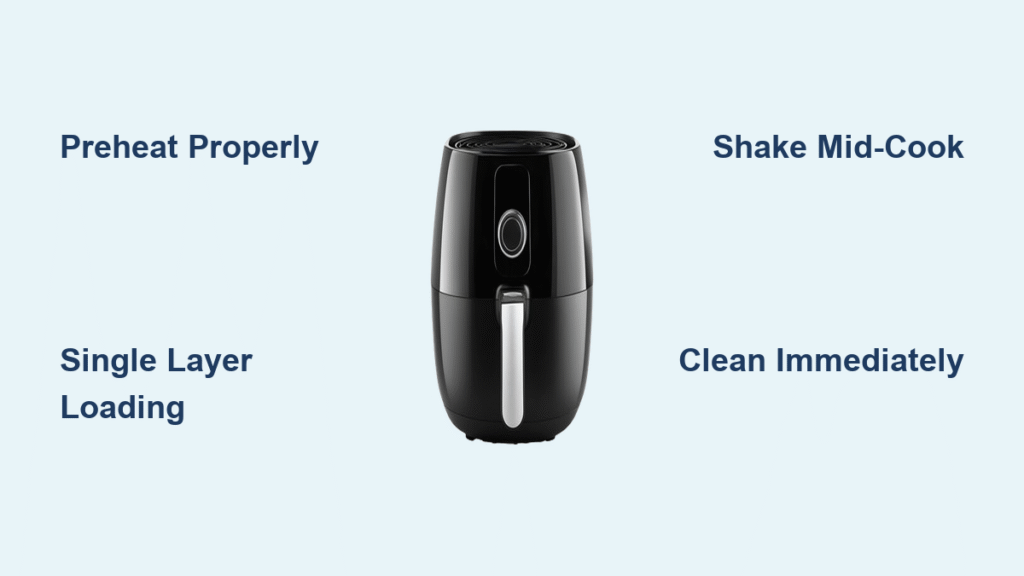
Preheat Properly for Instant Crisping Results
When to Always Preheat (and When to Skip It)
Preheat for 3-5 minutes at 350-400°F whenever cooking proteins or breaded foods—this creates immediate browning when food hits the basket. Skip preheating for delicate vegetables like Brussels sprouts that benefit from gradual heat penetration. Your air fryer signals readiness differently: some beep, others flash lights—when in doubt, preheat for 3 minutes.
Cold Start Method for Thick Cuts
For steaks thicker than 1.5 inches or whole chickens, start with a cold air fryer then gradually increase temperature. This prevents burnt exteriors with raw centers by allowing heat to penetrate slowly while the surface crisps during the final minutes.
Convert Oven Recipes to Air Fryer Times
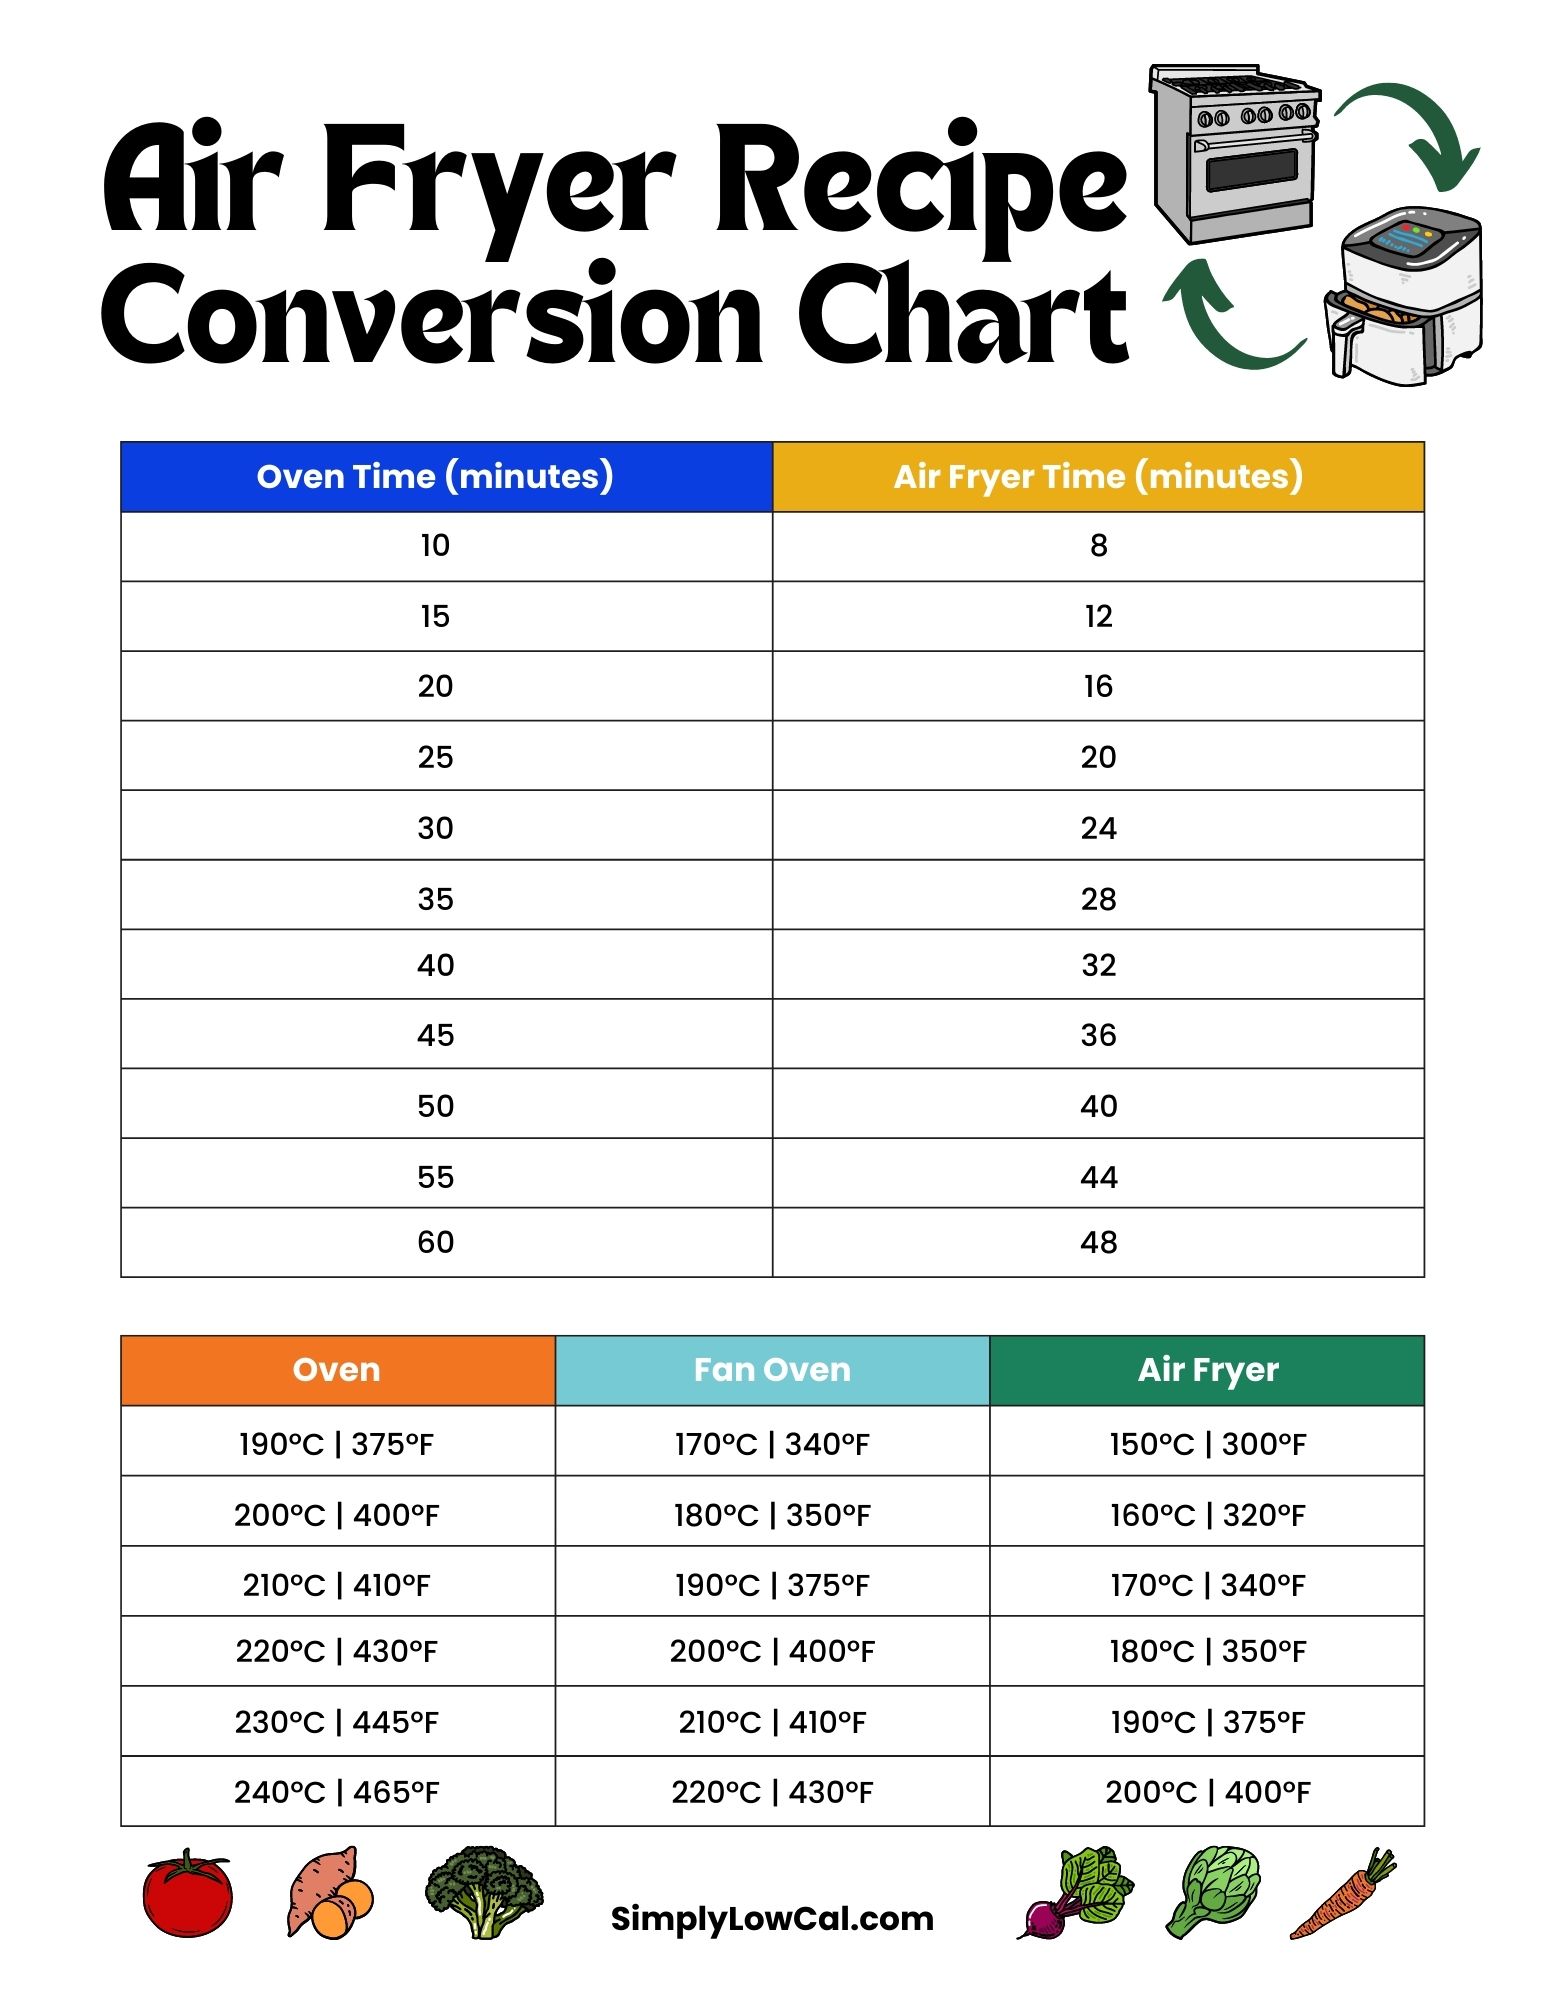
Universal Temperature Adjustment Formula
Reduce standard oven temperatures by 25°F when using your air fryer. A recipe calling for 425°F in the oven becomes 400°F in the air fryer. This accounts for the concentrated heat circulation in the compact chamber.
Quick Reference Cooking Guide
– Frozen French fries: 400°F for 15-20 minutes (shake every 5 minutes)
– Chicken breasts (1-inch thick): 375°F for 12-15 minutes
– Brussels sprouts: 375°F for 12-15 minutes tossed with 1 tsp oil
– Salmon fillets: 400°F for 7-9 minutes
Always check 2-3 minutes before expected doneness—air fryers cook 20-30% faster than conventional ovens.
Load the Basket for Maximum Airflow

Single Layer Loading Technique
Arrange food with pencil-width gaps between pieces—this allows hot air to circulate freely around every surface. Stacking creates steaming instead of crisping, guaranteeing soggy results. For wings or fries, cook in batches rather than overcrowding.
Parchment Paper vs. Perforated Liners
Only use perforated parchment paper specifically designed for air fryers. Standard parchment blocks airflow and may catch fire. Better yet, skip liners entirely for most foods—properly oiled baskets prevent sticking without hindering crispiness.
Shake and Flip for Even Browning
Critical Mid-Cook Intervention Points
Shake the basket vigorously at the halfway mark for fries, wings, or vegetables. For larger items like chicken breasts or salmon fillets, use tongs to flip them precisely. This exposes new surfaces to direct heat circulation.
Batch Cooking Hack for Large Families
Keep cooked batches warm in a 200°F oven while finishing additional portions. Never stack cooked food in the basket—that residual moisture destroys crispiness through steam exposure.
Reheat Leftovers Like a Professional
Pizza Revival Method
Preheat to 350°F, place slices in single layer without overlapping, and air fry for 3-4 minutes. Thin crusts need only 2-3 minutes while deep-dish requires 5-6 minutes. The hot air circulation restores crispness without drying out cheese—unlike microwaves that create rubbery messes.
French Fry Resurrection Formula
Toss cold fries with a single spray of oil (optional), spread in single layer, and air fry at 350°F for 3-5 minutes. Shake at the 2-minute mark for even crisping. This method consistently outperforms conventional ovens for restoring fast-food quality.
Clean Immediately to Prevent Stubborn Residue
Nonstick Basket Preservation Protocol
Wait 15-20 minutes for complete cooling, then separate inner and outer baskets (on most models). Soak in warm, soapy water for 5-10 minutes before wiping with a soft sponge—never metal scrubbers that destroy nonstick coatings. Dry thoroughly before reassembling to prevent rust on heating elements.
Weekly Deep Cleaning Routine
Remove and wash the heating element cover if accessible. Built-up grease causes smoke and off-flavors during cooking. Wipe the interior chamber monthly with a vinegar-water solution (1:1 ratio) to eliminate lingering odors from previous meals.
Troubleshoot Soggy Results in 60 Seconds
Why Your Food Isn’t Crispy (and How to Fix It)
Overcrowded baskets are the #1 cause of disappointing results—reduce portions by 25% and cook in batches. If temperatures run too low, increase by 25°F for your next attempt. Always preheat when crisping is the goal—skipping this step extends cooking time and creates steam instead of sear.
White Smoke Emergency Response
Immediately stop cooking and unplug the unit if white smoke appears. This indicates excess oil or food debris burning on the heating element. Clean thoroughly before reuse and never add oil directly to the basket—toss food with oil before loading instead.
Prevent Common Air Fryer Disasters
Weekly Maintenance Checklist
Wipe the heating element with a damp cloth (when completely cool), check basket coating for chips that expose metal, and verify proper ventilation around the unit. Store baskets assembled inside the main chamber to prevent accidental damage.
Storage Best Practices
Keep the power cord neatly wrapped inside the unit, position away from steam sources like dishwashers, and never stack items on top of the air fryer. Proper storage prevents accidental damage to the control panel and maintains optimal performance.
Master these air fryer techniques and you’ll consistently achieve golden, crispy exteriors with tender, juicy interiors—no culinary degree required. Start with simple frozen foods to build confidence, then progress to fresh proteins and vegetables. Within two weeks of using these methods, you’ll wonder how you ever cooked without this versatile appliance.
Remember the golden rule: perfect crispiness comes from unobstructed air circulation, not oil quantity. Respect the single-layer loading principle, preheat when browning matters, and clean immediately after use. Your taste buds—and your waistline—will thank you for mastering how to use air fryer technology correctly from day one.

